Nothing says “America” quite like a slice of red, white, and blue marble cake at your Fourth of July barbecue! I’ve been making this showstopper for years – ever since my little niece declared our usual sheet cake “too boring” for her patriotic birthday party. The look on her face when I sliced into that first colorful swirl? Priceless.
What I love most about this red white & blue marble cake is how simple ingredients transform into something magical. That moment when you pull the cake from the oven and see those vibrant ribbons of color peeking through? Pure kitchen joy! It’s become my go-to dessert for Memorial Day cookouts, Veterans Day potlucks, and yes, those star-spangled birthday celebrations.

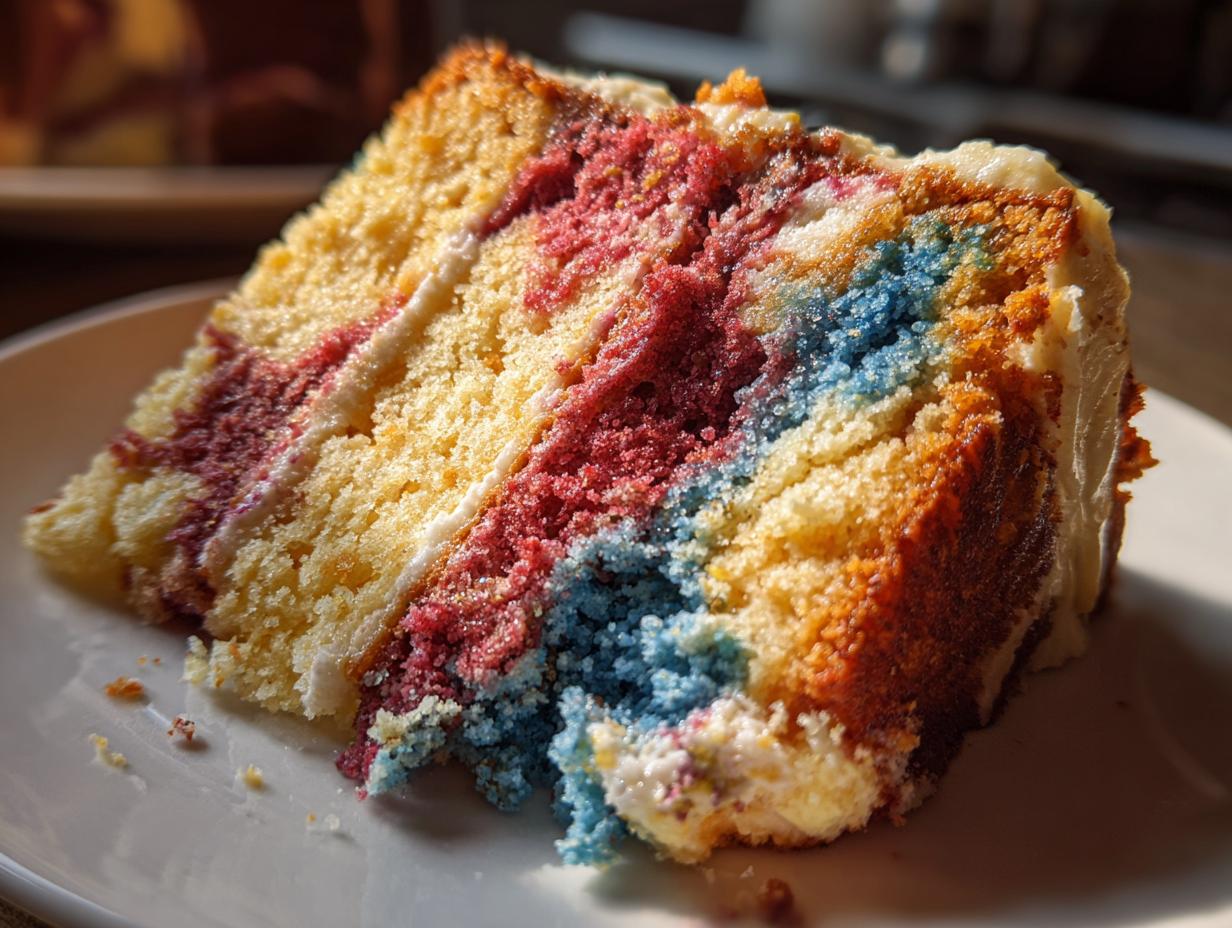
The secret is in the swirl – just enough to create that gorgeous marbled effect without muddling the colors. Trust me, this cake disappears faster than fireworks on the Fourth! Whether you’re hosting a crowd or just want to surprise your family with something special, this patriotic treat never fails to delight.
Why You’ll Fall Head Over Heels for This Red White & Blue Marble Cake
Okay friends, let me count the ways this cake steals the show every single time I make it:
- It’s a total knockout – those swirls of red, white and blue make people’s eyes light up before they even taste it
- Simpler than it looks – no fancy piping skills required, just basic baking and a quick swirl with a knife
- Holiday hero – works for Fourth of July, Memorial Day, Election Day, or whenever you’re feeling patriotic
- Crowd-pleaser – kids go wild for the colors, adults appreciate the moist vanilla flavor
- Instant celebration – turns any ordinary day into something special
The best part? It smells like childhood summers while it bakes – that sweet vanilla aroma with just a hint of buttery goodness. My neighbors always know when I’m baking this because they can smell it halfway down the block!
Ingredients for Red White & Blue Marble Cake
Gather these simple ingredients – you probably have most in your pantry already! The magic happens when they come together to create those gorgeous patriotic swirls.
- 2 cups all-purpose flour – spooned and leveled (no packing!) for perfect texture
- 1 1/2 cups granulated sugar – the sweet foundation of every great cake
- 1/2 cup unsalted butter, softened – leave it out 30 minutes beforehand (my grandma would say “it should dent when you poke it”)
- 3 large eggs at room temperature – cold eggs can make your batter separate
- 1 cup whole milk, slightly warmed – I microwave mine for 20 seconds
- 1 tsp pure vanilla extract – the good stuff makes all the difference
- 2 tsp baking powder – check that expiration date!
- 1/2 tsp salt – just enough to balance the sweetness
- Red and blue gel food coloring – liquid works in a pinch but gel gives vibrant colors
See? Nothing fancy – just quality ingredients prepped right. Now let’s turn them into something spectacular!
How to Make Red White & Blue Marble Cake
Okay, let’s get baking! This red white & blue marble cake comes together in simple steps, but I’ll walk you through each one to guarantee those perfect patriotic swirls. Just follow along – and remember, the magic is in not overworking that batter!
Preparing the Batter
First things first – preheat your oven to 350°F (175°C) and grease your cake pan. I like to use butter and a light dusting of flour, but baking spray works too.
Now for the fun part! Grab your softened butter and sugar. Cream them together in a big bowl until they’re light and fluffy – about 2-3 minutes with a hand mixer. This step is crucial for that perfect cake texture! Add eggs one at a time, mixing well after each, then stir in that glorious vanilla extract.
In another bowl, whisk together your flour, baking powder, and salt. Here’s Grandma’s trick: alternate adding the dry ingredients and milk to the butter mixture, starting and ending with flour. Mix just until combined after each addition – we don’t want to overdevelop the gluten!
Coloring and Layering
Divide your batter evenly into three bowls (I use a kitchen scale for precision, but eyeballing works too!). Leave one portion plain – that’s our “white” layer. Add red gel coloring to another and blue to the third, stirring gently until you get vibrant colors.
Now the artistic part! Drop spoonfuls of each color randomly into your prepared pan. Don’t overthink it – the more haphazard, the prettier the swirls! Take a butter knife and gently swirl through the batter just 2-3 times. Resist the urge to overdo it!
Baking and Cooling
Pop that beauty in the oven for 30-35 minutes. You’ll know it’s done when a toothpick comes out clean and the edges just start pulling away from the pan. The hardest part? Letting it cool completely in the pan before slicing! I know, I know – but trust me, waiting makes for cleaner slices.
Pro tip: If you can resist, wrap the cooled cake and refrigerate it overnight. The flavors deepen, and those colors stay extra vibrant when you slice into it the next day!

Tips for the Perfect Red White & Blue Marble Cake
After making this cake at least a dozen times (okay, maybe two dozen), I’ve picked up some foolproof tricks for picture-perfect results every time:
Gel colors are game-changers – They give those vibrant red and blue shades without thinning your batter. A little goes a long way!
Chill before slicing – I know it’s tempting, but letting the cake cool completely (or better yet, chilling it) keeps those swirls neat when you cut into it.
Swirl with restraint – Two or three figure-eight motions with a knife is plenty. More than that and your beautiful colors start to muddy together.
Room temp ingredients matter – They incorporate better, giving you that perfect, even crumb in every bite.
Watch that bake time – Start checking at 30 minutes. Overbaked cake means dry cake, and nobody wants that!
Ingredient Substitutions for Your Perfect Marble Cake
Life happens, and sometimes you’re missing an ingredient – no stress! Here are my tried-and-true swaps that keep this cake fabulous when you need to improvise:
Out of milk? Buttermilk works beautifully (just reduce baking powder to 1 tsp and add 1/2 tsp baking soda). For a dairy-free version, almond milk or even coconut milk does the trick!
Gluten-free friends? Swap in your favorite 1:1 gluten-free flour blend. I’ve had great results with King Arthur’s measure-for-measure flour.
Butter emergency? Margarine can work in a pinch, but reduce salt to 1/4 tsp since it’s usually salted. For oil substitution, use 1/3 cup vegetable oil instead of butter (the texture will be slightly different but still delicious).
Egg situation? For each egg, mix 1 tbsp ground flaxseed with 3 tbsp water and let sit 5 minutes to thicken. The cake will be denser but still gorgeous!
Remember friends – baking is an adventure. The most important ingredient is always love (and maybe a little food coloring)!
Serving and Storing Your Red White & Blue Masterpiece
Now for the best part – showing off your creation! I love serving this cake slightly chilled with a dollop of freshly whipped cream. The cool, creamy topping makes those patriotic colors really pop against the white. For extra flair, add some blueberries and raspberries on the side – edible stars and stripes!

Leftovers? (As if!) Store any uneaten slices in an airtight container at room temperature for up to 2 days, or in the fridge for 3-4 days. The colors stay vibrant, though the cake might dry out slightly. My sneaky trick? Lightly toast chilled slices the next day – the edges get crispy while the center stays moist. Heavenly!
For longer storage, wrap individual slices tightly in plastic wrap, then foil. Freeze for up to 2 months. Thaw in the fridge overnight before serving. The colors might bleed slightly when frozen, but the flavor remains just as delicious!
Red White & Blue Marble Cake FAQs
I get asked these questions ALL the time when I make my famous red white & blue marble cake – so let’s tackle the big ones right here!
Can I use liquid food coloring instead of gel?
You can, but you’ll need quite a bit more to get vibrant colors – which might thin your batter. If it’s all you’ve got, add it drop by drop until you reach the shade you want. Just don’t be surprised if your colors aren’t quite as bold!
How do I keep the colors from bleeding together?
Two secrets: First, chill your cake before slicing – it firms up those beautiful swirls. Second, don’t over-swirl! Three gentle passes with a knife max. More than that and your patriotic stripes turn into purple mush.
Can I freeze this marble cake?
Absolutely! Wrap cooled slices tightly in plastic wrap, then foil. They’ll keep beautifully for 2 months. Thaw overnight in the fridge – though fair warning, the colors might bleed slightly after freezing. Still tastes amazing though!
Why did my blue layer turn greenish?
Ah, the vanilla extract strikes again! If your batter starts too yellow, the blue can take on a greenish tint. Try using clear vanilla extract for the blue portion if this happens to you.
Nutritional Information
Here’s the scoop on what’s in each slice of this patriotic treat – but remember, these are just estimates! Actual values can vary based on your specific ingredients and brands. A typical serving (about 1/10th of the cake) contains roughly:
- 280 calories
- 42g carbohydrates
- 20g sugar
- 10g fat (6g saturated)
- 4g protein
And yes, those food colorings add zero calories but tons of festive fun! As my grandma used to say, “Special occasion cakes are about joy, not numbers.”
Final Thoughts
There you have it – my foolproof way to create a showstopping red white & blue marble cake that’ll have everyone asking for seconds! I’d love to see your beautiful swirls – tag me in your cake photos or leave a rating if you try it. Happy baking, and may all your celebrations be as sweet as this patriotic treat!
Print
Magical Red White & Blue Marble Cake with 3 Easy Steps
- Total Time: 55 minutes
- Yield: 1 cake (8-10 servings) 1x
- Diet: Vegetarian
Description
A festive marble cake with red, white, and blue layers perfect for patriotic celebrations.
Ingredients
- 2 cups all-purpose flour
- 1 1/2 cups granulated sugar
- 1/2 cup unsalted butter, softened
- 3 large eggs
- 1 cup milk
- 1 tsp vanilla extract
- 2 tsp baking powder
- 1/2 tsp salt
- Red food coloring
- Blue food coloring
Instructions
- Preheat oven to 350°F (175°C). Grease a 9-inch round cake pan.
- In a bowl, cream butter and sugar until light and fluffy.
- Add eggs one at a time, mixing well after each addition.
- Stir in vanilla extract.
- In a separate bowl, whisk flour, baking powder, and salt.
- Alternately add dry ingredients and milk to the butter mixture, mixing until smooth.
- Divide batter into three equal parts. Color one part red, one part blue, and leave one part plain.
- Drop spoonfuls of each colored batter randomly into the pan.
- Swirl gently with a knife to create a marble effect.
- Bake for 30-35 minutes or until a toothpick inserted comes out clean.
- Cool completely before serving.
Notes
- Use gel food coloring for vibrant colors.
- Do not overmix the batter after adding food coloring.
- For best results, chill the cake before slicing.
- Prep Time: 20 minutes
- Cook Time: 35 minutes
- Category: Dessert
- Method: Baking
- Cuisine: American
Nutrition
- Serving Size: 1 slice
- Calories: 280
- Sugar: 20g
- Sodium: 150mg
- Fat: 10g
- Saturated Fat: 6g
- Unsaturated Fat: 3g
- Trans Fat: 0g
- Carbohydrates: 42g
- Fiber: 1g
- Protein: 4g
- Cholesterol: 70mg