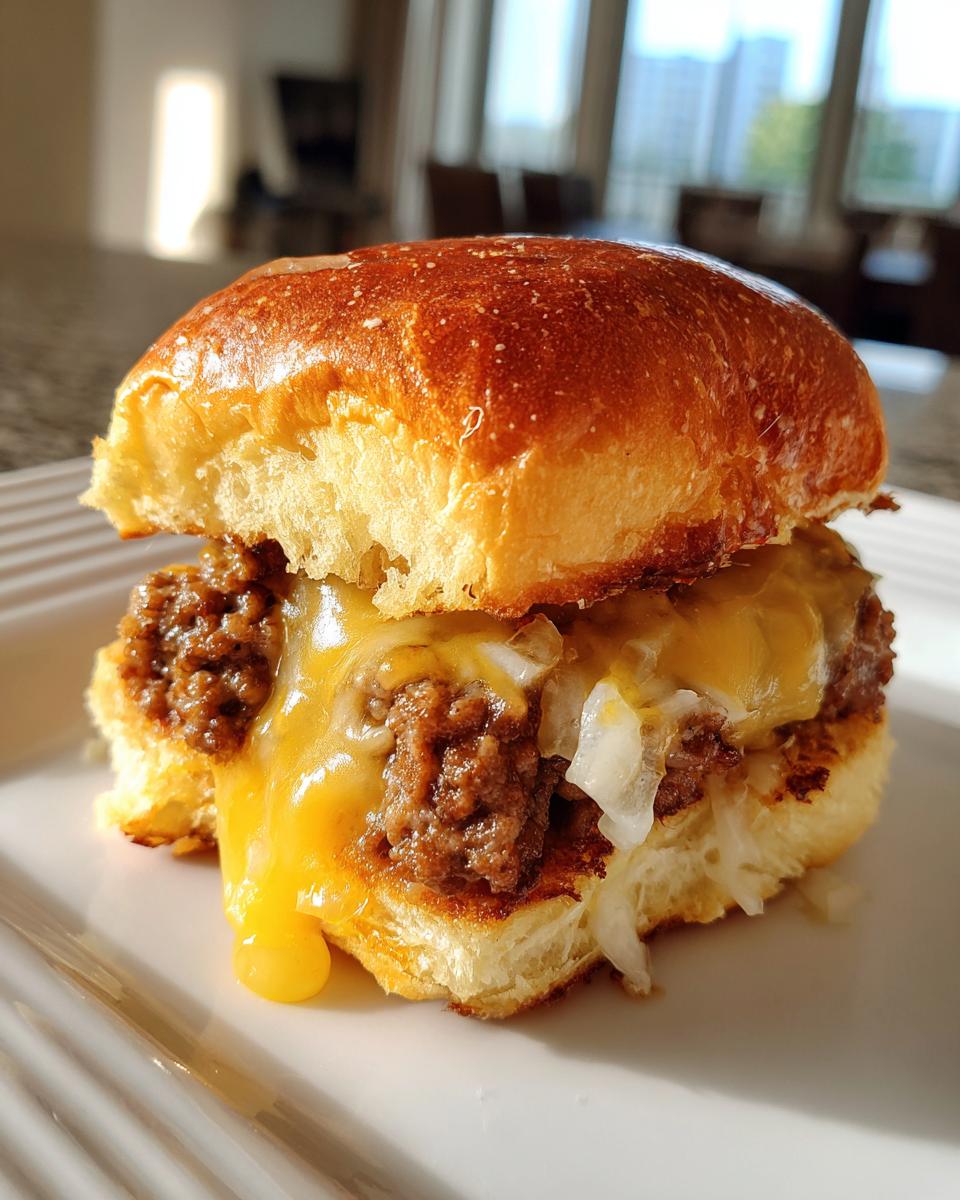
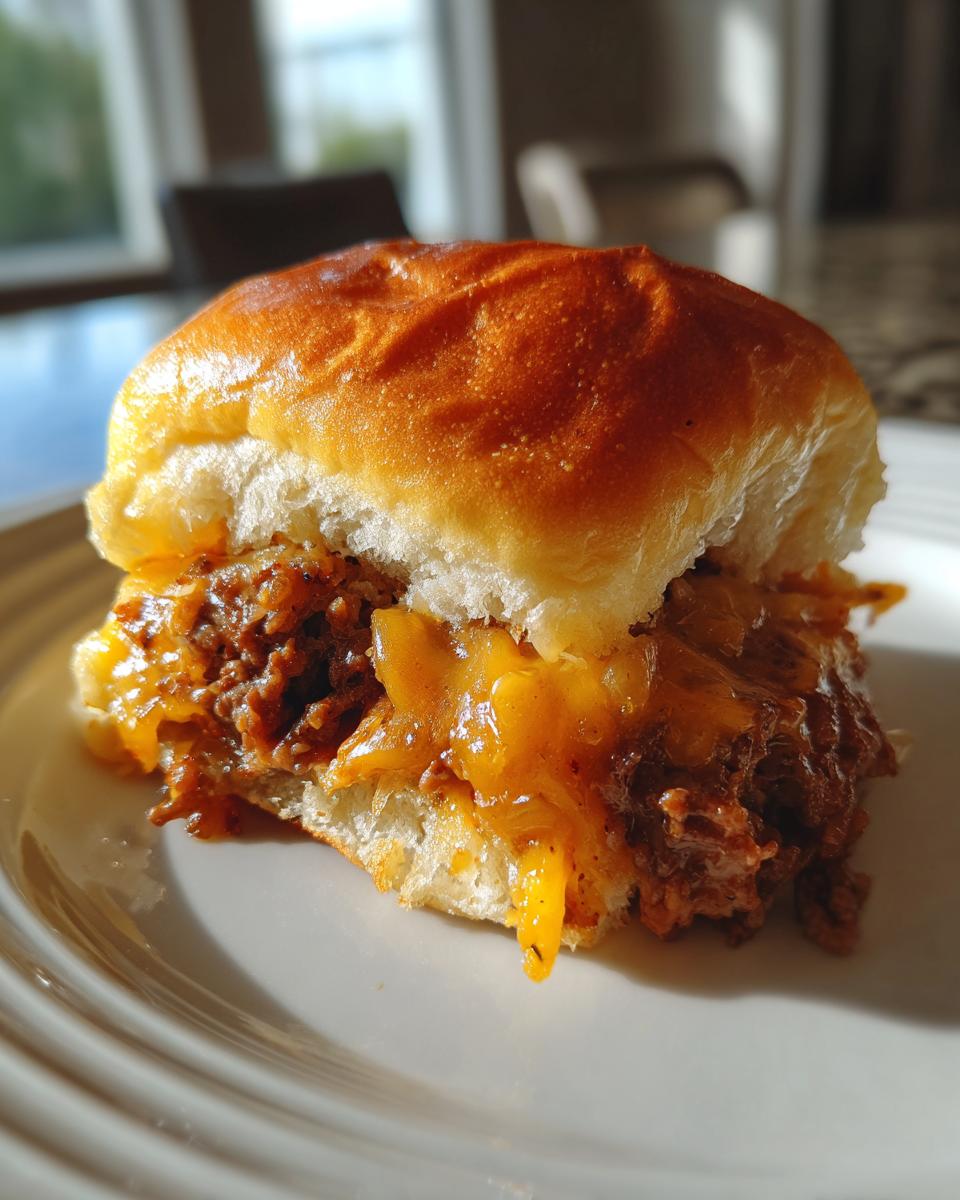
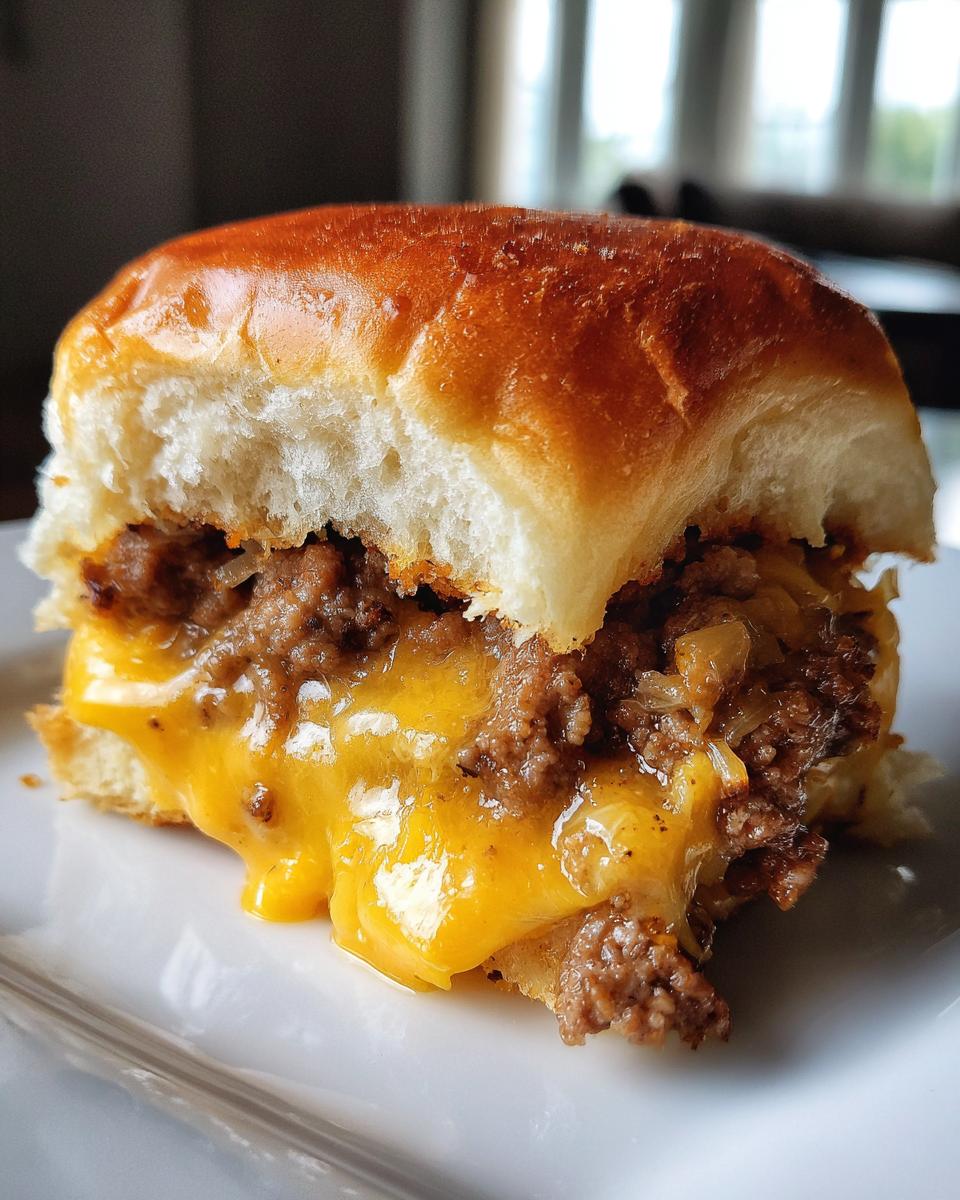
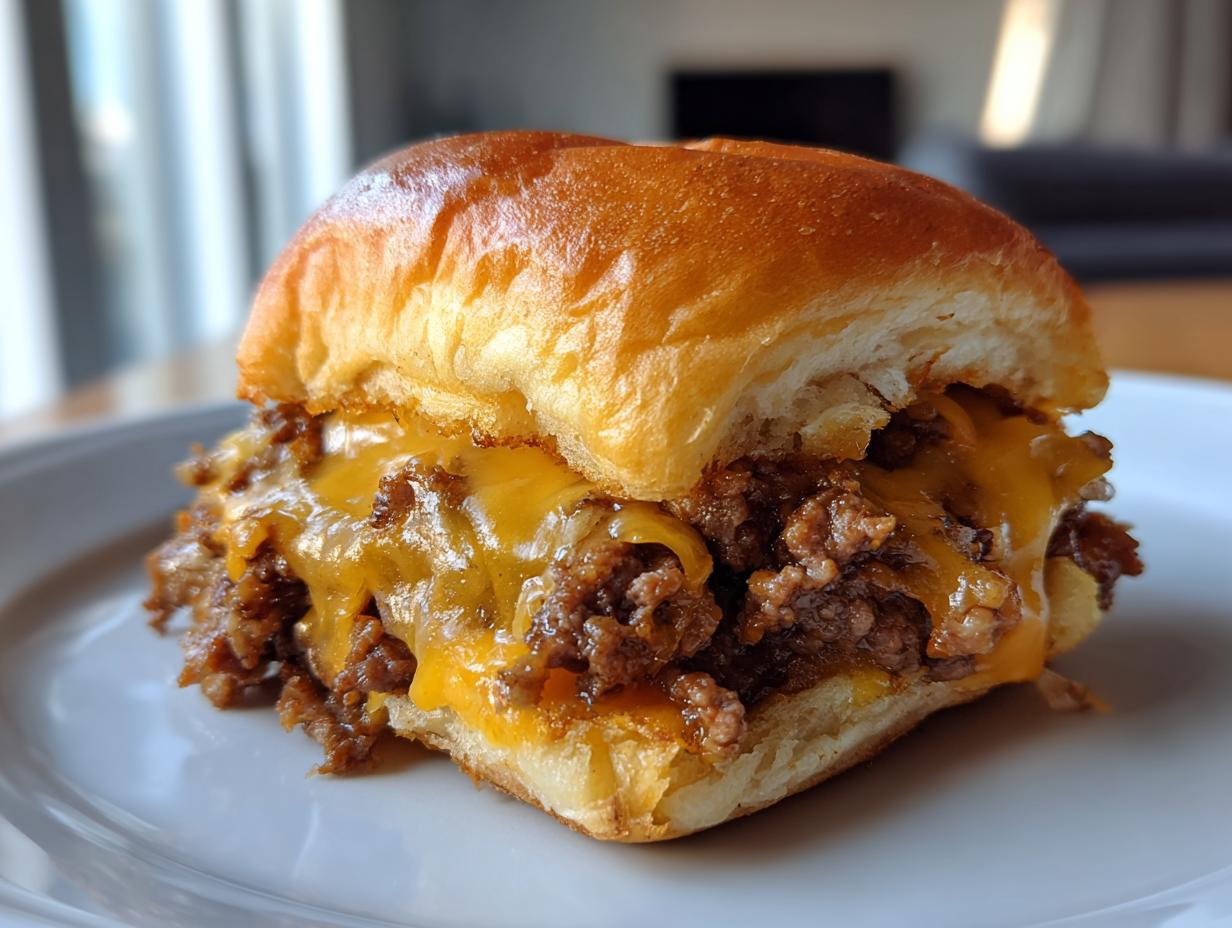
Oh man, let me tell you about my absolute go-to recipe when friends suddenly show up or when I need something quick and satisfying – these beef & cheddar sliders! Seriously, they’ve saved me more times than I can count. Picture this: juicy seasoned beef, melty cheddar, and those soft little buns coming together in under 30 minutes. I first made these for a last-minute game night years ago, and now they’re practically legendary in my friend group.
What I love most is how these sliders feel special without being fussy. Whether it’s a busy weeknight or a casual party, they always disappear fast. The best part? You probably have most ingredients already – ground beef, basic spices, some cheese, and slider buns. It’s that magical combo of comfort food and convenience that makes me come back to this recipe again and again.

Why You’ll Love These Beef & Cheddar Sliders
Trust me, once you try these sliders, you’ll understand why they’ve become my secret weapon in the kitchen. Here’s what makes them so darn irresistible:
- Faster than takeout: From fridge to table in 30 minutes flat – perfect for those “I forgot to plan dinner” emergencies
- Crowd-pleasing magic: Kids, adults, even picky eaters go crazy for that beef-and-cheese combo
- Flavor bombs: The garlic powder and caramelized onions take basic sliders to superstar status
- No fancy skills needed: If you can brown meat and assemble sandwiches, you’re already a slider pro
My husband still talks about the time I made these for his poker night – they vanished before I even finished washing the skillet!
Ingredients for Beef & Cheddar Sliders
Here’s the beautiful simplicity of this recipe – you likely have most of these ingredients already! But let’s talk specifics because getting these right makes all the difference:
- 1 lb ground beef (85% lean recommended): Enough fat for flavor but not greasy
- 12 slider buns (Hawaiian or potato buns work great): That soft, slightly sweet base
- 6 slices cheddar cheese: Sharp cheddar for maximum flavor
- 1 small onion, finely chopped: Browned to sweet perfection
- 2 tbsp butter: For that golden, crispy top
- 1 tsp each salt, black pepper, garlic powder: The holy trinity of seasoning
Pro tip – I always buy my slider buns fresh the same day. Stale buns just don’t get that perfect crisp-tender texture when baked!
Ingredient Substitutions & Notes
Life happens, and sometimes you need to improvise. Here’s how I’ve tweaked this recipe over the years:
- Cheese swaps: Swiss gives a nice tang, pepper jack adds heat, or American for ultimate meltiness
- Meat alternatives: Ground turkey works (add 1 tbsp olive oil), or try plant-based crumbles
- Bun options: Dinner rolls in a pinch, or gluten-free buns (bake 5 minutes less)
One non-negotiable? Don’t use super fatty beef – I learned the hard way that 70/30 makes soggy sliders. Trust me, you want that 85/15 sweet spot!
How to Make Beef & Cheddar Sliders
Okay, let’s get to the fun part – transforming these simple ingredients into melty, meaty perfection! The secret is in the assembly, and I’ll walk you through each step. First thing? Preheat that oven to 350°F – you’ll thank me later when everything comes together quickly. And here’s my golden rule: let those sliders rest for 5 minutes after baking. I know it’s tempting to dig right in, but this makes all the difference for the texture!
Step 1: Cook the Beef Mixture
Heat a large skillet over medium-high and add your ground beef. Break it up with a wooden spoon (my grandma’s old one works best) until it’s nicely browned – about 5 minutes. Now toss in those finely chopped onions and let them cook until they’re soft and translucent, about 3 more minutes. This is when I add my seasonings – salt, pepper, and garlic powder. Oh, that smell! Pro tip: drain any excess grease if needed – we want flavorful, not greasy.
Step 2: Assemble the Sliders
Here’s where the magic happens! Grab your slider buns and separate the tops from bottoms. Place the bottoms in a baking dish (I use my trusty 9×13). Spread that gorgeous beef mixture evenly – no skimping on corners! Layer the cheese slices across the top, slightly overlapping. I like to tear them in half to cover more area. Pop the bun tops on like little hats – press gently so everything stays put.

Step 3: Bake & Finish
Melt your butter (microwave for 20 seconds does the trick) and brush it generously over those buns. This gives them that golden, slightly crispy top we all love. Into the oven they go for 10-12 minutes – you’ll know they’re ready when the cheese is oozy and the tops are lightly toasted. The aroma filling your kitchen? That’s the sound of success, my friend!
Tips for Perfect Beef & Cheddar Sliders
After making these sliders more times than I can count, I’ve picked up some tricks that take them from good to “oh my goodness!” Here’s what I’ve learned:
- Resting is key: Letting them sit 5 minutes after baking makes the buns crisper and prevents cheese from oozing everywhere when you cut them
- Pickle power: Tuck some dill pickle slices under the cheese for the perfect tangy contrast
- Butter boost: Add a pinch of garlic powder to your melted butter before brushing for extra flavor
- Cheese hack: Freeze cheese slices for 10 minutes before assembling – makes them easier to handle
My biggest “aha” moment? Adding a sprinkle of everything bagel seasoning on top before baking – takes the flavor over the top!
Serving Suggestions for Beef & Cheddar Sliders
Now that you’ve got these golden, cheesy beauties ready, let’s talk pairings! I always serve my sliders with a big bowl of dill pickle chips – that tangy crunch cuts through the richness perfectly. For parties, I go all out with:
- Classic fries: Crinkle-cut or steak fries for that perfect diner vibe
- Creamy coleslaw: The cool crunch balances the warm sliders
- Sweet potato wedges: When I’m feeling fancy
Don’t forget the sauces! I put out little bowls of spicy brown mustard and ketchup – let everyone customize their perfect bite.

Storage & Reheating
Now, I know leftovers are rare with these sliders (they disappear fast in my house!), but when you do have some, here’s how to keep them tasting fresh. Store them in an airtight container – they’ll stay good for about 3 days in the fridge. When reheating, skip the microwave (it makes the buns soggy). Instead, pop them in a 350°F oven for 5-7 minutes until warmed through. The cheese gets melty again and the buns stay perfectly crisp!
Nutritional Information
Now, I’m no nutritionist, but here’s the deal – these sliders pack plenty of protein from the beef and cheese while keeping things balanced. Exact numbers will always vary depending on your specific ingredients and brands. If you’re watching certain nutrients, just tweak the cheese or bun choices. Remember, everything’s better in moderation – except maybe these sliders, because they’re that good!
Frequently Asked Questions
Q1. Can I freeze beef & cheddar sliders?
Absolutely! These sliders freeze like a dream. Just wrap them tightly in foil once cooled, then pop them in a freezer bag. They’ll keep for up to 3 months. When you’re ready, bake them frozen at 350°F for about 15 minutes – the cheese gets melty again perfectly!
Q2. What’s the best cheese substitute if I don’t have cheddar?
Oh, I’ve tried them all! Swiss gives a nice nutty flavor, pepper jack adds a kick, and good old American cheese melts beautifully. My secret favorite? A mix of mozzarella for stretchiness and provolone for flavor – trust me, it’s magical.
Q3. How can I make these sliders ahead of time?
Here’s my party trick: assemble everything up to the baking step, then cover and refrigerate for up to 6 hours. Just add 2-3 extra minutes to the baking time. The butter-brushed tops might even get crispier!
Q4. Can I use ground turkey instead of beef?
You bet! I do this often for a lighter version. Just add a tablespoon of olive oil to keep it moist, and maybe bump up the garlic powder a bit. The texture stays perfect.
Your Feedback Matters
Alright, slider squad – I’d love to hear how yours turned out! Drop me a comment below with your tweaks or questions. Did they disappear as fast as they do at my house? Happy cooking!
Print
Juicy 30-Minute Beef & Cheddar Sliders Everyone Craves
- Total Time: 30 minutes
- Yield: 12 sliders 1x
- Diet: Halal
Description
Quick and easy beef and cheddar sliders perfect for gatherings or a simple meal.
Ingredients
- 1 lb ground beef
- 12 slider buns
- 6 slices cheddar cheese
- 1 small onion, finely chopped
- 2 tbsp butter
- 1 tsp salt
- 1 tsp black pepper
- 1 tsp garlic powder
Instructions
- Preheat oven to 350°F.
- Cook ground beef in a pan until browned.
- Add chopped onion, salt, pepper, and garlic powder to the beef.
- Cut slider buns in half and layer the bottom with cooked beef.
- Top with cheddar cheese slices.
- Place the top half of the buns over the cheese.
- Brush melted butter over the top of the buns.
- Bake for 10-12 minutes until cheese melts.
Notes
- Use lean ground beef for less grease.
- Add pickles or mustard for extra flavor.
- Let sliders rest for 5 minutes before serving.
- Prep Time: 15 minutes
- Cook Time: 15 minutes
- Category: Sandwiches
- Method: Baking
- Cuisine: American
Nutrition
- Serving Size: 1 slider
- Calories: 250
- Sugar: 2g
- Sodium: 350mg
- Fat: 12g
- Saturated Fat: 5g
- Unsaturated Fat: 4g
- Trans Fat: 0g
- Carbohydrates: 20g
- Fiber: 1g
- Protein: 15g
- Cholesterol: 45mg


