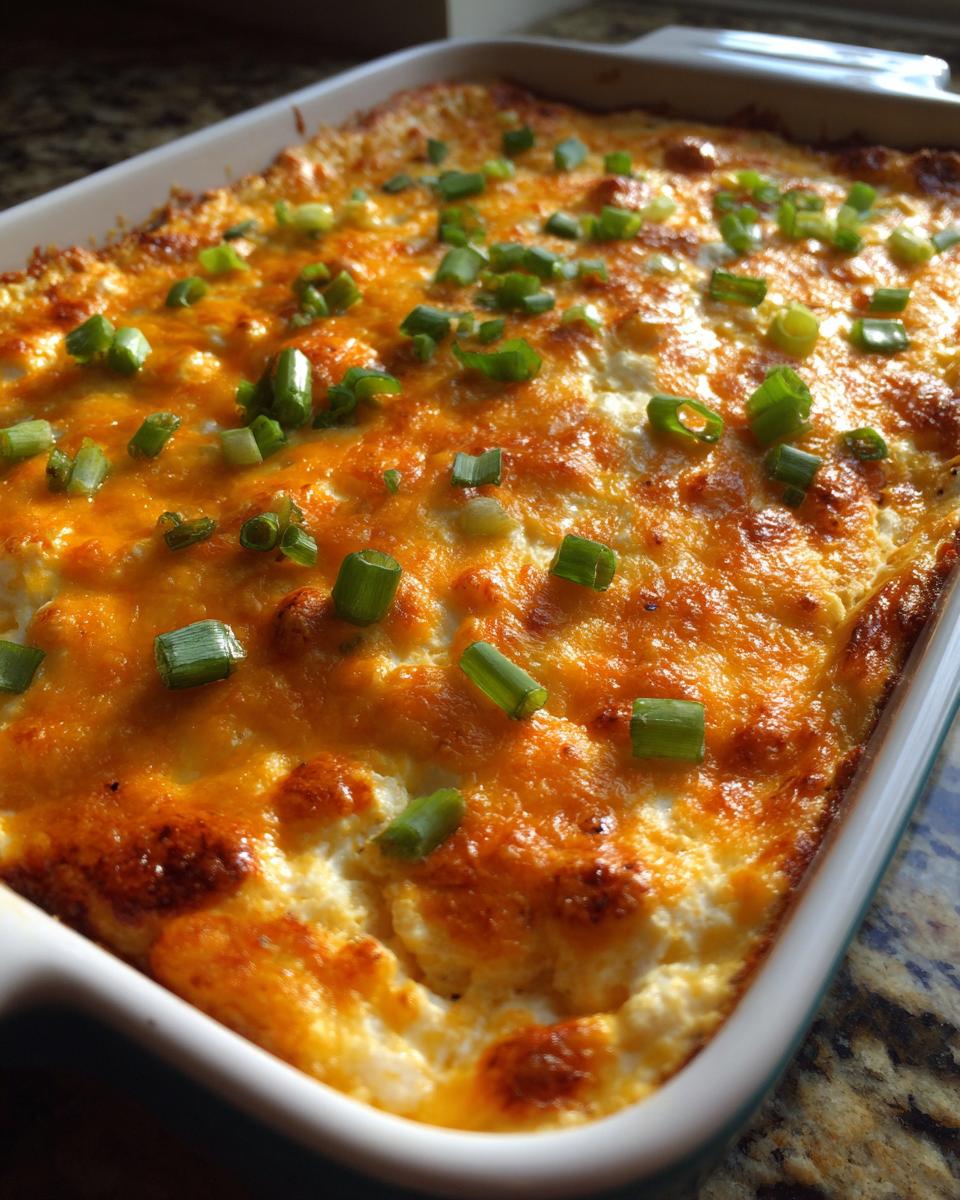
You know those game days when you suddenly realize you forgot to plan snacks? Yeah, me too. That’s how this 5-Ingredient Football Dip became my MVP recipe. Last-minute guests? No problem. Hungry crowd chanting for food? I’ve got you covered.
I first threw this together during a playoff game when my brother texted, “Bringing 6 more people.” Panic? Maybe a little. But this creamy, cheesy dip saved the day – ready in 35 minutes flat with just five simple ingredients I always have on hand. Now it’s my go-to whenever friends pile onto the couch for game day. Trust me, it disappears faster than a Hail Mary pass!

Why You’ll Love This 5-Ingredient Football Dip
Listen, I know you’ve got a million things to do on game day—decorating, entertaining, maybe even actually watching the game. That’s why this dip is my secret weapon. Here’s what makes it absolutely irresistible:
- Five ingredients is all it takes—and I bet you already have most of them in your fridge right now. No fancy grocery runs needed!
- Ready before halftime: From fridge to table in 35 minutes flat. Even if you forget until kickoff, you’re covered.
- Crowd-pleasing magic: The creamy-cheesy-tangy combo makes people hover around the snack table like it’s the end zone.
- No fancy skills required: Just mix, bake, and watch your guests go wild. My 12-year-old nephew could make this (and has!).
- Easy cleanup: One bowl, one baking dish. More time for high-fives and less time scrubbing pans.
Here’s the real test—last Thanksgiving, my Texas cousins (who are serious about their football AND their food) demanded I make this instead of my famous spinach artichoke dip. That’s when I knew this recipe was special. Now it’s the first thing my friends ask for when they come over to watch the game.
Ingredients for 5-Ingredient Football Dip
Okay, here’s where things get beautifully simple—just five ingredients stand between you and dip glory. But don’t let that short list fool you! Each one plays a crucial role in creating that perfect creamy-cheesy-tangy bite. Here’s exactly what you’ll need:
- 1 cup shredded cheddar cheese – Sharp cheddar gives the best flavor punch, but honestly? I’ve used pepper jack when I wanted some heat and it was amazing. Just make sure it’s freshly shredded—the pre-shredded stuff has that weird coating that keeps it from melting right.
- 1 cup cream cheese, softened – This is KEY. Leave it out on the counter for at least 30 minutes before mixing. Trying to blend cold cream cheese is like wrestling with playdough—not fun. Trust me, I’ve ruined batches by being impatient!
- 1/2 cup sour cream – Full-fat gives the richest texture, but light works in a pinch. Once I used Greek yogurt when I ran out of sour cream and you know what? Still delicious.
- 1/2 cup salsa – My secret? Medium heat Pace Picante—it’s got just the right chunkiness. But use whatever brand you love—the dip will taste different (in a good way!) every time.
- 1/4 cup chopped green onions – The fresh pop of color and flavor makes all the difference! I like to slice them thin on the bias—fancy looking but takes two seconds.
That’s it! Five ingredients, one bowl, and you’re on your way to snack stardom. Now, I know some of you are thinking “But I want to add…”—go for it! This recipe is like the little black dress of dips—perfect as is, but easy to accessorize. More on that in the tips section!
Equipment You’ll Need
Here’s the beautiful part—you don’t need any fancy gadgets for this football dip! Just grab these basic kitchen essentials:
- 1 medium mixing bowl – Any old bowl will do, but I’m partial to my trusty glass one so I can see when everything’s fully combined.
- 1 baking dish – An 8×8 square or small casserole dish works perfectly. I’ve even used a pie plate in a pinch!
- Oven – Set it and forget it (well, don’t actually forget it—but you know what I mean).
- Spatula or wooden spoon – For mixing everything together. Bonus points if it’s your favorite one that fits just right in your hand.
That’s seriously it! No stand mixers, no special tools—just simple equipment you probably already have sitting in your kitchen cabinets. Now let’s get mixing!
How to Make 5-Ingredient Football Dip
Now for the fun part—turning those five simple ingredients into the star of your snack table! Don’t let the easy steps fool you—there’s a method to this delicious madness. Follow these steps closely, and you’ll have a perfect dip every single time.
Step 1: Preheat and Prep
First things first—fire up that oven! This is crucial because nobody wants to wait around with a ready-to-bake dip while the oven heats up. Set it to 350°F (175°C) and let it get nice and toasty while you mix.
Grab your mixing bowl—I like to give mine a quick rub with a paper towel to make sure it’s dry. Nothing worse than watery dip because your bowl was damp! Now gather all your ingredients within arm’s reach. This isn’t gourmet cooking, but having everything ready makes the process smoother than a quarterback’s play action.
Step 2: Combine the Base
Here’s where the magic starts! Take your softened cream cheese (remember—softened is KEY!), sour cream, and salsa. Dump them all into your bowl. Now get in there with your spatula or wooden spoon and mix like you mean it!
You want this completely smooth—no cream cheese lumps allowed! I usually mix for about 1-2 minutes until it’s creamy and uniform. The salsa should be fully incorporated, creating this gorgeous light orange color. If you see any white streaks, keep mixing—we’re going for total dip harmony here.

Step 3: Add Cheese and Onions
Time for the cheese! Sprinkle in that shredded cheddar and chopped green onions. Now here’s the trick—don’t go wild with the stirring! We’re folding these in gently to keep that fluffy texture we worked so hard to create.
Use your spatula to scoop from the bottom and fold over the top, rotating the bowl as you go. About 15-20 folds should do it—you want everything evenly distributed but still light. The green onions should be visible like little confetti flecks throughout.
Step 4: Bake to Perfection
Spread your beautiful dip mixture into your baking dish—I like to smooth the top with the back of a spoon for that professional touch. Pop it in your preheated oven and set that timer for 20 minutes.
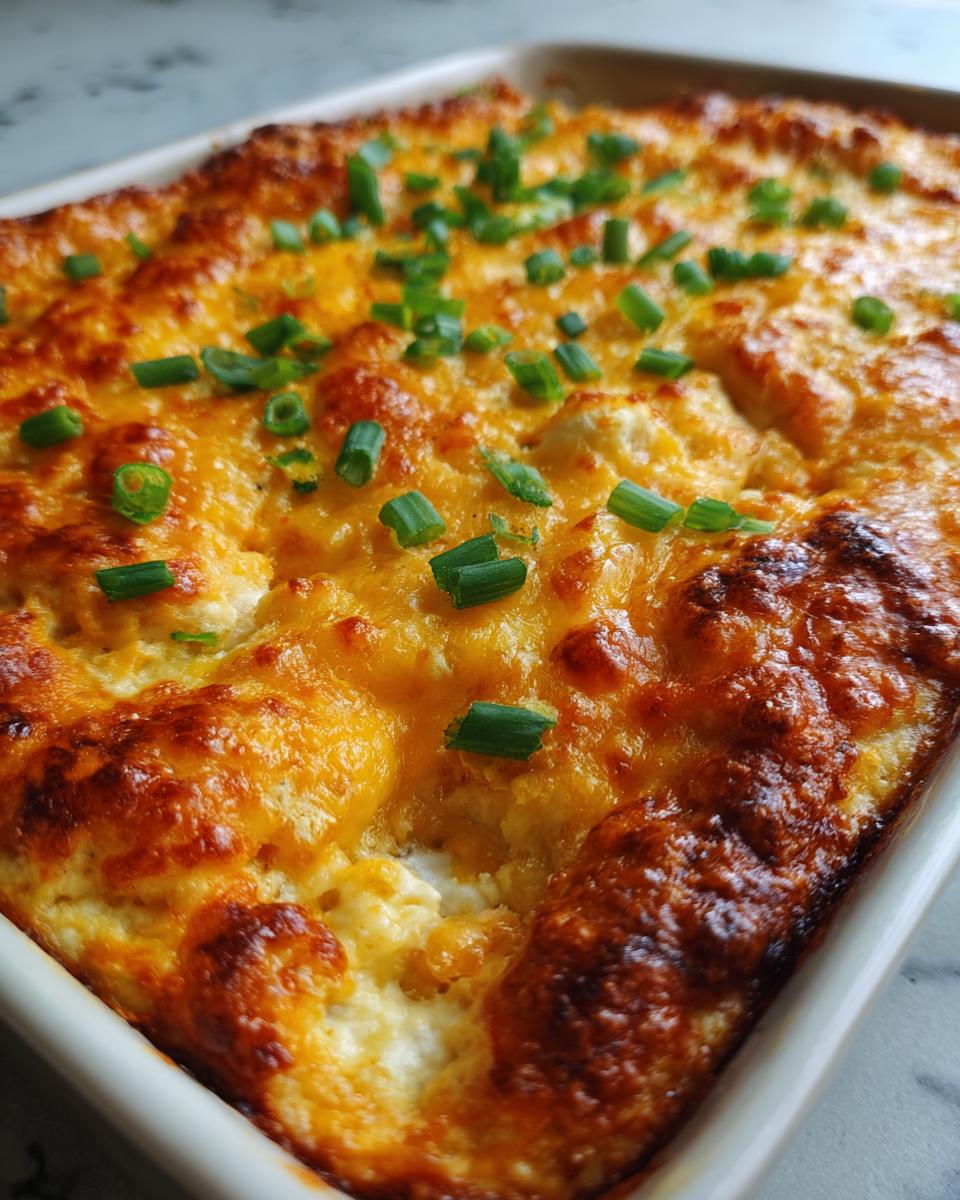
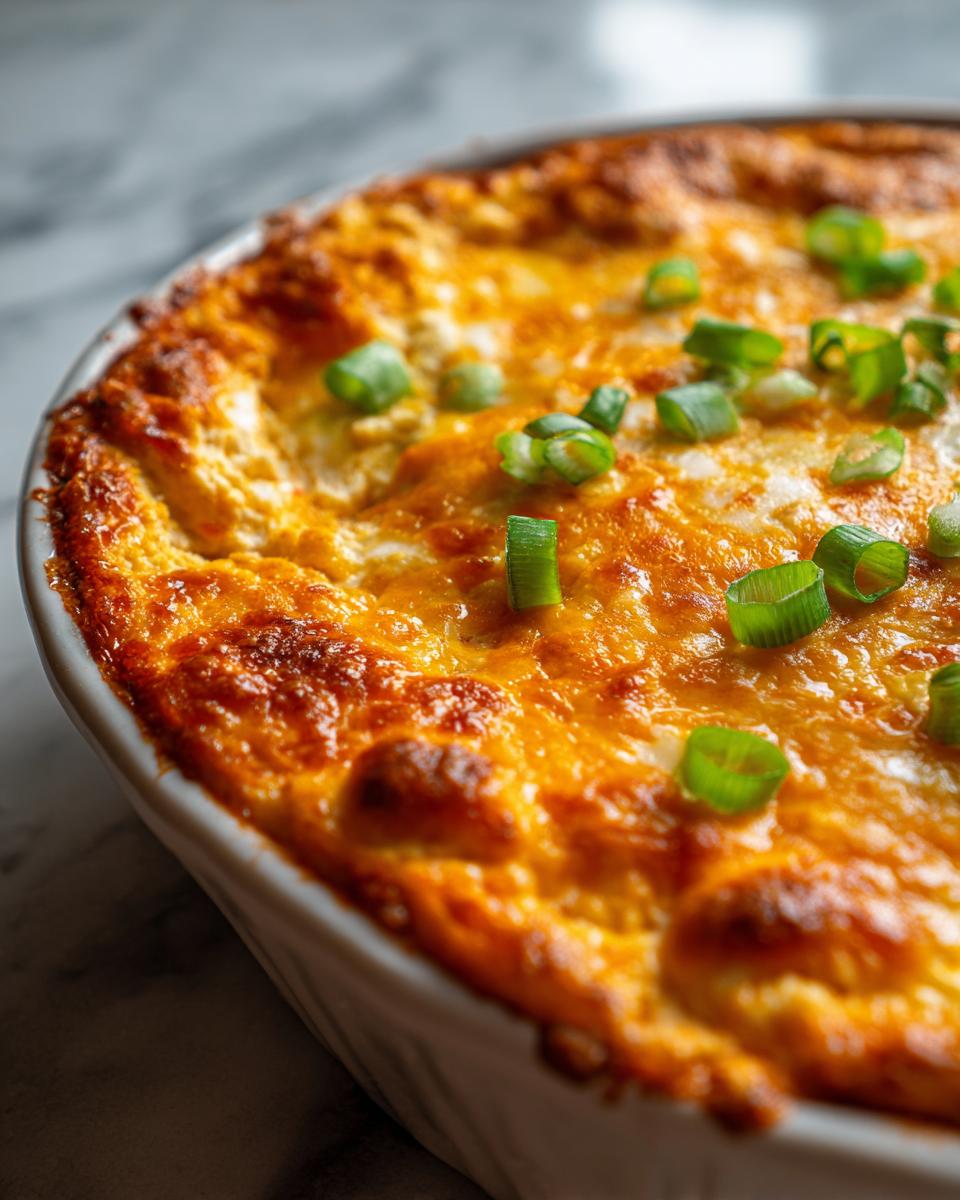
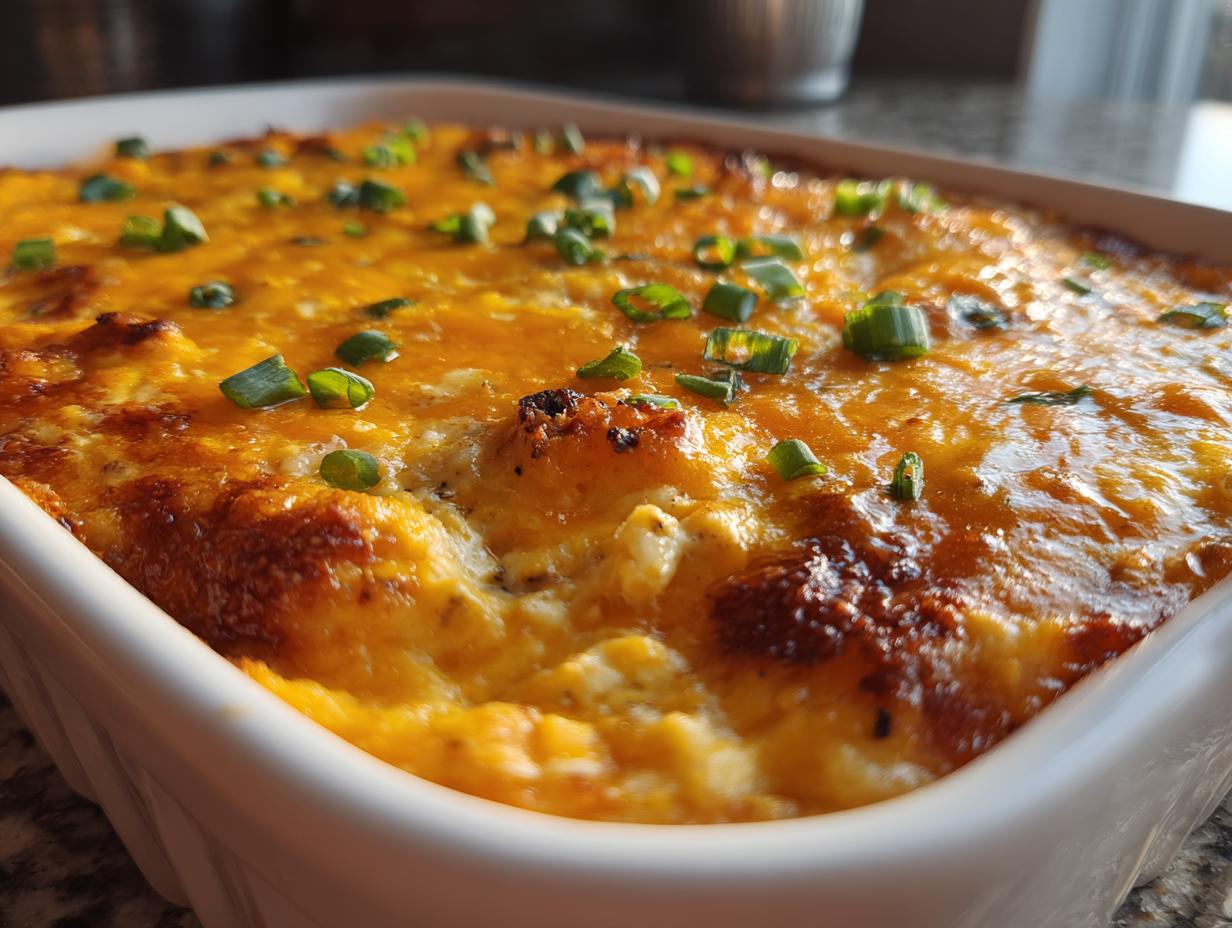
The perfect bake looks like this: bubbly around the edges (those little lava bubbles of cheese!), slightly golden in spots, and steaming hot when you pull it out. If it’s not quite there at 20 minutes, give it another 2-3 minutes—but don’t walk away! Overbaking can make it too thick.
Pro tip: The dip will continue to set as it cools slightly, so don’t panic if it looks a bit loose coming out of the oven. That’s exactly what you want—it’ll thicken to the perfect dippable consistency as it rests for 5 minutes before serving.

Tips for the Best 5-Ingredient Football Dip
Listen, I’ve made this dip more times than I can count—sometimes in a hurry, sometimes while half-watching the game, sometimes while arguing with my cousin about referee calls. Through all those batches, I’ve picked up some killer tips that’ll take your dip from good to “can I get this recipe?” levels of amazing.
Spice it up (or down!)
That half-cup of salsa is your flavor playground. Love heat? Use hot salsa or add a chopped jalapeño (seeds in for fire, seeds out for milder). Making it for kids? Mild salsa works beautifully. Once I accidentally used pineapple salsa—sounds weird, but the sweet-spicy combo was a total touchdown!
Cheese swaps that work
While cheddar is classic, don’t be afraid to mix it up:
- Pepper jack – Adds a nice kick (my go-to when the guys are coming over)
- Monterey Jack – Super melty and mild
- Smoked gouda – Adds incredible depth (use half gouda, half cheddar)
Pro tip: Always shred your own cheese—the pre-shredded stuff has anti-caking agents that make it melt weird. Yes, it’s worth the extra minute of effort!
Serving temperature matters
This dip is best served warm—not scorching hot, but not room temp either. If it sits too long, just pop it back in the oven at 300°F for 5-8 minutes to revive that perfect gooey texture. I always make a little extra because someone inevitably asks, “Is there more?” right when you think the bowl’s empty.
One last secret? The dip actually tastes better after it sits for 10 minutes post-oven. The flavors marry together, and it thickens to that perfect chip-scooping consistency. Try to resist diving in immediately—though I won’t judge if you “test” it with your finger first (I do it every time).
Serving Suggestions for 5-Ingredient Football Dip
Now that you’ve got this gorgeous bubbly dip ready, let’s talk about the best ways to serve it! The right dippers can take this from good to “can we have this every Sunday?” status. Here’s what I’ve tested over countless game days:
Tortilla Chips – The MVP
Thick, sturdy tortilla chips are my absolute go-to. They need to be strong enough to scoop up that creamy goodness without snapping under pressure. My personal favorite? The restaurant-style ones with just enough salt. Pro tip: Warm them in the oven for 3 minutes before serving—game changer!
Veggie Sticks – The Healthy Option
For those pretending to be healthy (we see you, New Year’s resolution folks!), crisp veggies work surprisingly well:
- Cucumber rounds – Their cool crunch contrasts beautifully
- Carrot sticks – Sweetness balances the tang
- Bell pepper strips – Colorful and sturdy
Bonus: The veggie platter always empties faster than you’d expect, especially with kids around!
Pretzels – The Salty Twist
Those big soft pretzel nuggets? Absolute magic with this dip. The salty-cheesy combo is irresistible. I like to warm them slightly too—just until they’re barely crisp on the outside.
My Unexpected Favorite: Pita Chips
Here’s a secret I discovered accidentally—those slightly thick pita chips hold up AMAZINGLY well. Their texture stands up to the heat better than regular chips, and they don’t get soggy. Plus, they give you that satisfying crunch even after sitting in the dip for a second.
Presentation tip: I always put my dip in the center of a big platter and surround it with an assortment of dippers. Makes it look like you went all out (when really it took 5 minutes to arrange). Throw some extra green onions on top for garnish if you’re feeling fancy—makes people think you’re a culinary genius!

Storage and Reheating
Okay, confession time—I’ve never actually had leftovers of this dip to store. But just in case your crowd has more self-control than mine (doubtful), here’s how to keep it tasting fresh!
Storing Like a Pro
First rule: let the dip cool completely before storing—no one wants a steamy container creating condensation in the fridge. I usually leave it on the counter for about 30 minutes. Then transfer to an airtight container—I’m partial to glass because it doesn’t absorb smells.
It’ll keep beautifully in the fridge for up to 3 days. After that, the texture starts to change (still safe, just not as amazing). Write the date on some masking tape if you’re forgetful like me!
Reheating for Round Two
When those post-game cravings hit again, here’s how to bring your dip back to life:
- Oven method (best for texture): 300°F for 10-15 minutes in an oven-safe dish. Stir halfway through—sometimes I sprinkle a little extra cheese on top for a fresh melty layer!
- Microwave method (when you’re desperate): 30-second bursts at 50% power, stirring between each. Takes about 2 minutes total. Cover with a paper towel to prevent splatters.
Pro tip: If the dip seems too thick after storage, stir in a teaspoon of milk before reheating. Works like magic to bring back that creamy consistency!
Can You Freeze It?
Technically yes, but the texture changes—the sour cream can separate when thawed. If you must freeze, I recommend:
- Portion into smaller containers (so you only thaw what you need)
- Leave about 1/2 inch of space at the top—it expands!
- Thaw overnight in the fridge before reheating
Honestly? I’d rather make a fresh batch—it’s so quick anyway! But I get it—sometimes you need that emergency freezer stash for surprise guests.
One last thing—if your dip develops liquid on top after storage, just drain it off before reheating. No big deal! The flavor’s still all there, waiting to make your next snack session amazing.
Nutritional Information
Let’s be real—we’re not eating dip for the health benefits! But if you’re curious (or tracking for game day), here’s the general nutritional picture for this 5-ingredient football dip. Remember, these are estimates—your exact numbers will vary based on the brands you use and how generous your chip-scooping hand is!
Per serving (about 1/6 of the recipe), you’re looking at:
- Enough protein to fuel your victory dance
- Plenty of calcium from all that glorious cheese
- A moderate carb count that won’t sideline you from the snack table
- That perfect balance of creamy richness we all crave on game day
Want to lighten it up a bit? You could use reduced-fat cheeses or Greek yogurt instead of sour cream—but honestly? Sometimes you just need to enjoy life’s cheesy pleasures. I figure all the cheering burns enough calories to balance it out!
Disclaimer: Nutritional estimates vary based on specific ingredients and brands used. This information is provided as a general guide only.
Frequently Asked Questions
Can I use Greek yogurt instead of sour cream?
Absolutely! I’ve done this more times than I can count when I realize too late that I’m out of sour cream. Plain Greek yogurt (whole milk works best) gives you that same tangy creaminess. The texture might be slightly thicker, so you can add a splash of milk if needed. My foodie friend swears the Greek yogurt version is actually better—though I’ll always have a soft spot for the original!
Can I make this dip ahead of time?
Yes! Here’s my game day secret: Mix everything up to the baking step, cover tightly, and refrigerate for up to 24 hours. When you’re ready, just pop it in the oven—you might need to add 5 extra minutes since it’s going in cold. The flavors actually meld together beautifully during this rest time. Last Super Bowl, I prepped three batches the night before—total lifesaver when the crew showed up hungry!
What if my dip turns out too thick?
No worries—this happens sometimes if your oven runs hot or you bake a minute too long. Just stir in a tablespoon of milk (or beer for extra game day spirit!) until it reaches your perfect dipping consistency. Pro tip: If it thickens as it sits during your party, give it a quick stir every so often to keep it scoopable.
Can I make this in a slow cooker instead?
You bet! Mix everything as usual, then cook on LOW for 1.5-2 hours, stirring occasionally. The slow cooker keeps it perfectly warm for hours—just keep it on the “warm” setting once it’s ready. I bring my mini crockpot to tailgates with this dip, and it’s always the first thing to disappear!
Tag me on social @YourHandle if you try this recipe—I love seeing your game day creations! Nothing makes me happier than seeing my 5-ingredient wonder making your parties more delicious.
Print
5-Ingredient Football Dip: Ready In Just 35 Minutes
- Total Time: 35 minutes
- Yield: 6 servings 1x
- Diet: Low Lactose
Description
A simple and quick football dip with just 5 ingredients, ready in 35 minutes.
Ingredients
- 1 cup shredded cheddar cheese
- 1 cup cream cheese, softened
- 1/2 cup sour cream
- 1/2 cup salsa
- 1/4 cup chopped green onions
Instructions
- Preheat oven to 350°F (175°C).
- In a bowl, mix cream cheese, sour cream, and salsa until smooth.
- Fold in shredded cheddar cheese and green onions.
- Spread the mixture into a baking dish.
- Bake for 20 minutes or until bubbly.
- Serve warm with tortilla chips.
Notes
- You can use any type of cheese you prefer.
- Adjust the salsa for more or less spice.
- Store leftovers in an airtight container in the fridge for up to 3 days.
- Prep Time: 10 minutes
- Cook Time: 20 minutes
- Category: Appetizer
- Method: Baked
- Cuisine: American
Nutrition
- Serving Size: 1/6 of recipe
- Calories: 180
- Sugar: 2g
- Sodium: 300mg
- Fat: 14g
- Saturated Fat: 8g
- Unsaturated Fat: 4g
- Trans Fat: 0g
- Carbohydrates: 5g
- Fiber: 1g
- Protein: 6g
- Cholesterol: 40mg


