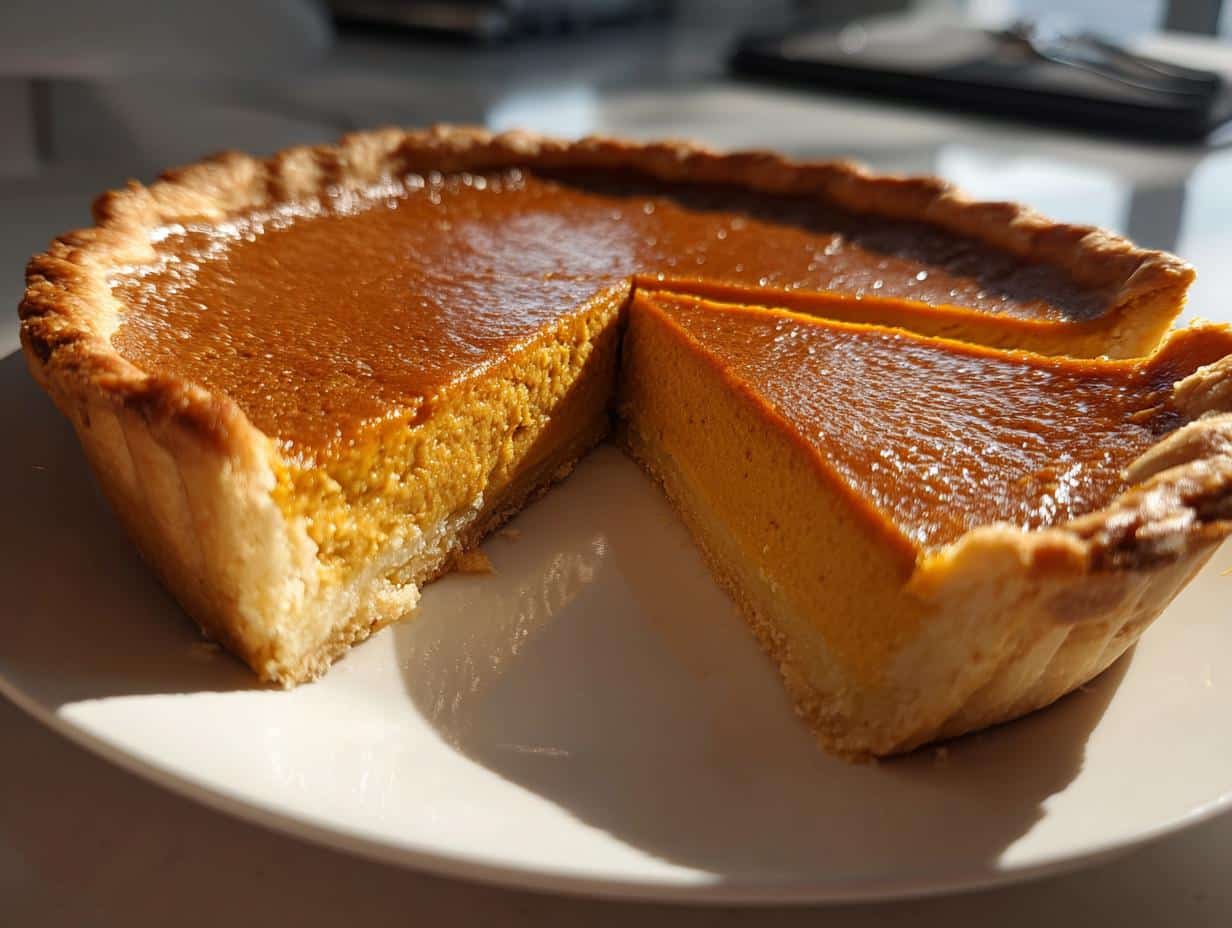
There’s something magical about the first bite of Milk Bar pumpkin pie – that moment when creamy spiced filling meets buttery crust just makes me weak in the knees! I’ll never forget the Thanksgiving I first tried Christina Tosi’s legendary version at Milk Bar in NYC. The way her team balanced the earthy pumpkin with warm spices and that flaky crust haunted my dreams for weeks. After begging my baker friend for tips (and maybe stalking Milk Bar’s Instagram a little), I finally cracked the code to recreating that perfect texture at home. This isn’t just any pumpkin pie – it’s the kind that makes people lick their plates and ask for your recipe before they’ve even swallowed.
Why You’ll Love This Milk Bar Pumpkin Pie Recipe
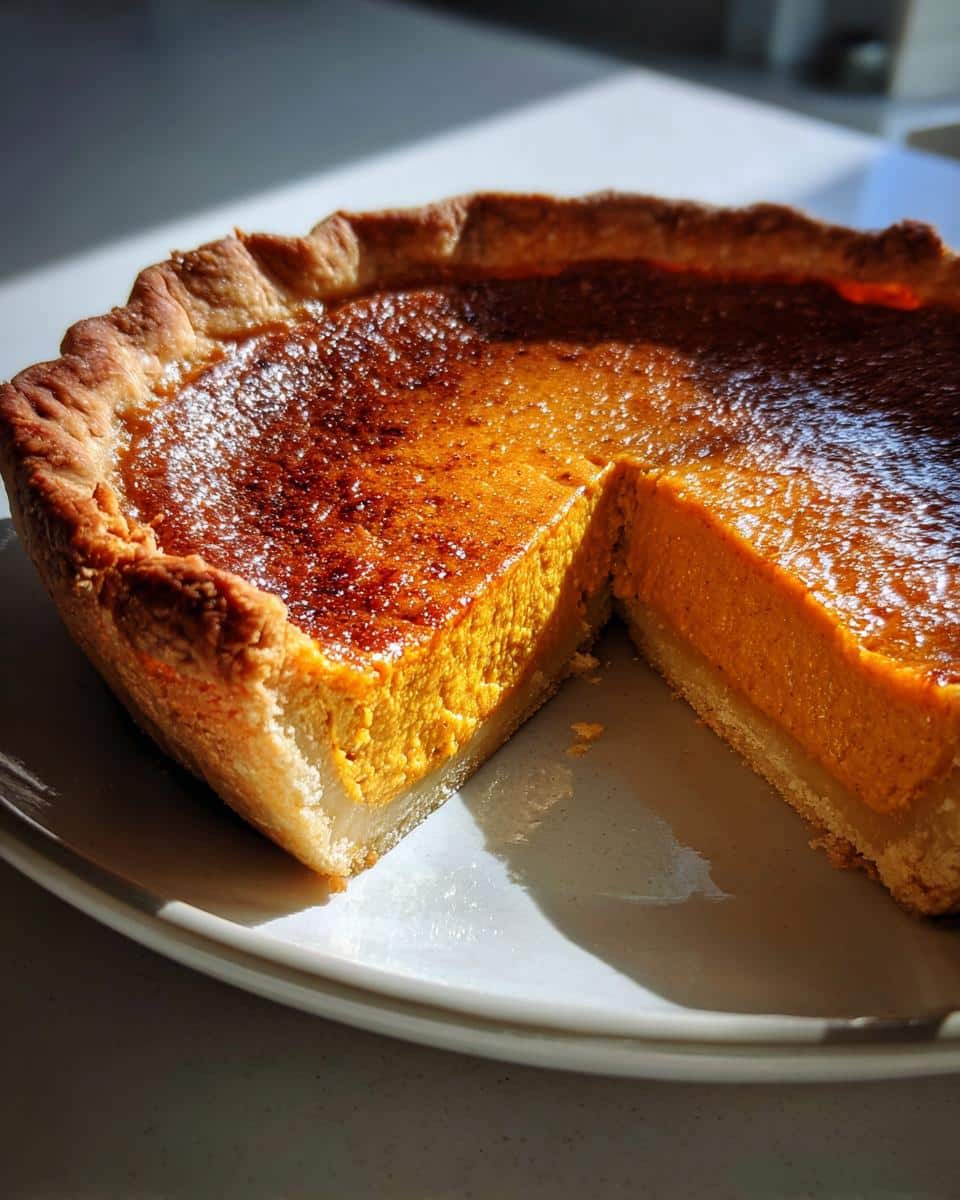
Listen, I don’t just like this pie – I’m obsessed with it for so many delicious reasons. First off, that silky pumpkin filling? It’s like velvet on your tongue thanks to the perfect combo of heavy cream and whole milk. And the spices? Oh honey, we’re talking cinnamon, ginger, cloves and nutmeg – just enough to make it interesting without overpowering the pumpkin’s natural sweetness.
Here’s what makes my heart skip a beat about this recipe:
- The texture is pure magic – creamy but firm enough to slice cleanly (no runny mess here!)
- That spice blend will make your kitchen smell like autumn heaven
- It’s actually easier than you’d think – just mix, pour, bake (I promise!)
- The crust stays gloriously crisp even after chilling
Trust me, once you taste this version, you’ll never go back to those bland, mushy pumpkin pies again. This is the pie people beg you to bring to holiday gatherings!
Ingredients for Milk Bar Pumpkin Pie
Okay, let’s talk ingredients – because this isn’t the time to cut corners, my friend! Every single item in this list plays a crucial role in creating that magical Milk Bar texture and flavor. I learned the hard way that using the wrong pumpkin can ruin everything (more on that in a sec). Here’s exactly what you’ll need to make this pie sing:
- 1 1/2 cups pumpkin puree – NOT pie filling! Look for 100% pure pumpkin in cans (Libby’s is my go-to) or make your own by roasting sugar pumpkins if you’re feeling fancy
- 3/4 cup heavy cream – This is what gives that luxurious mouthfeel Milk Bar is famous for
- 3/4 cup whole milk – The whole fat is key here; none of that skim nonsense
- 3/4 cup granulated sugar + 1/4 cup brown sugar – The dynamic duo that creates depth of sweetness
- 3 large eggs – Room temperature, please! Cold eggs don’t blend as smoothly
- The spice squad: 1 1/2 tsp cinnamon, 1/2 tsp ginger, 1/4 tsp cloves, 1/4 tsp nutmeg – fresh spices make ALL the difference
- 1/2 tsp salt – The unsung hero that makes all the flavors pop
- 1 pre-baked 9-inch pie crust – Homemade or store-bought, just make sure it’s blind baked first
Pro tip: Measure everything before you start mixing – it makes the process so much smoother (and prevents that panic when your hands are covered in pumpkin!).
Equipment You’ll Need
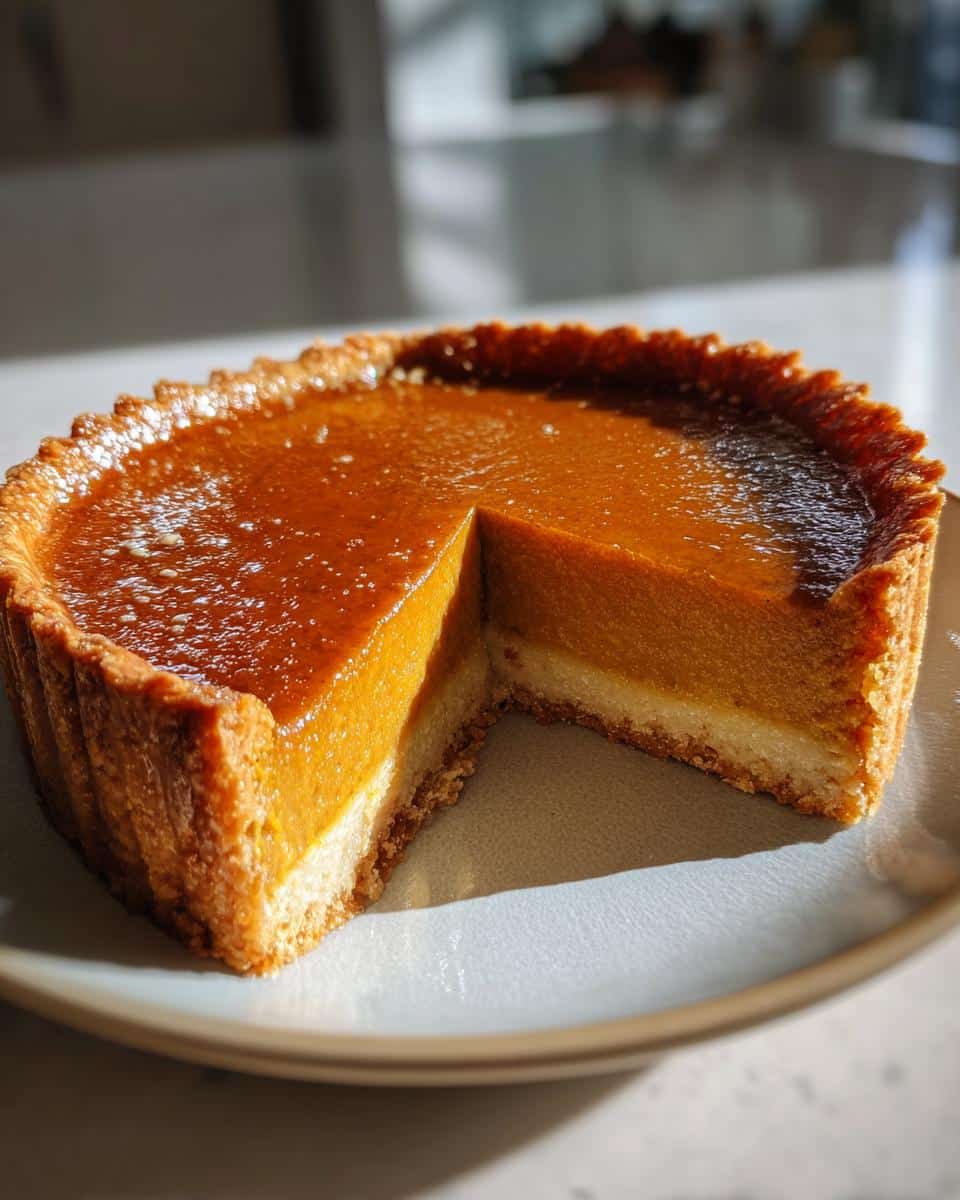
Don’t worry – you won’t need any fancy gadgets for this Milk Bar pumpkin pie! Here’s the short list of must-haves from my kitchen:
- 9-inch pie dish – Metal or ceramic both work great
- Mixing bowls – One large, one medium (I always grab my trusty stainless set)
- Whisk – For getting that filling silky smooth
- Rubber spatula – To scrape every last bit of deliciousness into the crust
- Measuring cups/spoons – Precision matters with baking!
That’s it! Now let’s make some pie magic happen.
How to Make Milk Bar Pumpkin Pie Step-by-Step
Alright, let’s dive into the fun part! Making Milk Bar’s famous pumpkin pie is all about patience and paying attention to the details. Follow these steps exactly, and you’ll have a pie worthy of Christina Tosi herself. Trust me – I’ve messed this up before so you don’t have to!
Preparing the Crust
First things first – that crust needs some TLC before we fill it. Here’s how to get it perfect:
- Preheat your oven to 375°F (yes, hotter than the pie baking temp – this matters!)
- Line your pie crust with parchment paper and fill with pie weights or dried beans
- Blind bake for 15 minutes, then carefully remove weights and parchment
- Bake another 5 minutes until lightly golden (this prevents sogginess later)
- Let it cool completely on a wire rack while you make the filling
This extra step makes ALL the difference – no one wants a mushy bottom crust!
Mixing the Filling
Now for the star of the show – that velvety pumpkin filling. Here’s the secret to getting it silky smooth:
- Whisk pumpkin puree, heavy cream, milk, and both sugars in a large bowl until fully combined
- Add eggs ONE at a time, whisking thoroughly after each addition (this prevents curdling)
- Stir in all the spices and salt – I like to mix my spices separately first to avoid clumps
- Give everything one final whisk until perfectly smooth (no streaks visible!)
Pro tip: Tap the bowl gently on the counter to pop any air bubbles before pouring.
Baking and Cooling
This is where the magic happens! Watch closely for these signs of perfection:
- Reduce oven to 350°F and place rack in lower third of oven
- Pour filling into cooled crust (leave about 1/4 inch space at the top)
- Bake 50-60 minutes until edges are set but center still jiggles slightly (like Jell-O)
- Cool completely on wire rack – at least 2 hours (I know, the wait is torture!)
The pie will continue to set as it cools – rushing this step leads to weepy slices. Worth the wait, promise!
Pro Tips for the Best Milk Bar Pumpkin Pie
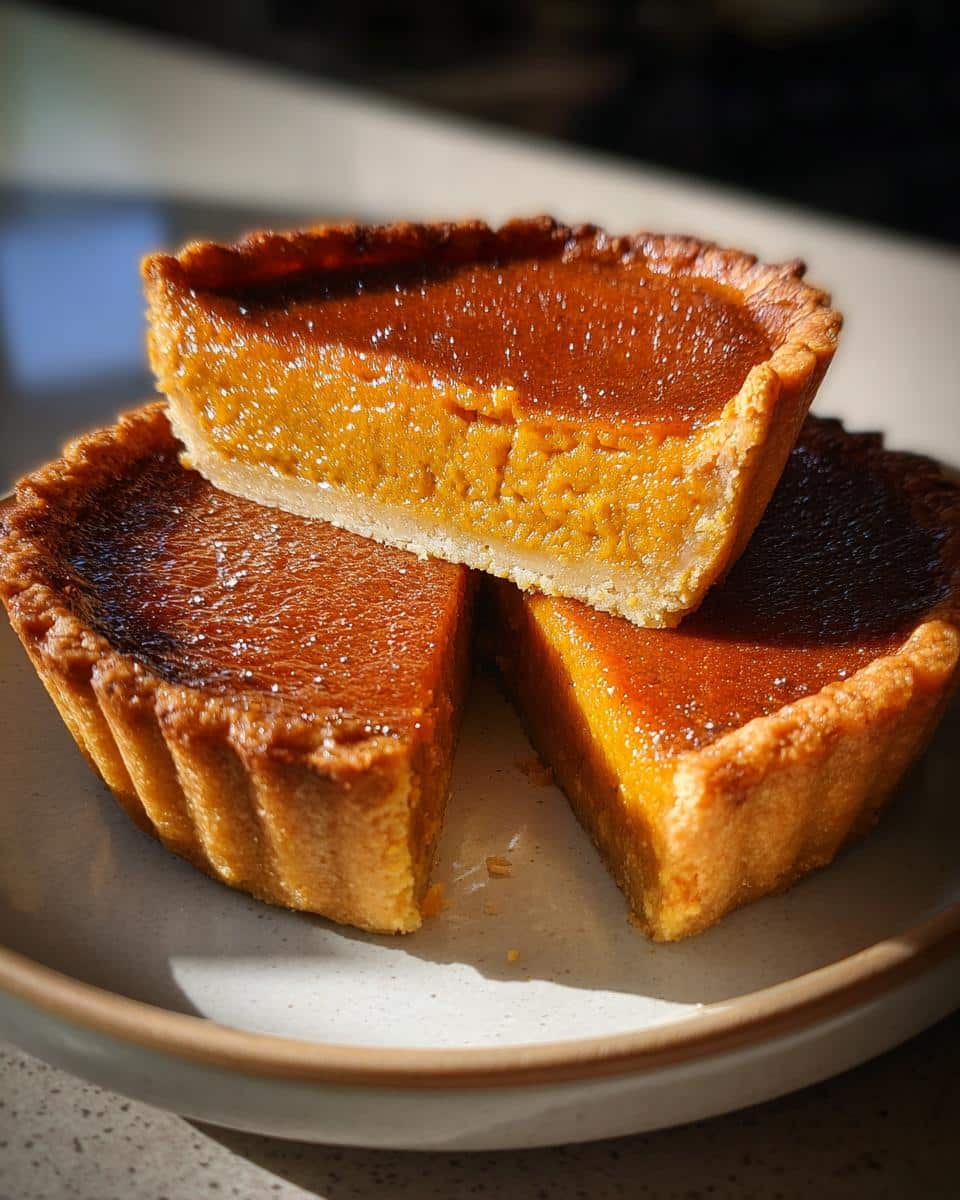
After making this pie more times than I can count (okay fine, it’s an addiction), I’ve learned all the tricks to pumpkin pie perfection. Here’s my hard-won wisdom:
- Prevent cracks by letting the pie cool gradually in the oven – prop the door open with a wooden spoon for the last 15 minutes
- Test doneness with a knife near the edge – it should come out clean while the center still jiggles slightly
- Stop overbaking! The pie sets as it cools – pull it when it looks underdone to your nervous baker’s eye
- Blot excess moisture from homemade pumpkin puree with paper towels if it seems watery
- Warm your spices in a dry pan for 30 seconds to intensify their flavor before adding
Remember – even if it cracks, it’ll still taste incredible. My “ugly” pies disappear just as fast as the pretty ones!
Variations and Substitutions
Look, I get it – sometimes you gotta tweak recipes based on what’s in your pantry or dietary needs. Here’s how to play with this Milk Bar pumpkin pie while keeping that magical texture:
- Dairy-free? Swap the heavy cream and milk for full-fat coconut milk (the canned kind) – it gives an amazing richness
- Egg-free? Try 1/4 cup applesauce per egg (texture will be slightly denser but still delicious)
- Less sugar? Replace half the white sugar with maple syrup (reduce other liquids by 2 tbsp)
- Spice lovers can add a pinch of cardamom or allspice for extra warmth
- Crust options – Try gingersnap or graham cracker crusts for a fun twist
Just remember – too many swaps at once can change the pie’s personality. Pick one or two modifications max for best results!
Serving and Storage
Okay, here’s the deal – this Milk Bar pumpkin pie deserves a proper presentation! My favorite way to serve it is just slightly chilled – about 30 minutes out of the fridge lets the flavors wake up while keeping that perfect creamy texture. Top each slice with a cloud of fresh whipped cream and a sprinkle of cinnamon sugar for that bakery-worthy finish.
For storage:
- Keep covered in the fridge for up to 4 days (if it lasts that long!)
- The crust stays crispest if you store it uncovered for the first hour, then wrap tightly
- Freezing works too – just thaw overnight in the fridge before serving
Pro tip: That first day after baking? Absolute perfection. The spices have melded, the texture’s dreamy – try to resist eating the whole pie at once!
FAQs About Milk Bar Pumpkin Pie
I’ve gotten so many questions about this pie over the years – here are the ones people ask me most often (along with my honest answers after many, many test batches!):
Can I freeze leftover pumpkin pie?
Absolutely! Wrap individual slices tightly in plastic wrap, then foil, and freeze for up to 2 months. Thaw overnight in the fridge – the texture stays surprisingly good. Just don’t freeze whole pies unless you want to risk a soggy crust.
Help! Why did my pie crack?
Don’t panic – those cracks just mean you’re human! Overbaking is usually the culprit. Next time, bake until the center still has a slight jiggle (like set pudding) and let it cool gradually in the turned-off oven with the door cracked.
How do I prevent a soggy bottom crust?
Two words: blind bake! Pre-baking the crust with pie weights makes all the difference. Also, make sure your filling goes into a completely cooled crust – no cheating on the cooling time!
Can I make this pie ahead?
Yes! In fact, it often tastes even better the next day as the flavors meld. Bake it up to 24 hours before serving and keep refrigerated. Just add fresh whipped cream right before serving.
Why does my pie taste bland?
Fresh spices are key! Ground spices lose their punch after about 6 months. Also, make sure you’re using enough salt – it’s the secret weapon that makes all the other flavors pop.
Nutritional Information
Here’s the scoop on what’s in each glorious slice of this Milk Bar pumpkin pie – because let’s be real, we’re all curious (even if we’re gonna eat it anyway!). Per serving: About 320 calories, 25g sugar, 14g fat (7g saturated), and 5g protein. These numbers are estimates based on my exact ingredients – your mileage may vary depending on brands and tweaks. Remember, life’s too short not to enjoy pie in moderation… or maybe seconds!
Share Your Experience
Did you make this Milk Bar pumpkin pie? I’d love to hear how it turned out! Snap a pic of your masterpiece and tag me on Instagram – nothing makes me happier than seeing your creations. Leave a rating below if this recipe brought some autumn magic to your kitchen. Happy baking, friends!
Print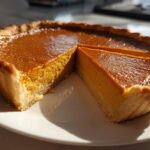
Irresistible Milk Bar Pumpkin Pie Recipe in Just 3 Steps
- Total Time: 1 hr 15 mins
- Yield: 8 servings 1x
- Diet: Vegetarian
Description
A creamy and spiced pumpkin pie with a buttery crust, inspired by Milk Bar’s signature dessert.
Ingredients
- 1 1/2 cups pumpkin puree
- 3/4 cup heavy cream
- 3/4 cup whole milk
- 3/4 cup granulated sugar
- 1/4 cup brown sugar
- 3 large eggs
- 1 1/2 tsp ground cinnamon
- 1/2 tsp ground ginger
- 1/4 tsp ground cloves
- 1/4 tsp ground nutmeg
- 1/2 tsp salt
- 1 pre-baked pie crust (9-inch)
Instructions
- Preheat oven to 350°F.
- Whisk pumpkin puree, heavy cream, milk, and sugars in a bowl.
- Add eggs one at a time, mixing well after each.
- Stir in cinnamon, ginger, cloves, nutmeg, and salt.
- Pour filling into the pre-baked crust.
- Bake for 50-60 minutes until center is set.
- Cool completely before slicing.
Notes
- Use canned pumpkin or homemade puree.
- Blind bake the crust before filling for a crisp base.
- Let the pie cool to room temperature before serving.
- Prep Time: 20 mins
- Cook Time: 55 mins
- Category: Dessert
- Method: Baking
- Cuisine: American
Nutrition
- Serving Size: 1 slice
- Calories: 320
- Sugar: 25g
- Sodium: 220mg
- Fat: 14g
- Saturated Fat: 7g
- Unsaturated Fat: 5g
- Trans Fat: 0g
- Carbohydrates: 42g
- Fiber: 2g
- Protein: 5g
- Cholesterol: 95mg

