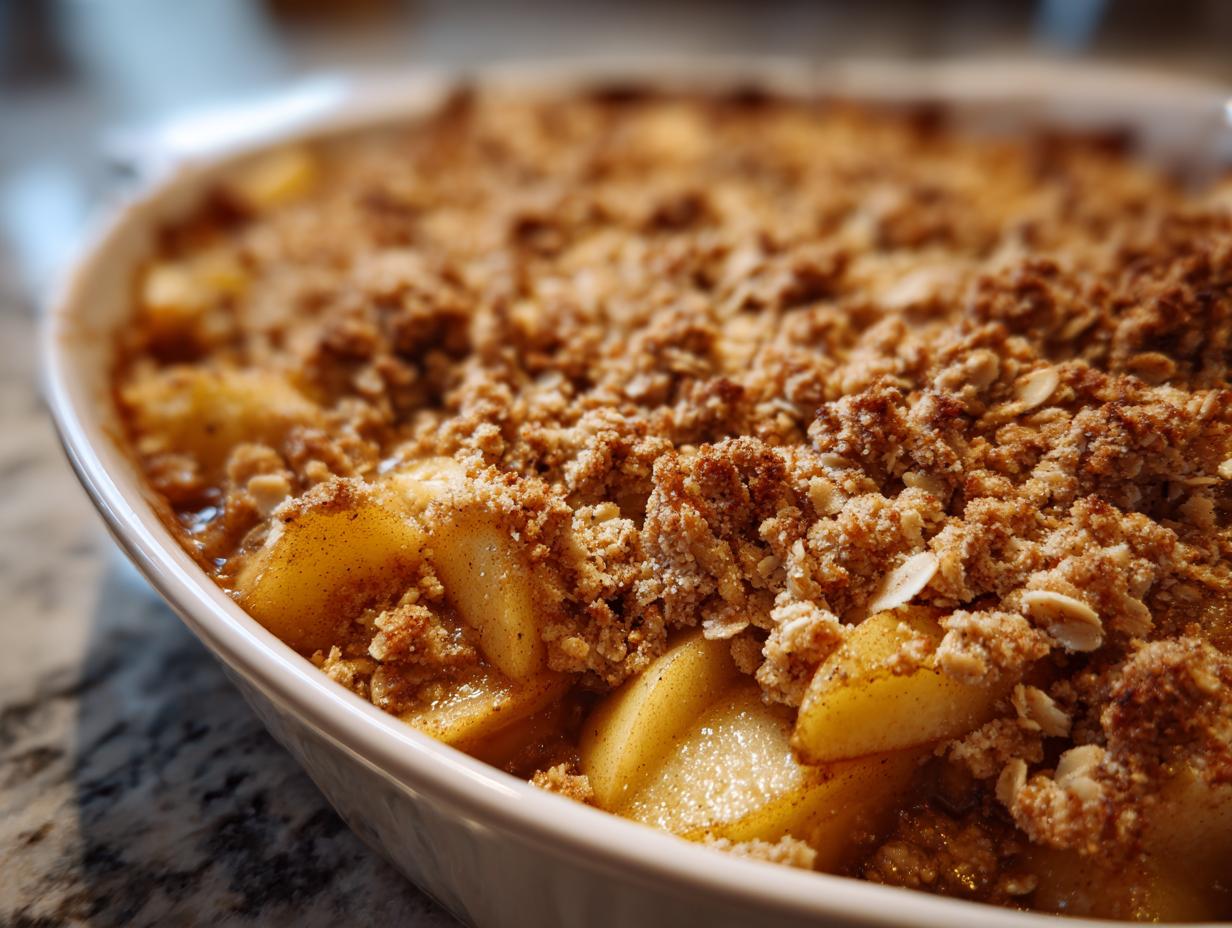
Oh, do I have a treat for you! This apple and pear crisp is my go-to dessert when I need something warm, comforting, and ridiculously easy to make. Picture this: tender, spiced fruit bubbling away under a golden, buttery oat topping that crunches just right with every bite. It’s the kind of dessert that makes your kitchen smell like heaven and gets everyone hovering around the oven, spoons at the ready. My grandma used to make a version of this when I was little, and now it’s my turn to share the love. Whether you’re feeding a crowd or just treating yourself, this crisp never lets me down.
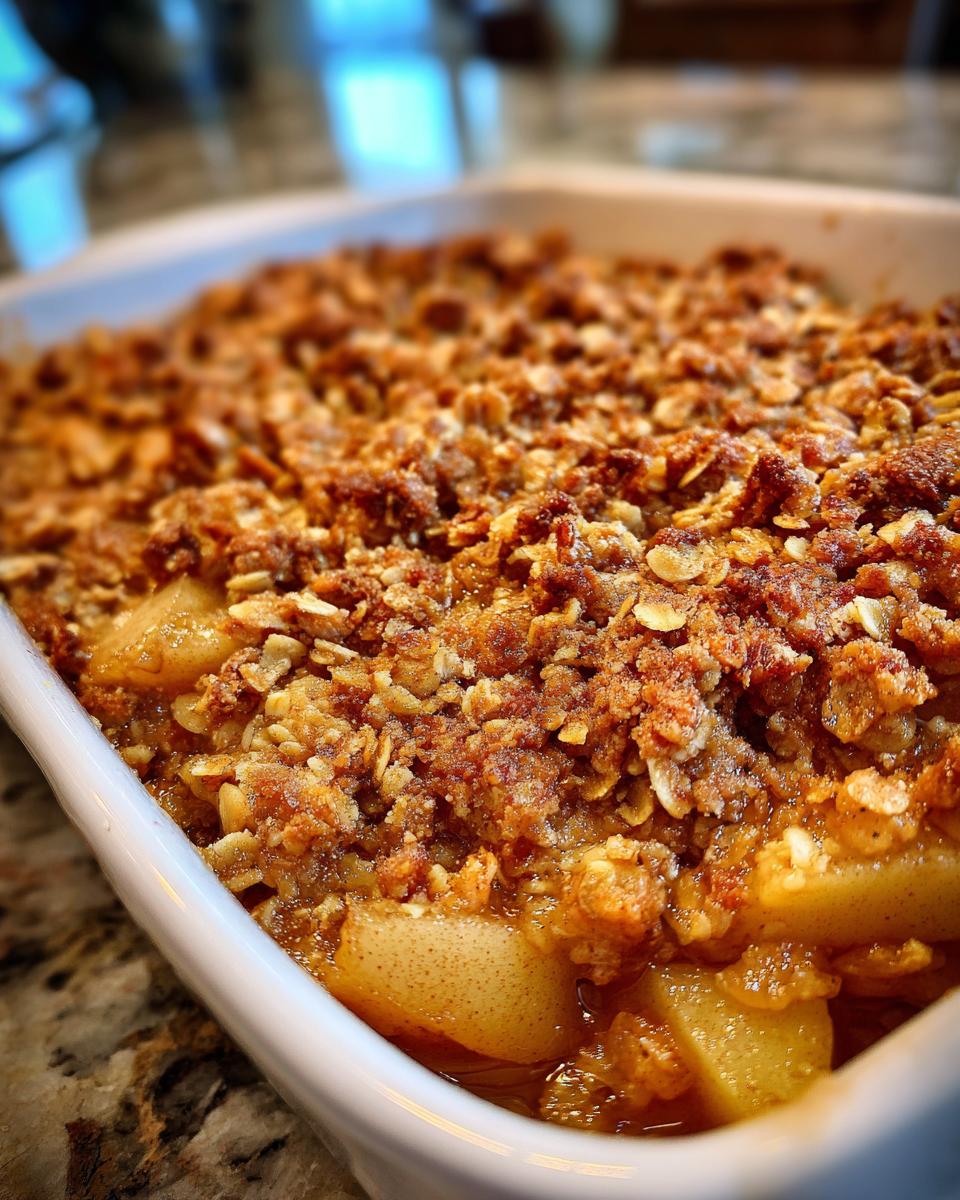
Why You’ll Love This Apple and Pear Crisp
Let me count the ways this crisp will steal your heart (and your taste buds)! It’s the kind of dessert that feels fancy but is secretly a breeze to throw together. Here’s why it’s a winner every time:
- Foolproof prep: No fancy techniques here—just chop, mix, and bake. Even if you’re a baking newbie, you’ve got this.
- Magic flavor combo: Sweet pears and tart apples play off each other perfectly, with cinnamon and nutmeg adding that cozy warmth we all crave.
- Texture heaven: That crispy, buttery oat topping against the soft fruit? *Chef’s kiss*—it’s the contrast dreams are made of.
- Crowd-pleaser: I’ve served this to picky kids, dessert snobs, and everyone in between. Empty plates every single time.
- Pantry staples: Odds are you’ve got most ingredients already. No last-minute grocery runs required!
Seriously, this crisp is like a warm hug in dessert form. And the best part? It tastes even better with a scoop of vanilla ice cream melting over the top. You’re welcome.
Ingredients for Apple and Pear Crisp
Okay, let’s gather our cast of characters – these simple ingredients come together to create something magical. Here’s exactly what you’ll need:
- 3 medium apples (peeled and sliced – I love Granny Smith or Honeycrisp for that perfect balance of tart and sweet)
- 3 medium pears (peeled and sliced – Bartlett or Anjou work beautifully)
- 1 tbsp lemon juice (freshly squeezed makes all the difference to keep that fruit looking pretty)
- 1/2 cup granulated sugar (for that perfect kiss of sweetness)
- 1 tsp ground cinnamon (the soul of this dessert, don’t skimp!)
- 1/2 tsp ground nutmeg (just enough to add depth without overpowering)
- 1 cup rolled oats (old-fashioned, not quick-cooking – we want that texture!)
- 1/2 cup all-purpose flour (just regular flour works great here)
- 1/2 cup packed brown sugar (pack it in firmly – this gives the topping its caramel notes)
- 1/2 cup unsalted butter (melted – and yes, real butter makes all the difference!)
See? Nothing complicated – just good, honest ingredients that make your kitchen smell like fall heaven. Now let’s get mixing!
How to Make Apple and Pear Crisp
Alright, let’s turn these simple ingredients into that glorious, bubbling crisp you’ve been dreaming about. I promise it’s easier than you think – just follow these steps and you’ll be in dessert heaven in no time!
Preparing the Fruit Filling
First things first – fire up that oven to 350°F (175°C). While it’s heating, grab your biggest mixing bowl and toss in those beautiful sliced apples and pears. Squeeze that lemon juice right over them – this keeps the fruit from browning and adds a nice little zing. Now sprinkle in the granulated sugar, cinnamon, and nutmeg. Use your hands or a big spoon to mix everything together until every single slice is coated in that spicy-sweet goodness. Don’t be shy – really get in there! When it’s done, spread this gorgeous mixture evenly in your baking dish. I like using a 9×13 for maximum crisp-to-fruit ratio.
Making the Crisp Topping
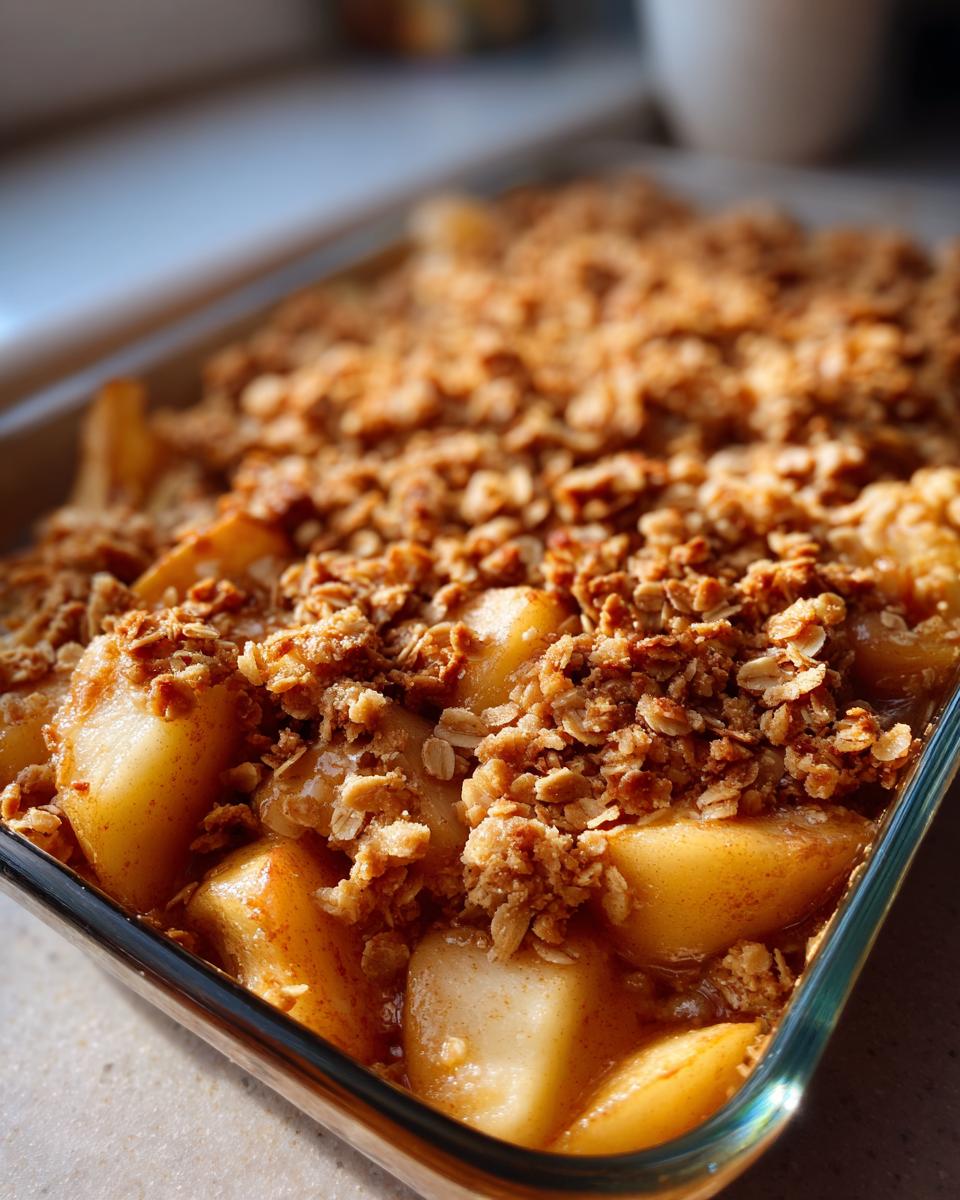
Now for the best part – that irresistible crunchy topping! Grab another bowl and dump in your oats, flour, and packed brown sugar. Mix these dry ingredients together first. Once they’re friends, pour in that melted butter. Here’s where the magic happens – use a fork or your fingers to work the butter into the dry mix until you’ve got little crumbly clusters. You want it to look like wet sand with some bigger pebbles mixed in. That texture is what gives you those perfect crispy bits later!
Baking the Apple and Pear Crisp
Time to assemble! Sprinkle that oat mixture over your waiting fruit like you’re frosting a cake – cover every inch for maximum crunch factor. Pop it in the oven and let the magic happen for about 40 minutes. You’ll know it’s ready when the topping turns a beautiful golden brown and you can see the fruit juices bubbling up around the edges like little lava streams. Take it out and let it cool just enough so you don’t burn your tongue – about 10-15 minutes. Trust me, that wait is torture, but it helps the juices thicken up perfectly.
Tips for the Perfect Apple and Pear Crisp
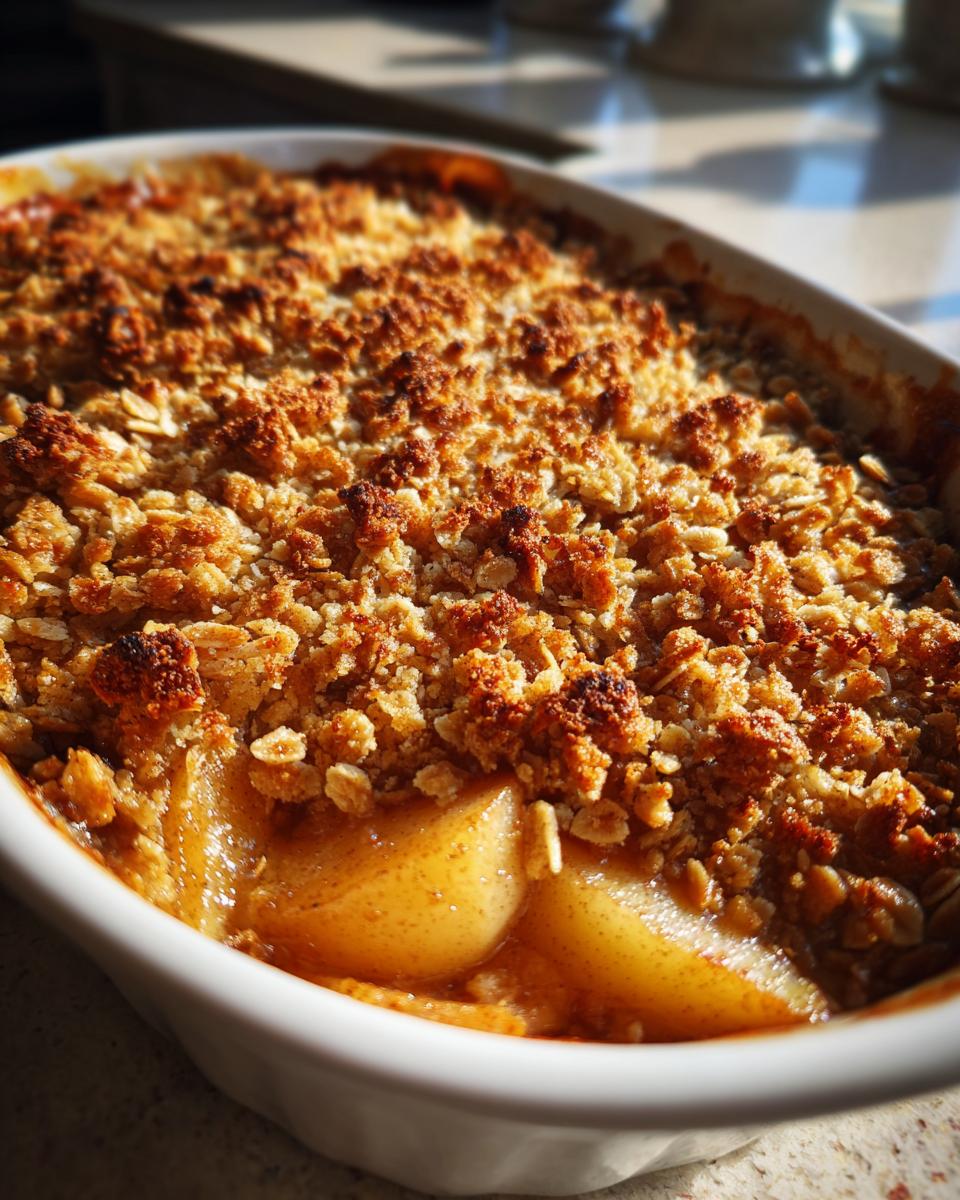
After making this crisp more times than I can count, I’ve picked up some tricks that take it from good to “can I have thirds?” good. First – choose firm apples and pears that hold their shape when baked. Mushy fruit turns into baby food, and nobody wants that! My secret? I always taste a slice raw – if it’s crisp and flavorful now, it’ll be amazing baked. Second – don’t pack down that oat topping too much. Loosely sprinkling lets heat circulate for maximum crunch. And the golden rule? Serve warm with vanilla ice cream. That melty-cold contrast with the hot crisp is LIFE.
Ingredient Substitutions and Variations
Listen, I’m all for sticking to the classic version, but sometimes you gotta mix it up! Here’s how to play with this recipe without losing that magic crisp charm:
- Flour swap: No all-purpose flour? Use gluten-free 1:1 baking flour or almond flour for a nuttier twist
- Sweetener options: Swap brown sugar with coconut sugar for deeper caramel notes, or reduce granulated sugar by 1/4 cup if your fruit is super ripe
- Spice adventures: Try cardamom instead of nutmeg, or add a pinch of ginger for extra zing
- Fruit flexibility: No pears? Use all apples. Want berries? Toss in a handful of raspberries or blackberries – just reduce baking time by 5 minutes
- Butter alternatives: Coconut oil works in a pinch, but you’ll lose some richness (still tasty though!)
The beauty of this dessert? It’s practically impossible to mess up. Just keep that fruit-to-crunch ratio right, and you’re golden!
Storing and Reheating Apple and Pear Crisp
Oh, leftovers? (As if that ever happens in my house!) But just in case, here’s how to keep that crisp perfect: Let it cool completely, then cover tightly and stash in the fridge for up to 3 days. To reheat, pop individual portions in the microwave for 30 seconds or warm the whole dish in a 300°F oven until toasty again. Pro tip: Sprinkle a few fresh oats on top before reheating to revive that crunch!
Nutritional Information for Apple and Pear Crisp
Wondering what’s in each delicious serving? Here’s the scoop: One portion of this apple and pear crisp has about 280 calories, with 5g of fiber from all that good fruit and oats. You’re looking at 35g of natural sugars (mostly from the fruit!) and 10g of fat (thank you, glorious butter). Keep in mind – these numbers can change a bit depending on your exact fruit size and brands used. But honestly? When something tastes this good, who’s counting?
Frequently Asked Questions
Can I use just apples or just pears?
Absolutely! The combo is magic, but all apples make a fantastic crisp too (use tart ones like Granny Smith). All pears work great if you prefer – just add an extra squeeze of lemon to balance their sweetness.
Can I make this ahead of time?
You bet! Prep the fruit and topping separately, store them in the fridge (fruit in the baking dish, topping in a bag), then assemble and bake when ready. The crisp actually gets better after sitting a few hours – those flavors really mingle!
Why is my topping not crispy?
Two likely culprits: either you packed it down too much (needs air to crisp up) or your oven wasn’t hot enough. Next time, sprinkle the topping loosely and make sure your oven’s fully preheated – trust me, it makes all the difference!
Can I freeze this?
Yes! Bake and cool completely, then wrap tightly in foil. Freeze for up to 3 months. Reheat straight from frozen in a 350°F oven until warm throughout – about 30 minutes. The topping won’t be quite as crisp, but still delicious!
Ready to Make Some Magic?
There you have it – my not-so-secret recipe for the coziest apple and pear crisp around! Now it’s your turn to grab those mixing bowls and create some kitchen magic. I’d love to hear how yours turns out – tag me in your pics or leave a comment with your crispy creations. Happy baking, friends!
Print
Irresistible 3-Ingredient Apple and Pear Crisp Recipe
- Total Time: 55 minutes
- Yield: 6 servings 1x
- Diet: Vegetarian
Description
A simple and delicious dessert combining apples and pears with a crunchy oat topping.
Ingredients
- 3 medium apples, peeled and sliced
- 3 medium pears, peeled and sliced
- 1 tbsp lemon juice
- 1/2 cup granulated sugar
- 1 tsp ground cinnamon
- 1/2 tsp ground nutmeg
- 1 cup rolled oats
- 1/2 cup all-purpose flour
- 1/2 cup packed brown sugar
- 1/2 cup unsalted butter, melted
Instructions
- Preheat oven to 350°F (175°C).
- Toss apples, pears, lemon juice, granulated sugar, cinnamon, and nutmeg in a bowl.
- Spread the fruit mixture in a baking dish.
- In another bowl, mix oats, flour, brown sugar, and melted butter until crumbly.
- Sprinkle the oat mixture over the fruit.
- Bake for 40 minutes or until the topping is golden and the fruit is tender.
- Let cool slightly before serving.
Notes
- Use firm apples and pears for better texture.
- Serve warm with vanilla ice cream or whipped cream.
- Prep Time: 15 minutes
- Cook Time: 40 minutes
- Category: Dessert
- Method: Baking
- Cuisine: American
Nutrition
- Serving Size: 1 serving
- Calories: 280
- Sugar: 35g
- Sodium: 10mg
- Fat: 10g
- Saturated Fat: 6g
- Unsaturated Fat: 3g
- Trans Fat: 0g
- Carbohydrates: 50g
- Fiber: 5g
- Protein: 2g
- Cholesterol: 25mg

