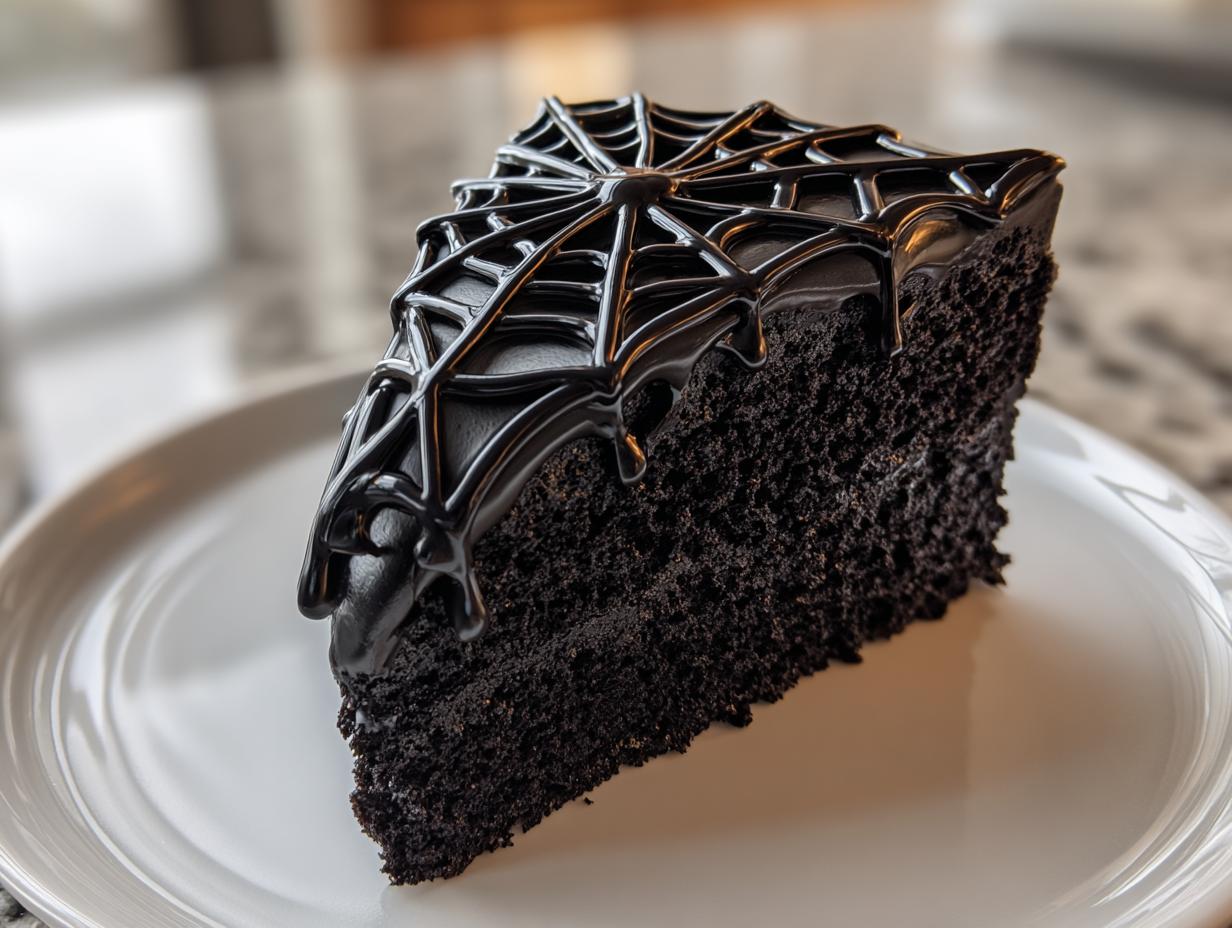
Picture this: a dark, velvety cake so striking it stops your Halloween party guests in their tracks—that’s what you get with my Black Cocoa Spider Web Cake. I’ve been baking spooky desserts for years, but this one? It’s the showstopper. The secret? A double dose of black cocoa for that deep, mysterious color and a royal icing web so realistic, you’ll half-expect spiders to crawl out! Trust me, the first time I made this for my niece’s party, kids and adults alike couldn’t stop staring (or eating). It’s creepy, it’s delicious, and—best of all—that web design is way easier to pull off than it looks. Let’s bake some magic!
Why You’ll Love This Black Cocoa Spider Web Cake
This cake isn’t just another Halloween dessert—it’s the one everyone remembers! Here’s why it’s become my go-to spooky season staple:
- Spooky meets delicious: That intense black cocoa flavor? Deep, rich, and totally addictive—no food coloring required!
- Foolproof decorating: The spider web looks fancy but takes minutes. (My first attempt? Shockingly decent!)
- Crowd-pleasing magic: Kids gasp at the design, adults sneak second slices for the flavor.
- Party perfect: Slices cleanly, travels well, and stays moist—even if you bake it a day ahead.
Seriously, this cake disappears faster than ghosts at sunrise!
Ingredients for Black Cocoa Spider Web Cake
Grab these pantry staples—you might already have most of them! The black cocoa powder is the superstar here, giving that gorgeously dark color without any food coloring tricks. (I stock up every October!)
- 2 cups all-purpose flour – spoon and level it, don’t pack!
- 1 3/4 cups granulated sugar – for just the right sweetness to balance the cocoa
- 3/4 cup black cocoa powder – my #1 must-have for that intense color and flavor
- 2 tsp baking soda – helps the cake rise beautifully
- 1 tsp baking powder – extra lift for that perfect crumb
- 1 tsp salt – trust me, it makes the chocolate sing
- 2 large eggs – room temp, always (cold eggs can make batter lumpy)
- 1 cup buttermilk – no substitutes here—it adds the perfect tang
- 1 cup strong black coffee, hot – enhances the chocolate flavor (don’t worry, you won’t taste coffee!)
- 1/2 cup vegetable oil – keeps the cake super moist
- 1 tsp vanilla extract – the flavor booster you didn’t know you needed
- 1 batch royal icing – for that showstopping spider web (more on this later!)
Pro tip: Measure your coffee right after brewing—the heat helps “bloom” the cocoa powder for maximum flavor!
Equipment You’ll Need
No fancy gadgets required—just grab these basics from your kitchen:
- Two 9-inch round cake pans – the perfect stage for your spooky creation
- Mixing bowls – one big one for dry ingredients, another for wet
- Whisk and spatula – for smooth batter (no lumps allowed!)
- Piping bag with small round tip – or a ziplock with the corner snipped off in a pinch
- Toothpick – your magic wand for creating that web design
- Wire rack – crucial for cooling so your icing doesn’t melt!
That’s it! Now let’s make some Halloween magic.
How to Make Black Cocoa Spider Web Cake
Don’t let the dramatic look fool you—this cake comes together with simple steps. I’ve made this every Halloween since 2016, and trust me, once you get the rhythm, it’s a breeze!
Preparing the Cake Batter
First, whisk all your dry ingredients together in that big bowl—flour, sugar, black cocoa powder (oh, that glorious color!), baking soda, baking powder, and salt. Now here’s my trick: make a well in the center and pour in all the wet ingredients at once—eggs, buttermilk, hot coffee (yes, hot!), oil, and vanilla. Start whisking from the center outward until you’ve got this gorgeous, smooth batter that looks like liquid midnight. No lumps allowed!
Baking and Cooling
Divide that velvety batter between your greased pans and slide them into a 350°F oven. Set your timer for 30 minutes, but don’t wander off—ovens vary! The cake’s done when a toothpick comes out with just a few moist crumbs (clean means overbaked in my book). Let them cool in the pans for exactly 10 minutes—this prevents sticking but stops them from steaming themselves soggy. Then transfer to a wire rack. Patience time: they must cool completely before decorating!

Creating the Spider Web Design
Here comes the fun part! Load your piping bag with royal icing and pipe 3-4 concentric circles on the cake—start from the center and work outward. Now take that toothpick and, starting from dead center, drag it outward to the edge. Rotate slightly, repeat. Keep going until you’ve got a perfect web! Pro tip: wipe the toothpick between drags for clean lines. The first time I did this, I messed up spectacularly—now I know slow and steady wins the race!

Tips for the Perfect Black Cocoa Spider Web Cake
After years of Halloween baking disasters (and triumphs!), here are my hard-earned secrets for nailing this cake every time:
- Cooling is non-negotiable: Warm cake melts royal icing into a sad puddle—ask me how I know!
- Black cocoa or bust: Regular cocoa won’t give that eerie dark color. Find it online or at specialty stores.
- Icing consistency matters: Too thick? It’ll break. Too thin? It’ll run. Aim for toothpaste texture.
- Toothpick trick: Drag slowly from center to edge in one smooth motion for clean web lines.
- Gel food coloring: If you want extra-black cake, add a drop to the batter—liquid coloring alters texture.
Bonus tip: Practice the web on a plate first—it’s easier than fixing mistakes on the cake!
Ingredient Substitutions & Notes
Don’t panic if you’re missing something—I’ve tested all these swaps over the years! No black cocoa? Use Dutch-process cocoa plus 1/4 tsp espresso powder for depth (though it’ll be lighter). Out of buttermilk? Stir 1 tbsp vinegar into regular milk and let it sit 5 minutes—or use plain yogurt. Allergic to eggs? Applesauce works in a pinch, but the texture changes slightly. And for the coffee haters—hot water works, but trust me, you won’t taste the coffee—it just makes the chocolate sing!
Serving and Storing Black Cocoa Spider Web Cake
Want to really wow your guests? Serve slices on black plates with plastic spiders crawling around the edges—total Halloween drama! This cake stays fresh in an airtight container for 3 days (if it lasts that long!). The royal icing web holds up beautifully, so no need to refrigerate unless your kitchen’s sweltering. Pro tip: Add fresh webs with leftover icing right before serving for extra creepy flair!

Nutritional Information
Nutritional values are estimates and vary based on ingredients used. Each slice contains roughly 320 calories—perfect for a spooky splurge!
FAQs About Black Cocoa Spider Web Cake
Can I use regular cocoa powder instead of black cocoa?
You can, but the cake won’t have that dramatic dark color—it’ll look more like a regular chocolate cake. If you must substitute, use Dutch-process cocoa with a teaspoon of espresso powder to deepen the flavor. (I learned this the hard way during a midnight baking emergency!)
How long does the royal icing take to set?
It depends on your kitchen’s humidity, but usually about 30 minutes to an hour for the web to fully harden. Don’t rush it—my niece once smudged hers by poking it too soon! For speedier setting, place the cake near a fan or in the fridge briefly.
Why did my spider web lines break when I dragged the toothpick?
Ah, the classic rookie mistake! Your icing was probably too thick. Next time, add a few drops of water until it flows smoothly but still holds its shape (think toothpaste consistency). And go slow—racing through the lines makes them jagged. My first three attempts looked like spider scribbles!
Can I make this cake ahead of time?
Absolutely! Bake the cakes a day in advance—just wrap them tightly in plastic once cooled. Add the royal icing web the day of your event for the freshest look. The cake actually tastes better after resting overnight (the flavors deepen—magic!).

1 Spooky Black Cocoa Spider Web Cake That Haunts Taste Buds
- Total Time: 55 mins
- Yield: 1 cake (12 servings) 1x
- Diet: Vegetarian
Description
A spooky and delicious Black Cocoa Spider Web Cake perfect for Halloween. The rich dark cake is topped with a striking royal icing spider web design.
Ingredients
- 2 cups all-purpose flour
- 1 3/4 cups granulated sugar
- 3/4 cup black cocoa powder
- 2 tsp baking soda
- 1 tsp baking powder
- 1 tsp salt
- 2 large eggs
- 1 cup buttermilk
- 1 cup strong black coffee, hot
- 1/2 cup vegetable oil
- 1 tsp vanilla extract
- 1 batch royal icing (for decoration)
Instructions
- Preheat your oven to 350°F (175°C). Grease and flour two 9-inch round cake pans.
- In a large bowl, whisk together flour, sugar, cocoa powder, baking soda, baking powder, and salt.
- Add eggs, buttermilk, coffee, oil, and vanilla. Mix until smooth.
- Divide batter evenly between the prepared pans.
- Bake for 30-35 minutes or until a toothpick inserted comes out clean.
- Let cakes cool in pans for 10 minutes, then transfer to a wire rack to cool completely.
- Once cooled, frost the cake as desired.
- Pipe royal icing in concentric circles on top of the cake.
- Drag a toothpick from the center outward to create the spider web effect.
- Let the icing set before serving.
Notes
- Use gel food coloring for deeper black color if needed.
- Ensure the cake is completely cooled before icing.
- For best results, use a piping bag with a small round tip for the spider web.
- Prep Time: 20 mins
- Cook Time: 35 mins
- Category: Dessert
- Method: Baking
- Cuisine: American
Nutrition
- Serving Size: 1 slice
- Calories: 320
- Sugar: 25g
- Sodium: 420mg
- Fat: 12g
- Saturated Fat: 2g
- Unsaturated Fat: 8g
- Trans Fat: 0g
- Carbohydrates: 50g
- Fiber: 3g
- Protein: 5g
- Cholesterol: 35mg