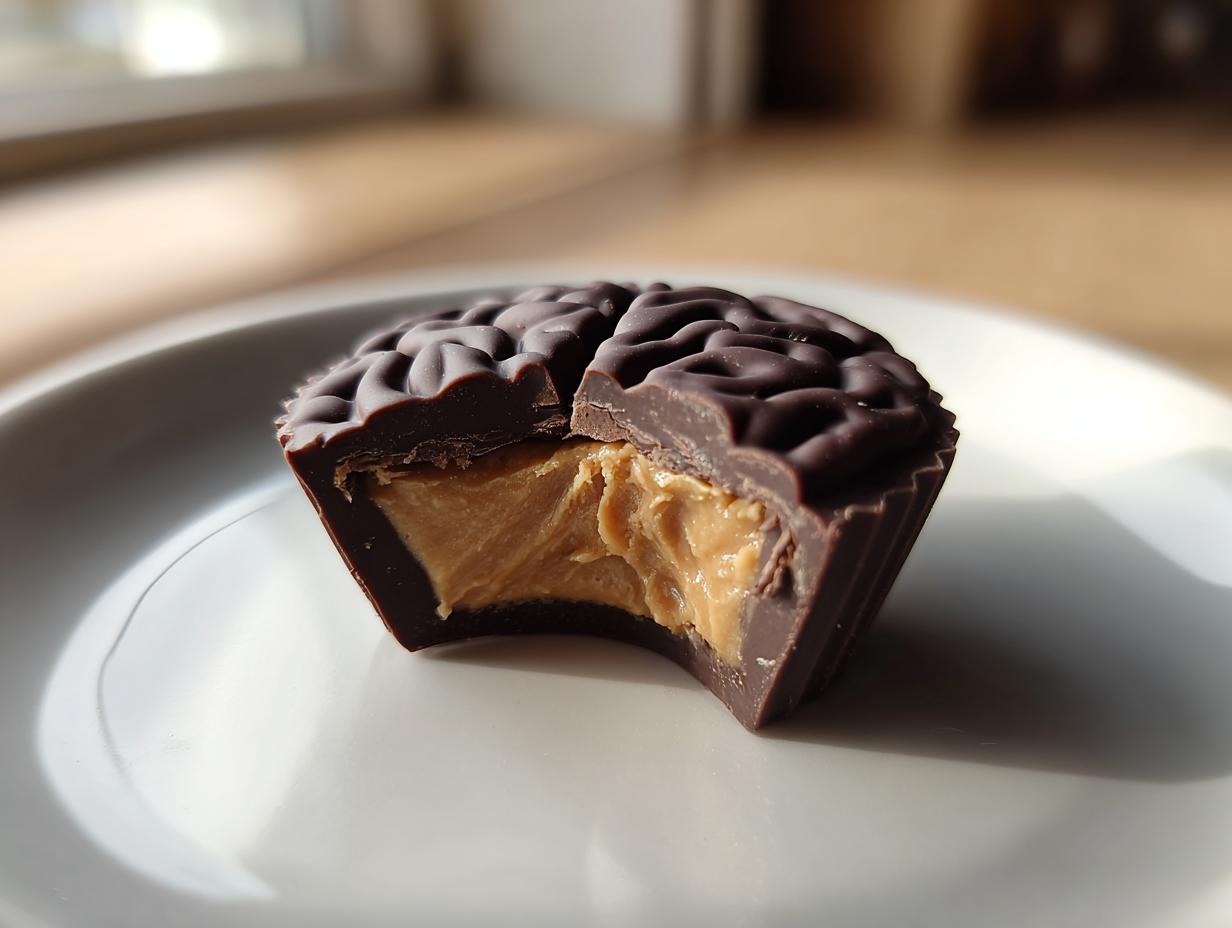
Halloween just wouldn’t be complete without something delightfully creepy to snack on, and these brain-shaped peanut butter cups are my absolute favorite way to freak out friends and family (in the tastiest way possible). I first made them for a zombie-themed party years ago, and now they’re a must-have every October. There’s something so fun about biting into what looks like a little chocolate brain only to get that classic peanut butter-chocolate combo we all love.

Trust me, these are way easier to make than they look—no fancy skills required! Just melt some chocolate, mix up a simple peanut butter filling, and let your silicone molds do all the shaping work. The best part? You can make them as gory or as tame as you want with a little red food coloring. Whether you’re hosting a Halloween bash or just want to surprise the kids with an after-school treat, these brain-shaped peanut butter cups always steal the show.
Why You’ll Love These Brain-Shaped Peanut Butter Cups
These little brainy treats are a total crowd-pleaser, and here’s why:
- Super easy – No oven needed! Just melt, layer, and chill
- Perfectly spooky – They look gross (in the best way) for Halloween parties
- That classic combo – Creamy peanut butter and rich chocolate? Always a win
- Customizable creep factor – Add “blood” with red food coloring or keep it simple
- Great for kids (and adults!) – Fun to make together and even more fun to eat
I promise, once you make these once, they’ll become your go-to Halloween tradition!
Ingredients for Brain-Shaped Peanut Butter Cups
Here’s everything you’ll need to make these delightfully creepy treats:
- 1 cup dark chocolate chips – The higher quality, the better they’ll melt and set
- 1/2 cup creamy peanut butter – Smooth works best for that realistic brain texture
- 1 tablespoon powdered sugar – Just enough to sweeten without making it too soft
- 1 tablespoon butter, softened – Let it sit out for 30 minutes to get perfectly spreadable
- Red food coloring (optional) – For that bloody effect (I use about 3 drops for a gory look)
That’s it! Just five simple ingredients for the most impressive Halloween treat you’ll make this year.
Equipment You’ll Need
Don’t worry – you don’t need fancy equipment for these brain-shaped peanut butter cups! Here’s what I always grab from my kitchen:
- Brain-shaped silicone molds – The star of the show! (But mini muffin tins work in a pinch – just shape them roughly with a spoon)
- Microwave-safe bowl – Glass works best for melting chocolate evenly
- Spatula – For scraping every last bit of peanut butter goodness
- Small spoon or piping bag – To neatly spread the peanut butter filling
That’s seriously all you need to create these spooky little treats!
How to Make Brain-Shaped Peanut Butter Cups
Making these spooky treats is so simple, you’ll wonder why you haven’t been making brain-shaped desserts all along! The secret is in the layering and chilling – just follow these easy steps for perfect peanut butter cups every time.
Step 1: Melt the Chocolate
First things first – let’s get that chocolate silky smooth! I melt my dark chocolate chips in the microwave in 30-second bursts, stirring well between each one. Don’t walk away! Chocolate burns easily if you overdo it. You’ll know it’s ready when it’s completely smooth with no lumps. If it gets too thick, just stir in a tiny bit of coconut oil to loosen it up.
Step 2: Layer the Chocolate and Peanut Butter
Now for the fun part! Spoon a little melted chocolate into each brain cavity – just enough to coat the bottom. Pop the molds in the fridge for about 5 minutes to set slightly. While that’s chilling, mix your peanut butter with powdered sugar and softened butter until creamy. Want gory brains? Stir in a few drops of red food coloring until you get that perfect “brainy” pink. Spread or pipe this mixture over the chocolate layer, then top with more melted chocolate to cover completely.

Step 3: Chill and Serve
Patience is key here! Let your brains chill in the fridge for at least an hour – I know, the wait is torture! When they’re firm, gently pop them out of the molds. If they stick, just run a butter knife around the edges. Now admire your handiwork before serving these creepy creations!
Tips for Perfect Brain-Shaped Peanut Butter Cups
After making these spooky treats dozens of times (my friends won’t let me show up to Halloween parties without them!), I’ve picked up some foolproof tricks:
- Splurge on good chocolate – Cheaper chips don’t melt as smoothly or set as firmly
- Keep them chilled – These little brains get melty fast at room temperature
- No brain mold? No problem! Shape blobs of the mixture on parchment paper into rough brain shapes with a toothpick
- For extra realism, use a toothpick to add “wrinkles” in the chocolate before it sets
- Make ahead magic – They’ll keep perfectly in the fridge for up to 5 days (if they last that long!)
Follow these simple tips and your brainy treats will turn out picture-perfect every time!
Variations and Substitutions
Don’t be afraid to get creative with these brain-shaped treats! Swap peanut butter for almond butter if you’re feeling fancy, or use white chocolate for a creepy “zombie brain” look. Nut-free? Try sunflower seed butter instead – it works great and still gives that perfect brain texture. The best part about this recipe is how easily you can make it your own!
Storage and Serving Suggestions
These brain-shaped peanut butter cups definitely need to stay chilled – trust me, I learned that the messy way! Keep them in an airtight container in the fridge where they’ll stay perfect for up to 5 days (if they last that long). For serving, I love arranging them on a creepy platter with other Halloween treats – think gummy worms, “eyeball” cake pops, and maybe some dry ice for extra spooky effect! They’re delicious straight from the fridge, but if you want that perfect peanut butter texture, let them sit out just 5 minutes before serving.
Nutritional Information
Here’s the approximate nutrition per brain-shaped peanut butter cup (remember, exact amounts vary based on your specific ingredients and brands):
- Calories: 150
- Fat: 10g
- Carbs: 12g
- Protein: 3g
Not bad for such a deliciously creepy treat!
Frequently Asked Questions
Can I use milk chocolate instead of dark chocolate?
Absolutely! Milk chocolate works great if you prefer something sweeter. Just watch the melting time – it tends to burn faster than dark chocolate. White chocolate makes for some creepy “zombie brains” too!
How long do these peanut butter cups last?
They’ll stay perfect in the fridge for about 5 days in an airtight container. I don’t recommend freezing them though – the texture gets weird when they thaw.
My peanut butter filling is too soft – what did I do wrong?
Don’t worry! Just add a bit more powdered sugar (a teaspoon at a time) until it firms up. The butter should be softened but not melted – that makes a big difference.
Can kids help make these?
Yes! My nephews love helping with this recipe. They especially enjoy mixing in the food coloring (though I handle the hot chocolate). Just be prepared for some creative “brain” designs!
Final Thoughts
Go ahead and make these brain-shaped peanut butter cups – I promise they’re as fun to create as they are to eat! Tag me in your spooky creations; I’d love to see how yours turn out. Happy haunting (and eating)!
Print
30-Minute Brain-Shaped Peanut Butter Cups Are Deliciously Spooky
- Total Time: 1 hour 20 mins
- Yield: 12 pieces 1x
- Diet: Vegetarian
Description
Make fun brain-shaped peanut butter cups for Halloween or a themed party. These treats combine chocolate and peanut butter for a delicious and spooky snack.
Ingredients
- 1 cup dark chocolate chips
- 1/2 cup creamy peanut butter
- 1 tbsp powdered sugar
- 1 tbsp butter, softened
- Red food coloring (optional, for a bloody effect)
Instructions
- Melt dark chocolate chips in a microwave-safe bowl in 30-second intervals, stirring until smooth.
- Pour a thin layer of melted chocolate into brain-shaped silicone molds and let it set slightly.
- Mix peanut butter, powdered sugar, and butter until smooth. Add red food coloring if desired.
- Spread the peanut butter mixture over the chocolate layer.
- Top with another layer of melted chocolate to cover.
- Refrigerate for at least 1 hour until firm.
- Carefully remove from molds and serve.
Notes
- Use high-quality chocolate for the best texture.
- If you don’t have brain molds, use regular mini muffin tins and shape them roughly.
- Store in the fridge to prevent melting.
- Prep Time: 15 mins
- Cook Time: 5 mins
- Category: Dessert
- Method: No-Bake
- Cuisine: American
Nutrition
- Serving Size: 1 piece
- Calories: 150
- Sugar: 10g
- Sodium: 50mg
- Fat: 10g
- Saturated Fat: 4g
- Unsaturated Fat: 5g
- Trans Fat: 0g
- Carbohydrates: 12g
- Fiber: 2g
- Protein: 3g
- Cholesterol: 5mg