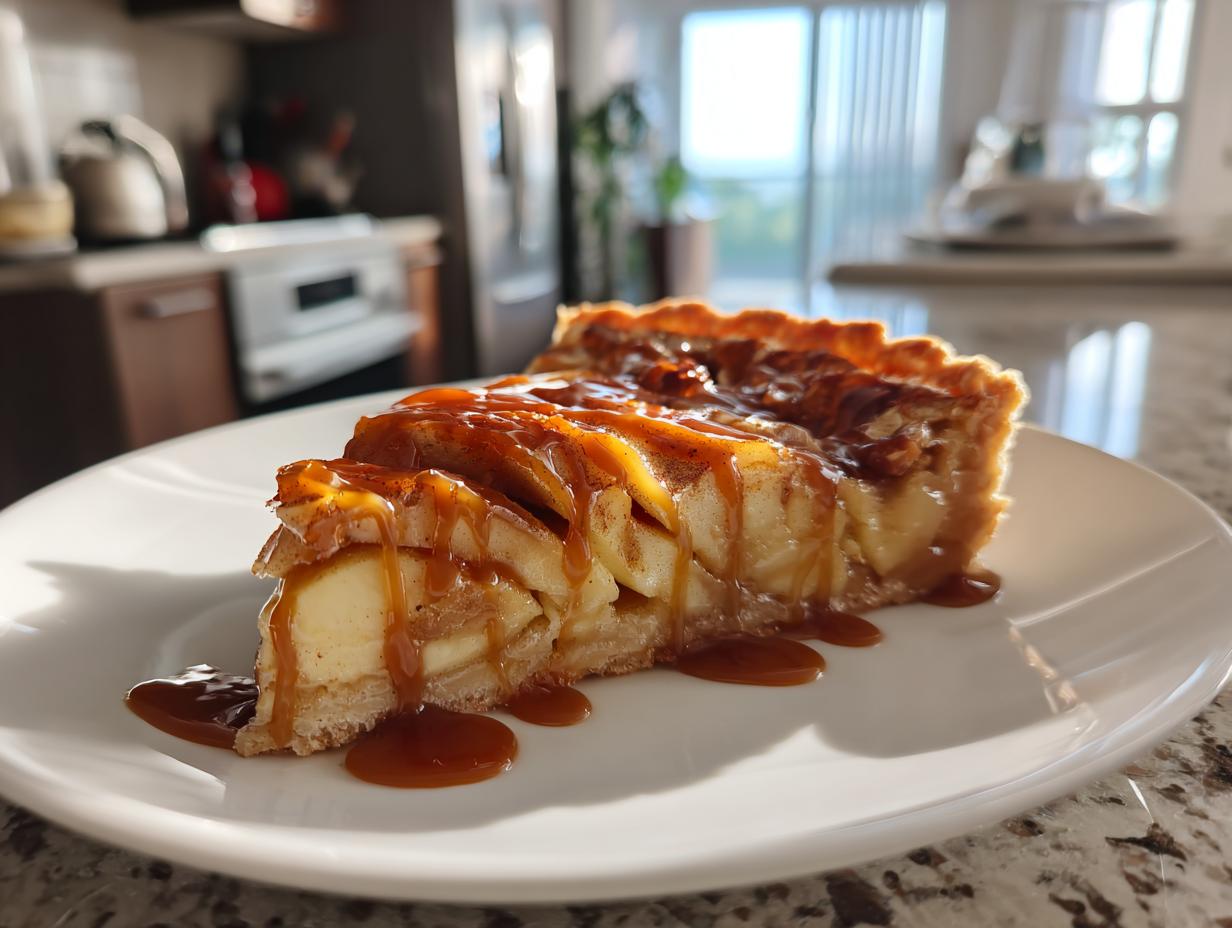
There’s something magical about classic desserts with a twist, and my caramel apple tart is the perfect example. It strikes that dreamy balance between sweet caramel, tart apples, and a buttery crust that makes you close your eyes with every bite. I first made this for a cozy fall gathering at my aunt’s house years ago, and now it’s become our family’s go-to “special occasion” dessert. The smell of cinnamon-spiced apples bubbling in caramel still takes me right back to that kitchen, surrounded by laughter and the sound of forks scraping plates clean. Trust me, once you try this recipe, it’ll become your signature dish too.
Caramel Apple Tart Ingredients
Gathering the right ingredients makes all the difference in this caramel apple tart. Here’s what you’ll need:
- 1 pie crust – store-bought works fine (I like Pepperidge Farm), but homemade is even better if you’ve got time
- 4 medium apples, peeled and thinly sliced (Granny Smith are my go-to for that perfect tartness)
- 1/2 cup granulated sugar + 1/4 cup brown sugar – this combo gives amazing depth
- 1/4 cup unsalted butter – trust me, the good butter matters here
- 1 tsp cinnamon + 1/4 tsp nutmeg – warm spices that make your kitchen smell heavenly
- 1 tbsp lemon juice – keeps those apples looking fresh
- 1/2 cup caramel sauce – splurge on the good stuff! I adore Ghirardelli’s caramel sauce for its rich flavor
See? Nothing too fancy – just quality ingredients that work together beautifully.
How to Make Caramel Apple Tart
This caramel apple tart comes together so easily, but there are a few key steps that make all the difference. Follow my method, and you’ll get that perfect buttery crust with tender, caramel-coated apples every time.
Preparing the Crust and Apples
First things first – get that oven preheating to 375°F (190°C). While it warms up, roll out your pie crust and gently press it into a 9-inch tart pan. Don’t stress about perfection here – rustic edges add charm!

Now for the apples: toss those beautiful slices with both sugars, cinnamon, nutmeg, and lemon juice. Melt the butter in a large skillet over medium heat – you’ll know it’s ready when it stops bubbling. Add the apple mixture and cook for about 5 minutes, stirring occasionally, just until the apples start to soften but still hold their shape. That slight firmness means they won’t turn to mush in the oven.
Assembling and Baking the Tart
Here’s where the magic happens! Spread that luscious caramel sauce evenly over the crust – I use the back of a spoon to get into every nook. Arrange the warm apples in concentric circles (or just pile them artfully – no judgment here).

Bake for 30-35 minutes until the crust is golden and the apples are tender. Your kitchen will smell absolutely incredible – that’s how you know it’s working! Let the tart cool completely before slicing, unless you want caramel lava hands (been there, not fun). The wait is tough, but it helps the layers set perfectly.
Why You’ll Love This Caramel Apple Tart
Honestly, this caramel apple tart checks all the boxes for the perfect dessert. Here’s why it became my go-to:
- Foolproof – Even my cousin who burns toast nailed this on her first try
- Customizable – Throw in pecans or swap cinnamon for cardamom if you’re feeling fancy
- Crowd-pleasing – Kids and grandparents alike go back for seconds (sometimes thirds!)
- Holiday hero – It’s fancy enough for Thanksgiving but easy enough for Tuesday night cravings
- That caramel factor – Because let’s be real, everything’s better with caramel
It’s the kind of dessert that makes people ask for the recipe before they’ve even finished their first slice.
Tips for the Best Caramel Apple Tart
Want to take your caramel apple tart from good to “Oh my god, can I have the recipe?” status? Here are my hard-won secrets:
- Apple choice is key – Granny Smith gives that perfect tang, but mix in Honeycrisp or Pink Lady for extra sweetness and texture
- Pre-cook those apples – Just 5 minutes in the skillet prevents a soggy crust (I learned this the hard way with my first mushy tart disaster)
- Cool before slicing – I know it’s tempting, but waiting 20 minutes lets the caramel set so you get clean slices
- Extra caramel drizzle – Heat it slightly and pour it over the cooled tart – it’ll pool beautifully between the apples
Follow these, and you’ll be the caramel apple tart hero of every gathering!
Caramel Apple Tart Variations
The beauty of this caramel apple tart is how easily you can make it your own! Try tossing toasted pecans into the apple mixture for crunch, or swap regular caramel for salted caramel to balance the sweetness. Feeling adventurous? A sprinkle of sea salt flakes right before serving creates this gorgeous sweet-salty contrast that’ll have everyone begging for your secret.
Serving and Storing Your Caramel Apple Tart
Nothing beats serving this caramel apple tart slightly warm with a scoop of vanilla ice cream melting over the top – that hot-cold combo is pure magic. If you’ve got leftovers (lucky you!), just cover the tart pan tightly with foil or transfer slices to an airtight container. It keeps beautifully at room temperature for up to 3 days, though good luck making it last that long in my house!
Caramel Apple Tart Nutrition Information
Now, let’s talk about the nutrition side of things – because let’s be honest, we all want to know what we’re indulging in! This caramel apple tart is definitely a treat, but hey, apples count as fruit, right? (That’s what I tell myself anyway.)
Here’s the scoop: while I can’t give you exact numbers since ingredient brands and apple sizes vary, I can tell you this dessert packs a decent amount of fiber from the apples and crust. The caramel and sugars add that irresistible sweetness we all crave in a dessert. Nutritional values are estimates and vary by ingredients – but honestly, some things are just worth savoring without overanalyzing. Life’s too short not to enjoy a slice of warm caramel apple tart, don’t you think?
Frequently Asked Questions
Can I use store-bought pie crust?
Absolutely! I use store-bought crust all the time when I’m short on time. The key is choosing a good quality one – I swear by Pepperidge Farm’s frozen crusts. Just thaw it properly before rolling out so you don’t get cracks. Homemade is wonderful, but this tart turns out great with the shortcut too.
How do I prevent the caramel from hardening too much?
The trick is to drizzle extra caramel sauce on the tart after baking (not before). Also, slightly warming your caramel before drizzling makes it flow beautifully without setting rock-hard. If it does firm up too much? No worries – a quick 10-second microwave zap softens it right up.
Can I make this caramel apple tart ahead of time?
You sure can! The apples hold up beautifully for 1-2 days if you store the unbaked tart covered in the fridge. Just add 5 extra minutes to the bake time since it’s going in cold. The baked tart also keeps well at room temperature – just don’t add that final caramel drizzle until you’re ready to serve.
Alright, now it’s your turn to work some caramel apple tart magic! I can’t wait to hear how it turns out for you. Did you add any special twists? Maybe some chopped nuts or a splash of bourbon in the caramel? Whatever you try, I want to hear all about it! Drop a comment below with your results, questions, or even that funny story about how you (almost) burned the apples but saved the day. Baking’s always better when we share our kitchen adventures together. Now go preheat that oven – your perfect caramel apple tart awaits!
Print
Irresistible Caramel Apple Tart in Just 35 Minutes
- Total Time: 50 minutes
- Yield: 8 servings 1x
- Diet: Vegetarian
Description
A delicious caramel apple tart with a buttery crust, sweet caramel, and tender apples.
Ingredients
- 1 pie crust (store-bought or homemade)
- 4 medium apples, peeled and thinly sliced
- 1/2 cup granulated sugar
- 1/4 cup brown sugar
- 1/4 cup unsalted butter
- 1 tsp cinnamon
- 1/4 tsp nutmeg
- 1 tbsp lemon juice
- 1/2 cup caramel sauce
Instructions
- Preheat oven to 375°F (190°C).
- Roll out the pie crust and press it into a tart pan.
- In a bowl, mix apples, sugars, cinnamon, nutmeg, and lemon juice.
- Melt butter in a skillet, add apple mixture, and cook for 5 minutes.
- Spread caramel sauce over the crust.
- Arrange cooked apples on top.
- Bake for 30-35 minutes until golden.
- Let cool before slicing.
Notes
- Use firm apples like Granny Smith or Honeycrisp.
- Drizzle extra caramel on top before serving.
- Serve with vanilla ice cream for a richer dessert.
- Prep Time: 15 minutes
- Cook Time: 35 minutes
- Category: Dessert
- Method: Baking
- Cuisine: American
Nutrition
- Serving Size: 1 slice
- Calories: 320
- Sugar: 28g
- Sodium: 180mg
- Fat: 12g
- Saturated Fat: 6g
- Unsaturated Fat: 4g
- Trans Fat: 0g
- Carbohydrates: 52g
- Fiber: 3g
- Protein: 2g
- Cholesterol: 20mg