Oh my gosh, you’re gonna love these chocolate-dipped cone witch hats! They’re the perfect mix of spooky and sweet—just like Halloween itself. I first made them for my niece’s costume party, and let me tell you, they were the hit of the night. The best part? They’re ridiculously easy to throw together—no baking required! Just a few ingredients, a little melted chocolate, and your favorite candies tucked inside. Honestly, they’re so simple even the kids can help (though you might end up with more chocolate on their faces than on the cones). Trust me, once you try these, they’ll become your go-to Halloween treat!
Why You’ll Love These Chocolate-Dipped Cone Witch Hats Filled with Candy
These little witch hats aren’t just adorable—they’re downright magical! Here’s why they’ve become my Halloween staple:
- So quick: From start to snack-time in 15 minutes flat
- No oven needed: Just melt, dip, and fill—perfect for hot October days
- Kid-approved: Little hands love stuffing them with candy surprises
- Endless options: Switch up chocolates and fillings for different looks
- Instant Halloween vibes: They look like they flew straight from a witch’s kitchen!
Seriously, these might just upstage your pumpkin carving as the star of your Halloween prep!
Ingredients for Chocolate-Dipped Cone Witch Hats Filled with Candy
Here’s the beautiful simplicity of it—you only need four things to create these wickedly fun treats:
- 6 sugar cones (the classic ice cream kind—they’re the perfect witch hat shape!)
- 1 cup melted chocolate (dark or milk—whatever makes your cauldron bubble with joy)
- 1/2 cup assorted candies (go wild with M&M’s, gummy worms, or even candy corn)
- 1 tbsp vegetable oil (optional, but it makes the chocolate dip like a dream)
That’s it! No fancy ingredients, no complicated steps—just pure, spooky sweetness ready to happen in your kitchen.
Equipment You’ll Need
Don’t worry—you won’t need any witchy potions or magic wands for this! Just grab these everyday kitchen essentials:
- A microwave-safe bowl (glass works great)
- Parchment paper (trust me, it’s a lifesaver for cleanup)
- A spoon for drizzling (or get fancy with a piping bag)
See? Told you it was simple—probably already have everything in your kitchen right now!
How to Make Chocolate-Dipped Cone Witch Hats Filled with Candy
Okay, let’s get to the fun part—turning those simple ingredients into magical witch hats! I’ve made these so many times I could do it in my sleep, but here’s exactly how to get them perfect on your first try.
Step 1: Melt the Chocolate
First things first—let’s get that chocolate silky smooth! Pour your chocolate chips into a microwave-safe bowl and zap them for 30 seconds at a time, stirring well between each burst. This prevents scorching—nobody wants burnt witch hats! After about 2-3 rounds, you’ll have perfectly melted chocolate. If it seems too thick, stir in that optional tablespoon of vegetable oil. It makes the chocolate flow like a magic potion when you’re dipping.
Step 2: Dip the Cones
Now the messy fun begins! Grab a sugar cone and dip the wider open end straight into the chocolate—about an inch deep is perfect. Gently swirl it to coat evenly, then let the excess drip back into the bowl. Here’s my secret: place them upside down on parchment paper to dry. This creates that awesome “witch hat brim” effect as the chocolate sets. Let them harden for about 15 minutes—enough time to pick chocolate off your fingers!

Step 3: Fill with Candy
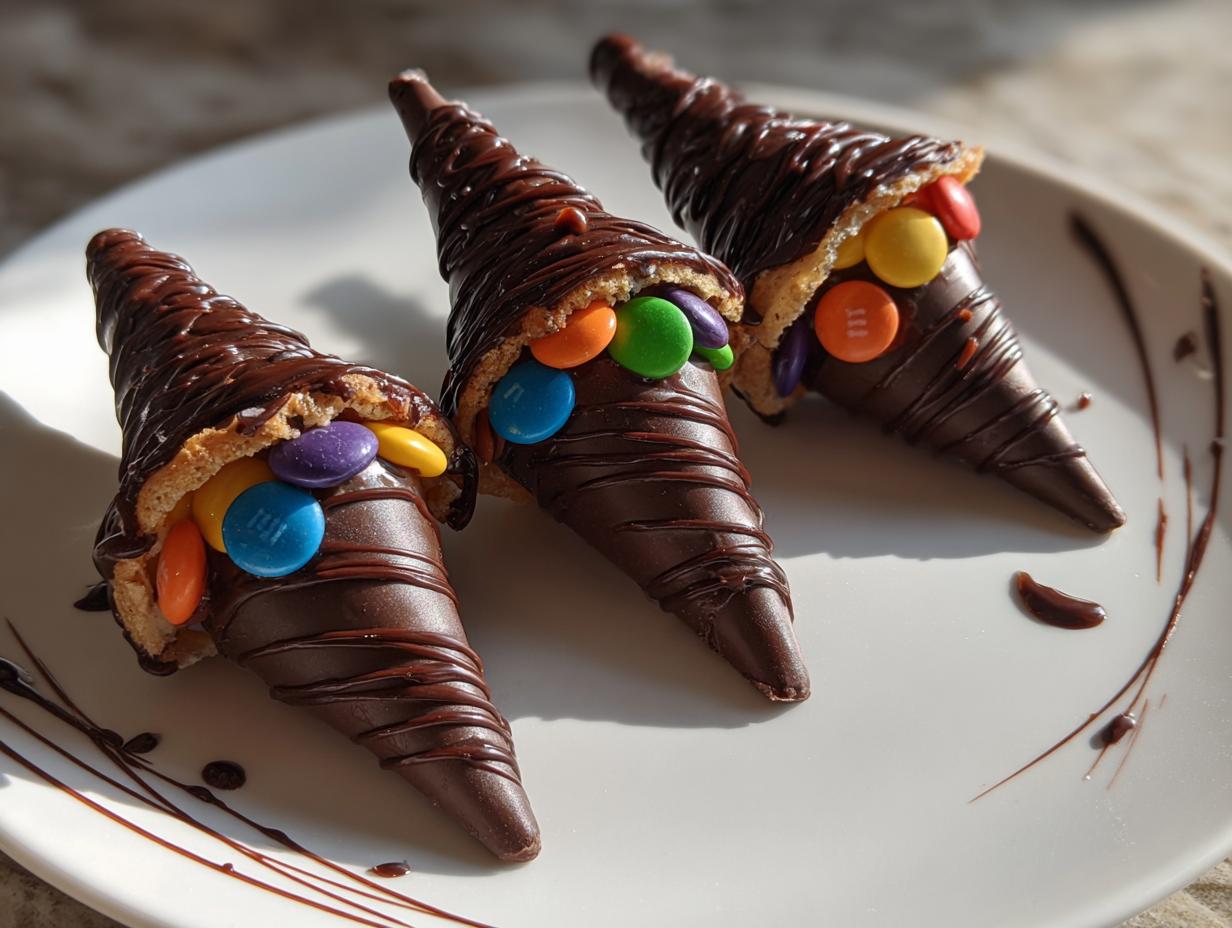
The best part—stuffing them with treats! Once your chocolate brims are set, flip the cones right side up. Now unleash your inner candy witch by filling each cone with your chosen goodies. I love using a mix—maybe some gummy worms crawling out with M&M “eyes” peeking through. Let the kids go wild here—the more colorful, the better!

Step 4: Decorate and Set
Want to get fancy? Drizzle any leftover chocolate over the tops in zig-zags or spiderweb patterns. Add sprinkles immediately so they stick! Then let them sit for another 10 minutes to fully set. Pro tip: if your kitchen’s warm, pop them in the fridge for 5 minutes to speed things up. Now you’ve got witch hats that look too good to eat… almost!

Tips for Perfect Chocolate-Dipped Cone Witch Hats Filled with Candy
After making dozens of these witch hats (and eating my fair share of “test batches”), here are my foolproof tips:
- White chocolate magic: Swap dark for white chocolate and add orange food coloring for a pumpkin-spiced look
- Sprinkle while wet: Toss on edible glitter or Halloween sprinkles right after drizzling—they’ll stick like magic
- Cool storage: Keep them in the fridge if your kitchen runs warm—nobody wants a melted witch hat!
- Quick fix: If chocolate gets too thick, just microwave for 5 more seconds
Trust me, these little tricks make all the difference between good witch hats and spellbinding ones!
Variations for Chocolate-Dipped Cone Witch Hats Filled with Candy
Oh, the possibilities! Once you’ve mastered the basic recipe, it’s time to get creative. Try swapping dark chocolate for white and stirring in purple food coloring for a truly witchy vibe. Or go wild with themed candies—black licorice “bats” or sour patch “monsters” peeking out make for hilarious surprises. My personal favorite? A dusting of edible green glitter that makes them look positively enchanted. The beauty is, there’s no wrong way to witch-ify these treats!
Serving and Storage
These witch hats are best served fresh—just pile them on a spooky platter and watch them disappear! If you’ve got leftovers (unlikely, but it happens), store them in an airtight container in a cool spot. Hot tip: the fridge works great, especially if your kitchen gets warm. That way, your chocolate-dipped cones stay crisp and your candy filling stays fresh for sneaky midnight snacks!
Nutritional Information
Here’s the scoop on these witch hats—each one packs about 150 calories, with 12g of sugar (blame the candy stash!). Remember, these numbers are just estimates—your actual results may vary depending on how generously you stuff those cones!
Frequently Asked Questions
Q1: Can I use different types of chocolate?
Absolutely! Dark, milk, white—even colored candy melts work beautifully. Just remember: thicker chocolates might need a bit more oil to dip smoothly.
Q2: Can kids help make these witch hats?
Oh my goodness, yes! Little hands love stuffing the cones with candy. Just handle the hot melted chocolate yourself—those tiny fingers don’t need witchy burns!
Q3: How far ahead can I make these?
They’re best fresh, but you can prep them a day ahead. Store in an airtight container—if they last that long! The chocolate keeps everything crispy.
Q4: What if my chocolate gets too thick?
No panic! Just zap it for 5-10 more seconds or stir in a smidge more oil. Witch hats forgive small kitchen mishaps!
Share Your Creations
I’d love to see your witchy creations! Snap a photo of your spookiest chocolate-dipped cone designs—the sillier, the better. Maybe yours will give me new candy-stuffing ideas for next Halloween!
Print
15-Minute Chocolate-Dipped Cone Witch Hats Filled with Candy – Magical!
- Total Time: 15 mins
- Yield: 6 witch hats 1x
- Diet: Vegetarian
Description
Fun and festive chocolate-dipped cone witch hats filled with candy, perfect for Halloween parties or treats.
Ingredients
- 6 sugar cones
- 1 cup melted chocolate (dark or milk)
- 1/2 cup assorted candies (M&M’s, gummy worms, etc.)
- 1 tbsp vegetable oil (optional, for smoother chocolate)
Instructions
- Melt the chocolate in a microwave-safe bowl, stirring every 30 seconds until smooth.
- Dip the open end of each sugar cone into the melted chocolate, coating about 1 inch deep.
- Let excess chocolate drip off, then place the cones upside down on parchment paper to dry.
- Once hardened, flip the cones right side up.
- Fill each cone with assorted candies.
- Drizzle more melted chocolate over the top for decoration (optional).
- Let set completely before serving.
Notes
- Use white chocolate for a different look.
- Add sprinkles or edible glitter for extra sparkle.
- Store in a cool place to prevent melting.
- Prep Time: 10 mins
- Cook Time: 5 mins
- Category: Dessert
- Method: No-Bake
- Cuisine: American
Nutrition
- Serving Size: 1 witch hat
- Calories: 150
- Sugar: 12g
- Sodium: 10mg
- Fat: 8g
- Saturated Fat: 4g
- Unsaturated Fat: 3g
- Trans Fat: 0g
- Carbohydrates: 20g
- Fiber: 1g
- Protein: 2g
- Cholesterol: 5mg