Oh my gosh, let me tell you about my Chocolate Peanut Butter Pie – it’s the dessert that disappears faster than I can make it! I swear, every time I bring this to a potluck or family gathering, people hover around the fridge like vultures waiting for their slice. The best part? You don’t even need to turn on your oven.

This creamy, dreamy pie has been my go-to “emergency dessert” since college when my roommate and I would whip it up at midnight (don’t judge!). That perfect combo of rich peanut butter filling and chocolate cookie crust is pure magic. }\It’s one of those recipes where you’ll look like a baking pro, but secretly know it took barely 20 minutes of actual work. Just wait till you see how easy it is!
Why You’ll Love This Chocolate Peanut Butter Pie
Trust me, this pie checks all the boxes:
- No-bake magic: Perfect for hot summer days when you can’t bear to turn on the oven
- Quick prep: From bowl to fridge in under 20 minutes – my kind of dessert!
- Rich flavor: That peanut butter-chocolate combo hits all the right notes
- Crowd pleaser: Kids and adults alike go crazy for this pie
- Make-ahead friendly: Actually tastes better after chilling overnight
Seriously, it’s the dessert equivalent of a warm hug – comforting, indulgent, and impossible to resist.
Ingredients for Chocolate Peanut Butter Pie
Here’s everything you’ll need to make this dreamy dessert – and yes, every ingredient matters! I learned the hard way that substitutions can change the texture completely.
- 1 1/2 cups crushed chocolate cookies (about 20 Oreos, filling included – trust me, it’s better this way)
- 6 tbsp melted butter (salted works best to balance the sweetness)
- 1 cup creamy peanut butter (not natural style – we need that smooth texture)
- 8 oz cream cheese (one full block, softened to room temperature – no shortcuts here!)
- 1 cup powdered sugar (packed lightly – I just scoop and level)
- 1 tsp pure vanilla extract (the good stuff makes a difference)
- 1 1/2 cups whipped cream (freshly whipped or thawed frozen works in a pinch)
- 1/2 cup chocolate syrup (for drizzling – I’m partial to the thick, fudgy kind)
See? Simple ingredients, but when combined just right, they create pure magic.
Equipment You’ll Need
Don’t worry – you probably already have everything! Here’s what I grab before starting:
- 9-inch pie dish (glass or ceramic works best)
- Mixing bowls (one large, one medium)
- Electric mixer (hand or stand – your choice)
- Spatula (for scraping every last bit of that delicious filling)
- Measuring cups/spoons (no eyeballing – precision matters here!)
That’s it! No fancy gadgets needed for this simple, heavenly pie.
How to Make Chocolate Peanut Butter Pie
Okay, let’s get to the fun part – making this dreamy pie! I promise it’s easier than you think, but there are a few key steps that make all the difference. Follow along and you’ll have the creamiest, most decadent Chocolate Peanut Butter Pie in no time.
Step 1: Prepare the Crust
First things first – that chocolatey cookie crust! In a medium bowl, mix your crushed cookies with melted butter until it looks like wet sand. Now here’s my secret: press it firmly into your pie dish using the bottom of a measuring cup. This creates an even layer that won’t crumble when sliced. Pop it in the fridge for at least 10 minutes – this quick chill helps the crust set before we add that luscious filling.
Step 2: Make the Filling
While the crust chills, let’s make the star of the show. In a large bowl, beat the peanut butter and softened cream cheese together until completely smooth – no lumps allowed! Scrape down the sides of the bowl (I forget this sometimes and end up with unmixed bits). Gradually add the powdered sugar and vanilla, beating until everything is perfectly combined. The mixture should be thick but spreadable at this point.
Step 3: Fold in Whipped Cream
Here’s where we add that magical lightness! Add about 1/3 of your whipped cream to the peanut butter mixture and gently fold it in with a spatula. This loosens the mixture so the rest incorporates easily. Add the remaining whipped cream and fold gently – we want to keep all that airiness! Stop when you see just a few streaks remaining; overmixing will deflate our fluffy filling.
Step 4: Assemble and Chill
Scoop your heavenly filling into the chilled crust and smooth the top. Now for the fun part – drizzle that chocolate syrup in whatever pattern makes you happy! I like to do a spiral pattern, but zigzags work too. The most important step? Chill for at least 4 hours (overnight is even better). I know waiting is hard, but trust me – this transforms the pie from good to absolutely irresistible.

Tips for the Best Chocolate Peanut Butter Pie
After making this pie more times than I can count, I’ve learned a few tricks that make all the difference:
- Chill that crust! Those 10 minutes in the fridge prevent crumbling when you slice it later.
- Full-fat cream cheese only – low-fat versions make the filling weep (learned that the hard way).
- Fold gently – treat that whipped cream like a cloud you don’t want to squish.
- Room temp ingredients help everything blend smoothly without lumps.
Follow these simple tips, and you’ll have pie perfection every single time!
Variations and Substitutions
Listen, I’m all about sticking to the original recipe – it’s perfect as is! But I get it, sometimes you need to mix things up. Here are my tried-and-true swaps that still deliver amazing results:
- Crust options: Graham crackers work beautifully if you’re out of chocolate cookies (use 1 1/2 cups crumbs with same butter amount)
- Nut butter swaps: Almond butter makes a delicious alternative if peanut allergies are a concern
- Sweetener tweaks: Sugar-free chocolate syrup works surprisingly well for a lower-sugar version
- Creamy additions: Sometimes I swirl melted chocolate into the filling for extra decadence
Just remember – the more you change, the more the texture might vary. But hey, that’s half the fun of baking! If you’re looking for other easy dessert ideas, check out my recipe for No Bake Peanut Butter Bars.
Serving and Storage
Here’s how I serve my Chocolate Peanut Butter Pie for maximum wow factor: straight from the fridge with an extra dollop of whipped cream and maybe a sprinkle of crushed peanuts if I’m feeling fancy. The cold makes that creamy filling absolutely perfect!
Leftovers? Ha! Just kidding – though if you somehow have any, store them covered in the fridge for 3-4 days. The crust might soften a bit by day 3, but the flavor only gets better. Pro tip: I sometimes hide a slice in the back of the fridge for “quality control” the next day.
Nutritional Information
Now let’s be real – we’re not eating Chocolate Peanut Butter Pie for its health benefits! But for those curious, here’s the scoop (based on my exact ingredients):
Per serving (1 slice): About 420 calories, 30g fat (12g saturated), 32g carbs (2g fiber), 8g protein. Remember, nutrition varies based on your specific brands and measurements. I say enjoy every creamy bite guilt-free – life’s too short to skip dessert! For more information on general dessert nutrition, you can check out resources like the USDA’s nutrition database.
Frequently Asked Questions
I get asked about this Chocolate Peanut Butter Pie all the time! Here are the questions that pop up most often:
Can I freeze this pie? Oh honey, don’t do it! The texture turns grainy when thawed – trust me, I learned this the sad way. The filling separates and the crust gets soggy. It’s best enjoyed fresh from the fridge.
How long does it really need to chill? At least 4 hours, but overnight is magic. That time lets the flavors marry and the filling set properly. I know waiting is hard, but it’s worth it! If you need a quick fix, try my recipe for Easy Banana Split Dessert.
What can I use instead of peanut butter? Almond butter works beautifully in a pinch! Just make sure it’s the creamy, no-stir kind. Sunflower seed butter works too if nut allergies are a concern.
Can I make this ahead? Absolutely! It keeps beautifully in the fridge for 2-3 days – if it lasts that long. The flavors actually deepen over time.
Why did my filling weep? Usually means the cream cheese wasn’t room temp or you overmixed. Next time, let ingredients soften properly and fold gently! For tips on softening cream cheese quickly, you can look up methods for softening cream cheese.
Print
Irresistible 20-Minute Chocolate Peanut Butter Pie Recipe
- Total Time: 4 hrs 20 mins
- Yield: 8 servings 1x
- Diet: Vegetarian
Description
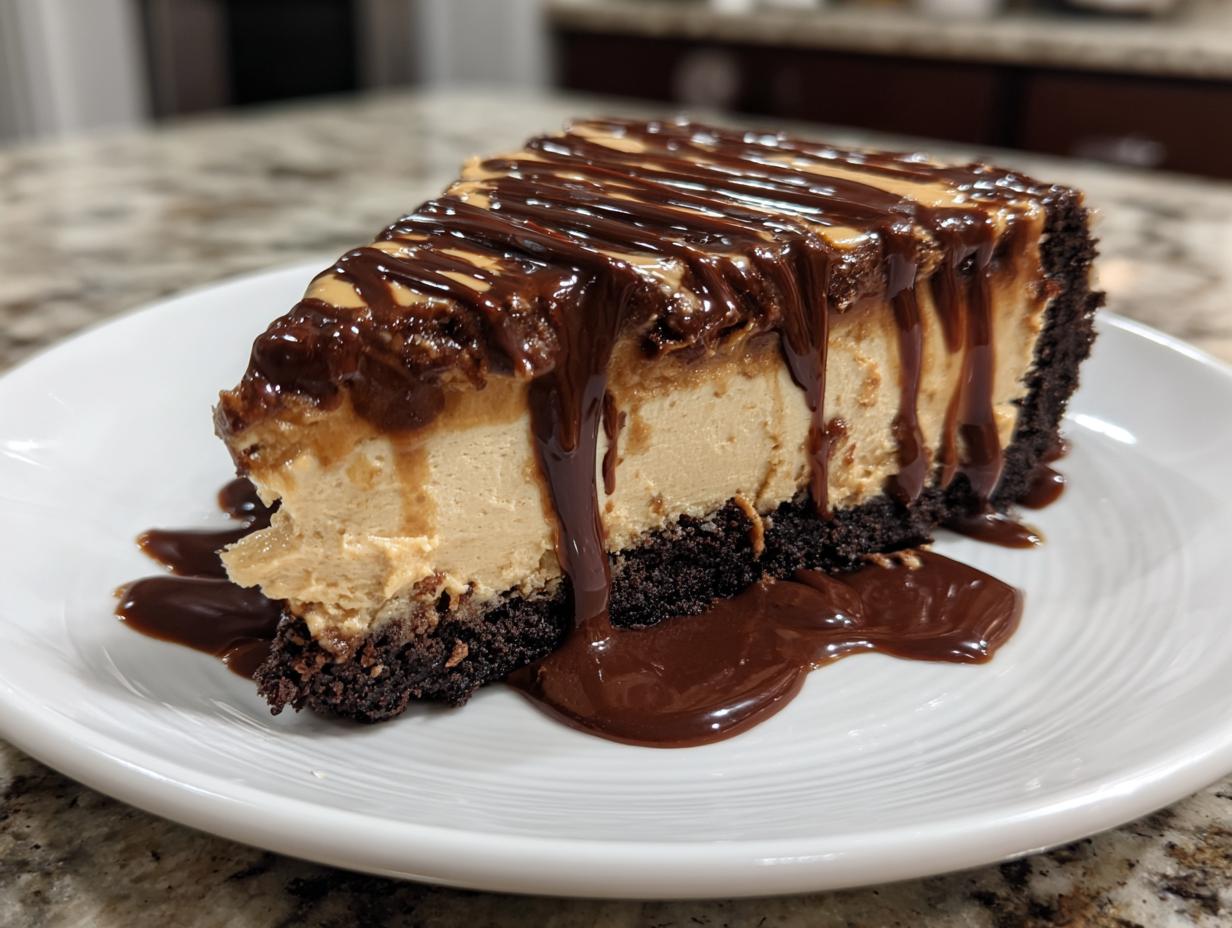
A rich and creamy chocolate peanut butter pie with a cookie crust.
Ingredients
- 1 1/2 cups crushed chocolate cookies
- 6 tbsp melted butter
- 1 cup creamy peanut butter
- 8 oz cream cheese, softened
- 1 cup powdered sugar
- 1 tsp vanilla extract
- 1 1/2 cups whipped cream
- 1/2 cup chocolate syrup
Instructions
- Mix crushed cookies and melted butter, press into a pie dish.
- Beat peanut butter, cream cheese, powdered sugar, and vanilla until smooth.
- Fold in whipped cream gently.
- Spread mixture into the crust.
- Drizzle with chocolate syrup.
- Chill for at least 4 hours before serving.
Notes
- Use a 9-inch pie dish.
- Chill crust for 10 minutes before filling.
- Store leftovers in the fridge.
- Prep Time: 20 mins
- Cook Time: 0 mins
- Category: Dessert
- Method: No-Bake
- Cuisine: American
Nutrition
- Serving Size: 1 slice
- Calories: 420
- Sugar: 28g
- Sodium: 320mg
- Fat: 30g
- Saturated Fat: 12g
- Unsaturated Fat: 14g
- Trans Fat: 0g
- Carbohydrates: 32g
- Fiber: 2g
- Protein: 8g
- Cholesterol: 45mg