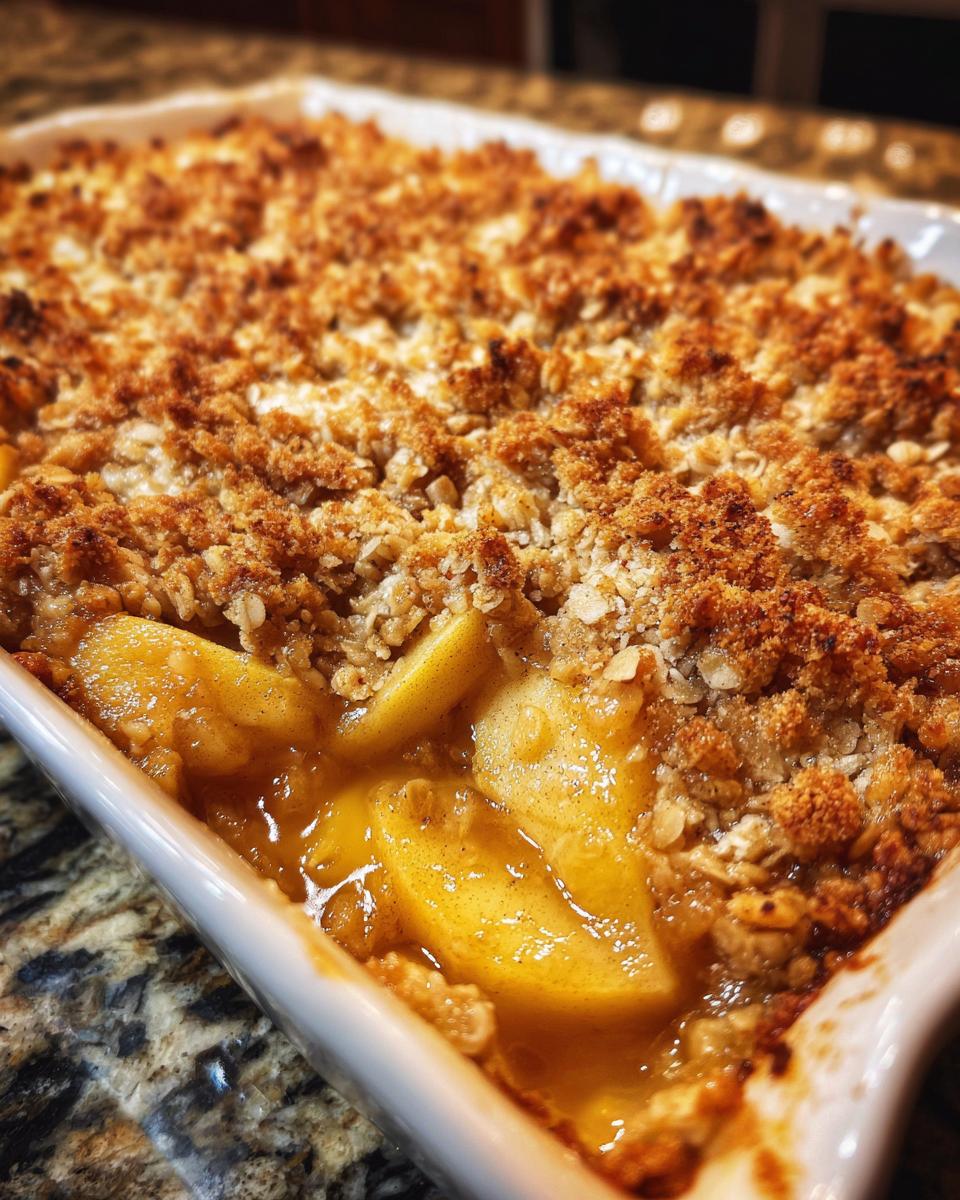
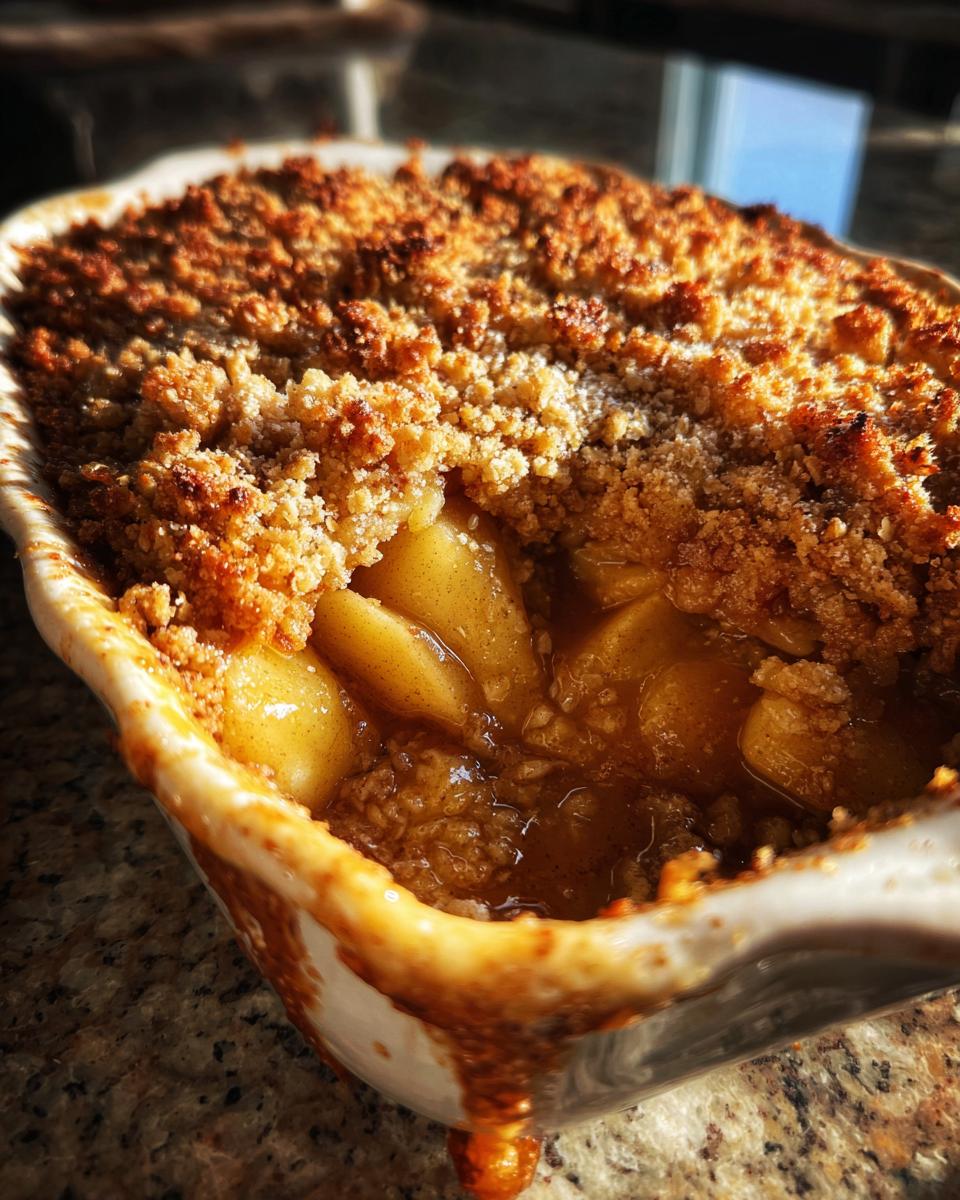
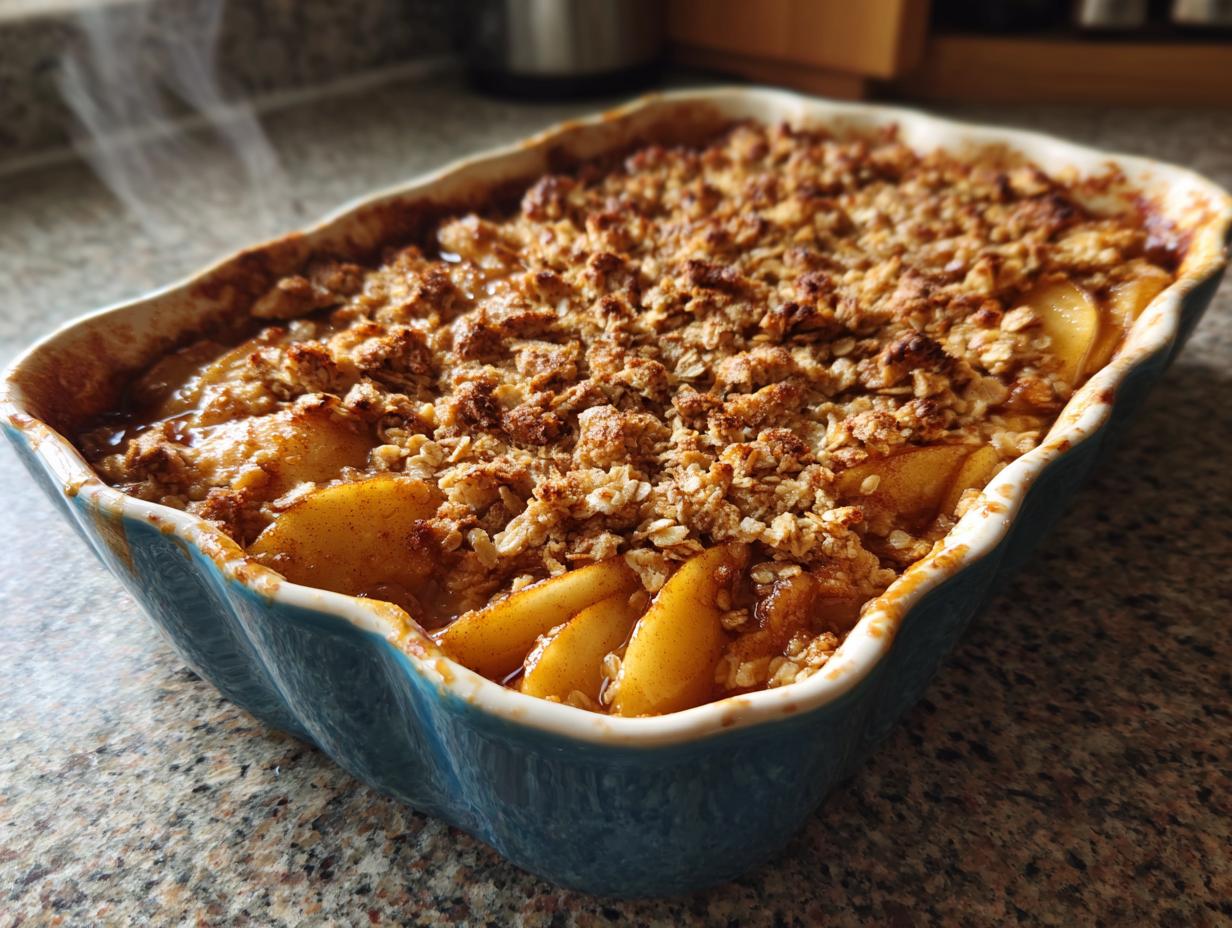
There’s nothing quite like pulling a bubbling, golden-brown apple crisp from the oven on a chilly day – that sweet cinnamon scent filling your kitchen is pure comfort food magic. This Classic Apple Crisp with Oat Topping has been my go-to dessert for over 20 years of baking, ever since my grandma first taught me her secret: letting the apples get slightly jammy underneath that irresistible crunchy oat topping. I’ve made it for countless family gatherings where it disappears faster than the pumpkin pie, and it’s still my favorite way to celebrate apple season. What makes it so special? It’s that perfect balance of tart fruit and buttery crumble that comes together with just a handful of simple ingredients – no fancy techniques required!

Why You’ll Love This Classic Apple Crisp with Oat Topping
This isn’t just another dessert – it’s the kind of recipe that makes people sneak seconds when they think no one’s looking. Here’s why it’s been my trusty dessert for decades:
- Easy enough for weeknights but impressive for company (I’ve served it at Thanksgiving when pies failed!)
- That magical contrast between jammy apples and the crispy, buttery oat topping
- Adaptable to whatever apples you have on hand – I’ve even used pears in a pinch
- Smells like autumn happiness while baking (warning: may cause neighbors to “drop by”)
- No fancy equipment needed – just two bowls and your hands for the best crumb texture
Ingredients for Classic Apple Crisp with Oat Topping
I always tell my baking students – great desserts start with great ingredients! Here’s exactly what you’ll need for that perfect balance of sweet-tart apples and crunchy topping:
- 6 cups apples – peeled, cored, and thinly sliced (my grandma swore by Granny Smith, but use what you’ve got!)
- 1/2 cup granulated sugar – this helps draw out the apples’ juices
- 1 tbsp lemon juice – keeps the apples from browning and adds bright flavor
- 1 tsp ground cinnamon – the cozy spice that makes it smell like home
- 1/2 cup all-purpose flour – spooned and leveled, no packing!
- 1/2 cup old-fashioned rolled oats – not instant! They give that perfect chew
- 1/2 cup packed brown sugar – press it firmly into your measuring cup
- 1/4 tsp salt – just enough to balance the sweetness
- 1/2 cup cold unsalted butter – cubed small (I pop mine in the freezer for 10 minutes first)
Pro tip: Measure your apples after slicing – piled loosely in the measuring cup works best!
How to Make Classic Apple Crisp with Oat Topping
Okay, friend – let’s get to the good stuff! This is where the magic happens. I’ve made this crisp so many times I could probably do it in my sleep, but I’ll walk you through each step like I’m right there in your kitchen with you. Promise it’s easier than you think!
Preparing the Apple Filling
First things first – those glorious apples! I like to peel them (though you can leave the skins on for extra texture if you’re feeling wild). Slice them about 1/4-inch thick – not too thin or they’ll turn to mush, not too thick or they won’t get that perfect jammy texture. Toss them in a big bowl with the granulated sugar, lemon juice, and cinnamon. The sugar will start pulling out the apple juices immediately – that’s exactly what we want! This creates that syrupy goodness at the bottom of the baking dish. I always use my hands to mix so I can feel when every slice is coated.
Making the Oat Topping
Now for my favorite part – the crumble! In another bowl (no need to wash the apple bowl first), whisk together the flour, oats, brown sugar and salt. Then comes the butter – make sure it’s cold cold cold. I cut it into tiny cubes and toss them in the dry mix. Here’s the secret: use your fingertips to rub the butter into the mixture until it looks like wet sand with some pea-sized clumps. Those clumps will give you those perfect crispy bits later! If I’m prepping ahead, I’ll refrigerate this mixture for up to 2 days – just cover it tight.
Baking and Serving
Spread your sugared apples in a 9×13 baking dish (no need to grease it) and sprinkle the topping evenly over everything. Don’t press it down – let it stay loose and craggy! Pop it in a 375°F oven right in the center rack. In about 25 minutes you’ll smell that incredible cinnamon aroma, and at 30-35 minutes it should be golden brown with juices bubbling up around the edges. Let it cool just until you can’t stand waiting anymore – about 10 minutes – then serve it warm. That first bite of crisp topping giving way to tender apples? Absolute heaven.

Tips for Perfect Classic Apple Crisp with Oat Topping
After decades of baking this crisp (and eating my fair share of failed experiments), I’ve learned a few tricks that make all the difference:
- Apple choices matter: Mix tart Granny Smith with Honeycrisp or Braeburn for balanced sweetness – too sweet and it’s cloying!
- Butter temperature is key: Cold butter = flaky topping. If your hands warm it up, pop the bowl in the fridge for 5 minutes.
- The squeeze test: Your topping should hold together when pinched but still crumble easily – add another tbsp butter if too dry.
- Bubbles don’t lie: Wait until you see juices bubbling vigorously at the edges – that’s how you know the apples are perfectly soft.
- Leftover magic: Store covered at room temp for 2 days (if it lasts that long!) – the topping stays crispier than refrigerated versions.
Variations for Classic Apple Crisp with Oat Topping
One of my favorite things about this recipe is how easily you can play with flavors! Try adding chopped pecans or walnuts to the topping for extra crunch. A pinch of nutmeg or cardamom brings warmth, while a drizzle of caramel before serving makes it extra indulgent. Feeling adventurous? Mix in some fresh cranberries with the apples – the tart pop is incredible!
Serving Suggestions
Oh, the possibilities! A scoop of vanilla ice cream melting over warm crisp is classic perfection, but don’t sleep on cinnamon-spiked whipped cream or a drizzle of salted caramel. For breakfast (no judgment!), Greek yogurt makes a deliciously tangy pairing – trust me, I’ve “tested” this extensively!
Storing and Reheating Classic Apple Crisp with Oat Topping
Here’s how to keep that crisp-tastic magic going! Let it cool completely, then cover tightly – it’ll stay fresh in the fridge for 3-4 days (though ours never lasts that long!). For freezer storage, wrap individual portions – they reheat beautifully in a 350°F oven for 15 minutes straight from frozen. Pro tip: Sprinkle a few fresh oats on top before reheating to bring back that irresistible crunch!
Nutritional Information
Just so you know, these are estimates – actual numbers can vary based on your ingredients. Each serving of this heavenly crisp has about 320 calories, 28g sugar, and 3g fiber. Not bad for dessert that tastes this good!
Frequently Asked Questions
Q1. What apples work best for apple crisp?
I always recommend mixing tart Granny Smith with sweeter varieties like Honeycrisp or Braeburn – this balance prevents the filling from being too sweet while still getting those perfect jammy apples. The tartness cuts through the buttery topping beautifully!
Q2. Can I make this gluten-free?
Absolutely! Just swap the all-purpose flour for your favorite gluten-free blend (I’ve had great results with almond flour too). Keep everything else the same – those rolled oats are naturally gluten-free, though check the package if you’re sensitive.
Q3. How do I freeze apple crisp?
You’ll want to bake it first, then cool completely. Wrap individual portions airtight – they’ll keep for 2-3 months. To reheat, pop frozen slices in a 350°F oven for 15-20 minutes until warmed through. The topping stays surprisingly crisp!
Q4. Why is my topping soggy?
Most likely from underbaking – wait until juices bubble vigorously around the edges! Also, make sure your butter was ice-cold when making the crumble. If all else fails, a quick 5-minute broil (watch closely!) can rescue a limp topping.
Q5. Can I prepare this ahead of time?
Definitely! The oat topping mixture keeps wonderfully in the fridge for 2 days (just toss it in a baggie). You can even assemble the whole crisp up to 8 hours before baking – cover and refrigerate, then bake as directed.

20-Year Secret for Perfect Classic Apple Crisp with Oat Topping
- Total Time: 55 mins
- Yield: 6 servings 1x
- Diet: Vegetarian
Description
A warm and comforting apple crisp dessert with a crunchy oat topping.
Ingredients
- 6 cups apples, peeled and sliced
- 1/2 cup granulated sugar
- 1 tbsp lemon juice
- 1 tsp ground cinnamon
- 1/2 cup all-purpose flour
- 1/2 cup rolled oats
- 1/2 cup brown sugar
- 1/4 tsp salt
- 1/2 cup unsalted butter, cold and cubed
Instructions
- Preheat oven to 375°F (190°C).
- In a bowl, mix apples, granulated sugar, lemon juice, and cinnamon. Transfer to a baking dish.
- In another bowl, combine flour, oats, brown sugar, and salt. Cut in the butter until crumbly.
- Sprinkle the topping over the apples.
- Bake for 30-35 minutes or until golden brown and bubbly.
- Serve warm with ice cream if desired.
Notes
- Use tart apples like Granny Smith for the best flavor.
- The topping can be prepared ahead and refrigerated.
- Prep Time: 20 mins
- Cook Time: 35 mins
- Category: Dessert
- Method: Baking
- Cuisine: American
Nutrition
- Serving Size: 1 serving
- Calories: 320
- Sugar: 28g
- Sodium: 100mg
- Fat: 12g
- Saturated Fat: 7g
- Unsaturated Fat: 4g
- Trans Fat: 0g
- Carbohydrates: 52g
- Fiber: 3g
- Protein: 2g
- Cholesterol: 30mg


