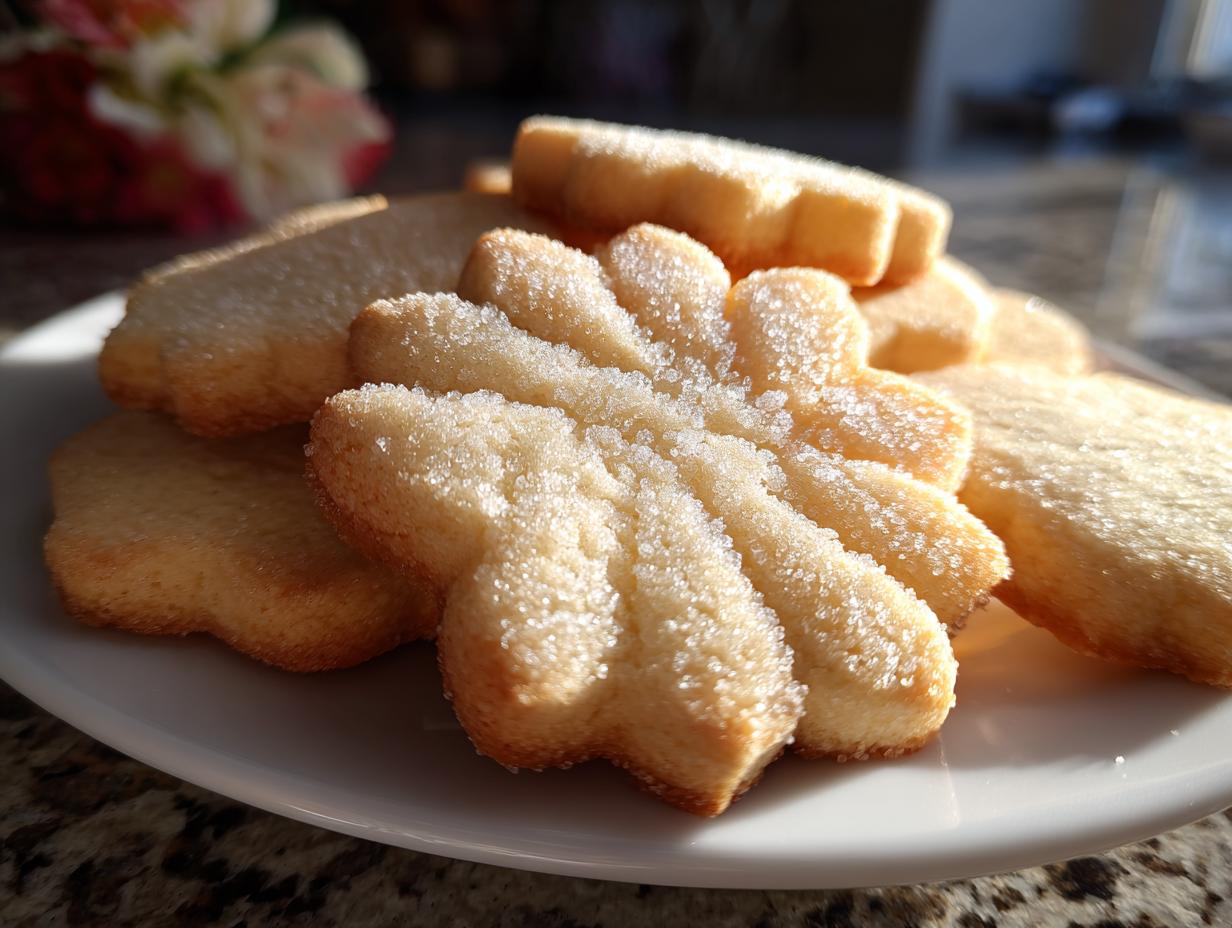
There’s something magical about classic cutout sugar cookies that takes me right back to my grandmother’s kitchen. The smell of butter and vanilla filling the air, the laughter as flour dusted our noses, and the excitement of pulling those perfectly shaped cookies from the oven – these are the moments that make this recipe so special.
I still use the same cookie cutters my mom gave me when I was just tall enough to peek over the counter. These aren’t just cookies; they’re edible memories. Classic cutout sugar cookies have been the centerpiece of every holiday, birthday, and “just because” baking day in our family for generations. What makes them truly perfect? That soft, buttery texture that melts in your mouth, yet holds its shape beautifully when decorated. Trust me, once you try this recipe, you’ll understand why it’s been passed down in so many families.

Why You’ll Love These Classic Cutout Sugar Cookies
Oh my goodness, where do I even start? These cookies have stolen my heart (and my family’s) for so many reasons:
- Perfect for decorating – The dough holds its shape like a dream, making those holiday baking projects actually look like the pictures!
- Just the right softness – Not too crunchy, not too cakey, with that melt-in-your-mouth buttery goodness
- So simple to make – Even my 8-year-old niece can help (flour mess and all!)
- Versatile as can be – One dough works for every season from Christmas trees to Valentine’s hearts
- Smells like childhood – That vanilla-butter aroma filling your kitchen? Pure magic!
Seriously, this recipe is my go-to for every celebration – and sometimes just because Tuesdays need cookies too.
Ingredients for Classic Cutout Sugar Cookies
Okay, confession time – I’ve tried every sugar cookie variation under the sun, but this simple ingredient list? Perfection. Here’s what you’ll need:
- 3 cups all-purpose flour (spooned and leveled – don’t pack it down!)
- 1/2 teaspoon baking powder (the secret to soft cookies that still hold shape)
- 1/4 teaspoon salt (trust me, it makes the butter flavor pop)
- 1 cup unsalted butter, softened (leave it out for 30 minutes – when you can press your finger in easily, it’s ready)
- 1 cup granulated sugar (regular white sugar works best here)
- 1 large egg (room temperature helps it mix better)
- 1 teaspoon vanilla extract (the good stuff makes all the difference)
See? Nothing fancy – just honest ingredients that work together like magic. Pro tip: measure everything before you start. It makes the whole process smoother than that perfectly rolled dough!
Equipment Needed
You won’t need anything fancy, but here’s what makes the process easier:
- Stand mixer or hand mixer (though I’ve made these by hand when desperate – just be ready for an arm workout!)
- Rolling pin (my grandma used a chilled wine bottle in a pinch)
- Cookie cutters (simple shapes work best – think hearts, circles, trees)
- Parchment-lined baking sheets (saves so much cleanup time)
- Cooling racks (essential for that perfect icing surface later)
That’s it! Now let’s get to the fun part – making those cookies!
How to Make Classic Cutout Sugar Cookies
Alright, let’s dive into the magic! I’ve made these cookies more times than I can count, and I’ve learned all the little tricks along the way. Follow these steps, and you’ll have perfect cookies every single time.
Preparing the Dough
First things first – whisk together your flour, baking powder, and salt in a bowl. Don’t skip this step! It makes sure everything gets evenly distributed. Now, grab your softened butter (remember that finger test?) and sugar. Cream them together until they’re light and fluffy – about 2-3 minutes with a mixer. This is where the magic starts! You’ll see the mixture turn pale and almost whipped-looking.
Next, beat in that egg and vanilla. Scrape down the sides of the bowl – those sneaky bits of butter love to hide there. Now, gradually add your dry ingredients. I do this in about 3 batches, mixing just until combined each time. Overmixing makes tough cookies, and we want soft, dreamy ones!

Chilling and Rolling
Here’s the step everyone tries to skip – but don’t! Divide your dough in half, flatten into discs, wrap in plastic, and chill for at least 1 hour. I know, waiting is hard, but this makes rolling SO much easier. Cold dough = sharp edges on your cookies.
When you’re ready to roll, flour your surface lightly. Roll to about 1/4-inch thickness – any thinner and they’ll burn, any thicker and they won’t cook evenly. Dip your cookie cutters in flour between cuts to prevent sticking. Pro tip: roll one disc while keeping the other chilled – warm dough is a nightmare to work with!
Baking the Cookies
Preheat your oven to 350°F (175°C) and line those baking sheets with parchment. Transfer your cutouts carefully – a thin spatula works great here. Leave about 1 inch between cookies; they don’t spread much, but they need breathing room.
Bake for 8-10 minutes – you want just the slightest golden edge. They’ll look underdone in the center, but trust me, they’ll firm up as they cool. Let them sit on the pan for 2 minutes before moving to cooling racks. Resist the urge to decorate until they’re completely cool – patience makes perfect icing canvases!

Decorating Your Classic Cutout Sugar Cookies
Oh, this is where the real fun begins! But first – and I can’t stress this enough – wait until those cookies are completely cool. I know it’s tempting, but warm cookies make runny icing disasters (learned that the hard way!). Once they’re ready, here’s how we create edible masterpieces:
Royal icing is my go-to for decorating – it dries hard and makes those picture-perfect cookies. Thin it with a tiny bit of water for flooding (filling large areas), then use thicker icing for details. Grab some toothpicks to help guide the icing into corners. Sprinkles? Toss them on while the icing’s still wet so they stick. And my favorite trick? Add a pinch of cinnamon to the icing for holiday cookies – it gives them that extra special something!
Storage and Freezing Instructions
Here’s the best part – these cookies keep beautifully! For undecorated cookies, stack them between parchment paper in an airtight container at room temperature (they’ll stay fresh for up to 1 week). Decorated cookies? Lay them in a single layer until the icing fully hardens (about 24 hours), then store the same way.
Want to get ahead? Freeze the dough discs for up to 3 months – just thaw overnight in the fridge before rolling. Already baked? Freeze undecorated cookies for 2 months in freezer bags. I always stash a batch – because surprise cookie cravings are real!
Frequently Asked Questions
Over the years, I’ve gotten so many questions about these classic cutout sugar cookies – here are the ones that pop up most often with my tried-and-true answers!
Can I freeze the dough?
Absolutely! In fact, I always make extra dough during holiday baking season. Just wrap those discs tightly in plastic wrap, then pop them in a freezer bag for up to 3 months. Thaw overnight in the fridge before rolling – easy as pie (or should I say cookies)!
Why did my cookies spread?
Oh honey, been there! Usually it’s one of three things: butter was too soft when creaming, dough wasn’t chilled enough before baking, or the baking powder expired (yes, it happens!). Next time, try chilling your cutouts on the baking sheet for 10 minutes before they go in the oven.
How long do they stay fresh?
Undecorated, they’ll stay perfectly soft in an airtight container for about a week. Decorated with royal icing? They’ll keep their crisp edges for 2-3 weeks (if they last that long!). Just store them between parchment layers so the decorations don’t stick together.
Can I use this dough for cookie pops?
You bet! Roll your dough slightly thicker (about 1/3 inch), insert sticks before baking, and reduce baking time by 1-2 minutes. Just be gentle when handling – these buttery beauties are delicate when warm!

Nutritional Information
Now, I’ll be real with you – we don’t make these classic cutout sugar cookies because they’re a health food! But if you’re curious (or need to satisfy that nutrition-conscious aunt), here’s the scoop per cookie (remember, these are estimates – your mileage may vary depending on ingredients and cookie size):
- Calories: About 150
- Sugar: 8g
- Fat: 7g
- Carbs: 20g
- Protein: 2g
My philosophy? Life’s too short not to enjoy a proper sugar cookie now and then. Just maybe don’t eat the whole batch in one sitting… unless it’s been that kind of day!
Share Your Creations
I’d absolutely love to see your cookie masterpieces! Snap a photo of your decorated creations and share them below – bonus points for creative designs or family variations. Nothing makes me happier than seeing how you put your own special twist on these classic cutout sugar cookies!
Print
Irresistible Classic Cutout Sugar Cookies in 3 Simple Steps
- Total Time: 1 hour 30 minutes (includes chilling)
- Yield: 24 cookies 1x
- Diet: Vegetarian
Description
Classic cutout sugar cookies are a timeless treat perfect for any occasion. These cookies are soft, buttery, and hold their shape well for decorating.
Ingredients
- 3 cups all-purpose flour
- 1/2 teaspoon baking powder
- 1/4 teaspoon salt
- 1 cup unsalted butter, softened
- 1 cup granulated sugar
- 1 large egg
- 1 teaspoon vanilla extract
Instructions
- Whisk together flour, baking powder, and salt in a bowl.
- Cream butter and sugar until light and fluffy.
- Beat in egg and vanilla.
- Gradually mix in dry ingredients until dough forms.
- Chill dough for at least 1 hour.
- Roll out dough and cut into shapes.
- Bake at 350°F (175°C) for 8-10 minutes.
- Cool completely before decorating.
Notes
- Dough can be refrigerated for up to 3 days.
- Use cookie cutters for fun shapes.
- Decorate with royal icing or sprinkles.
- Prep Time: 20 minutes
- Cook Time: 10 minutes
- Category: Dessert
- Method: Baking
- Cuisine: American
Nutrition
- Serving Size: 1 cookie
- Calories: 150
- Sugar: 8g
- Sodium: 30mg
- Fat: 7g
- Saturated Fat: 4g
- Unsaturated Fat: 2g
- Trans Fat: 0g
- Carbohydrates: 20g
- Fiber: 0g
- Protein: 2g
- Cholesterol: 25mg