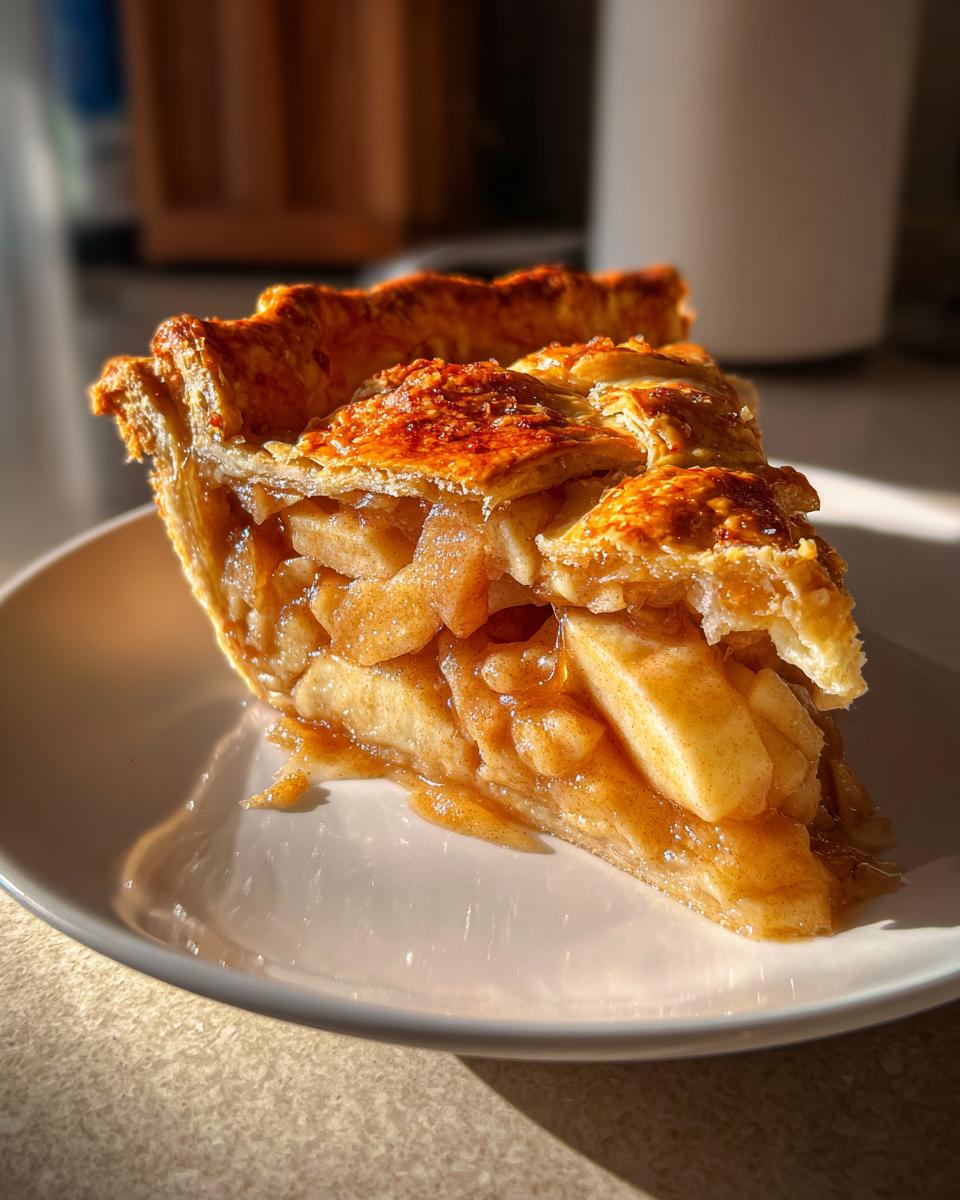
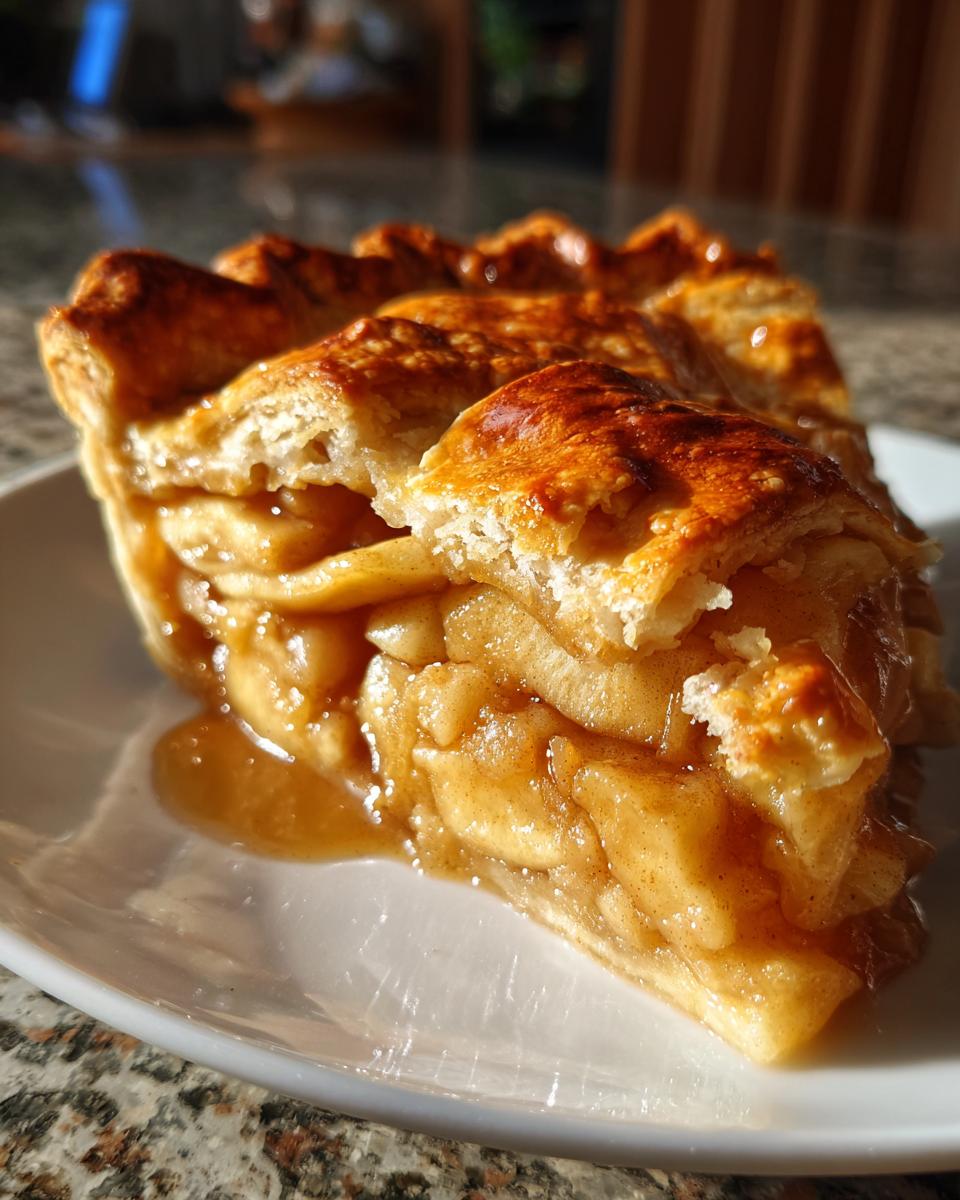
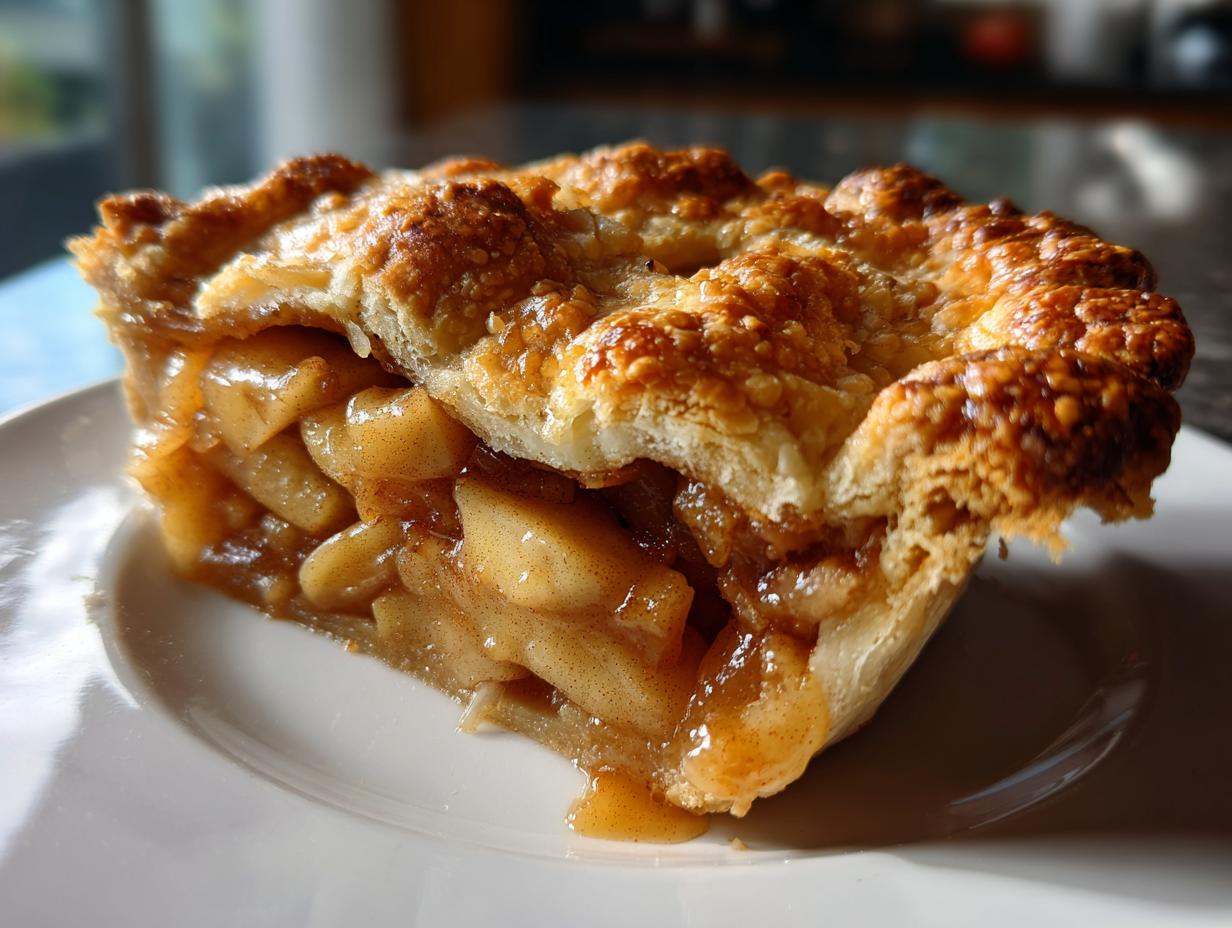
There’s something magical about the scent of cinnamon and apples wafting through the kitchen—it instantly transports me back to my grandma’s farmhouse table. Her Classic Double-Crust Apple Pie was always the star of Thanksgiving, with its golden, flaky crust cracking open to reveal steaming spiced apples. I’d hover nearby, begging for the first slice while she’d chuckle and say, “Patience, sweetheart! Good pie can’t be rushed.”
After years of tweaking (and a few disastrous early attempts where my crust resembled cardboard), I’ve perfected her technique. The secret? Ice-cold butter worked into the dough just right, and tart apples tossed with warm spices that caramelize into pure comfort. This isn’t just dessert—it’s a buttery, cinnamon-kissed hug on a plate.

Why You’ll Love This Classic Double-Crust Apple Pie
Trust me, this isn’t just any apple pie—it’s the kind that makes people close their eyes and sigh after the first bite. Here’s why it’s special:
- That flaky crust shatters perfectly—no tough or soggy layers here
- The filling strikes the ideal sweet-tart balance—never tooth-achingly sweet
- Warm cinnamon and nutmeg make your kitchen smell like childhood memories
- It’s deceptively simple—just good ingredients handled with care
- That gorgeous golden top crust makes you look like a baking pro
Honestly? I’ve seen grown adults fight over the last slice of this pie at family gatherings. That’s how you know it’s good.
Ingredients for Classic Double-Crust Apple Pie
Here’s everything you’ll need to create pie perfection – measured precisely because baking is part science, part love:
- 2 1/2 cups all-purpose flour (spooned and leveled, please!)
- 1 tsp salt – the secret flavor booster
- 1 cup unsalted butter, chilled and cubed (I pop mine in the freezer for 15 minutes)
- 6-8 tbsp ice water – seriously, toss an ice cube in your measuring cup
- 6 cups thinly sliced apples (about 5 medium – see notes below)
- 3/4 cup granulated sugar – adjust to your apple’s sweetness
- 1 tbsp lemon juice – keeps those apples bright
- 1 tsp ground cinnamon – the warm hug your pie needs
- 1/4 tsp ground nutmeg – just enough to whisper “hello”
- 2 tbsp unsalted butter, diced small – little pockets of joy in the filling
Ingredient Notes & Substitutions
Apples: Granny Smith are my go-to for their tartness and structure, but Honeycrisp or Braeburn work beautifully too. Never use Red Delicious – they turn to mush! Mix varieties for complex flavor.
Butter: Must be real butter – margarine makes the crust sad. In a pinch, you can use salted butter but reduce added salt by half.
Spices: Add a pinch of cardamom or allspice if you’re feeling fancy. My Aunt Martha swears by a tablespoon of bourbon in the filling – not traditional, but delicious!
Equipment You’ll Need
No fancy gadgets required – just these basics from your kitchen:
- 9-inch pie dish (glass or ceramic works best for even browning)
- Rolling pin – or a clean wine bottle in a pinch!
- Baking sheet (to catch drips and protect your oven)
- Sharp knife for slicing apples
- Mixing bowls – one big, one medium
That’s it! See? I told you this was simple.
How to Make Classic Double-Crust Apple Pie
Alright, let’s get our hands floury! Making this pie is like conducting a symphony – each step builds toward something magnificent. Follow along and you’ll be rewarded with golden, flaky perfection.

Preparing the Dough
First, whisk together flour and salt in your big bowl. Now the fun part – toss in those icy butter cubes. Using your fingertips or a pastry cutter, work the butter into the flour until it looks like coarse crumbs with some pea-sized bits remaining. This is crucial for flakiness! Drizzle in ice water 1 tablespoon at a time, mixing lightly with a fork until the dough just holds together when pinched. Overmixing is the enemy here – a few dry spots are fine.
Assembling the Pie
Divide the dough in half and roll out one portion on a floured surface into a 12-inch circle. Gently drape it into your pie dish, letting the excess hang over the edges. Now pile in that glorious apple mixture – I like to arrange the slices in concentric circles because it makes me feel fancy. Dot with those tiny butter cubes. Roll out the second dough disk and place it over the filling. Trim the edges to about 1-inch overhang, tuck under, and crimp with your fingers or a fork. Don’t forget to cut 4-5 slits in the top crust – these vents let steam escape so your pie doesn’t explode (learned that the hard way!).
Baking & Cooling
Pop your masterpiece onto a baking sheet (trust me, you want this insurance against drips) and into a preheated 375°F oven. Bake for 45-50 minutes until the crust is deep golden and juices bubble thickly through the vents. Now comes the hardest part – letting it cool completely before slicing (at least 2 hours). I know, the aroma is torture, but slicing too soon turns your beautiful pie into apple soup. Patience rewards you with perfect slices that hold their shape!
Tips for Perfect Classic Double-Crust Apple Pie
After baking countless apple pies (and yes, making plenty of mistakes along the way), here are my hard-won secrets for foolproof results every time:
- Chill everything – dough, rolling pin, even your hands! Cold = flaky layers
- Slice apples 1/4-inch thick – too thin turns mushy, too thick means crunchy filling
- That baking sheet underneath? Non-negotiable. Burnt sugar smells linger for days
- When juices bubble thick and slow through the vents, it’s done – no guesswork needed
- Brushing the top crust with egg wash gives that gorgeous golden shine
Remember – pie-making is part science, part art. Don’t stress over perfection – those “rustic” edges have character!
Serving Suggestions
Oh, the possibilities! While this Classic Double-Crust Apple Pie stands proudly on its own, I love serving it warm with a scoop of vanilla ice cream melting into the flaky layers – that hot-cold combo is pure magic. My husband insists on sharp cheddar cheese slices (his grandma’s quirky tradition), while the kids beg for whipped cream clouds. For breakfast (no judgment!), just rewarm a slice and drizzle with caramel sauce. Really, there’s no wrong way to enjoy it – except maybe sharing when you don’t want to!
Storage & Reheating
Here’s how to keep your Classic Double-Crust Apple Pie tasting fresh – if there’s any left! At room temperature, it stays perfect for 2 days loosely covered with foil. For longer storage, freeze whole or in slices (wrapped tightly in plastic then foil) for up to 3 months. To revive that just-baked warmth, pop slices in a 350°F oven for 15 minutes – the crust crisps right back up. Microwaving works in a pinch, but expect softer crust. Pro tip: Freeze individual portions so you can thaw exactly how much you crave!
Nutritional Information
Here’s a general nutritional breakdown per slice (based on 8 servings). Remember – actual values may vary slightly depending on your exact ingredients and apple varieties used:
- Calories: 320
- Fat: 16g
- Carbohydrates: 42g
- Sugar: 22g
- Protein: 3g
Note: Nutrition calculations are estimates only. Values change based on specific brands and ingredient measurements.
Frequently Asked Questions
I’ve gotten so many questions about this Classic Double-Crust Apple Pie over the years – here are the ones that pop up most often with my tried-and-true answers:
Can I use pre-made pie crust to save time?
Honestly? I don’t recommend it. The texture and flavor just can’t compare to homemade (and it’s surprisingly easy!). But if you must, look for all-butter refrigerated crusts, not the shelf-stable kind – and still blind bake the bottom crust for 10 minutes to prevent sogginess.
How do I prevent a soggy bottom crust?
Three tricks: 1) Make sure your bottom crust is properly chilled before filling, 2) Toss apple slices with 1 tbsp flour to absorb juices, and 3) Bake on the lowest oven rack for the first 20 minutes. Some bakers swear by brushing the bottom crust with egg white first – my grandma’s secret weapon!
Can I make this pie ahead?
Absolutely! Assemble up to 1 day ahead and refrigerate (unbaked), or freeze the unbaked pie for up to 3 months. Add 10-15 extra minutes to baking time if going straight from cold. Baked pie freezes beautifully too – just thaw overnight in the fridge.
Why did my filling shrink away from the crust?
Apples cook down more than you’d think! Pack them in tightly, mounding slightly in the center. Some shrinkage is normal – that’s why we use a full 6 cups. If it’s dramatic, your slices might have been too thick.
Can I reduce the sugar for a tarter pie?
Of course! Start with 1/2 cup sugar if using very tart apples, then taste a slice before adding more. The lemon juice balances sweetness beautifully. Just don’t omit it completely or the spices won’t sing.
Share Your Experience
I’d love to hear how your Classic Double-Crust Apple Pie turns out! Did your family go crazy for that flaky crust? Got any creative twists to share? Drop me a note below – your baking adventures make my day.
Print
Perfect Classic Double-Crust Apple Pie Recipe Made with 6 Apples
- Total Time: 1 hour 20 minutes
- Yield: 8 servings 1x
- Diet: Vegetarian
Description
A traditional double-crust apple pie with a flaky crust and sweet cinnamon-spiced filling.
Ingredients
- 2 1/2 cups all-purpose flour
- 1 tsp salt
- 1 cup unsalted butter, chilled
- 6–8 tbsp ice water
- 6 cups thinly sliced apples
- 3/4 cup granulated sugar
- 1 tbsp lemon juice
- 1 tsp ground cinnamon
- 1/4 tsp ground nutmeg
- 2 tbsp unsalted butter, diced
Instructions
- Mix flour and salt in a bowl. Cut in chilled butter until mixture resembles coarse crumbs.
- Gradually add ice water, 1 tbsp at a time, until dough holds together. Divide into two balls, flatten into disks, wrap in plastic, and refrigerate for 1 hour.
- Preheat oven to 375°F (190°C). Roll out one dough disk and fit into a 9-inch pie dish.
- In a large bowl, toss apples with sugar, lemon juice, cinnamon, and nutmeg. Pour into pie crust and dot with butter.
- Roll out the second dough disk and place over the filling. Trim and crimp edges to seal. Cut slits in the top crust.
- Bake for 45-50 minutes or until golden and filling is bubbly. Cool before serving.
Notes
- Use firm, tart apples like Granny Smith for best results.
- Chill the dough to prevent shrinking during baking.
- Place a baking sheet under the pie to catch drips.
- Prep Time: 30 minutes
- Cook Time: 50 minutes
- Category: Dessert
- Method: Baking
- Cuisine: American
Nutrition
- Serving Size: 1 slice
- Calories: 320
- Sugar: 22g
- Sodium: 150mg
- Fat: 16g
- Saturated Fat: 10g
- Unsaturated Fat: 5g
- Trans Fat: 0g
- Carbohydrates: 42g
- Fiber: 3g
- Protein: 3g
- Cholesterol: 40mg


