There’s something magical about a bowl of creamy, dreamy hummus – it’s the kind of food that brings people together. My love affair with this classic hummus recipe started during a trip to Jerusalem years ago, where I tasted the most incredible version at a tiny street vendor’s stall. The balance of nutty tahini, bright lemon, and earthy chickpeas was perfection. I’ve been chasing that flavor ever since!
This Middle Eastern staple has become my go-to for everything from quick snacks to party platters. What I love most is how simple it is – just a handful of pantry ingredients whirled together in minutes. No fancy techniques, no hard-to-find items. Just honest, wholesome goodness that happens to be vegan, gluten-free, and packed with protein. Whether you’re dipping pita, spreading it on sandwiches, or eating it straight with a spoon (no judgment!), this classic hummus recipe never disappoints.

Why You’ll Love This Classic Hummus Recipe
This hummus recipe checks all the boxes for me. First, the texture – so unbelievably creamy, you’ll swear it came from your favorite Mediterranean restaurant. Second, it uses just 7 simple ingredients you probably already have in your pantry. Third, it comes together in about 10 minutes flat – perfect for last-minute guests. And best of all? It’s naturally vegan, gluten-free, and packed with plant-based protein. What’s not to love?
Ingredients for Classic Hummus
You’ll be amazed what magic happens with just these simple ingredients: 1 can (15 oz) chickpeas, drained and rinsed (save that liquid!); 1/4 cup tahini – the good stuff, with that rich sesame flavor; 3 tbsp freshly squeezed lemon juice (trust me, bottled just isn’t the same); 2 cloves garlic (or more if you’re feeling bold); 2 tbsp olive oil for silkiness; 1/2 tsp salt to make the flavors pop; 1/4 tsp cumin for that warm background note; and 3-4 tbsp water as needed to get your perfect creamy consistency.
How to Make Classic Hummus
Making hummus is one of those kitchen tasks that feels almost magical – watching simple ingredients transform into creamy perfection. I’ve made this recipe hundreds of times, and I still get excited when that first whir of the food processor starts working its magic!

Step 1: Blend the Base Ingredients
Toss your drained chickpeas, tahini, lemon juice, garlic, olive oil, salt, and cumin into the food processor. Now here’s my secret – pulse a few times first to break things down before letting it run continuously. Scrape down the sides at least once – those stubborn chickpeas love to hide in the corners! Blend for a good minute until it starts looking like a coarse paste.
Step 2: Adjust Consistency
This is where the magic happens! With the processor running, drizzle in cold water one tablespoon at a time. Watch as your hummus transforms from thick paste to silky smooth dip right before your eyes. Stop when it reaches that perfect, pillowy consistency – not too runny, not too stiff.
Step 3: Serve and Store
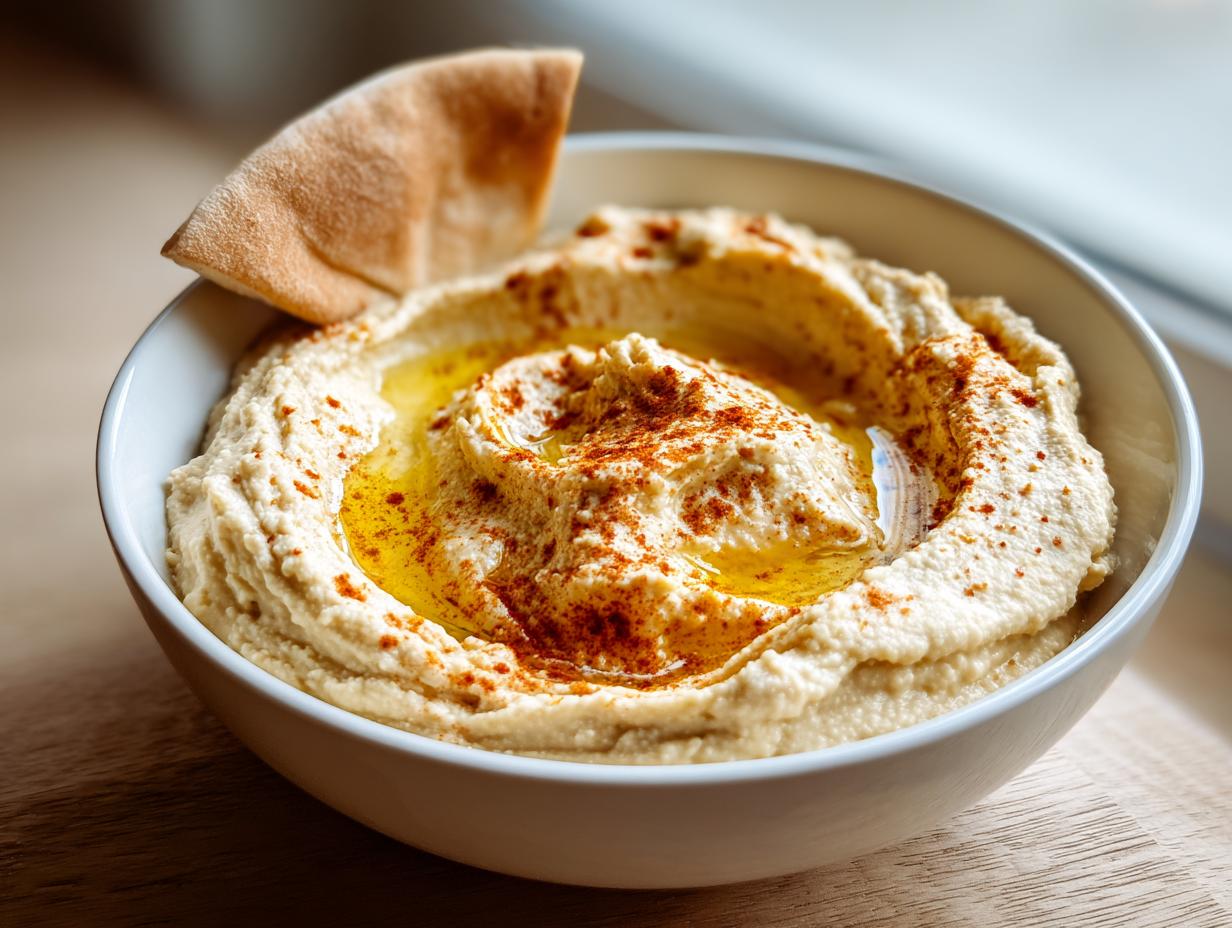
Scoop your gorgeous hummus into a bowl and make it pretty! I always drizzle extra olive oil on top and maybe a sprinkle of paprika or za’atar if I’m feeling fancy. Leftovers? They’ll keep happily in an airtight container in the fridge for about 5 days – if it lasts that long!

Tips for the Perfect Classic Hummus
Okay, let me let you in on a few secrets I’ve learned over the years! First, if you want that restaurant-level smoothness, take the extra five minutes to peel your chickpeas. It makes a HUGE difference. Second, always taste and adjust – more lemon juice if it needs brightness, more salt if the flavors feel flat. And third, use ice-cold water when thinning it out – it helps keep everything light and fluffy. Trust me on this!
Ingredient Substitutions & Notes
No tahini? No problem! While tahini gives hummus its signature nutty depth, you can use Greek yogurt for a creamier (though non-vegan) version. Out of lemons? Lime works surprisingly well – just use a bit less since it’s more tart. Garlic too strong? Try roasted garlic instead. And for extra smooth hummus without peeling chickpeas, swap in aquafaba (that magical chickpea liquid) for some of the water!
Serving Suggestions for Classic Hummus
Oh, the possibilities! I love spreading this hummus thick on warm pita bread (toasted just until golden – yum!). Crunchy veggies like carrots and cucumbers make perfect dippers when I’m feeling virtuous. But my guilty pleasure? Smearing it on a turkey sandwich instead of mayo – game changer! And don’t even get me started on how good it is with falafel…

Classic Hummus Storage & Reheating
This hummus stays happy in an airtight container in the fridge for about 5 days – if it lasts that long! No need to reheat, but let it sit out for 10 minutes before serving if you prefer it less chilled. A quick stir and maybe a fresh drizzle of olive oil will bring it right back to life.
Classic Hummus Nutrition Information
Just so you know what you’re diving into – this dreamy dip is as good for you as it is delicious! A 1/4 cup serving comes in at about 150 calories, with 10g of heart-healthy fats (mostly from that glorious olive oil and tahini). You’re also getting 5g of plant-based protein and 3g of fiber to keep you full. With just 1g of natural sugar and 300mg sodium (adjustable to taste), it’s a snack you can feel great about. Remember – these numbers are estimates, but they’re close enough to make me reach for another pita chip without guilt!
FAQs About Classic Hummus
Q1. Can I use dried chickpeas instead of canned?
Absolutely! Soak 1/2 cup dried chickpeas overnight, then cook until tender (about 1 hour). You’ll get that same creamy texture – maybe even better! Just remember they’ll expand to about 1 1/2 cups cooked, which equals one can.
Q2. Why is my hummus grainy?
Oh, I’ve been there! Two likely culprits: either you didn’t blend long enough (give it a full 2-3 minutes), or you didn’t peel the chickpeas. Those little skins can make hummus grainy. Pro tip: rub soaked chickpeas between towels – most skins will pop right off!
Q3. How long does homemade hummus last?
In an airtight container in the fridge, it stays perfect for about 5 days. The lemon juice helps preserve it. If it separates, just give it a stir – good as new!
Q4. Can I freeze hummus?
You bet! Freeze in small portions for up to 3 months. Thaw overnight in the fridge and stir well before serving. It might be slightly less creamy, but still delicious!
Q5. Why does my hummus taste bitter?
Ah, probably the tahini! Some brands can be bitter. Next time, taste your tahini first – it should be nutty and smooth. If it’s bitter, try a different brand or add a pinch more salt to balance it out.

Classic Hummus Recipe in Just 7 Easy Ingredients
- Total Time: 10 mins
- Yield: 4 servings 1x
- Diet: Vegan
Description
A simple and creamy homemade hummus recipe with chickpeas, tahini, lemon, and garlic. Perfect for dipping or spreading.
Ingredients
- 1 can (15 oz) chickpeas, drained and rinsed
- 1/4 cup tahini
- 3 tbsp lemon juice
- 2 cloves garlic, minced
- 2 tbsp olive oil
- 1/2 tsp salt
- 1/4 tsp cumin
- 3–4 tbsp water (as needed)
Instructions
- Add chickpeas, tahini, lemon juice, garlic, olive oil, salt, and cumin to a food processor.
- Blend until smooth, scraping down the sides as needed.
- Add water gradually until the desired consistency is reached.
- Transfer to a bowl and drizzle with extra olive oil before serving.
Notes
- For a smoother texture, peel the chickpeas before blending.
- Adjust lemon juice and salt to taste.
- Store in an airtight container in the fridge for up to 5 days.
- Prep Time: 10 mins
- Cook Time: 0 mins
- Category: Appetizer
- Method: No-Cook
- Cuisine: Middle Eastern
Nutrition
- Serving Size: 1/4 cup
- Calories: 150
- Sugar: 1g
- Sodium: 300mg
- Fat: 10g
- Saturated Fat: 1.5g
- Unsaturated Fat: 8g
- Trans Fat: 0g
- Carbohydrates: 12g
- Fiber: 3g
- Protein: 5g
- Cholesterol: 0mg