You know those days when lunch needs to be quick but still feel like a real meal? That’s when my crispy chicken Caesar wrap saves the day. I swear by this recipe—it’s got that perfect crunch from the chicken, that creamy Caesar dressing, and just enough crisp romaine to make it feel fresh. It’s my go-to for meal prep because honestly, who has time to cook every single day? Plus, it’s one of those rare lunches that actually keeps me full until dinner. Trust me, once you try this crispy chicken Caesar wrap, you’ll be making it on repeat too!

Ingredients for Crispy Chicken Caesar Wrap
Here’s what you’ll need to make these wraps as delicious as mine—trust me, every ingredient plays a role in that perfect bite. Grab 2 boneless, skinless chicken breasts—the star of the show—plus 1 cup breadcrumbs for that irresistible crunch. One large egg, beaten, helps everything stick, and ½ cup Parmesan cheese adds a salty kick. Don’t forget 1 tsp each of garlic powder and salt, plus ½ tsp black pepper for seasoning. For assembly, you’ll need 4 large flour tortillas (burrito-sized works best), 2 cups chopped romaine lettuce (make sure it’s crisp and fresh!), ½ cup Caesar dressing, and ¼ cup croutons for extra texture. Simple, right? But oh, the magic they make together!
How to Make Crispy Chicken Caesar Wrap
Alright, let’s get to the fun part! First things first – preheat that oven to 400°F (200°C). While it’s heating up, we’ll transform those chicken breasts into crispy golden perfection. The assembly part? That’s where the magic happens – layers of crunchy, creamy goodness all wrapped up in a tortilla. I promise it’s easier than it looks, and oh so worth it!

Preparing the Crispy Chicken
Here’s my foolproof method: Start by dipping each chicken breast in the beaten egg, letting any excess drip off. Then press it firmly into the breadcrumb-Parmesan mixture – really get it coated on all sides. Pop them on a lined baking sheet and into the oven they go for 20-25 minutes, until they’re beautifully golden and reach that magic 165°F internal temperature. Want extra crispiness? Give them a quick pan-fry for the last few minutes – just enough to get that irresistible crunch without drying them out.
Assembling the Crispy Chicken Caesar Wrap
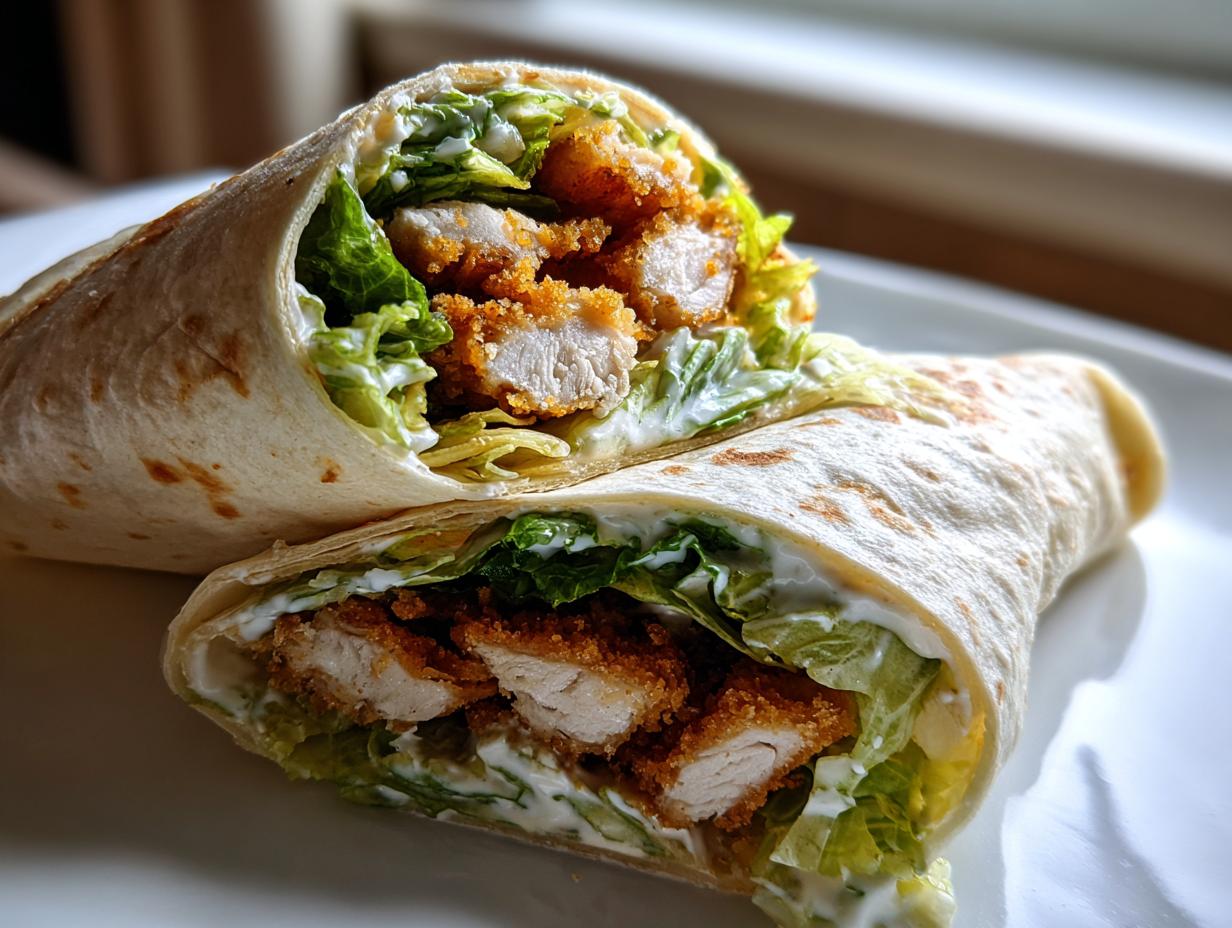
Now for the fun part! Spread about 2 tablespoons of Caesar dressing on each tortilla, leaving about an inch clean around the edges. Layer on the crisp romaine first – this creates a barrier to help prevent sogginess. Then add those gorgeous chicken strips, a sprinkle of croutons, and an extra dusting of Parmesan. Here’s the key: don’t overfill! Fold the sides in first, then roll tightly from the bottom up, tucking as you go. If you’ve got it right, you should be able to cut it in half diagonally without everything falling out – perfect little handheld packages of deliciousness!

Tips for the Best Crispy Chicken Caesar Wrap
After making these wraps more times than I can count, here are my golden rules:
- Pan-fry for extra crunch: If you’ve got time, finish the chicken in a skillet with a splash of oil – it takes the crispiness next level!
- Bacon makes it better: A handful of crispy bacon bits takes this wrap from great to “oh my god” status.
- Prep smart: Cook chicken ahead and refrigerate – just reheat before assembling to keep that perfect texture.
- Dressing control: Spread dressing lightly – too much makes tortillas soggy. Always put lettuce down first!
- Serve immediately: These wraps taste best fresh – assemble right before eating for maximum crunch.
Variations for Crispy Chicken Caesar Wrap
One of the best things about this wrap? It’s so easy to tweak! For a lighter version, try grilled chicken instead of breaded – still delicious, just different. If you’re feeling fancy, swap romaine for kale (massage it first with a bit of dressing to soften). Need gluten-free? Corn tortillas work surprisingly well, just warm them first so they don’t crack. The possibilities are endless – make it yours!
Serving Suggestions
You can’t go wrong pairing these crispy chicken Caesar wraps with some sweet potato fries – the sweetness balances the savory perfectly. Or keep it light with a simple side salad (just don’t use Caesar dressing again – that’d be overkill!). For picnics, I love them with fresh fruit and a handful of chips. Honestly though? They’re so satisfying they often steal the show all by themselves!
Storing and Reheating Crispy Chicken Caesar Wraps
Here’s the deal – these wraps are best eaten fresh, but if you must save some (we’ve all been there with leftovers!), here’s how to keep them tasty. Refrigerate assembled wraps for up to 2 days – wrap them tightly in foil first. To reheat, skip the microwave (sog city!) and pop them in a 350°F oven for 10 minutes to bring back that crispy magic. Pro tip: Store the components separately if you can – just assemble when ready to eat!
Nutrition Information
Just so you know, these numbers are estimates – your exact nutrition may vary depending on brands and portion sizes. Each crispy chicken Caesar wrap packs about 520 calories, with 32g protein to keep you full. You’re looking at 24g fat (6g saturated) and 45g carbs per serving. Not too shabby for something this delicious!
FAQs About Crispy Chicken Caesar Wraps
Can I use store-bought rotisserie chicken? Absolutely! It’s a great shortcut – just tear the meat into strips and crisp it up in a pan first. You’ll miss some of that homemade breaded texture, but it’s still delicious.
How do I prevent soggy wraps? Three tricks: 1) Spread dressing lightly, 2) Always layer lettuce first as a moisture barrier, and 3) Assemble right before eating. If prepping ahead, keep components separate and wrap in paper towels to absorb excess moisture.
Is there a dairy-free option? You bet! Skip the Parmesan or use nutritional yeast instead. For dressing, many stores carry vegan Caesar options – or make your own with avocado for creaminess. The wraps still come out crazy tasty!
Print
15-Minute Crispy Chicken Caesar Wrap
- Total Time: 40 minutes
- Yield: 4 wraps 1x
- Diet: Low Lactose
Description
A delicious and easy-to-make crispy chicken Caesar wrap packed with flavor and crunch.
Ingredients
- 2 boneless, skinless chicken breasts
- 1 cup breadcrumbs
- 1 egg
- 1/2 cup grated Parmesan cheese
- 1 tsp garlic powder
- 1 tsp salt
- 1/2 tsp black pepper
- 4 large flour tortillas
- 2 cups chopped romaine lettuce
- 1/2 cup Caesar dressing
- 1/4 cup croutons
Instructions
- Preheat oven to 400°F (200°C)
- Coat chicken breasts with beaten egg, then breadcrumb mixture
- Bake chicken for 20-25 minutes until golden and crispy
- Slice cooked chicken into strips
- Spread Caesar dressing on tortillas
- Layer lettuce, chicken, croutons, and Parmesan cheese
- Fold tortillas tightly into wraps
- Cut in half and serve
Notes
- For extra crispiness, pan-fry chicken instead of baking
- Add bacon bits for more flavor
- Can be prepared ahead and refrigerated
- Prep Time: 15 minutes
- Cook Time: 25 minutes
- Category: Lunch
- Method: Baking
- Cuisine: American
Nutrition
- Serving Size: 1 wrap
- Calories: 520
- Sugar: 3g
- Sodium: 890mg
- Fat: 24g
- Saturated Fat: 6g
- Unsaturated Fat: 15g
- Trans Fat: 0g
- Carbohydrates: 45g
- Fiber: 3g
- Protein: 32g
- Cholesterol: 120mg