Oh, garlic aioli—where have you been all my life? I still remember the first time I made this creamy, garlicky magic at home. I’d always bought it at the store, thinking it was some fancy chef’s secret. Then one lazy Sunday, armed with just egg yolks, oil, and a head of garlic, I whisked up a batch that changed everything. The way it transformed my sad turkey sandwich into a gourmet meal? Wow. Now I keep a jar in my fridge at all times.
This stuff is liquid gold in the kitchen. Slather it on burgers, dunk your fries in it, or dollop it over grilled veggies—it makes everything better. And the best part? It takes about 10 minutes to whip up with ingredients you probably already have. Forget that store-bought stuff swimming in preservatives. Once you taste homemade garlic aioli, with its rich texture and that punch of fresh garlic, you’ll never go back. Trust me, your sandwiches (and your taste buds) will thank you.
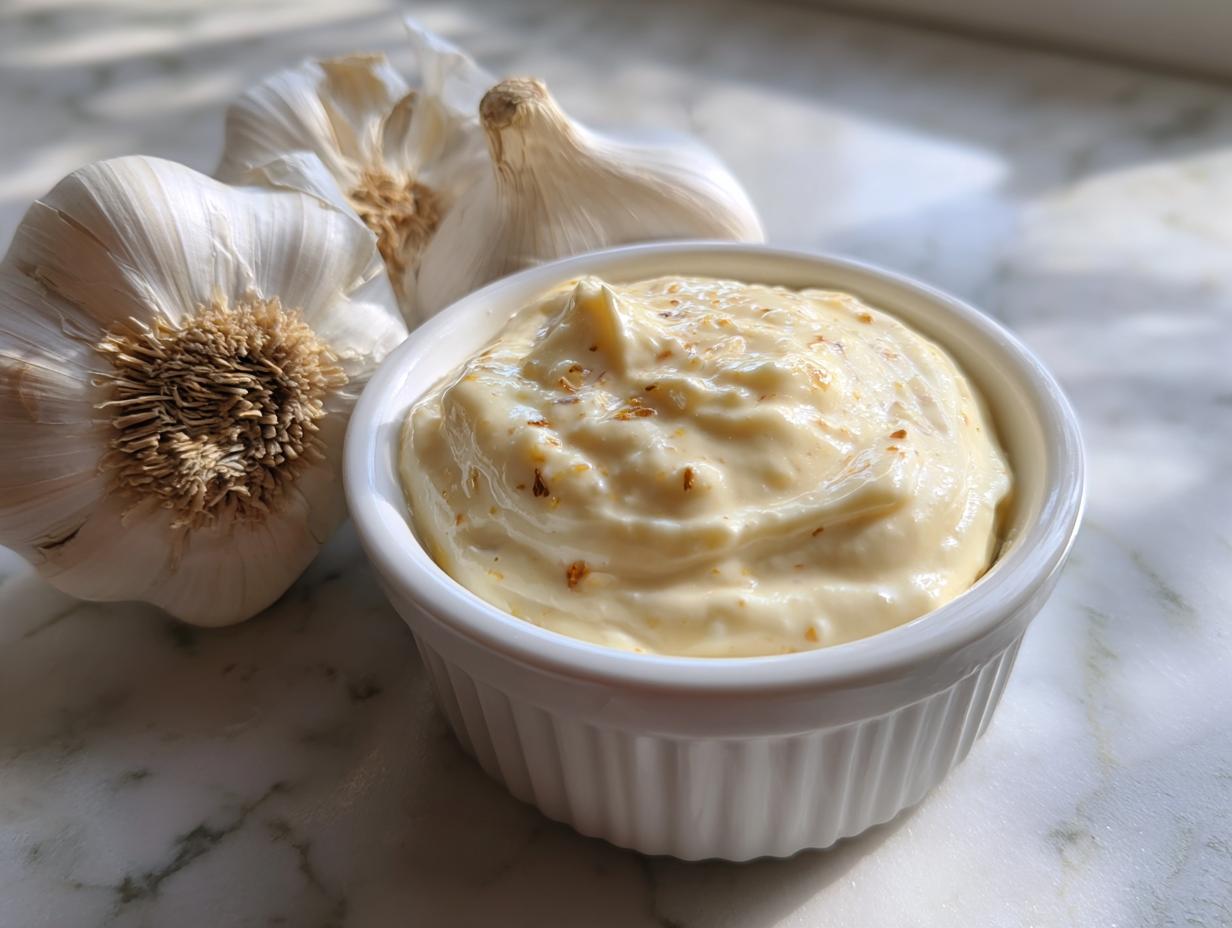
Why You’ll Love This Garlic Aioli
This garlic aioli is about to become your new kitchen obsession—here’s why:
- Creamy perfection: That velvety texture? It’s like a cloud of garlicky goodness that clings to every bite.
- Bold flavor: Fresh garlic gives it that irresistible kick—none of that bottled nonsense with weird aftertastes.
- Easier than you think: Just whisk, drizzle, and stir—no fancy equipment needed. My 10-year-old niece could make this (with supervision, of course).
- Better than store-bought: No mystery ingredients, just real food you can pronounce. Your sandwiches deserve this upgrade.
- Endless uses: Fries, burgers, roasted veggies—it makes everything taste like it came from a fancy bistro.
Seriously, once you try this, you’ll wonder how you ever lived without it. I keep sneaking spoonfuls straight from the jar—no judgment!
Garlic Aioli Ingredients
Here’s everything you’ll need to make the creamiest, dreamiest garlic aioli—trust me, quality matters here:
- 2 large egg yolks – Room temperature is best for smooth emulsifying (just leave them out for 30 minutes).
- 1 tablespoon lemon juice – Freshly squeezed, please! That bottled stuff just doesn’t have the same bright zing.
- 1 teaspoon Dijon mustard – My secret weapon for extra tang and helping everything bind together.
- 1 cup neutral oil – Canola or vegetable oil works perfectly—save the olive oil for drizzling (it can make the aioli bitter).
- 3 cloves garlic – Minced super fine (or use a microplane if you want that real punchy garlic flavor throughout).
- Salt to taste – Start with ¼ teaspoon and adjust—you can always add more!
That’s it! Six simple ingredients is all it takes to make magic. I always double the batch because—warning—this stuff disappears fast.
How to Make Garlic Aioli
Okay, let’s get whisking! This process is easier than you think, but there are a few tricks to getting that perfect creamy texture. Follow these steps, and you’ll have restaurant-quality garlic aioli in no time.
Step 1: Whisk the Base
Grab a medium bowl (I like to use one with a rubber bottom so it doesn’t slide around) and throw in those egg yolks, lemon juice, and Dijon mustard. Now whisk like your sandwich depends on it—because it kind of does! You want this mixture to be completely smooth and slightly thickened, about 30 seconds of vigorous whisking should do it. The mustard helps everything come together and adds that subtle tang that makes this aioli so addictive.
Step 2: Emulsify with Oil
Here’s where the magic happens. Pour your oil into a measuring cup with a spout—trust me, this makes life easier. Now, start whisking your yolk mixture constantly with one hand while slowly, and I mean slowly (like, drip-by-drip slow at first), drizzling in the oil with the other. Once you’ve added about ¼ cup and the mixture starts thickening, you can increase to a thin steady stream. Keep whisking until all the oil is incorporated and you’ve got this gorgeous, creamy mayo-like consistency. If your arm gets tired, just think of those crispy fries waiting to be dunked!

Step 3: Season and Chill
Now for the star of the show—garlic! Stir in those minced cloves and a pinch of salt. Taste and adjust—maybe it needs another pinch of salt or a squeeze more lemon. Pop it in the fridge for at least 30 minutes before serving (if you can wait that long). This chill time lets the flavors mingle and the garlic soften its punch just enough. I usually make this in the morning so it’s perfect by lunchtime. Pro tip: The aioli thickens more as it chills, so don’t panic if it seems a bit thin at first.

Tips for Perfect Garlic Aioli
After making gallons of this stuff (okay, maybe not gallons, but close), here are my foolproof tips for garlic aioli success:
- Roast your garlic first – Pop those cloves in the oven at 400°F for 20 minutes for a mellower, sweeter flavor that won’t overpower.
- Oil too fast? Fix it! If your aioli breaks, whisk another yolk in a clean bowl and slowly drizzle in the broken mixture—it’ll come back together.
- Need to thin it out? A teaspoon of warm water at a time does the trick without diluting flavor.
- Storage smarts: Always use a clean spoon to scoop it out, and it’ll stay fresh in the fridge for up to 5 days.
- Garlic hack: Rub your mixing bowl with a cut garlic clove before starting for extra flavor in every bite!
Remember—good aioli is all about patience (with the oil) and boldness (with the garlic). Now go forth and emulsify!
Garlic Aioli Variations
Once you’ve mastered the basic recipe, try these fun twists! Stir in chopped fresh herbs (parsley, chives, or dill) for a garden-fresh vibe. Craving heat? A pinch of cayenne or squirt of sriracha kicks it up. Feeling fancy? Fold in lemon zest or roasted red peppers. The possibilities are endless—just taste as you go!
Serving Suggestions for Garlic Aioli
Oh, the places this aioli will go! Slather it thick on BLTs—it makes the tomatoes sing. Dunk steak fries straight into the jar (we’ve all done it). Dollop it on grilled salmon or burgers for instant gourmet status. My secret? A swipe on roasted potato wedges before they hit the oven—game changer. Basically, if it’s edible, this aioli makes it better.

Garlic Aioli Storage & Reheating
Here’s the good news—this garlic aioli actually gets better after a day in the fridge! Just pop it in an airtight container (I use mason jars) and it’ll keep for up to 5 days. If it separates (hey, it happens), don’t panic—whisk in 1 teaspoon of warm water to bring it back to creamy perfection. No reheating needed—this magic tastes best cold!
Garlic Aioli Nutritional Information
Here’s the scoop on what’s in that delicious spoonful (based on 1 tablespoon serving): about 100 calories, 11g fat (mostly the good kind!), and 1g carbs. Of course, your exact numbers might dance around a bit depending on your oil choice or how generous you are with that garlic! Remember—this is real food, not lab-made, so small variations are totally normal. Enjoy every flavorful bite!
Common Questions About Garlic Aioli
Q1. Can I use olive oil instead of neutral oil?
You can, but be careful—extra virgin olive oil can make your garlic aioli bitter. If you want that olive flavor, try blending half neutral oil with half mild olive oil. My cousin swears by avocado oil for its buttery taste!
Q2. Help! My aioli broke—can I fix it?
Don’t toss it! Grab another yolk, whisk it in a clean bowl, and slowly drizzle in your separated mixture while whisking like crazy. It should come back together beautifully. I’ve salvaged many “failed” batches this way—they always taste just as good!
Q3. How long does homemade garlic aioli last?
About 5 days in the fridge—if it lasts that long! Always sniff test first (fresh garlic smells sweet, spoiled smells sour). The lemon juice acts as a natural preservative, but since we’re using raw eggs, better safe than sorry.
Q4. Can I make this vegan?
Absolutely! Swap egg yolks for aquafaba (chickpea liquid)—3 tablespoons per yolk. The texture won’t be quite as rich, but blended silken tofu works surprisingly well too. My vegan friend adds a pinch of turmeric for that golden color.
Q5. Is store-bought mayo cheating?
Hey, we’ve all been there! If you’re short on time, mix minced garlic into good-quality mayo with lemon juice. It’s not quite the same, but doctored-up mayo beats no aioli any day—your secret’s safe with me!


Creamy Garlic Aioli Recipe That Takes Just 10 Minutes
- Total Time: 40 minutes
- Yield: 1 cup 1x
- Diet: Vegetarian
Description
A creamy and flavorful garlic aioli perfect for sandwiches, dipping, or as a condiment.
Ingredients
- 2 large egg yolks
- 1 tablespoon lemon juice
- 1 teaspoon Dijon mustard
- 1 cup neutral oil (like canola or vegetable)
- 3 cloves garlic, minced
- Salt to taste
Instructions
- In a bowl, whisk together egg yolks, lemon juice, and Dijon mustard.
- Slowly drizzle in the oil while continuously whisking until the mixture thickens.
- Stir in minced garlic and salt to taste.
- Chill for at least 30 minutes before serving.
Notes
- For extra flavor, roast the garlic before mincing.
- Store in an airtight container in the fridge for up to 5 days.
- If the aioli is too thick, thin it with a little water or more lemon juice.
- Prep Time: 10 minutes
- Cook Time: 0 minutes
- Category: Condiment
- Method: Whisking
- Cuisine: French
Nutrition
- Serving Size: 1 tablespoon
- Calories: 100
- Sugar: 0g
- Sodium: 50mg
- Fat: 11g
- Saturated Fat: 1g
- Unsaturated Fat: 9g
- Trans Fat: 0g
- Carbohydrates: 1g
- Fiber: 0g
- Protein: 1g
- Cholesterol: 30mg