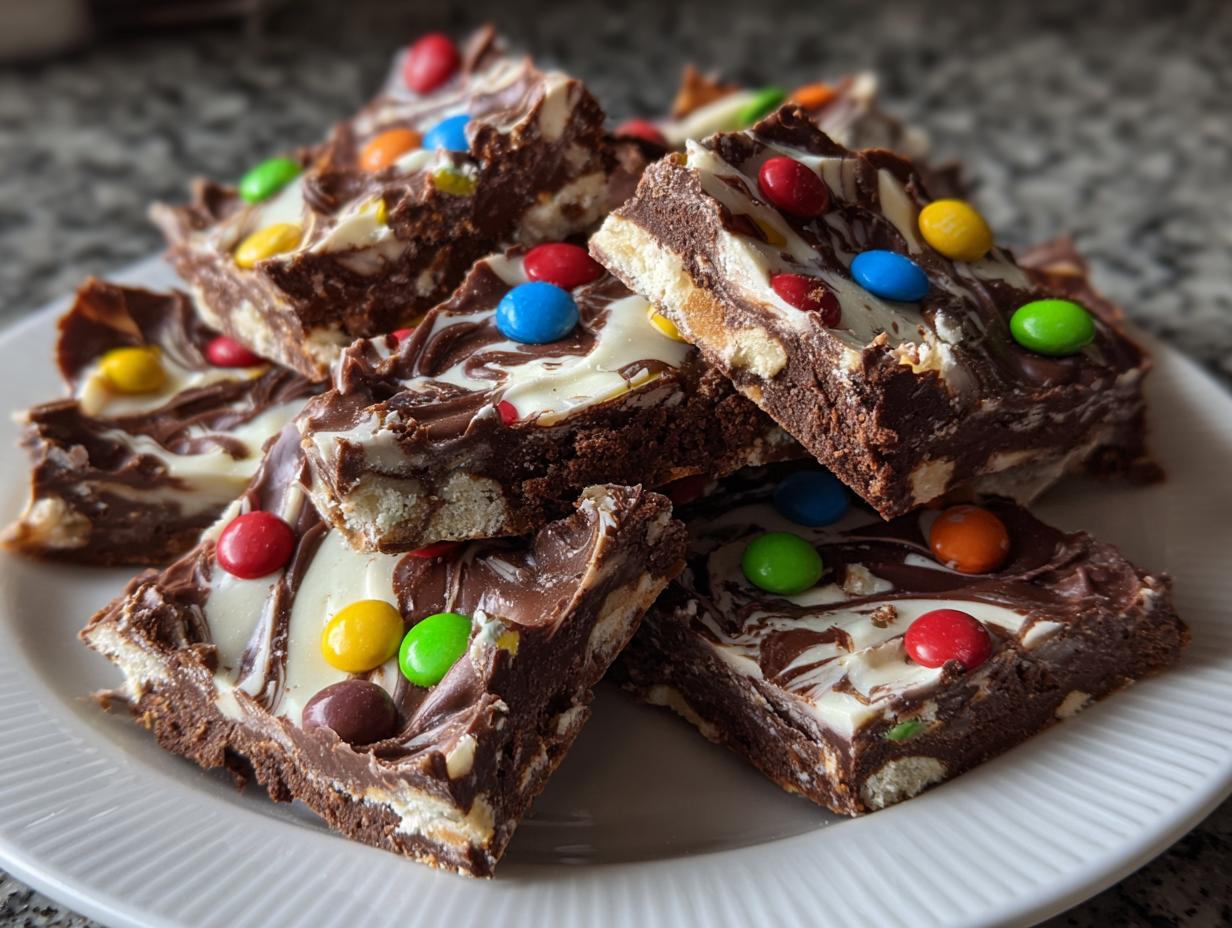
You know those recipes that make you feel like a kitchen wizard with minimal effort? Monster Bark is exactly that—a ridiculously easy, no-bake chocolate treat that looks like it jumped straight out of a Halloween storybook. I first made this with my niece during a rainy afternoon, and within minutes, we were giggling as we scattered candy eyes across swirling chocolate like mad scientists. The best part? It requires just three main ingredients and zero baking skills.
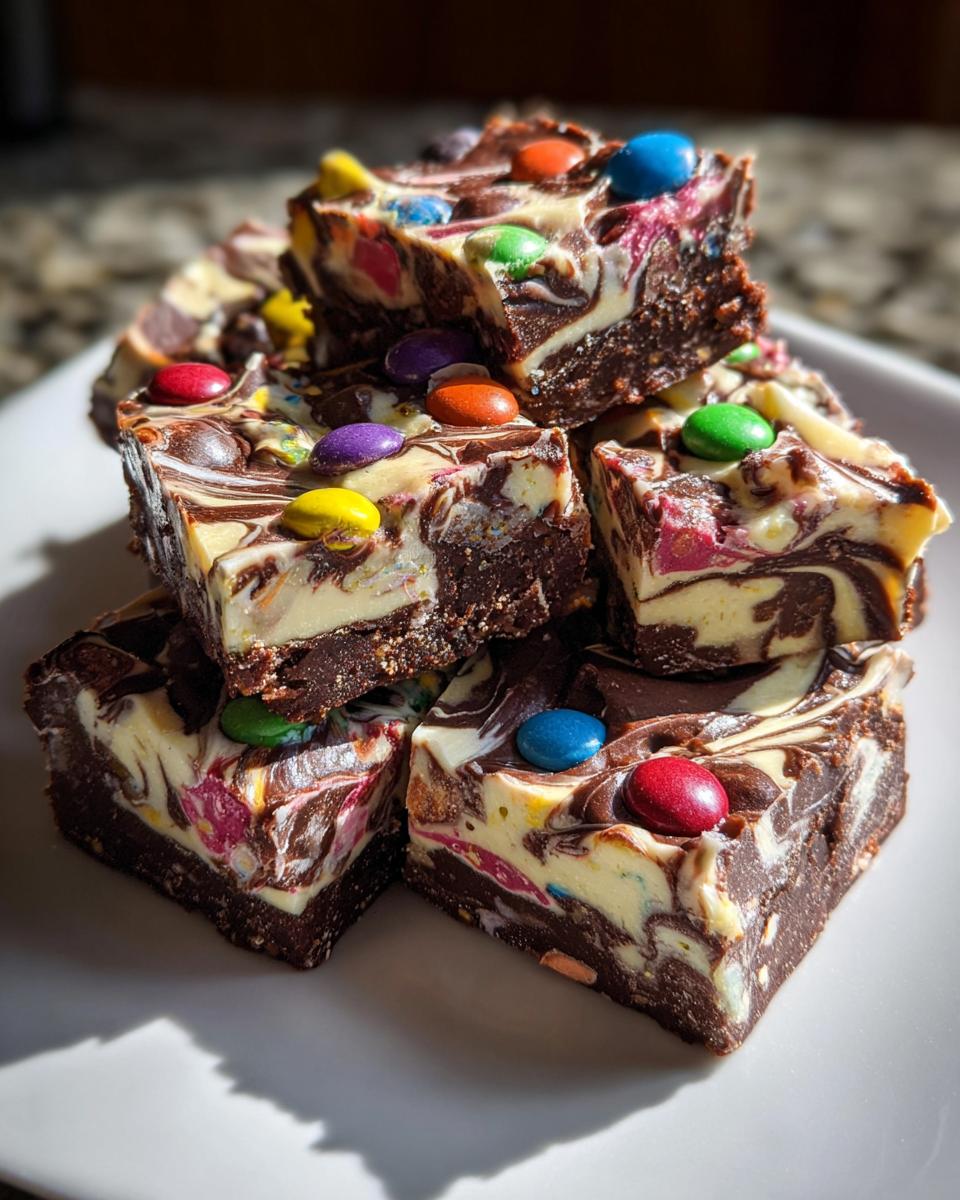
This playful dessert has become my go-to for last-minute parties, classroom treats, or when I need a quick chocolate fix. The contrast of dark and white chocolate creates this gorgeous marbled effect, while those googly candy eyes add just the right amount of silly charm. Trust me, once you see how simple it is to whip up Monster Bark, you’ll want to make it year-round—not just for Halloween!
Why You’ll Love This Monster Bark Recipe
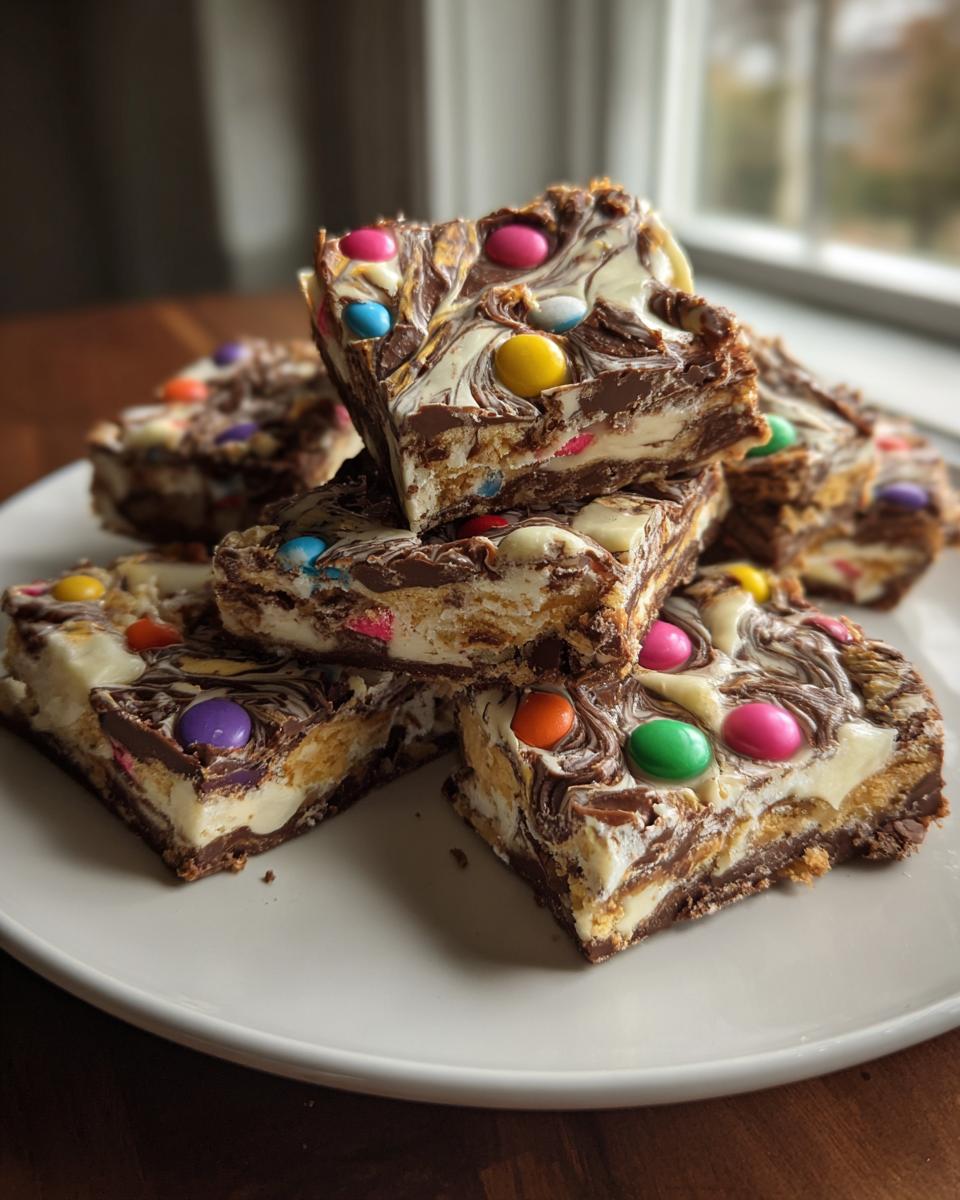
This isn’t just another chocolate recipe—it’s your new secret weapon for stress-free, crowd-pleasing treats. Here’s why everyone adores Monster Bark:
- Laughably easy: No oven, no fuss—just melt, swirl, and decorate. Even my 5-year-old nephew can make it (with minimal supervision!).
- Customizable chaos: Use leftover Halloween candy, swap in peanut butter chips, or add crushed pretzels for crunch. The recipe is a blank canvas for your wildest ideas.
- Instant party hit: That marbled chocolate with staring candy eyes? Guaranteed to steal the show at bake sales or game nights.
- Gift-worthy: Break into shards, pile into mason jars, and you’ve got adorable edible presents in 15 minutes flat.
Seriously, name another dessert that’s this fun to make AND eat. I’ll wait.
Monster Bark Ingredients
Here’s the beautiful part – you only need three main ingredients to create this spooky-chic treat. But oh, what magic happens when these simple things come together!
- 12 oz semisweet chocolate chips – The rich, dark base that makes those candy eyes pop
- 12 oz white chocolate chips – For that gorgeous marbled contrast
- 1 cup candy eyes – The star of the show! (Those wiggly ones are my favorite)
Now, if you’re feeling fancy, here’s where you can play:
- A handful of crushed Oreos for “dirt” texture
- 1/4 cup chopped nuts for grown-up crunch
- Rainbow sprinkles because… well, sprinkles!
Ingredient Notes & Substitutions
Listen, I’ve made this with everything from fancy chocolate bars to whatever was left in my pantry after midnight cravings. Here’s what I’ve learned:
Chocolate chips vs bars: Chips melt more evenly thanks to stabilizers, but good-quality chopped chocolate bars work too. Just avoid those waxy “baking chocolates” – they’ll leave your bark tasting like disappointment.
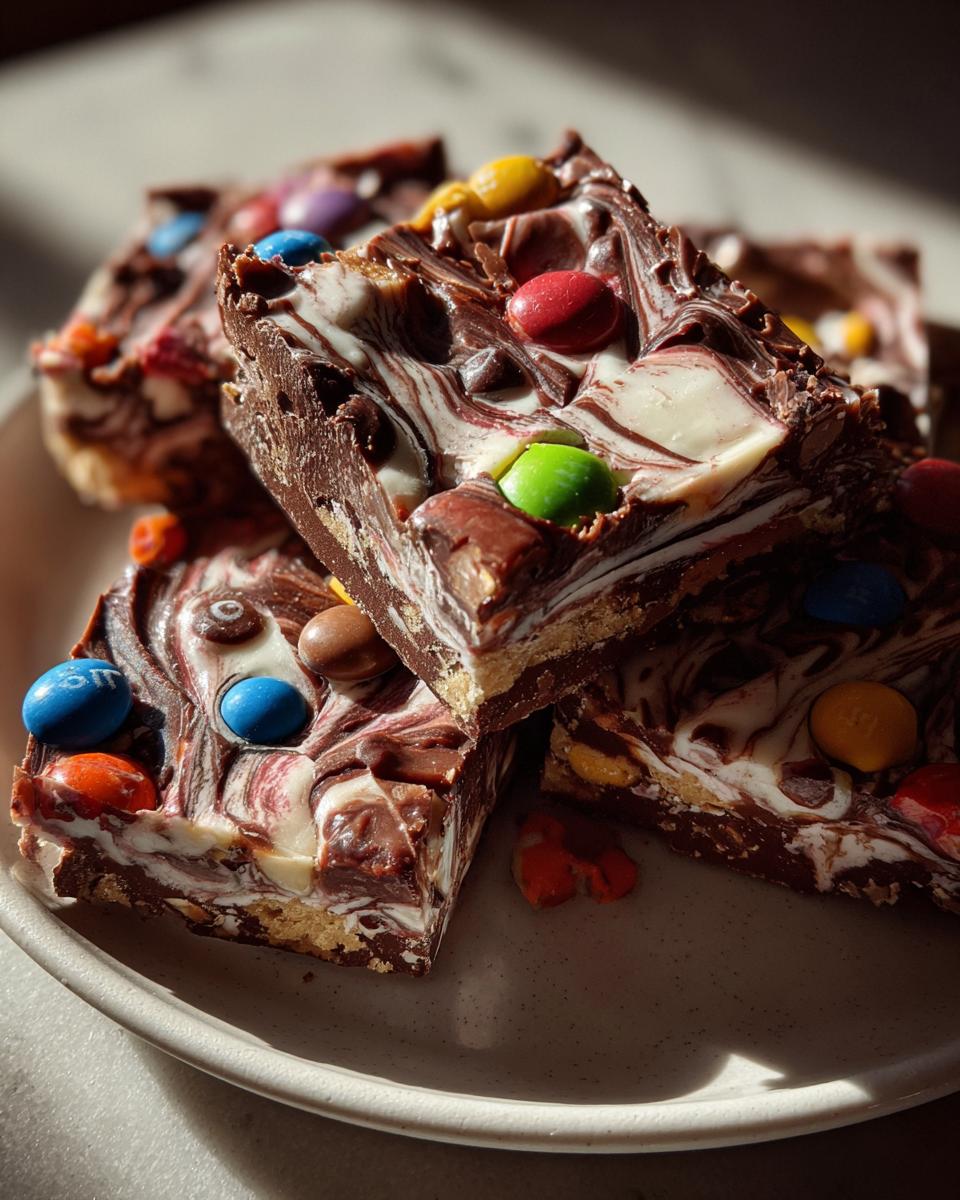
Candy eyes alternatives: No edible eyeballs? Get creative! Mini M&Ms, Skittles, or even piped white chocolate dots with a speck of black icing work in a pinch. For vegan friends, check health food stores for plant-based candy eyes.
The golden rule: Whatever you use, make sure it’s fresh. Stale chocolate or hardened candy eyes won’t give you that picture-perfect bark. Trust me – I learned this the sad, lumpy way!
How to Make Monster Bark
Alright, let’s turn those simple ingredients into edible magic! I promise this is so easy you’ll wonder why you haven’t been making Monster Bark every week. Follow these steps, and you’ll have a spooktacular treat in no time.
Step 1: Prepare the Baking Sheet
First things first – grab a large baking sheet and line it with parchment paper. This isn’t just busywork, folks! Parchment prevents the chocolate from sticking like glue (trust me, scraping chocolate off a bare pan is nobody’s idea of fun). For extra security, you can lightly grease the parchment, but I’ve found it’s usually not necessary.
Step 2: Melt the Chocolates
Now for the melty goodness! Use two separate microwave-safe bowls for your chocolates – one for semisweet, one for white. Microwave them at 50% power in 30-second bursts, stirring well after each interval. The chocolate might look solid after heating, but give it a good stir – it’s probably ready! For semisweet, this usually takes about 90 seconds total; white chocolate melts faster at around 60 seconds. Whatever you do, don’t walk away! Chocolate burns faster than you can say “oops.”
Step 3: Swirl & Decorate
Here comes the fun part! Pour both melted chocolates onto your prepared baking sheet in random blobs. Then take a knife and gently swirl through the chocolates to create that gorgeous marbled effect. Pro tip: Make just 3-4 passes – overmixing turns your beautiful swirls into a muddy mess. Now quickly scatter those candy eyes across the surface before the chocolate sets. Press them in lightly so they stick but don’t disappear beneath the surface.
Step 4: Cool & Break
Patience time! Let your Monster Bark cool at room temperature for about 1 hour until completely firm. If you’re in a hurry (who isn’t?), you can pop it in the fridge for 20 minutes – just don’t leave it too long or condensation might make the chocolate bloom (those white streaks aren’t part of the monster look!). Once set, break it into wild, uneven pieces with your hands for that perfect homemade charm.
Tips for Perfect Monster Bark
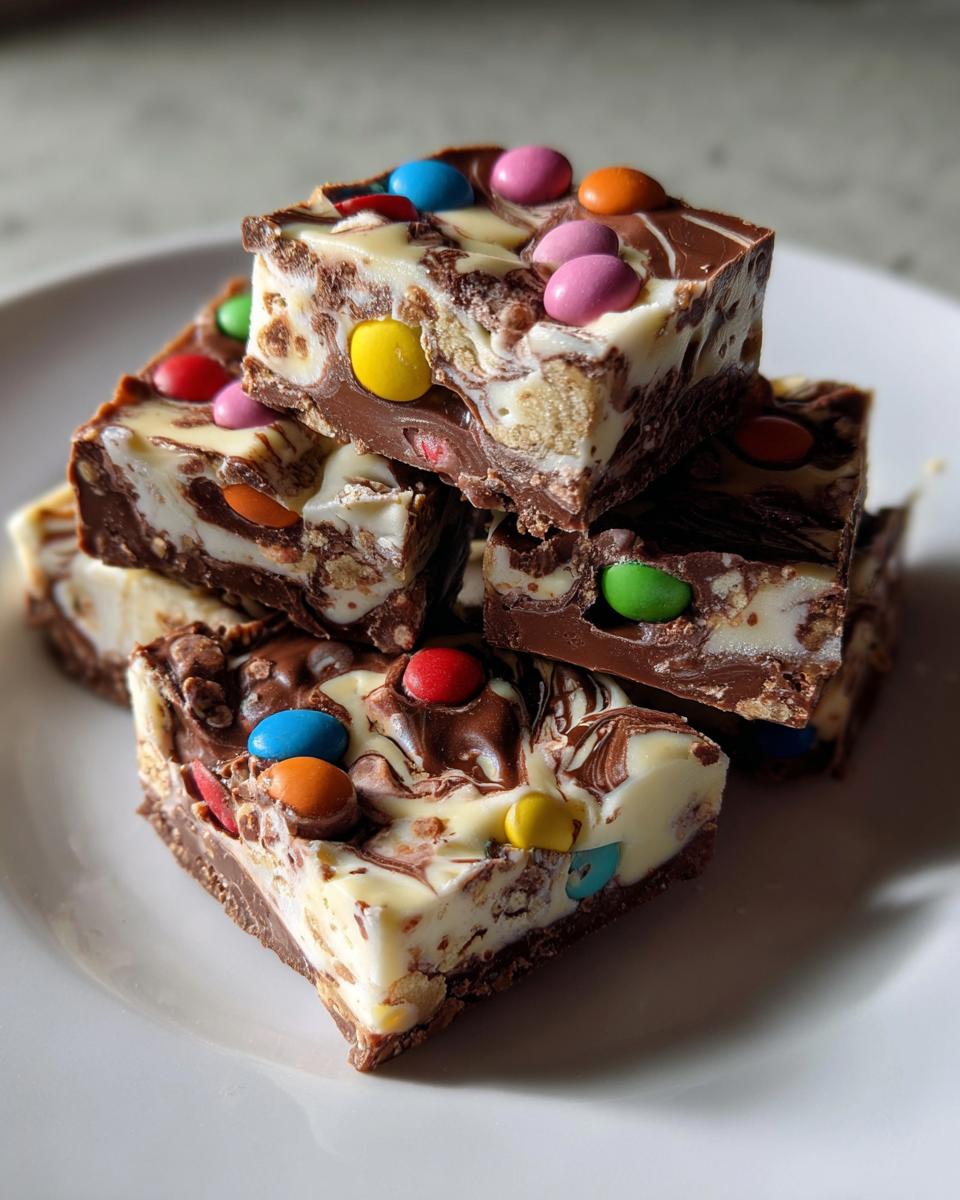
After making more batches of Monster Bark than I can count (some successful, some… learning experiences), I’ve picked up some foolproof tricks to guarantee your bark turns out picture-perfect every time:
- The three-swirl rule: When marbling your chocolates, limit yourself to just 3-4 knife passes. More than that and you’ll lose those beautiful defined swirls – I learned this the hard way when my “marbled” bark turned into a sad beige blob.
- Temperature matters: If your melted chocolate feels too thick, add a teaspoon of coconut oil to keep it pourable. But work fast – chocolate starts setting quickly once off the heat!
- Eye placement strategy: Toss candy eyes from about 12 inches above the bark – they’ll land naturally instead of clumping. Then gently tap any stragglers into place with a toothpick before the chocolate sets.
- The snap test: Not sure if your bark is fully set? Give it a gentle poke – it should feel firm with no give. If it bends, give it another 10 minutes. Impatience leads to fingerprint-shaped dents (ask me how I know).
Remember – even “mistakes” taste delicious, so don’t stress! My first attempt looked more like abstract art than monster bark, but it disappeared just as fast.
Storage & Serving Suggestions
Here’s the beautiful thing about Monster Bark – not only is it ridiculously easy to make, but it keeps like a dream too! I’ve learned a few tricks over the years to keep it fresh and make it even more special when serving:
Storage must-knows: Pop your cooled Monster Bark pieces in an airtight container with parchment between layers – they’ll stay crisp and tasty at room temperature for up to a week. Warm kitchens? Tuck the container in the fridge (just let pieces come to room temp before serving to get that perfect chocolate snap back).
Serving with flair: Pile the pieces high on a vintage cake stand for parties – the contrast of “scary” eyes against pretty china always gets laughs. For kids, I love serving it with small glasses of cold milk for dunking (the eyes bob up to stare at you – hilarious every time!).
Gift-giving genius: This is my secret weapon for last-minute hostess gifts. Layer pieces in clear cellophane bags tied with orange ribbon, or pack them in clean mason jars with Halloween ribbons. Add a handwritten tag that says “A little monster made this for you!” – it’s guaranteed to be the most memorable treat at any gathering.
Monster Bark Variations
Once you’ve mastered the classic Monster Bark, the real fun begins! This recipe is like a blank canvas for your wildest chocolate dreams. Here are my favorite twists that keep this treat exciting all year round:
Peppermint Monster Bark (Holiday Edition)
Swap the semisweet chocolate for dark chocolate and add a teaspoon of peppermint extract to the white chocolate. After swirling, sprinkle crushed candy canes on top instead of eyes – the red-and-white flecks look like festive monster scales! I make this version every December, and it disappears faster than wrapping paper on Christmas morning.
Cookie Monster Bark (For Texture Lovers)
Take your basic Monster Bark up a notch by pressing crushed Oreos or graham crackers into the melted chocolate before adding eyes. The crunch plays perfectly against the smooth chocolate – it’s like edible jazz hands! My nephew calls this “crunchy monster skin” (kids have the best imaginations).
Dark Side Monster Bark (Less Sweet Option)
For those who prefer deeper flavors, use 70% dark chocolate instead of semisweet and skip the white chocolate entirely. The candy eyes pop dramatically against the dark background, and the bitterness balances the sweetness of the eyes. I like to add a pinch of sea salt flakes before it sets – it gives that perfect sweet-salty monster bite!
The beauty of Monster Bark is how easily it adapts to any season or occasion. I’ve done pastel eyes for Easter, red and green sprinkles for Christmas, even gold-dusted versions for fancy Halloween parties. Once you get the basic technique down, your imagination (and whatever’s in your pantry) is the only limit!
Monster Bark FAQs
Over the years, I’ve gotten every possible question about Monster Bark – from panicked “Help, my chocolate won’t melt!” texts to curious “Can I…” queries. Here are the answers to all those burning questions so you can make perfect bark every time:
Can I use chocolate bars instead of chips?
Absolutely! Just chop them into small, even pieces first so they melt at the same rate as chips. I actually prefer high-quality chocolate bars for special occasions – they give a richer flavor. The only downside is they don’t contain stabilizers, so they might melt a bit faster (keep an extra close eye on them!).
Help! My chocolate seized – what now?
Oh no, we’ve all been there! If your chocolate turns grainy or clumpy, don’t panic. For every 2 oz of seized chocolate, stir in 1 teaspoon of vegetable oil or shortening while it’s warm. This usually brings it back to smooth perfection. Just remember – no water! Even a single drop can ruin melted chocolate (learned that the hard way during a particularly messy kitchen experiment).
Can I make Monster Bark with kids?
This is literally the perfect kid-friendly recipe! I recommend letting little ones handle the candy eye scattering (it’s the most fun part anyway). Just take care with the melted chocolate steps – maybe pour for them while they do the swirling with a plastic knife. Bonus tip: Lay down wax paper on their workspace first unless you want “abstract chocolate art” on your table.
Why are my candy eyes sinking into the chocolate?
Timing is everything! Wait until the chocolate starts to thicken slightly (about 2 minutes after pouring) before adding eyes. If they still sink, try pressing them in just until they stick rather than dropping them from height. Some eyes are heavier than others – the tiny ones usually behave best in my experience.
Can I freeze Monster Bark?
You sure can! Freeze it in a single layer first (about 30 minutes), then transfer to an airtight container with parchment between layers. It’ll keep for up to 3 months this way. Thaw at room temperature for 10 minutes before serving to prevent condensation. I always keep a secret stash in my freezer for emergencies (like when the chocolate cravings hit at midnight).
Is there a vegan version?
Easily! Use dairy-free chocolate chips and vegan candy eyes (available at most health food stores). Coconut oil works great for thinning if needed. My vegan friends go nuts for this version – just be sure to check all labels carefully as some “accidentally vegan” products change formulas.
Nutritional Information
Okay, let’s talk numbers – but keep in mind these are ballpark figures since ingredients vary by brand and your personal additions. (My sprinkle-heavy batches definitely skew the numbers upwards!) Here’s the nutritional lowdown per piece of classic Monster Bark:
- Calories: 120
- Total Fat: 7g (4g saturated)
- Cholesterol: 5mg
- Sodium: 5mg
- Total Carbohydrates: 12g
- Dietary Fiber: 1g
- Sugars: 10g
- Protein: 1g
Now, here’s my nutritionist friend’s favorite reminder: This is still dessert, folks! But compared to many store-bought treats, Monster Bark gives you that chocolate satisfaction with slightly better stats – especially if you use dark chocolate. The candy eyes add minimal sugar since you’re only using a few per piece.
Pro tip: If you’re watching sugar intake, try the dark chocolate variation with just a sprinkle of sea salt instead of eyes. It cuts the sugar nearly in half while keeping all the rich chocolatey goodness!
Show Us Your Monster Bark Creations!
Nothing makes me happier than seeing your twist on this silly, spooky treat! Snap a pic of your Monster Bark masterpiece and tag me on Instagram – I love seeing how creative you all get with the decorations. Did you add sprinkles? Use different colored candy eyes? Turn them into little monster faces with icing? The crazier, the better!
And if this recipe saved your Halloween party or became your kid’s new favorite kitchen project, I’d be over the moon if you left a quick rating below. Your feedback helps other bakers know this is worth trying (not that I’m biased or anything). Now go forth and make some deliciously creepy chocolate magic – I can’t wait to see what monsters you create!
Print
3-Ingredient Monster Bark: Spooky & Irresistible Treat!
- Total Time: 15 mins
- Yield: 24 pieces 1x
- Diet: Vegetarian
Description
Monster Bark is a fun and easy-to-make chocolate treat swirled with colorful candy eyes.
Ingredients
- 12 oz semisweet chocolate chips
- 12 oz white chocolate chips
- 1 cup candy eyes
Instructions
- Line a baking sheet with parchment paper.
- Melt semisweet chocolate chips in a microwave-safe bowl.
- Melt white chocolate chips in a separate microwave-safe bowl.
- Pour both melted chocolates onto the baking sheet.
- Swirl the chocolates together with a knife.
- Sprinkle candy eyes on top.
- Let cool until firm.
- Break into pieces.
Notes
- Store in an airtight container.
- Use high-quality chocolate for best results.
- Prep Time: 10 mins
- Cook Time: 5 mins
- Category: Dessert
- Method: No-Bake
- Cuisine: American
Nutrition
- Serving Size: 1 piece
- Calories: 120
- Sugar: 10g
- Sodium: 5mg
- Fat: 7g
- Saturated Fat: 4g
- Unsaturated Fat: 2g
- Trans Fat: 0g
- Carbohydrates: 12g
- Fiber: 1g
- Protein: 1g
- Cholesterol: 5mg

