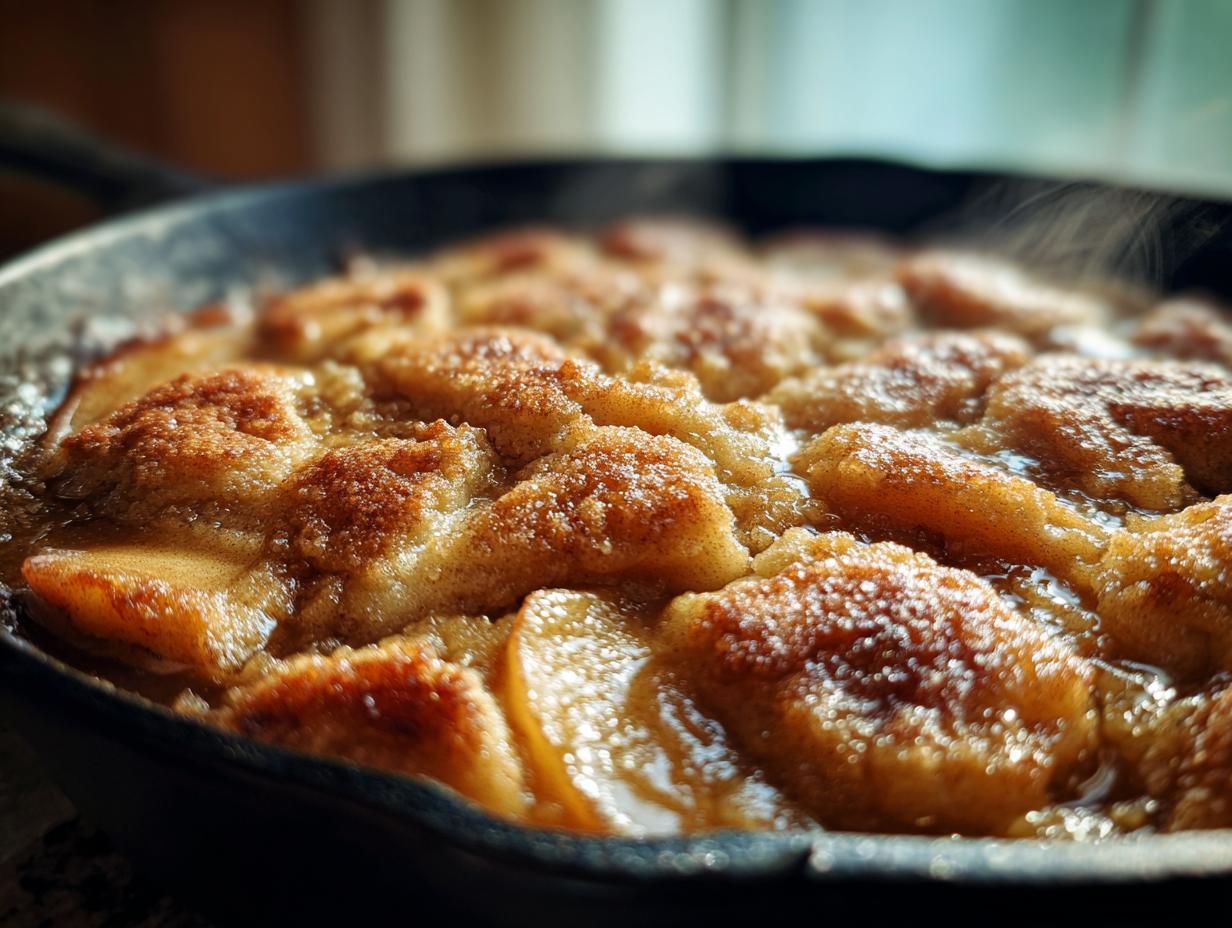
Nothing says “home” like the smell of cinnamon and apples bubbling away in a cast-iron skillet. This skillet apple cobbler recipe became my go-to dessert after a happy accident during last year’s apple picking trip – when I came home with way too many Honeycrisps and needed something quick, comforting, and absolutely foolproof. It’s the kind of dessert that looks like you spent hours on it (when really, it comes together in minutes), and that first bite of warm, spiced apples with that golden biscuit topping? Pure magic.
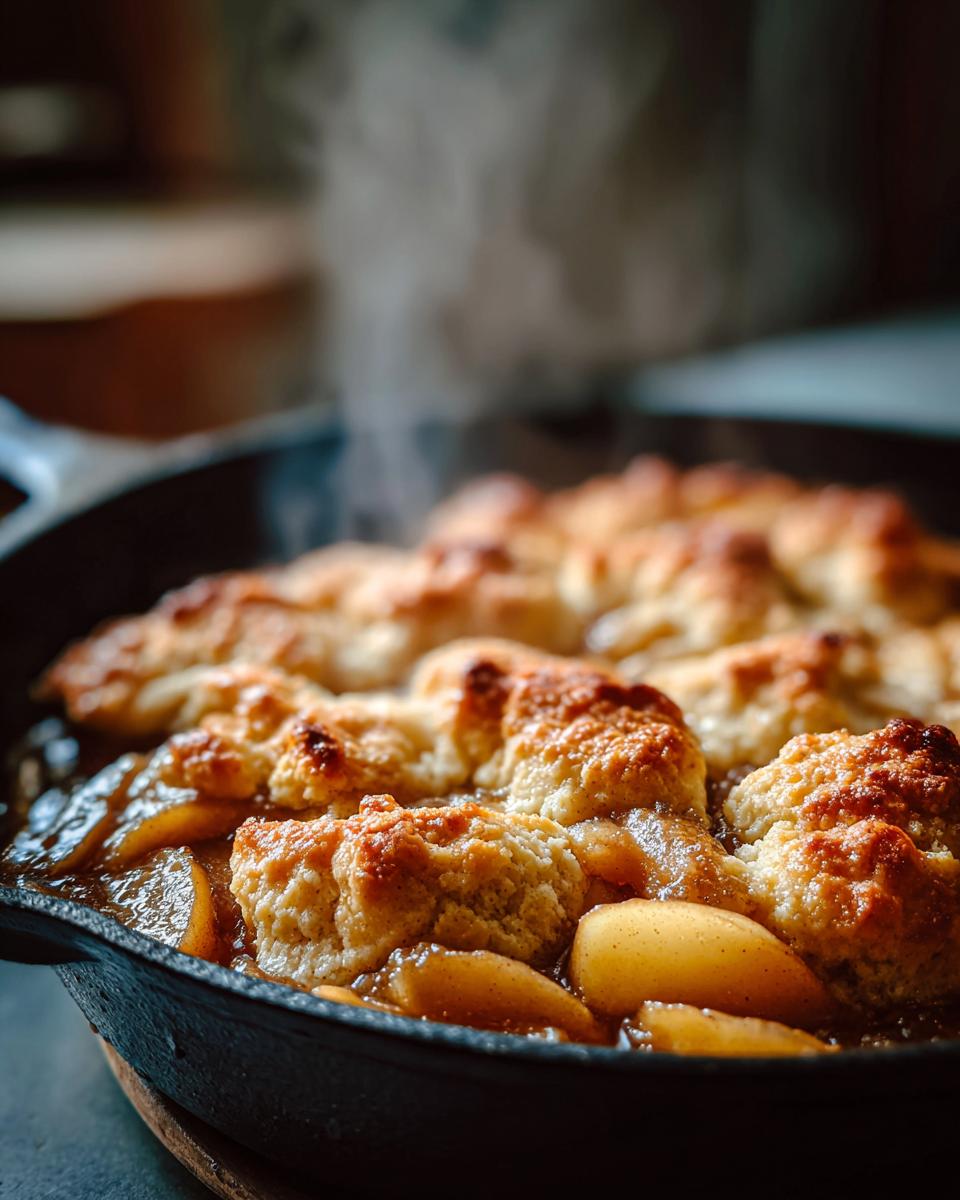
Why You’ll Love This Skillet Apple Cobbler
First off, it’s ridiculously easy – no fancy equipment or techniques, just simple ingredients you probably have on hand right now. The cast-iron skillet gives it that rustic charm (and helps create the perfect crispy edges), while the fluffy biscuit topping soaks up all those sweet, cinnamon-kissed apple juices. And let’s be real – anything you can serve straight from the skillet with a scoop of vanilla ice cream melting on top is automatically a winner in my book.
Ingredients for Skillet Apple Cobbler
Now let’s talk about what makes this cobbler so dang delicious. I’ve learned over the years that the simplest ingredients make the best desserts – but how you prepare them makes all the difference. Here’s what you’ll need (and my secret little tricks for each one):
- 4 cups peeled and sliced apples – I’m partial to Honeycrisp or Granny Smith because they hold their shape, but use what you’ve got! Just please, please slice them evenly – about 1/4 inch thick – so they cook at the same rate.
- 1/2 cup granulated sugar – This sweetens those tart apples just right. If your apples are super sweet, you can cut back to 1/3 cup.
- 1 tsp cinnamon – My grandma would add a pinch of nutmeg too if she was feeling fancy.
- 1 tbsp lemon juice – Don’t skip this! It keeps the apples from browning and adds the perfect little zing.
- 1 cup all-purpose flour – Just regular flour works great. I’ve tried it with half whole wheat too – not bad!
- 1/2 cup packed brown sugar – Pack it in that measuring cup like you mean it – we want all that molasses goodness.
- 1 tsp baking powder – The magic that makes our topping light and fluffy.
- 1/4 tsp salt – Balances all the sweetness beautifully.
- 1/2 cup unsalted butter, melted – I always use the real stuff. And yes, melted – it makes the topping crisp up perfectly.
- 1/4 cup milk – Any kind works – I’ve used everything from whole milk to almond milk in a pinch.
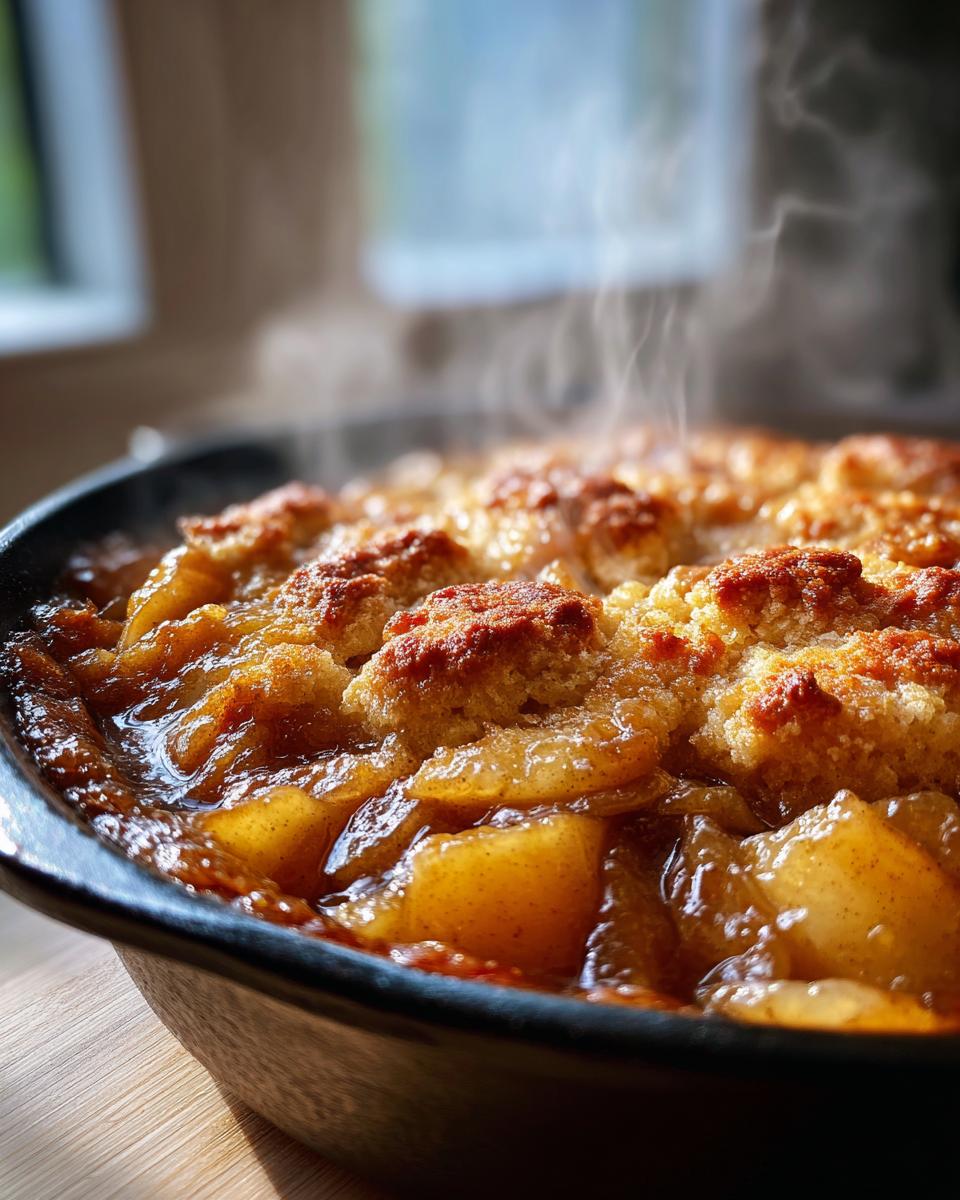
See? Nothing crazy here – just good, honest ingredients that come together to make something truly special. Now let’s get cooking!
How to Make Skillet Apple Cobbler
Okay, friends – let’s dive into the good stuff! I promise this is easier than you think. Just follow these steps, and you’ll have the most glorious apple cobbler bubbling away in no time:
- Preheat that oven! Get it roaring hot at 375°F (190°C) while you prep everything else. A properly heated oven is key to getting that golden-brown topping.
- Toss those beautiful apples with the granulated sugar, cinnamon, and lemon juice in a big bowl. Give them a good mix until they’re all shiny and coated – this is when my kitchen starts smelling amazing!
- Spread the apple mixture evenly in your trusty cast-iron skillet. I use a 10-inch one, but any oven-safe skillet will do. The apples will shrink a bit as they cook, so pile ’em high!
- Make the magic topping: In another bowl, whisk together the flour, brown sugar, baking powder, and salt. Then drizzle in that melted butter and milk, stirring just until a shaggy dough forms. Don’t overmix – we want it tender!
- Drop spoonfuls of dough all over the apples. I like making kinda rustic, uneven dollops – they bake up with gorgeous crispy edges and soft centers.
- Bake for 30-35 minutes until the topping is golden and the apples are bubbling fiercely around the edges. That bubbling sound? Music to my ears!
- Let it rest for 10 minutes before serving. I know waiting is hard, but this helps the juices thicken up beautifully.
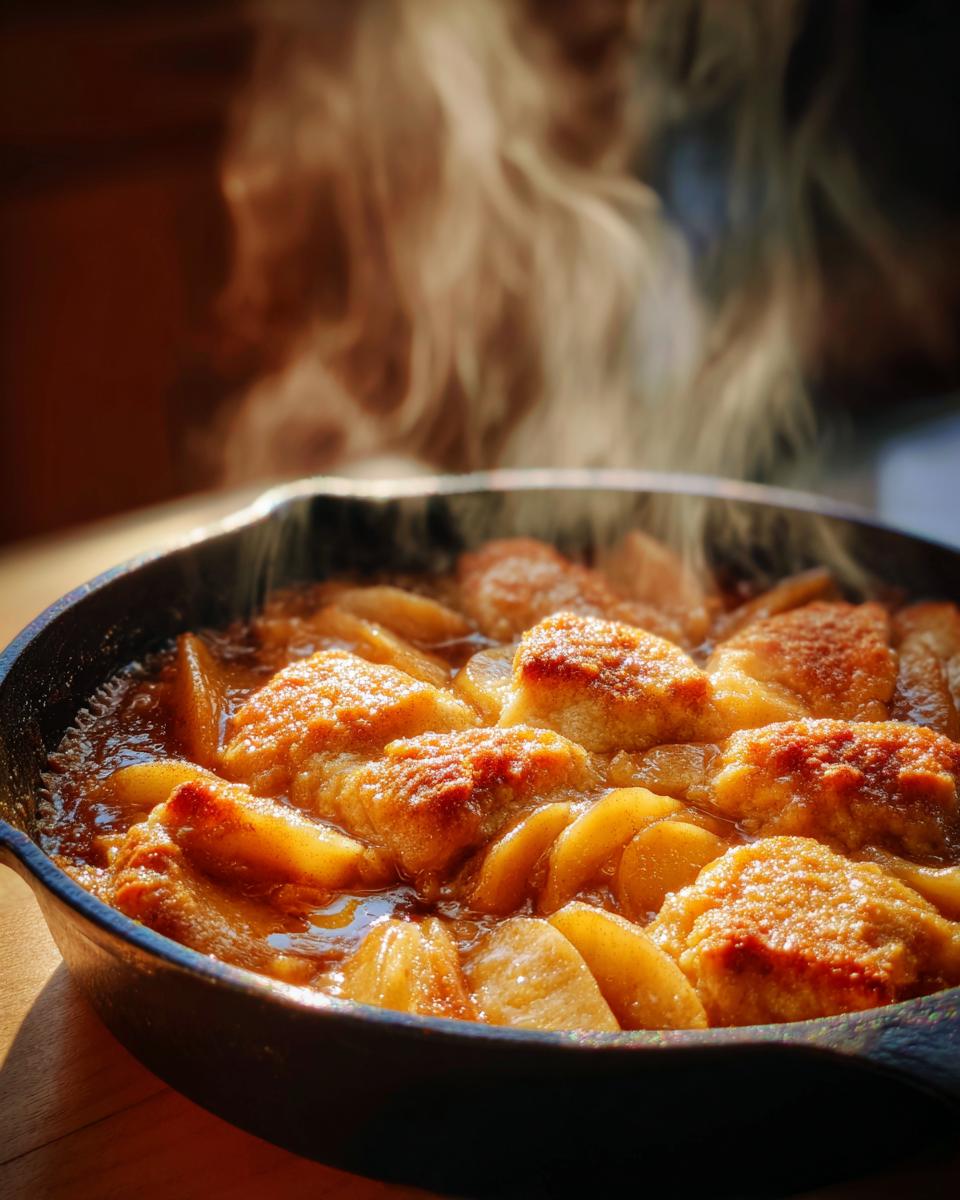
Pro Tips for Perfect Skillet Apple Cobbler
After making this more times than I can count, here are my hard-won secrets:
- Avoid soggy topping: Make sure your apple slices aren’t swimming in juice before adding the dough. If they seem extra juicy, toss in 1 tbsp of flour with the apples.
- Testing doneness: The topping should spring back lightly when pressed, and a toothpick inserted in the center should come out with moist crumbs (not wet batter).
- Skillet safety: Remember that cast iron stays hot! Always use oven mitts when handling it, and place it on a trivet or heat-safe surface after baking.
There you have it – my no-fail method for skillet apple cobbler bliss. Now go forth and bake something beautiful!
Ingredient Substitutions & Notes
Out of something? No worries – this recipe is super flexible! For dairy-free, use plant-based butter and your favorite milk alternative (oat milk works great). Coconut sugar can replace brown sugar in equal amounts if you prefer. No lemons? A splash of apple cider vinegar does the trick. And while I adore fresh apples, frozen slices work too – just thaw and pat dry first. The beauty of this cobbler? It always comes out delicious!
Serving Suggestions for Skillet Apple Cobbler
Oh, let me tell you about the best part – serving this beauty! I always bring the whole skillet right to the table (on a trivet, of course – safety first!). A big scoop of vanilla ice cream melting over the warm cobbler is absolute heaven. For something lighter, try freshly whipped cream with a sprinkle of cinnamon. And if you’re feeling extra fancy? A drizzle of caramel sauce takes it over the top. Honestly though? It’s perfect all by itself – especially when eaten standing at the counter with a spoon straight from the skillet (not that I’d ever do that…).
Storing and Reheating Skillet Apple Cobbler
Honestly, this cobbler rarely lasts long in my house – but if you’re lucky enough to have leftovers, here’s the scoop! Let it cool completely, then cover the skillet tightly with foil or transfer to an airtight container. It’ll keep at room temperature for about 2 days, or in the fridge for up to 5. To reheat, pop individual portions in the microwave for 30 seconds, or warm the whole skillet in a 300°F oven for about 15 minutes until toasty again. Pro tip: A quick broil at the end makes the topping crispy like new!
Skillet Apple Cobbler FAQs
I get asked about this recipe all the time, so let me answer the most common questions that pop up from fellow cobbler lovers!
What are the best apples to use for skillet apple cobbler?
I always reach for Honeycrisp or Granny Smith apples – they hold their shape beautifully and have the perfect sweet-tart balance. But honestly? Any firm baking apple works! Fuji, Braeburn, or even Pink Lady apples make delicious variations. Just avoid super soft varieties like Red Delicious unless you want applesauce texture (though hey, that could be delicious too!).
Can I make this without a cast-iron skillet?
Absolutely! While I adore how a skillet gives those crispy edges, you can bake this in any 2-quart baking dish. A 9-inch square pan or deep pie dish works great. Just keep an eye on baking time – glass or ceramic might need a few extra minutes. The only thing I wouldn’t recommend? A shallow pan – you want those apples to have some depth!
Can I prepare skillet apple cobbler ahead of time?
You bet! Here’s my favorite make-ahead trick: Prep the apples and topping separately – keep the apples in the skillet covered in the fridge, and store the dough in a bowl with plastic wrap. When ready to bake, just assemble and pop it in the oven (might need 5 extra minutes if starting cold). The flavors actually improve after sitting! Or bake it fully, then reheat – it’s almost better the second day when the juices really soak into the topping.
Nutritional Information
Now, I’m no nutritionist – I’m just a home cook who loves sharing delicious recipes! The nutritional info for this skillet apple cobbler can vary quite a bit depending on the specific apples you use, your exact measurements, and whether you go heavy on that ice cream topping (no judgment here!). The numbers I’ve seen from various calculators give a general idea, but honestly? When I’m digging into this warm, comforting dessert, I’m thinking about the joy it brings, not the calorie count.
That said, if you’re watching specific dietary needs, here’s what to consider: The main sources of natural sugars come from the apples and brown sugar, while the butter and flour contribute to the carb and fat content. You can absolutely make adjustments – like reducing the sugar slightly or using a lower-fat milk – to fit your preferences. But remember, this is dessert – meant to be enjoyed in moderation as part of a balanced diet. Life’s too short not to savor a good cobbler now and then!
Share Your Skillet Apple Cobbler Experience
I’d love to hear how your cobbler turned out! Did you try any fun twists? Maybe you discovered the perfect apple variety or had a hilarious kitchen mishap (we’ve all been there). Leave a comment below with your skillet apple cobbler adventures – your tips might just help another home baker! And if you loved it, don’t be shy – give this recipe a rating so others know it’s a winner.
Print
Easy Skillet Apple Cobbler Recipe with 4 Secret Tips Inside
- Total Time: 50 minutes
- Yield: 6 servings 1x
- Diet: Vegetarian
Description
A simple and delicious skillet apple cobbler made with fresh apples and a buttery biscuit topping.
Ingredients
- 4 cups peeled and sliced apples
- 1/2 cup granulated sugar
- 1 tsp cinnamon
- 1 tbsp lemon juice
- 1 cup all-purpose flour
- 1/2 cup brown sugar
- 1 tsp baking powder
- 1/4 tsp salt
- 1/2 cup unsalted butter, melted
- 1/4 cup milk
Instructions
- Preheat oven to 375°F (190°C).
- Toss apples with granulated sugar, cinnamon, and lemon juice. Spread in a skillet.
- Mix flour, brown sugar, baking powder, and salt in a bowl.
- Stir in melted butter and milk until a dough forms.
- Drop spoonfuls of dough over the apples.
- Bake for 30-35 minutes until golden and bubbly.
- Let cool slightly before serving.
Notes
- Use firm apples like Granny Smith or Honeycrisp.
- Serve warm with vanilla ice cream.
- Prep Time: 15 minutes
- Cook Time: 35 minutes
- Category: Dessert
- Method: Baking
- Cuisine: American
Nutrition
- Serving Size: 1 serving
- Calories: 320
- Sugar: 32g
- Sodium: 120mg
- Fat: 12g
- Saturated Fat: 7g
- Unsaturated Fat: 4g
- Trans Fat: 0g
- Carbohydrates: 52g
- Fiber: 3g
- Protein: 3g
- Cholesterol: 30mg

