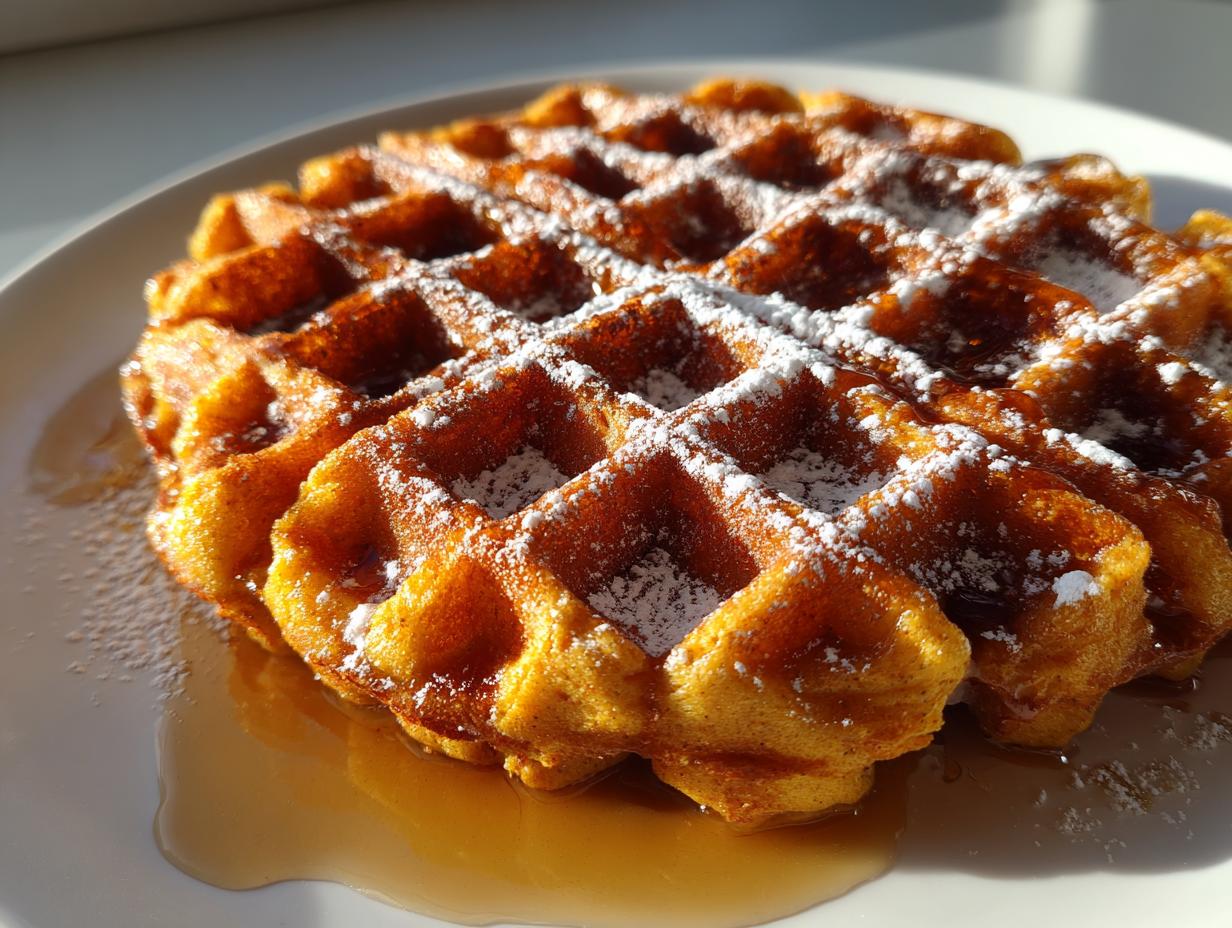
There’s nothing like waking up to the smell of warm pumpkin spice wafting through the house—except maybe realizing you’ve got a stack of homemade pumpkin waffles ready to pop in the toaster! These freezer-friendly pumpkin waffles became my secret weapon during those chaotic school mornings when my kids needed breakfast fast. One Sunday batch gives me a whole week of cozy autumn flavors at my fingertips.
The magic happens with just the right blend of cinnamon, nutmeg, and ginger dancing with real pumpkin puree. I love how the spices deepen overnight while the waffles freeze perfectly crisp. Now even my sleepiest teenager smiles when they hear that familiar “ding” of the toaster releasing those sweet, spiced aromas. Trust me, your future self will thank you when you’re enjoying warm pumpkin waffles in your pajamas on a Wednesday!
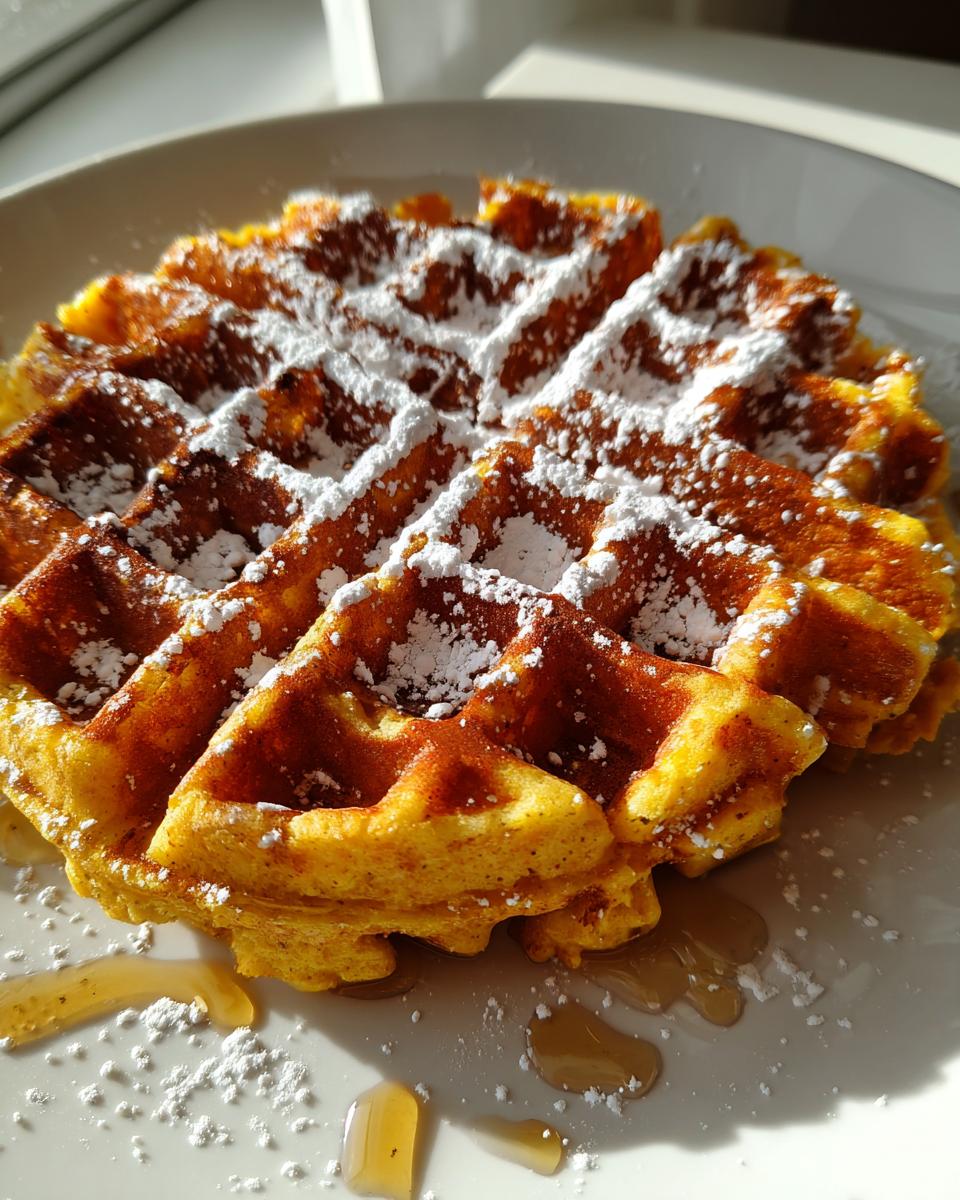
Why You’ll Love These Freezer-Friendly Pumpkin Waffles
Once you try this recipe, you’ll wonder how you ever survived busy mornings without it! Here’s why these pumpkin waffles have become my breakfast lifesaver:
- Morning magic in minutes – Frozen waffles go straight from freezer to toaster for instant cozy breakfasts
- Make-ahead genius – One batch gives you a whole week’s worth of breakfasts (if they last that long!)
- Autumn in every bite – Real pumpkin and warm spices make these taste like fall mornings should
- Perfect texture – They freeze and reheat amazingly crisp thanks to my special batter trick
- Endless possibilities – Dress them up or down with whatever toppings you’re craving that day
The best part? Your house will smell like a pumpkin spice latte shop while they cook!
Ingredients for Freezer-Friendly Pumpkin Waffles
Grab these simple pantry staples – I promise you’ve probably got most of them already! The pumpkin puree makes all the difference here (and no, pumpkin pie filling won’t work – trust me, I learned that the hard way). Here’s what you’ll need:
- Dry ingredients: 2 cups all-purpose flour, 2 tbsp brown sugar (the dark kind adds such nice depth!), 1 tbsp baking powder, 1 tsp cinnamon, 1/2 tsp each nutmeg and ginger, 1/4 tsp cloves, 1/2 tsp salt
- Wet team: 1 3/4 cups milk (any kind works!), 1/2 cup 100% pure pumpkin puree (not pie filling!), 2 large eggs, 1/4 cup melted butter (salted or unsalted – your choice!)
See? Nothing fancy – just real ingredients that come together to make something magical. Now let’s get mixing!
Equipment You’ll Need for Freezer-Friendly Pumpkin Waffles
Don’t worry – you don’t need fancy gadgets for these waffles! Here’s what I always grab:
- Waffle iron (my trusty old one works better than my fancy new one, go figure!)
- Two mixing bowls – one for dry, one for wet ingredients
- Whisk (or a fork in a pinch)
- Wire rack for cooling (crucial for crisp freezing!)
Nice-to-haves: a ladle for pouring batter, silicone brush for greasing, and parchment paper if you’re extra cautious about sticking. That’s it – now let’s make some waffle magic!
How to Make Freezer-Friendly Pumpkin Waffles
Ready to fill your freezer with pumpkin-spiced goodness? Follow these simple steps – I promise it’s easier than you think! The key is not overmixing (lumpy batter makes fluffier waffles) and getting that waffle iron nice and hot first. Here’s how I do it:
Mixing the Dry Ingredients
First, grab your biggest mixing bowl and whisk together all those wonderful dry ingredients – the flour, brown sugar, baking powder, cinnamon, nutmeg, ginger, cloves, and salt. You want everything evenly distributed with no sneaky flour lumps hiding in the corners. This spice blend is what gives our waffles that signature cozy flavor!
Combining Wet Ingredients
In a separate bowl (I use my trusty 4-cup measuring cup), whisk together the milk, pumpkin puree, eggs, and melted butter until smooth. The pumpkin should be fully incorporated – no orange streaks! Pro tip: Let your melted butter cool slightly so it doesn’t cook the eggs when you mix them.
Cooking and Freezing the Waffles
Now the fun part! Pour your batter onto the preheated waffle iron (about 1/2 cup per waffle works perfectly for standard irons). Cook until the steam slows down and the waffles are golden brown – about 4-5 minutes depending on your iron. Transfer to a wire rack to cool completely (this prevents sogginess!). Once cooled, freeze in a single layer on a baking sheet before transferring to freezer bags. To reheat? Straight from freezer to toaster for that perfect crisp texture!
Tips for Perfect Freezer-Friendly Pumpkin Waffles
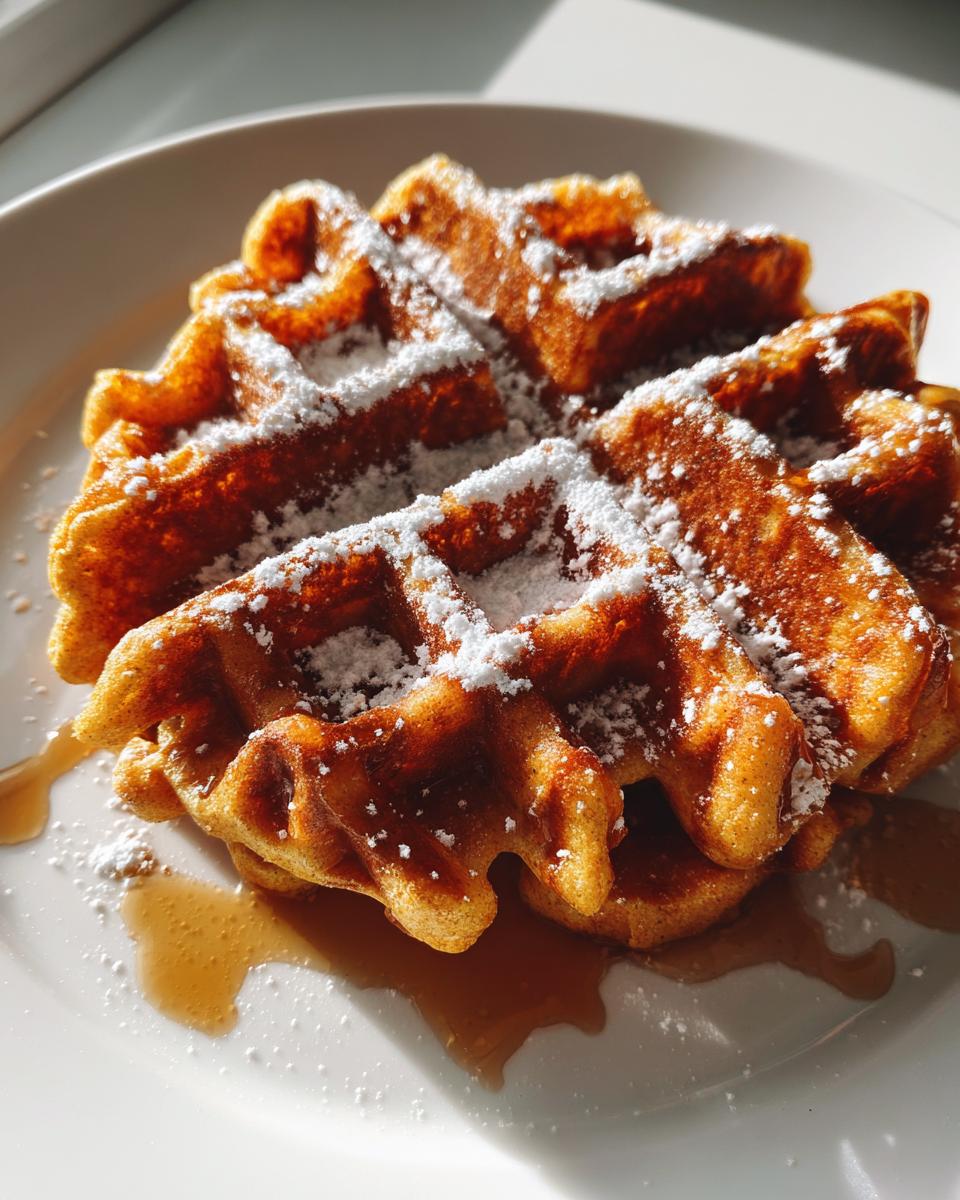
After making literally hundreds of these waffles (my kids are obsessed!), I’ve learned all the tricks for pumpkin waffle perfection. Here are my can’t-live-without tips:
- Grease generously – Brush that waffle iron with butter or oil between each batch (yes, every time!) to prevent sticking disasters
- Watch the steam – When the steam slows to just a wisp, your waffles are usually done – peek for golden perfection
- Single layer cooling – Never stack hot waffles! They’ll get soggy. Spread them out on the wire rack like cookies
- Freeze flat first – Flash-freeze on a tray before bagging to prevent them from sticking together in the freezer
- Toast don’t microwave – For that perfect crisp exterior, always reheat frozen waffles in the toaster, not the microwave
Follow these, and you’ll have freezer waffles better than any store-bought box!
Variations for Freezer-Friendly Pumpkin Waffles
Here’s where the real fun begins – making this recipe your own! My kids beg for chocolate chips stirred right into the batter (about 1/2 cup does the trick). For crunch, try folding in chopped pecans or walnuts. Feeling fancy? Drizzle with maple syrup before freezing, or sprinkle cinnamon sugar between layers. My secret indulgence? A spoonful of cream cheese swirled into the batter for the most decadent pumpkin waffles ever. The possibilities are endless!
Serving Suggestions for Freezer-Friendly Pumpkin Waffles
Oh, the joy of pulling these golden beauties straight from the freezer – they’re practically begging to be dressed up! My kids love them with a dollop of Greek yogurt and a drizzle of honey (it’s like pumpkin pie for breakfast). For weekend treats, I’ll pile on fresh apple slices and a cloud of whipped cream. But honestly? My favorite way is still classic – straight from the toaster with a pat of melting butter and a generous pour of maple syrup. The best part? No need to thaw – frozen waffles go right into the toaster for that perfect crisp exterior every time!
Storing and Reheating Freezer-Friendly Pumpkin Waffles
Here’s the beauty of these waffles – they stay delicious for months! Once cooled completely, I freeze them in a single layer on a baking sheet (about 2 hours), then transfer to airtight freezer bags with parchment between layers. They’ll keep their perfect texture for up to 3 months – though ours never last that long!
When hunger strikes, skip the microwave (trust me!). Pop frozen waffles straight into the toaster for that golden crispness we all love. About 2 minutes on medium gets them hot with just the right crunch. Perfect for rushed mornings when you need autumn flavors fast!
Nutritional Information for Freezer-Friendly Pumpkin Waffles
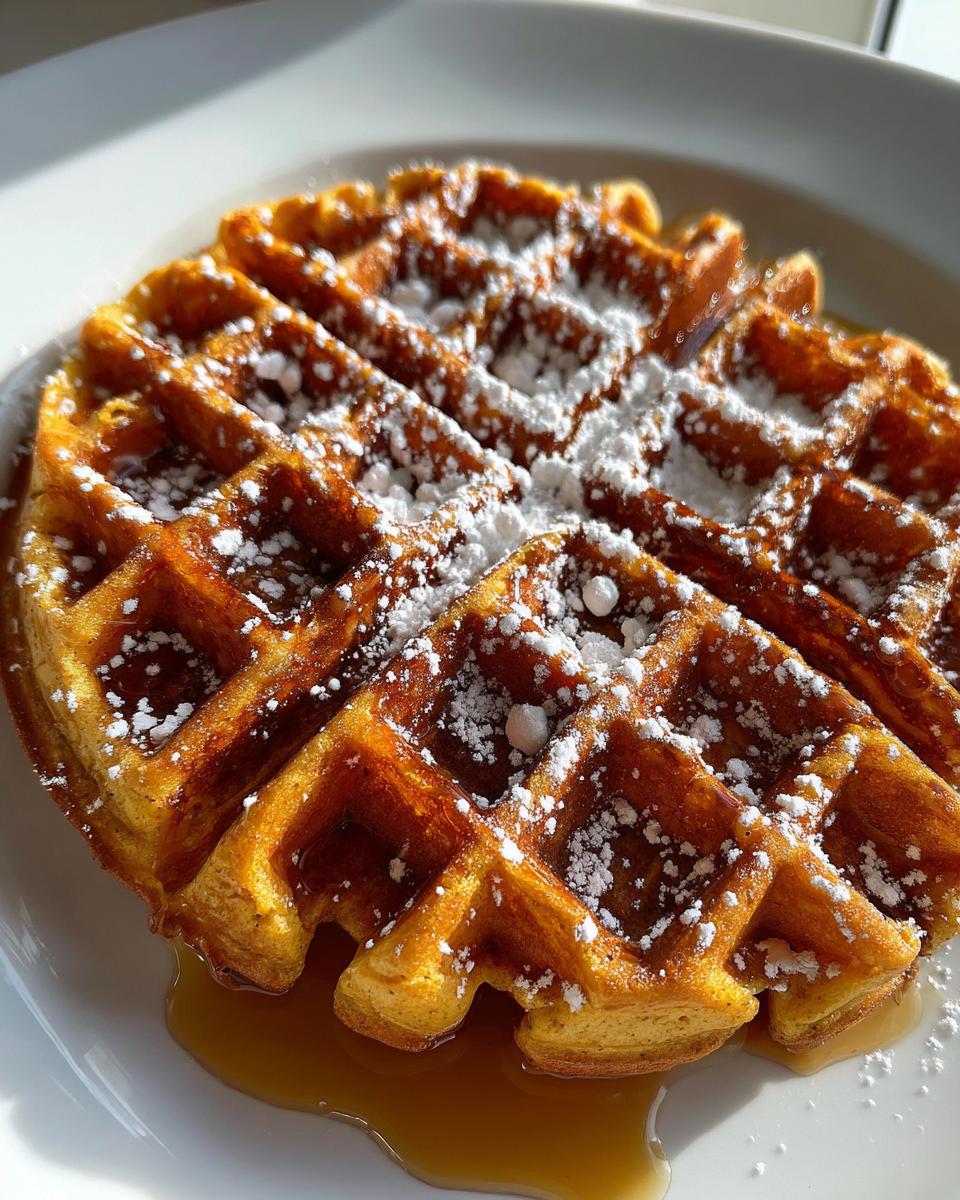
Here’s the scoop on what’s in these cozy waffles (per waffle, based on making 6): about 220 calories, with 6g protein and 2g fiber from that pumpkin goodness. They’ve got 6g sugar (mostly from the pumpkin and brown sugar) and 8g fat – perfect for keeping you full all morning!
Remember: Nutritional values are estimates and vary based on ingredients used. I always say – when something tastes this good and makes mornings easier, that’s the real nutritional win!
FAQs About Freezer-Friendly Pumpkin Waffles
Q1: Can I use whole wheat flour instead of all-purpose?
Absolutely! I often swap half the flour for whole wheat – it adds a nice nuttiness. Just keep in mind the waffles will be slightly denser. If using all whole wheat, add an extra tablespoon of milk to keep them tender.
Q2: How long do these pumpkin waffles last in the freezer?
They stay perfect for up to 3 months when stored properly in airtight bags! Though in my house, we’re lucky if a batch lasts 3 weeks. Pro tip: Write the date on the bag so you remember when you made them.
Q3: Can I make the batter ahead and refrigerate it overnight?
I don’t recommend it – the baking powder starts working right away, so your waffles won’t be as fluffy. The beauty of this recipe is freezing the cooked waffles – they reheat so much better than stored batter!
Q4: Why do my waffles stick to the iron?
Oh honey, I’ve been there! First, make sure your iron is properly preheated. Then brush it with oil or melted butter between every batch – yes, even if it’s nonstick. Trust me, this extra step saves so much frustration!
Q5: Can I double this freezer waffle recipe?
Please do! I always make a double batch – it takes the same amount of effort and fills your freezer with breakfast gold. Just mix in a bigger bowl and maybe cook in two batches if your iron is small.

Freezer-Friendly Pumpkin Waffles
- Total Time: 25 minutes
- Yield: 6 waffles 1x
- Diet: Vegetarian
Description
Enjoy fluffy pumpkin waffles that you can make ahead and freeze for quick breakfasts. These waffles are packed with warm spices and pumpkin flavor.
Ingredients
- 2 cups all-purpose flour
- 2 tbsp brown sugar
- 1 tbsp baking powder
- 1 tsp cinnamon
- 1/2 tsp nutmeg
- 1/2 tsp ginger
- 1/4 tsp cloves
- 1/2 tsp salt
- 1 3/4 cups milk
- 1/2 cup pumpkin puree
- 2 eggs
- 1/4 cup melted butter
Instructions
- Preheat your waffle iron.
- Mix flour, sugar, baking powder, spices, and salt in a bowl.
- In another bowl, whisk milk, pumpkin puree, eggs, and melted butter.
- Combine wet and dry ingredients until just mixed.
- Pour batter onto the waffle iron and cook until golden brown.
- Cool waffles on a wire rack before freezing.
Notes
- Freeze waffles in a single layer before storing in a bag.
- Reheat in a toaster for best texture.
- Add chocolate chips or nuts for extra flavor.
- Prep Time: 10 minutes
- Cook Time: 15 minutes
- Category: Breakfast
- Method: Waffle Iron
- Cuisine: American
Nutrition
- Serving Size: 1 waffle
- Calories: 220
- Sugar: 6g
- Sodium: 320mg
- Fat: 8g
- Saturated Fat: 4g
- Unsaturated Fat: 3g
- Trans Fat: 0g
- Carbohydrates: 32g
- Fiber: 2g
- Protein: 6g
- Cholesterol: 70mg

