I’ll never forget the Halloween my daughter declared store-bought treats “too boring” an hour before her school party. Panic mode! Enter Fudge-Striped Cookie Witch Hats – our magic fix that took just 10 minutes and three ingredients. These adorable no-bake treats became our yearly tradition because honestly, who has time for complicated recipes when you’re also sewing last-minute costume repairs? The best part? That “I slayed Halloween” feeling when everyone thinks you spent hours crafting, but really, you just played matchmaker between cookies and chocolate kisses. Pure kitchen wizardry!
Ingredients for Fudge-Striped Cookie Witch Hats
Okay, let’s talk ingredients—because the magic of these witch hats comes down to three simple things you probably already have in your pantry. Trust me, you won’t need a cauldron or a magic spell to gather these!
Essential Ingredients
- 24 fudge-striped cookies (the stripes become the hat’s brim—so cute!)
- 24 Hershey’s Kisses, unwrapped (pro tip: chill them for 10 minutes if your kitchen’s warm—they won’t melt in your fingers)
- 1 tube orange decorating icing (the kind with a fine tip works best for those tiny witch hat bands)
That’s it! No fancy equipment, no weird ingredients—just pure, simple Halloween fun. The hardest part? Not eating all the Kisses before they make it onto the cookies. (I may or may not speak from experience…)
How to Make Fudge-Striped Cookie Witch Hats
Alright, let’s get to the fun part—turning those simple ingredients into the most adorable witch hats you’ve ever seen! I promise, if I can do this while simultaneously helping my kid glue fake spiders to her costume, you can totally handle it too. Here’s exactly how to make magic happen:
Step 1: Prepare the Cookies
Grab your cookies and lay them out striped side down on a tray or baking sheet—that fudge pattern is going to be your witch hat brim, and you want it looking sharp! Give them some space though—no stacking or crowding unless you want a witch hat pile-up situation.
Step 2: Attach the Kisses
Now for my favorite part! Take your orange icing and pipe just a tiny dot—I’m talking pea-sized—onto the flat side of each Hershey’s Kiss. Then press it firmly right in the center of each cookie. Don’t be shy with the pressure here—you want that chocolate pointy hat to stay put through all the Halloween excitement.
Step 3: Let Set
Here’s where patience comes in (or doesn’t, if you’re like me sneaking one before they’re ready). Let those little hats sit at room temperature for about 5 minutes so the icing can work its magic as glue. No refrigeration needed—just let them hang out on the counter while you clean up the inevitable mess of Hershey’s Kiss wrappers everywhere.
Tips for Perfect Fudge-Striped Cookie Witch Hats
After making these adorable witch hats more times than I can count (and yes, occasionally having some hilarious fails), I’ve picked up some tricks that’ll guarantee picture-perfect results every time. Here are my absolute must-know tips:
Chill those Kisses!
If your kitchen’s warm or your hands tend to run hot, pop those unwrapped Hershey’s Kisses in the fridge for 10 minutes before assembling. Cold chocolate won’t melt as you’re handling it, and you’ll avoid those telltale fingerprint smudges on your perfect witch hats.
The icing sweet spot
When piping your orange icing dots, aim for just enough to hold the Kiss in place—but not so much that it squishes out the sides when you press down. Think “tiny pea” rather than “big marble.” Trust me, I learned this the messy way during my first batch!
Cookie quality check
Before you start assembling, flip through your fudge-striped cookies to make sure they’re all intact. Broken cookies make sad, lopsided witch hats (though they do make excellent “taste test” opportunities for the baker!).
Assembly line approach
Unwrap all your Kisses first, pipe icing on them all at once, then attach them to the cookies assembly-line style. This method saves so much time compared to doing each hat individually—especially helpful when you’re making these last-minute!
Variations for Fudge-Striped Cookie Witch Hats
Once you’ve mastered the classic orange-banded witch hats, the fun really begins! These little treats are like a blank cauldron—ready for whatever magical twist you want to stir in. Here are some of my favorite ways to mix things up when the Halloween spirit strikes:
Spooky Color Swaps
That orange icing tube is just the beginning! Try green for wicked witch vibes, purple for a mystical look, or even black for extra spook factor. I once did a rainbow assortment for my daughter’s “unicorn witch” party—total hit! Just grab those little icing tubes in the baking aisle and go wild.
Holiday Hat Makeovers
Guess what? These aren’t just for Halloween! Swap the orange icing for red and green at Christmas, pastels for Easter, or red-white-and-blue for the Fourth of July. Suddenly, you’ve got festive chocolate hats for any occasion. My neighbor still talks about the Valentine’s Day version I made with pink icing and heart sprinkles!
Glitter & Sparkle Magic
For extra pizzazz, dust the assembled hats with edible glitter right after attaching the Kisses—while the icing’s still tacky. Or press tiny sprinkles into the icing band before it sets. Last year I found bat-shaped sprinkles that made the cutest little hat decorations. Just remember: a little sparkle goes a long way!

The best part? Kids love helping with these variations. Let them pick colors and decorations—even if the results aren’t “perfect,” they’ll taste just as delicious. After all, some of my favorite creations started as happy accidents!
Storing Fudge-Striped Cookie Witch Hats
Now, let’s talk about keeping these little cuties fresh—because let’s be real, you might not devour all 24 in one sitting (though I won’t judge if you do!). The good news? These witch hats store beautifully, but there’s a trick to it.
Pop them in an airtight container at room temperature, and they’ll stay perfect for up to 3 days. I like to use a cookie tin with some wax paper between layers if I’m stacking them—just be gentle with those pointy chocolate tops! The fudge stripes stay crisp, and the Kisses keep their shape beautifully this way.
Here’s my big warning though: no refrigeration! I learned this the hard way when my first batch came out of the fridge with foggy, sad-looking chocolate. The moisture makes the cookies go soft and the Kisses lose their shine. Trust me, room temperature is the sweet spot for these treats.
If you’re making them ahead for a party, I recommend assembling them the morning of—that way the icing has time to set fully, but everything stays fresh and delicious. The Kisses might start to lose their perfect point after a few days, but they’ll still taste amazing. Not that they usually last that long in my house!
Nutritional Information
Okay, let’s be real—we’re not eating witch hats for their health benefits, but a little nutritional info never hurt anybody! Here’s the scoop on what’s in these adorable treats (because yes, I actually did the math while nibbling on “test” cookies).
Each Fudge-Striped Cookie Witch Hat comes in at about 85 calories, with 7g of sugar—basically the same as two Hershey’s Kisses, if we’re keeping it real. Not too shabby for a festive treat! You’ll also get about 5g of fat (mostly from that delicious chocolate) and 10g of carbs to fuel your trick-or-treating adventures.
Now, full disclosure—these values are estimates and can vary depending on your specific cookie brand or how generous you are with that icing. I once went a little overboard with the orange icing (oops!) and those hats definitely packed more sugar. But hey, it’s Halloween—if there’s ever a time to embrace the sweet stuff, this is it!
The best part? These portion-controlled treats let you enjoy just one or two without going overboard. Unless of course you’re like me and suddenly realize you’ve “accidentally” eaten six while watching Hocus Pocus. No judgment here!
Frequently Asked Questions
Can I use other types of cookies instead of fudge-striped?
You totally can—but the fudge stripes really make the perfect witch hat brim! Plain shortbread cookies work in a pinch, but they won’t have that distinctive hat look. If you’re feeling fancy, try chocolate-dipped vanilla wafers for a different texture. Just remember: the sturdier the cookie, the better it’ll hold up under that chocolate hat!
What if I can’t find orange decorating icing?
No stress! You’ve got options: 1) Use white icing and mix in a drop of orange food coloring, 2) Melt orange candy melts and dip just the base of the Kiss before attaching, or 3) Get creative with colored sugar or sprinkles pressed into white icing. Halloween is all about improvisation—I once used red icing in desperation and called them “wicked witch” hats!
Can kids help make these?
Absolutely—this is one of my favorite “first baking” projects for little ones! They can unwrap Kisses (though you might lose a few to snack attacks), place cookies on the tray, and gently press down the hats. Just handle the icing yourself—those tubes can be tricky for small hands. Pro tip: assign one kid to be the “quality control tester”—it keeps them engaged and prevents too many “helpers” crowding the workspace!
Show Us Your Spooky Creations!
I’d love to see what magical witch hat variations you come up with! Snap a photo of your Fudge-Striped Cookie Witch Hats and tag me—I’m always looking for new decorating ideas to steal (I mean, borrow) for next Halloween. Did you try purple icing? Add edible glitter? Create a whole coven of different colored hats? Share your pictures with the hashtag #WitchHatMagic so we can all be inspired! And if you’ve got any brilliant new twists on this recipe, spill your secrets—I’m already dreaming up ideas for next year’s batch!
Print
Fudge-Striped Cookie Witch Hat
- Total Time: 10 mins
- Yield: 24 hats 1x
- Diet: Vegetarian
Description
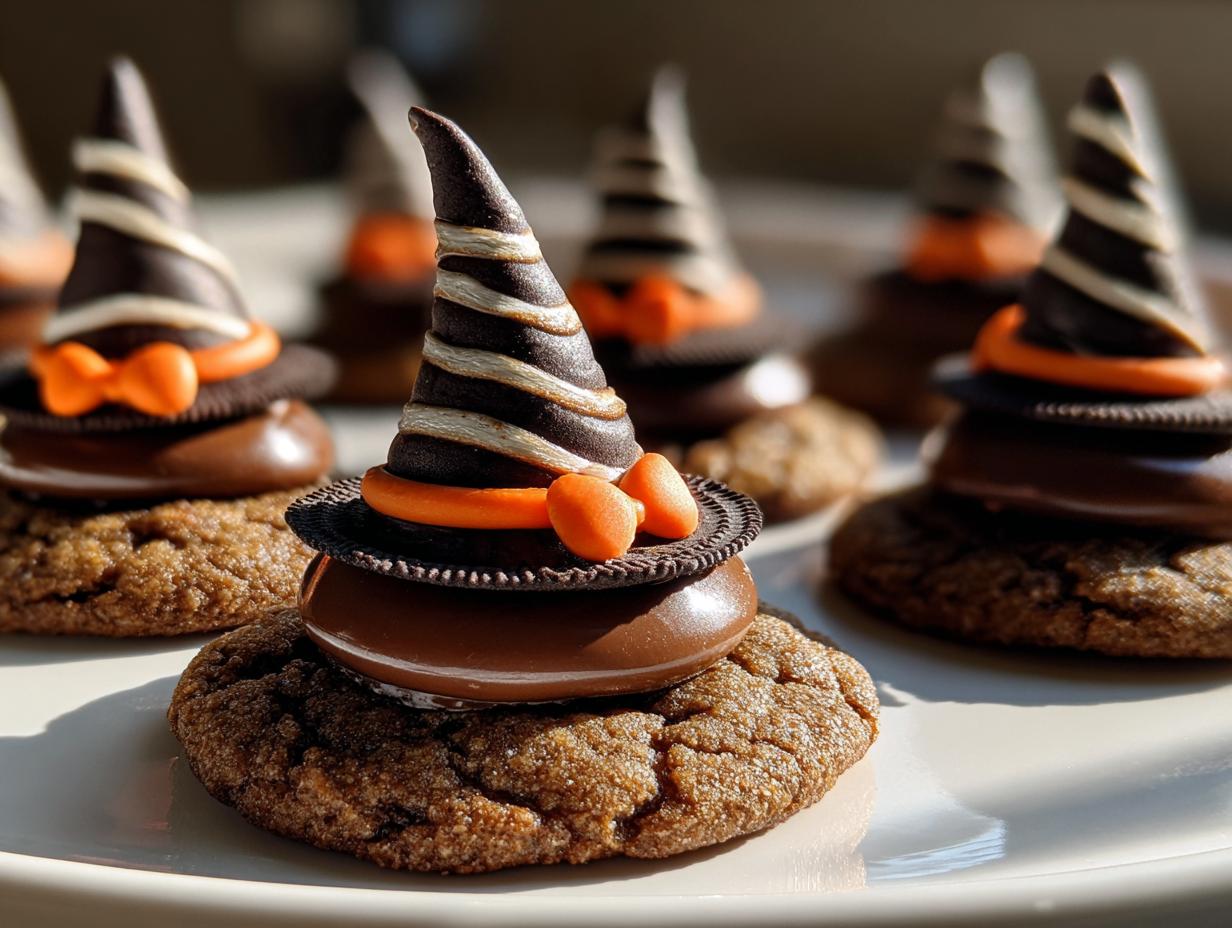
Easy-to-make witch hat treats using fudge-striped cookies and Hershey’s Kisses for Halloween.
Ingredients
- 24 fudge-striped cookies
- 24 Hershey’s Kisses
- 1 tube orange decorating icing
Instructions
- Place cookies striped side down on a tray.
- Unwrap Hershey’s Kisses.
- Pipe a small dot of orange icing onto the flat side of each Kiss.
- Press the Kiss firmly onto the center of each cookie.
- Let icing set for 5 minutes before serving.
Notes
- Store in an airtight container for up to 3 days.
- Use different colored icing for variety.
- Prep Time: 10 mins
- Cook Time: 0 mins
- Category: Dessert
- Method: No-Bake
- Cuisine: American
Nutrition
- Serving Size: 1 hat
- Calories: 85
- Sugar: 7g
- Sodium: 35mg
- Fat: 5g
- Saturated Fat: 3g
- Unsaturated Fat: 2g
- Trans Fat: 0g
- Carbohydrates: 10g
- Fiber: 0g
- Protein: 1g
- Cholesterol: 2mg