There’s something magical about homemade marshmallows—the way they melt in your mouth, the pure vanilla aroma, the satisfying squish when you press one between your fingers. Forget those rubbery store-bought versions; once you make these fluffy clouds of sweetness at home, you’ll never go back. I still remember the first time I whipped up a batch, standing over the mixer, watching glossy white peaks form like edible magic. The best part? They’re easier than you think—just a handful of simple ingredients and a little patience. Trust me, whether you’re topping hot cocoa or eating them straight from the pan, homemade marshmallows are pure, sugary joy.

Why You’ll Love These Homemade Marshmallows
These marshmallows aren’t just sweets—they’re little bites of happiness. Here’s why they’ll become your new obsession:
- Cloud-like fluffiness that puts store-bought to shame (you can actually taste the airy texture!)
- Real vanilla flavor that doesn’t taste artificial—I use a whole tablespoon because why not?
- Endless customization—add peppermint for holidays, cocoa powder for chocolate lovers, or food coloring for rainbow fun
- No weird ingredients—just simple pantry staples you probably already have
- That “wow” factor when friends realize you made marshmallows from scratch (yes, you’re basically a kitchen wizard now)
Ingredients for Homemade Marshmallows
Gather these simple ingredients—you might already have most in your pantry! The magic happens when they come together:
- 3 packets unflavored gelatin (about 2 1/4 teaspoons total—this is what gives them that iconic bounce)
- 1 cup cold water, divided (half for the gelatin, half for the syrup—don’t mix them up!)
- 1.5 cups granulated sugar (trust me, no substitutes here—it’s what creates that glossy syrup)
- 1 cup light corn syrup (the secret to preventing crystallization—don’t skip it!)
- 1/4 tsp salt (just a pinch to balance the sweetness)
- 1 tbsp pure vanilla extract (or get creative with almond or peppermint for fun twists)
- 1/2 cup powdered sugar + 1/2 cup cornstarch (for dusting—this keeps them from sticking like glue)
See? Nothing fancy—just the good stuff. Now let’s make some fluff!

Equipment You’ll Need
Don’t worry—you don’t need fancy gadgets, but these tools are non-negotiable for marshmallow success:
- Stand mixer (or a hand mixer with serious stamina—your arms will thank you)
- Candy thermometer (240°F is the magic number—no guessing allowed!)
- 9×13-inch baking dish (greased and dusted like you’re preparing for a powdered sugar blizzard)
- Silicone spatula (for scraping every last bit of that sticky, fluffy goodness)
- Sharp knife (lightly oiled to slice through the marshmallows like a dream)
That’s it! Now let’s get mixing.
How to Make Homemade Marshmallows
Okay, let’s dive into the fun part! Making marshmallows is like conducting a sweet science experiment—follow these steps closely, and you’ll be rewarded with pillowy perfection.
Preparing the Pan
First things first—grease your baking dish like you’re protecting it from a marshmallow invasion. I use a 9×13-inch pan and coat it with a thin layer of butter or non-stick spray. Then comes the snowstorm: toss in equal parts powdered sugar and cornstarch (about 1/2 cup each), tilt the pan to coat every inch, and tap out the excess. This magical dusting prevents sticky disasters later—trust me, you don’t want to skip this step!
Mixing the Gelatin Base
In your mixer’s bowl, sprinkle gelatin over 1/2 cup cold water. It’ll look like a weird science project at first, but let it sit for 10 minutes—this “blooming” softens the gelatin so it whips up beautifully. Meanwhile, grab your saucepan because it’s syrup time!
Cooking the Sugar Syrup
Combine sugar, corn syrup, salt, and the remaining 1/2 cup water in the saucepan. Clip on that candy thermometer—this is your lifeline! Heat over medium until it hits 240°F (the soft-ball stage). No peeking or stirring! This takes about 10-15 minutes. Pro tip: Brush the sides with water if sugar crystals form to prevent graininess.
Whipping to Fluffy Perfection
With mixer on low, slowly pour the hot syrup into the bloomed gelatin. Once incorporated, crank it to high and let it go for 10 glorious minutes. You’ll watch the magic happen—the mixture turns from translucent to opaque white, tripling in volume and forming stiff peaks. Add vanilla (or other extracts) in the last minute. The batter should ribbon when you lift the beater—if it doesn’t, keep whipping!
Setting and Cutting
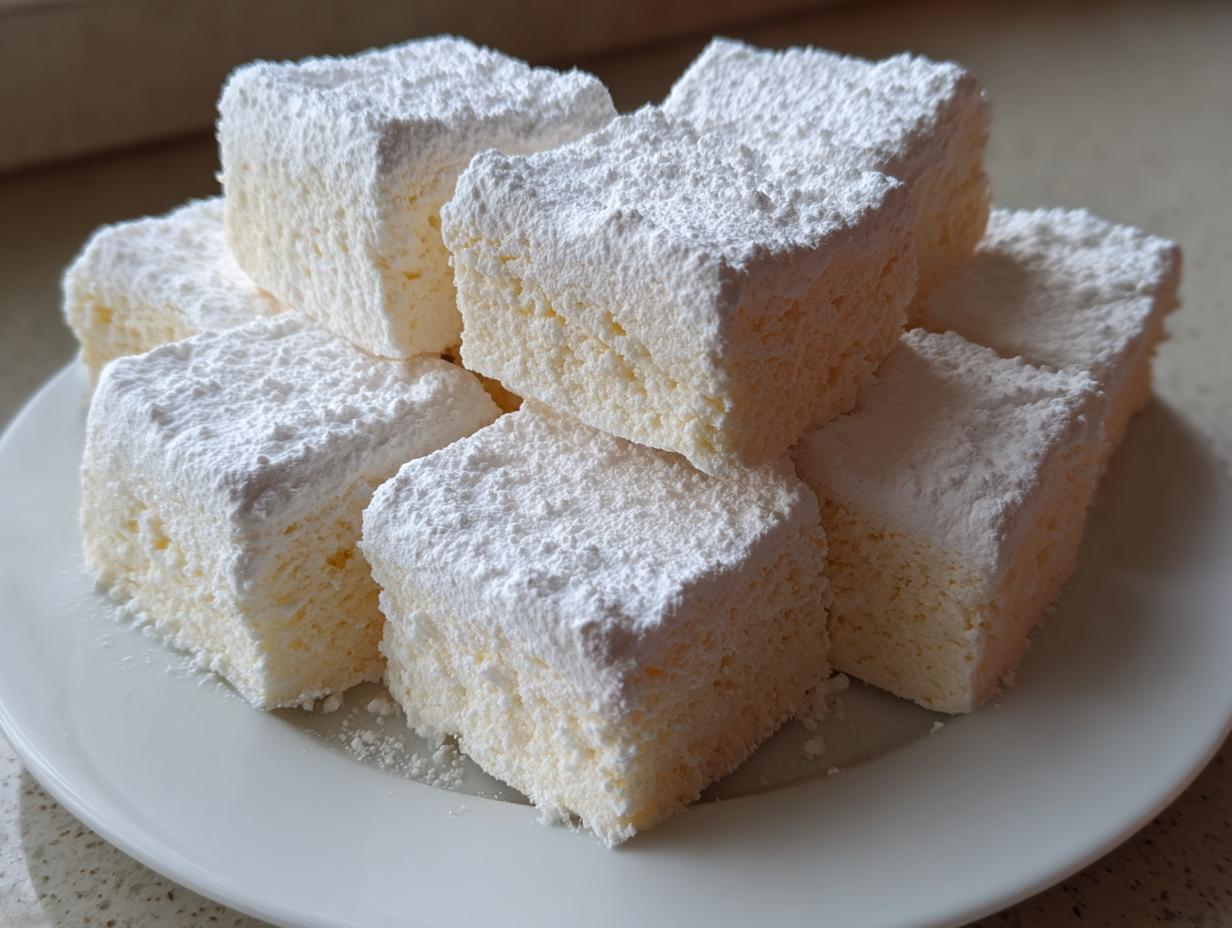
Quickly scrape the fluffy cloud into your prepared pan using a greased spatula. Smooth the top (it’ll be sticky—lightly wet or grease your hands). Let it set at room temperature for at least 4 hours, no cheating! When ready, dust the top with more sugar-cornstarch mix, turn it out onto a cutting board, and slice with an oiled knife or pizza cutter. Toss each piece in more powdered sugar to keep them from sticking together. Now try not to eat them all at once!

Tips for Perfect Homemade Marshmallows
After making countless batches (and eating even more), I’ve picked up some tricks to guarantee marshmallow success every time:
- Watch the weather—high humidity makes sticky marshmallows. If it’s muggy out, crank the AC or wait for a drier day.
- Temperature is everything—if your syrup doesn’t hit 240°F, the texture will be off. No thermometer? The syrup should form a soft ball when dropped in cold water.
- Grease everything—from the spatula to your knife, a little oil prevents the sticky mess I learned about the hard way.
- Store them right—layer marshmallows between parchment in an airtight container. They’ll stay fresh for weeks (if they last that long!).
- Get creative with flavors—swap vanilla for almond extract or add a spoon of cocoa powder to the sugar coating for chocolate-dusted treats.
Follow these, and you’ll be the marshmallow master in no time!
Variations for Homemade Marshmallows
Oh, the fun begins when you start playing with flavors! My favorite part about homemade marshmallows is how easily you can make them your own. Try swapping the vanilla for peppermint extract during the holidays—it’s like biting into a fluffy candy cane! For chocolate lovers, whisk 1/4 cup cocoa powder into the sugar coating. Want something fruity? A few drops of raspberry extract and pink food coloring will do the trick. The possibilities are endless, so don’t be afraid to get creative!
Storing Homemade Marshmallows
These sweet treats keep beautifully if you store them right! Layer them between sheets of parchment in an airtight container—trust me, they’ll stick together without it. At room temperature, they stay pillowy-soft for about 2 weeks (though let’s be honest—they never last that long in my house!). If they do get a bit stiff, a quick zap in the microwave brings back that just-made fluffiness.
Homemade Marshmallows FAQs
I’ve gotten so many questions about these fluffy wonders over the years—here are the answers to the ones I hear most often!
Can I use agar-agar instead of gelatin?
You can try, but the texture won’t be the same. Gelatin gives that classic marshmallow bounce—agar makes them firmer and more brittle. If you’re vegetarian, look for kosher gelatin instead.
Why did my marshmallows turn sticky?
Usually humidity’s the culprit! They absorb moisture from the air. Store them with extra powdered sugar coating and silica gel packets in the container. Also, make sure your syrup hit 240°F—undercooked syrup never sets right.
Can I make these without corn syrup?
Yes, but it’s tricky! Corn syrup prevents crystallization—you can substitute honey or golden syrup, but the flavor and texture will change slightly. I don’t recommend plain sugar syrup.
How do I fix marshmallows that won’t whip up?
Check your gelatin first—old or improperly bloomed gelatin won’t set. Also, make sure your mixer bowl and beaters are squeaky clean—any grease can prevent proper whipping.
Can I toast homemade marshmallows?
Absolutely! They toast even better than store-bought. Use a kitchen torch for perfect golden spots without the campfire mess.
Nutritional Information
Okay, let’s be real—these are treats, not health food! But if you’re curious, here’s the scoop per marshmallow (based on cutting the batch into 24 pieces): about 60 calories and 12g sugar. Remember, these are estimates—your actual count might vary based on size and how much powdered sugar sticks to them. Now go enjoy that fluffy goodness guilt-free!
Tag me in your marshmallow masterpieces—I’d love to see your creations!
Print
21 Irresistible Homemade Marshmallows That Taste Like Magic
- Total Time: 4 hours 35 minutes
- Yield: 24 marshmallows 1x
- Diet: Vegetarian
Description
Make fluffy homemade marshmallows with simple ingredients.
Ingredients
- 3 packets unflavored gelatin
- 1 cup cold water (divided)
- 1.5 cups granulated sugar
- 1 cup light corn syrup
- 1/4 tsp salt
- 1 tbsp vanilla extract
- 1/2 cup powdered sugar (for dusting)
- 1/2 cup cornstarch (for dusting)
Instructions
- Grease a baking dish and dust with powdered sugar and cornstarch.
- Combine gelatin and 1/2 cup cold water in a bowl.
- In a saucepan, mix sugar, corn syrup, salt, and remaining water. Heat to 240°F.
- Slowly pour syrup into gelatin while mixing on low speed.
- Increase speed to high and whip until thick and fluffy (about 10 minutes).
- Add vanilla and mix briefly.
- Spread mixture into prepared dish and let set for 4 hours.
- Cut into squares and dust with more powdered sugar.
Notes
- Use a candy thermometer for accurate syrup temperature.
- Store in an airtight container for up to 2 weeks.
- Customize with food coloring or different extracts.
- Prep Time: 20 minutes
- Cook Time: 15 minutes
- Category: Dessert
- Method: Stovetop
- Cuisine: American
Nutrition
- Serving Size: 1 marshmallow
- Calories: 60
- Sugar: 12g
- Sodium: 15mg
- Fat: 0g
- Saturated Fat: 0g
- Unsaturated Fat: 0g
- Trans Fat: 0g
- Carbohydrates: 15g
- Fiber: 0g
- Protein: 1g
- Cholesterol: 0mg