If there’s one thing I’ve learned from years of hosting game nights and impromptu gatherings, it’s that a Loaded Nacho Platter never fails to bring people together. I can’t tell you how many times I’ve whipped up this crowd-pleaser at the last minute – it’s saved me more times than I can count! The beauty of nachos? They’re like a blank canvas for flavor. My friends still talk about the time I accidentally dumped an entire bowl of jalapeños on top (whoops!), but even that “spicy disaster” disappeared in minutes. Whether it’s football Sunday or just a Tuesday night craving, this cheesy, crunchy, fully-loaded masterpiece is my go-to for guaranteed smiles.
Why You’ll Love This Loaded Nacho Platter
Listen, I’ve made enough nachos to know what makes a platter truly irresistible. Here’s why this one’s a winner every single time:
- Quick fix: From fridge to table in 20 minutes flat – perfect for those “I need snacks NOW” emergencies
- Total crowd-pleaser: Even my picky nephew devours these (just don’t tell him about the black beans!)
- Crazy customizable: Swap toppings based on what’s in your fridge – last week’s leftover taco meat? Toss it on!
- Flavor explosion: That perfect combo of melty cheese, crispy chips, and fresh toppings is downright addictive
Trust me, once you try this method, you’ll never go back to sad, soggy nachos again.
Ingredients for the Perfect Loaded Nacho Platter
After years of nacho experiments (some more successful than others!), I’ve nailed down the must-have ingredients for the ultimate platter. Here’s everything you’ll need, prepped just right:
- The base: 1 bag (10 oz) sturdy tortilla chips (go for restaurant-style – they hold up better!)
- Cheese glory: 2 cups shredded cheddar (I like sharp for extra bite) or a Mexican blend
- Heartier stuff: 1 cup black beans, drained and rinsed well (no one likes bean juice soup!)
- Fresh crunch: 1 cup tomatoes, diced small (seeds removed keeps things less soggy)
- Heat lovers: 1/2 cup jalapeños, sliced thin (remove seeds if you’re spice-shy like my mom)
- Creamy magic: 1/2 cup sour cream and 1/2 cup guacamole (homemade if you’re feeling fancy)
- Finishing touches: 1/4 cup each chopped fresh cilantro, sliced black olives, and finely diced red onion
Pro tip: Measure everything before you start – once those chips hit the pan, things move fast!
Equipment You’ll Need
Don’t overcomplicate it – you probably have everything already! Here’s what I grab every time:
- A large baking sheet (half-sheet pan works perfectly)
- Oven (obviously!) preheated to 375°F
- A big serving platter or board – presentation matters!
That’s it! No fancy tools needed for these crowd-pleasing nachos.
How to Make a Loaded Nacho Platter
Okay, let’s get down to the good stuff! Making perfect nachos is all about timing and layering – I learned this the hard way after serving many sad, soggy batches. Follow these steps, and you’ll get that ideal crispy-meets-melty texture every time.
Step 1: Preheat and Layer the Chips
First things first – crank that oven to 375°F (190°C). While it heats up, spread your chips in a single layer on a baking sheet. I mean really single layer – no chip left behind should be overlapping! This ensures every bite gets equal cheese coverage. Learned this lesson when my hungry friends fought over the properly covered chips at my first attempt.

Step 2: Melt the Cheese Evenly
Now for the magic: sprinkle that shredded cheese evenly over the chips. Don’t skimp, but don’t dump it all in one spot either – we’re going for full coverage here. Pop it in the oven for 5-7 minutes until you see those beautiful golden bubbles forming. Watch closely after 5 minutes – nothing worse than burnt cheese (trust me, the smoke alarm will remind you).
Step 3: Add Toppings and Finish
Carefully pull the tray out (hot!) and quickly add your beans, tomatoes, jalapeños, and olives. Back in the oven for just 2-3 minutes to warm them through – we’re not cooking them, just taking the chill off. Finally, drizzle with sour cream and guacamole, then scatter the fresh cilantro and onion. The contrast of warm cheese with cool toppings? Absolute perfection. Serve immediately while it’s still crispy – no one likes soggy nachos!

Tips for the Best Loaded Nacho Platter
Listen, I’ve made every nacho mistake in the book so you don’t have to! Here are my hard-earned secrets for nacho perfection:
- Cheese strategy: Shred your own cheese – those pre-shredded bags have anti-caking agents that make melting weird
- Soggy saver: Pat those tomatoes and beans dry before adding – excess moisture is the enemy of crunch
- Hot and fast: Have all toppings prepped and ready before baking – timing is everything
- Serving smarts: Put cold toppings on last, right before serving to keep that perfect temp contrast
- Layer wisely: For big crowds, do two thinner layers with cheese between rather than one massive pile
Follow these tips, and you’ll be the nacho hero at every gathering. Just don’t be surprised when people start requesting them weekly!
Customize Your Loaded Nacho Platter
The best part about nachos? You can make them completely your own! Here’s how I like to mix things up:
- Meat lovers: Add cooked ground beef, shredded chicken, or carnitas between the cheese layers
- Bean swap: Try pinto beans instead of black, or go wild with refried beans spread under the chips
- Cheese please: Pepper jack gives a nice kick, or mix in some queso fresco for authentic flavor
- Extra crunch: Throw on some pickled red onions or radish slices for texture
Honestly? There’s no wrong way to nacho – just pile on what makes you happy!
Serving and Storage Tips
Here’s the golden rule – serve these nachos piping hot, right from the oven! I always put out extra salsa and lime wedges on the side for dipping. Leftovers? (Though honestly, who has leftovers?) Store them in an airtight container, then reheat in the oven to bring back that crispy magic. Microwaving is a no-go – it turns your beautiful nachos into a sad, soggy mess. Eat them fresh if you can, but if you must save some, 5 minutes at 350°F will revive them nicely.

Loaded Nacho Platter FAQs
After making countless nacho platters (and fielding even more questions from friends!), here are the answers to the most common things people ask me:
Can I make these nachos gluten-free?
Absolutely! Just double-check that your tortilla chips are certified gluten-free (most corn chips are naturally GF, but always read labels). All the other ingredients in my recipe are naturally gluten-free too.
How do I keep my chips from getting soggy?
Two secrets: 1) Bake the cheese layer separately first, then add cold toppings after, and 2) Make sure all your toppings (especially tomatoes and beans) are patted dry. Also, serve immediately – nachos wait for no one!
What’s the best cheese for melting?
I swear by a mix of sharp cheddar and Monterey Jack – they melt beautifully without separating. Avoid pre-shredded cheese if possible, as the anti-caking agents can make it grainy when melted.
Can I prep any components ahead?
Yes! Chop all your veggies and drain your beans earlier in the day. Just wait to assemble until right before baking – nobody likes sad, soggy chips. The guacamole and sour cream should always go on fresh.
How can I make these heartier for a main dish?
Easy! Add a layer of cooked ground beef, shredded chicken, or even pulled pork between the chips and cheese. Black beans and extra cheese make it more filling too – my hungry teenager approves!

Nutritional Information
Now, I’m no nutritionist, but here’s the general breakdown per serving (about 1/4 of the platter) – remember, these numbers can change based on your specific ingredients and brands:
- Calories: Around 450
- Protein: 15g (add more if you throw on meat!)
- Carbs: 40g
- Fiber: 6g (thank you, beans!)
- Fat: 25g (but so worth it for that melty goodness)
Try this recipe and share your twist in the comments – I’d love to hear how you make it your own!
Print
Loaded Nacho Platter: 20-Minute Crowd-Pleasing Masterpiece
- Total Time: 20 mins
- Yield: 4 servings 1x
- Diet: Vegetarian
Description
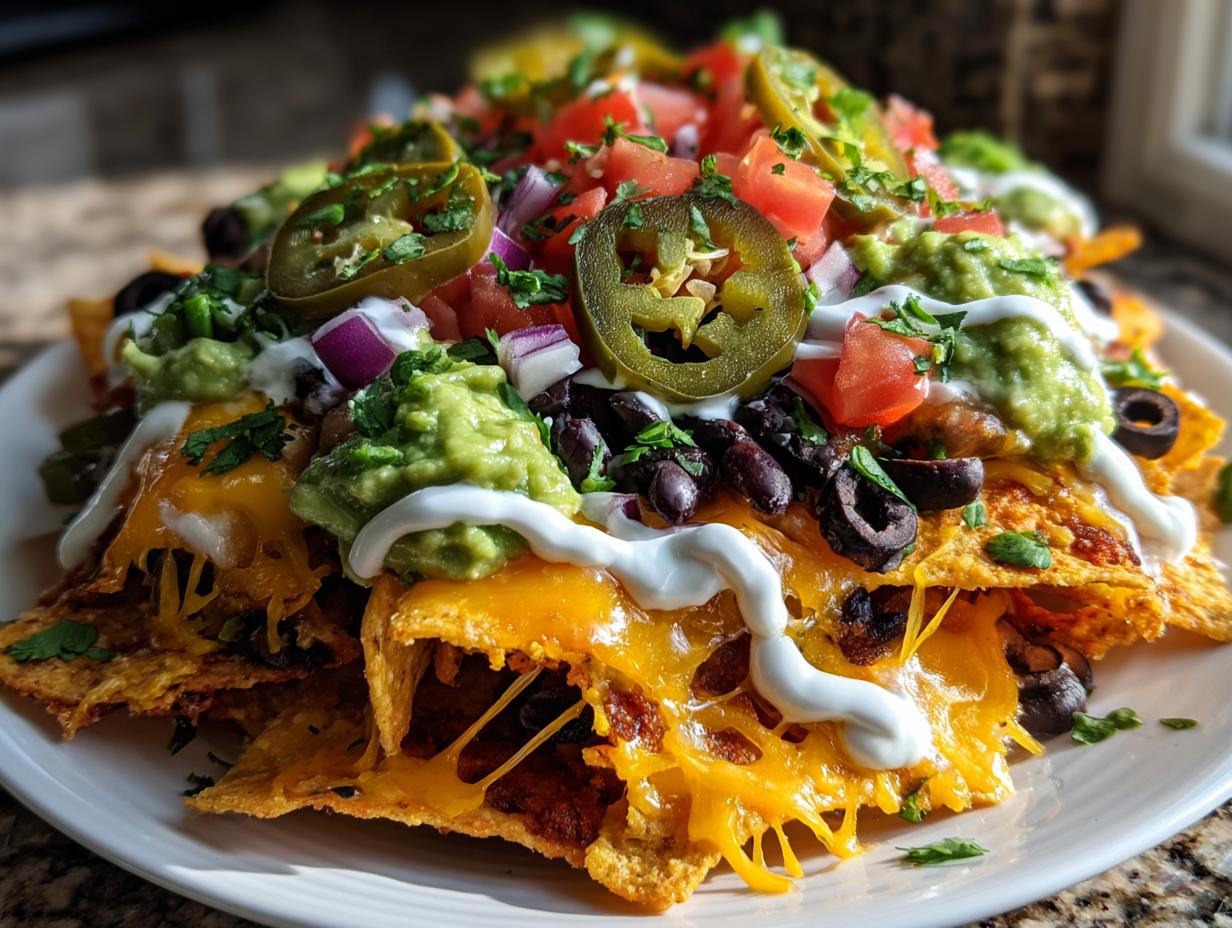
A fully loaded nacho platter with layers of crispy tortilla chips, melted cheese, and a variety of toppings for a satisfying snack or meal.
Ingredients
- 1 bag (10 oz) tortilla chips
- 2 cups shredded cheddar cheese
- 1 cup black beans, drained and rinsed
- 1 cup diced tomatoes
- 1/2 cup sliced jalapeños
- 1/2 cup sour cream
- 1/2 cup guacamole
- 1/4 cup chopped cilantro
- 1/4 cup sliced black olives
- 1/4 cup diced red onion
Instructions
- Preheat oven to 375°F (190°C).
- Spread tortilla chips in a single layer on a baking sheet.
- Sprinkle shredded cheese evenly over the chips.
- Bake for 5-7 minutes or until cheese is melted.
- Remove from oven and top with black beans, tomatoes, jalapeños, and olives.
- Return to oven for 2-3 minutes to warm toppings.
- Drizzle with sour cream and guacamole.
- Garnish with cilantro and red onion.
- Serve immediately.
Notes
- Use fresh ingredients for best flavor.
- Adjust jalapeños to your preferred spice level.
- Add cooked ground beef or chicken for extra protein.
- Serve with lime wedges for added zest.
- Prep Time: 10 mins
- Cook Time: 10 mins
- Category: Appetizer
- Method: Baking
- Cuisine: Mexican
Nutrition
- Serving Size: 1/4 platter
- Calories: 450
- Sugar: 3g
- Sodium: 600mg
- Fat: 25g
- Saturated Fat: 10g
- Unsaturated Fat: 12g
- Trans Fat: 0g
- Carbohydrates: 40g
- Fiber: 6g
- Protein: 15g
- Cholesterol: 40mg