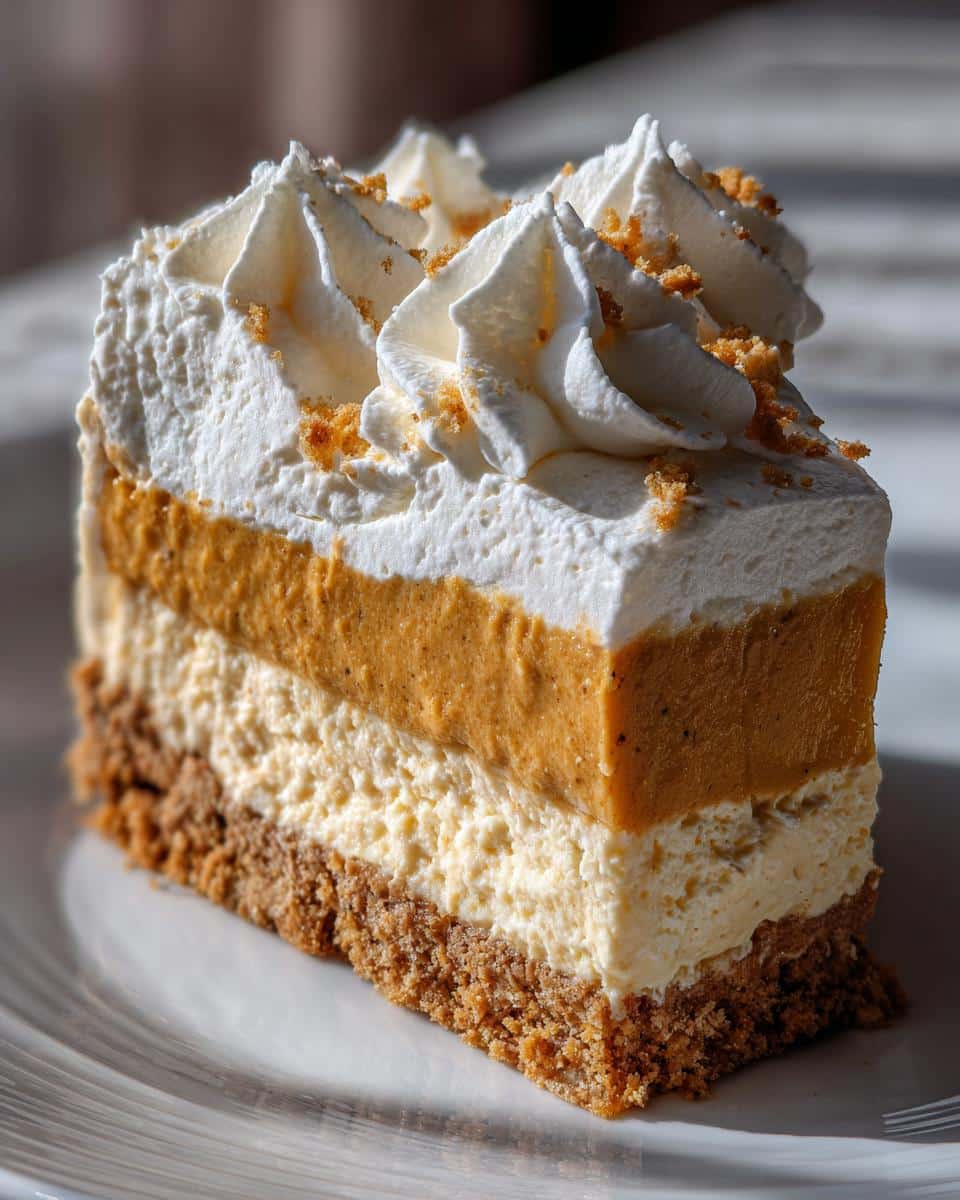
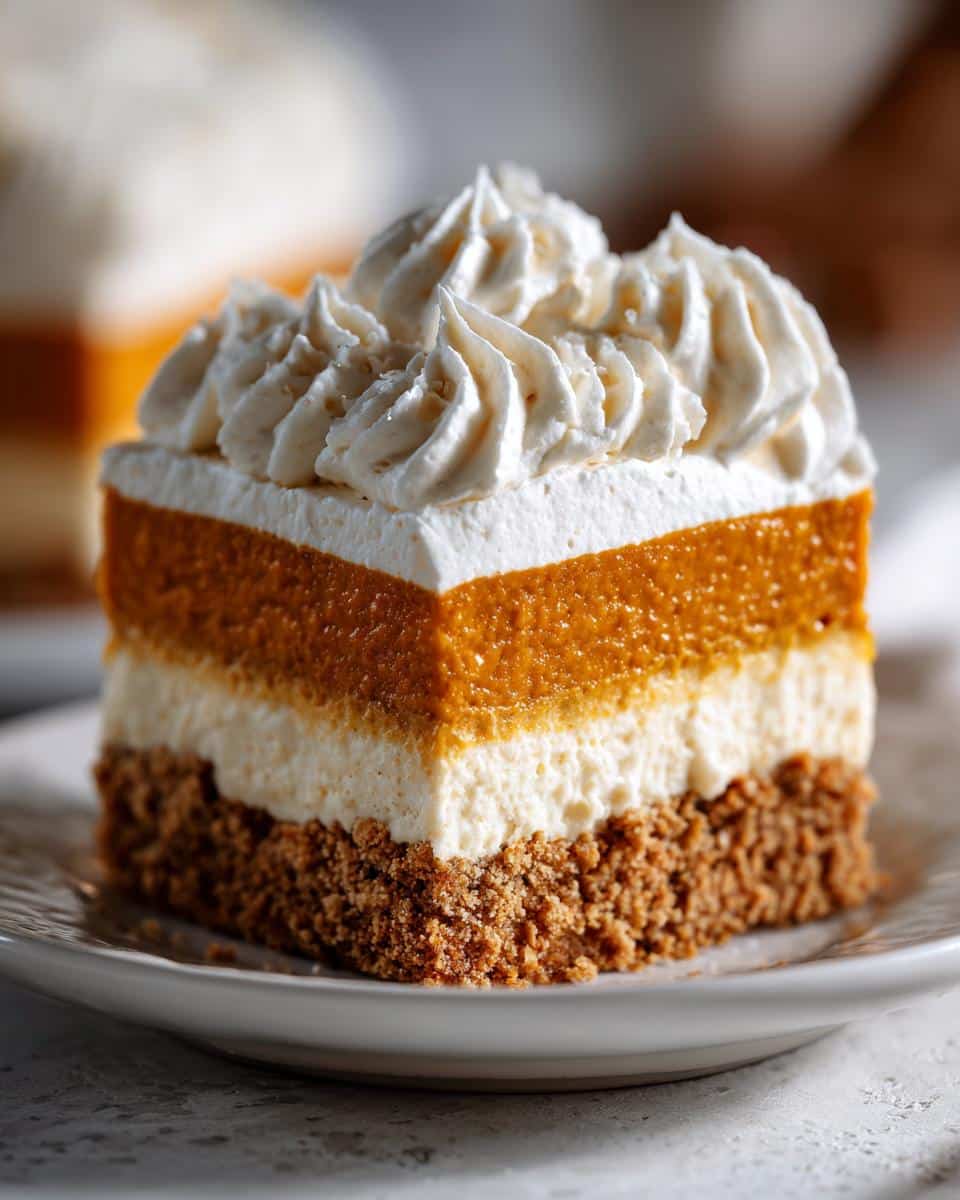
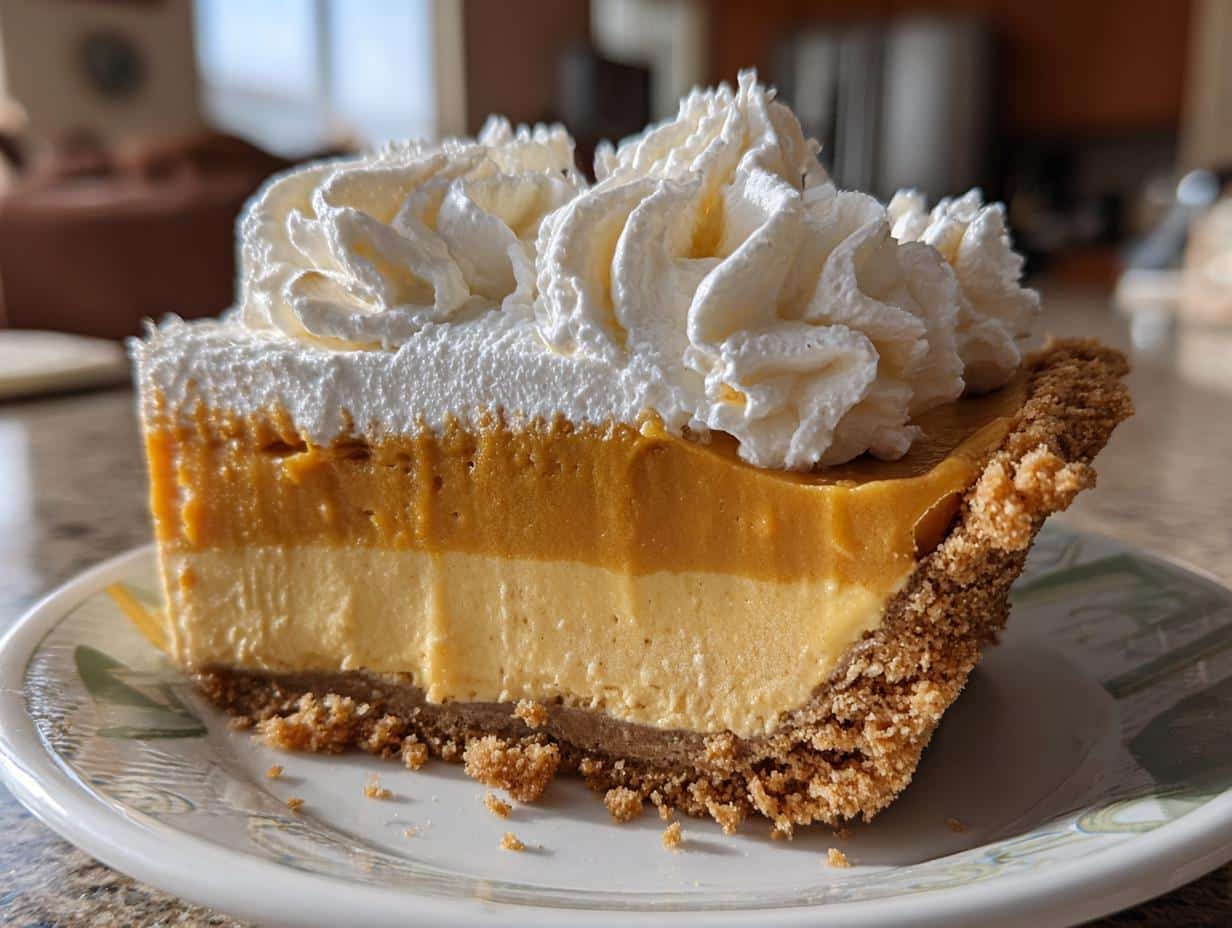
Oh my gosh, you guys—have I got the perfect fall dessert for you! Picture this: all the cozy flavors of pumpkin pie, but without turning on your oven. That’s right, this No-Bake Pumpkin Lush Pie is my go-to when I want something impressive but don’t feel like baking (or when my oven’s already occupied with, you know, 17 other Thanksgiving dishes). I’ve been making this every autumn since my sister-in-law passed down the recipe, and trust me, the creamy pumpkin layers with that buttery graham cracker crust? Absolute magic. It’s the kind of dessert that disappears in minutes at potlucks—I’ve watched neighbors sneak second helpings when they think no one’s looking!

Why You’ll Love This No-Bake Pumpkin Lush Pie
Let me tell you why this dessert is my secret weapon during the holiday chaos. First off – no oven required! When you’re juggling a million things, that’s basically a miracle. But the best part? That dreamy, creamy texture that makes everyone think you slaved over it for hours. The layers melt together perfectly after chilling, with the graham cracker crust adding just the right crunch. Plus, it serves a crowd without fuss – just slice and watch those happy faces light up.
Ingredients for No-Bake Pumpkin Lush Pie
Okay, let’s talk ingredients – and I mean the good stuff! First rule: don’t grab pumpkin pie filling by accident. You want plain pumpkin puree (the 15-ounce can). I learned this the hard way when my first attempt turned out sickly sweet – total disaster! For the crust, regular graham crackers work great, but if you’re feeling fancy, try cinnamon ones. And please, for the love of all things creamy, use full-fat cream cheese. The reduced-fat stuff just doesn’t set right, trust me on this.
Here’s your shopping list:
- 2 cups graham cracker crumbs (about 15 sheets crushed)
- 1/2 cup melted butter (salted or unsalted both work)
- 1/4 cup sugar – this gives the crust that perfect sweetness
- 1 (8 oz) package cream cheese, softened (leave it out for 30 minutes first!)
- 1 cup powdered sugar – sift it if you hate lumps
- 1 (15 oz) can pumpkin puree (not pie filling – I’ll say it again!)
- 1 tsp pumpkin pie spice (or make your own blend if you’re extra)
- 1 (12 oz) tub whipped topping, divided (keep frozen until ready)
- 1 (3.4 oz) package instant vanilla pudding mix – the secret stabilizer
- 1 cup cold milk – whole milk makes it richest
Pro tip: Measure everything before starting. Nothing worse than realizing you’re short on whipped topping mid-recipe!
Essential Equipment
You won’t need any fancy gadgets for this recipe – just the basics from your kitchen! Grab a 9×13-inch baking dish (glass or metal both work). A hand mixer or stand mixer makes the cream cheese layer silky smooth, but elbow grease and a whisk will do in a pinch. Don’t forget mixing bowls (one medium, one large) and a rubber spatula for scraping every last bit of that delicious filling. That’s it – no oven thermometer or pastry brushes required, promise!
How to Make No-Bake Pumpkin Lush Pie
Alright, let’s get to the fun part! This no-bake beauty comes together in layers, each one easier than the last. The key is taking your time with each step – rushing leads to sad, sloppy layers. I learned that lesson after my first attempt turned into a pumpkin soup situation (not cute). Follow these steps, and you’ll have a dessert that’ll make you look like a kitchen rockstar!
Step 1: Prepare the Graham Cracker Crust
First things first – that glorious crust! Mix your graham cracker crumbs, melted butter, and sugar in a bowl until it looks like wet sand. Pour it into your 9×13 pan and press firmly with your fingers or the bottom of a glass. Here’s my trick: use a measuring cup to really pack it down evenly, especially in the corners. You want it compact enough that it holds together when sliced, but not so hard it’s like concrete. Pop this in the fridge while you work on the next layer – it helps everything stay put!
Step 2: Make the Cream Cheese Layer
Now for the creamy dreamy middle! Beat the softened cream cheese and powdered sugar until smooth – no lumps allowed! This takes about 2 minutes with a hand mixer. Then comes the fun part: gently fold in 1 cup of whipped topping. I mean FOLD, not stir – you want to keep all that fluffy lightness. Spread this over your chilled crust with a spatula, going all the way to the edges. Pro tip: dip your spatula in warm water for super smooth spreading!

Step 3: Assemble the Pumpkin Pudding Layer
The star of the show! Whisk together pumpkin puree, pumpkin pie spice, pudding mix, and cold milk in a large bowl. Keep whisking until it starts to thicken – about 2 minutes. Don’t freak out if it seems thin at first; that pudding mix works its magic as you whisk! Then, fold in 1 1/2 cups whipped topping until just combined. Pour this over your cream cheese layer and spread gently. Top with the remaining whipped topping, cover, and chill for at least 4 hours (overnight is even better!). The waiting is torture, but trust me – it’s worth it!
Tips for Perfect No-Bake Pumpkin Lush Pie
Listen, I’ve made every mistake possible with this dessert so you don’t have to! First – keep everything cold. Warm ingredients make for weepy layers. That means chilled bowls for mixing and straight-from-the-fridge milk. Second, when folding in whipped topping, be gentle! Overmixing deflates all that fluffy goodness. And here’s my favorite trick: run a knife under hot water before slicing for picture-perfect squares. Want to impress? Garnish with a sprinkle of cinnamon, caramel drizzle, or crushed gingersnaps right before serving. Oh, and if you’re short on time? Layer it in individual cups – same taste, half the chill time!
Variations and Substitutions
Listen, life happens – and sometimes you gotta switch things up! For my gluten-free friends, any gluten-free graham-style crackers work beautifully in the crust (I’ve even used crushed gluten-free ginger snaps for extra zing). Dairy-free? No problem! Swap the butter for coconut oil in the crust and use your favorite plant-based cream cheese and whipped topping. Just don’t skip the pudding mix – that’s our texture magic right there. Oh, and if you’re feeling adventurous? Try swapping half the pumpkin puree with sweet potato puree for a fun twist. The beauty of this recipe? It’s practically impossible to mess up – just keep those layers cold!
Serving and Storage
Alright, here’s how to make this beauty shine when serving! For those Instagram-worthy slices, dip your knife in hot water and wipe it clean between cuts – you’ll get those sharp, clean layers every time. Leftovers? Just cover tightly with plastic wrap (or transfer to an airtight container) and they’ll keep beautifully in the fridge for 3 days. Pro tip: The flavors actually get better by day two! Don’t even think about freezing it though – the texture turns weepy and sad. Trust me, I’ve cried over melted pumpkin lush before!
FAQs About No-Bake Pumpkin Lush Pie
Can I use fresh pumpkin instead of canned?
Oh, honey, I love your enthusiasm! While you totally can use fresh pumpkin, here’s the deal – it’s way more watery than canned. If you go this route, roast your pumpkin first, then strain it overnight in cheesecloth to remove excess moisture. Honestly? I stick with canned puree for consistency (and because, let’s be real, who has time for all that?).
Why is my cream cheese layer lumpy?
Been there! Always soften your cream cheese properly – about 30 minutes at room temp. If you’re impatient (like me sometimes), microwave it for 10-second bursts until just soft. And sift that powdered sugar! Those tiny lumps hide in there ready to sabotage your smooth layer.
Can I make this ahead of time?
Absolutely! This pie actually gets better with time. Make it up to 24 hours before serving – the flavors meld beautifully. Just hold off on any crunchy garnishes until right before serving so they stay crisp.
Help! My layers are sliding everywhere!
First – did you chill between steps? That’s key! If it’s still shifting, try freezing for 30 minutes before adding the next layer. And don’t overdo the whipped topping – too much makes everything slippery.
Nutritional Information
Okay, let’s be real – we’re not eating pumpkin lush pie for the health benefits! But since you asked, a slice (about 1/12th of the pan) roughly has 320 calories, with most coming from that dreamy creamy goodness. Remember, these numbers are estimates – they’ll vary based on your exact ingredients (like full-fat vs. reduced-fat choices). If you’re counting macros, know that this treat is all about balance – enjoy a sensible slice after a healthy meal, not as your main course (though believe me, I’ve been tempted!).
Share Your Creation!
I’d love to see your masterpiece! Snap a pic of your No-Bake Pumpkin Lush Pie and tag me – seeing your creations makes my whole day. Did you put your own spin on it? Leave a rating below and tell me all about your kitchen adventures!
Print
40-Minute No-Bake Pumpkin Lush Pie That Will Dazzle Guests
- Total Time: 4 hrs 20 mins
- Yield: 12 servings 1x
- Diet: Vegetarian
Description
A creamy, no-bake pumpkin dessert layered with a crunchy crust and fluffy topping.
Ingredients
- 2 cups graham cracker crumbs
- 1/2 cup melted butter
- 1/4 cup sugar
- 1 (8 oz) package cream cheese, softened
- 1 cup powdered sugar
- 1 (15 oz) can pumpkin puree
- 1 tsp pumpkin pie spice
- 1 (12 oz) tub whipped topping, divided
- 1 (3.4 oz) package instant vanilla pudding mix
- 1 cup cold milk
Instructions
- Mix graham cracker crumbs, melted butter, and sugar. Press into a 9×13-inch pan.
- Beat cream cheese and powdered sugar until smooth. Fold in 1 cup whipped topping. Spread over crust.
- Whisk pumpkin puree, pumpkin pie spice, pudding mix, and milk until thickened. Fold in 1 1/2 cups whipped topping. Spread over cream cheese layer.
- Top with remaining whipped topping. Chill for at least 4 hours before serving.
Notes
- Use full-fat cream cheese for best texture.
- Chill at least 4 hours for layers to set.
- Garnish with cinnamon or crushed graham crackers.
- Prep Time: 20 mins
- Cook Time: 0 mins
- Category: Dessert
- Method: No-Bake
- Cuisine: American
Nutrition
- Serving Size: 1 slice
- Calories: 320
- Sugar: 25g
- Sodium: 280mg
- Fat: 18g
- Saturated Fat: 10g
- Unsaturated Fat: 6g
- Trans Fat: 0g
- Carbohydrates: 35g
- Fiber: 1g
- Protein: 3g
- Cholesterol: 35mg


