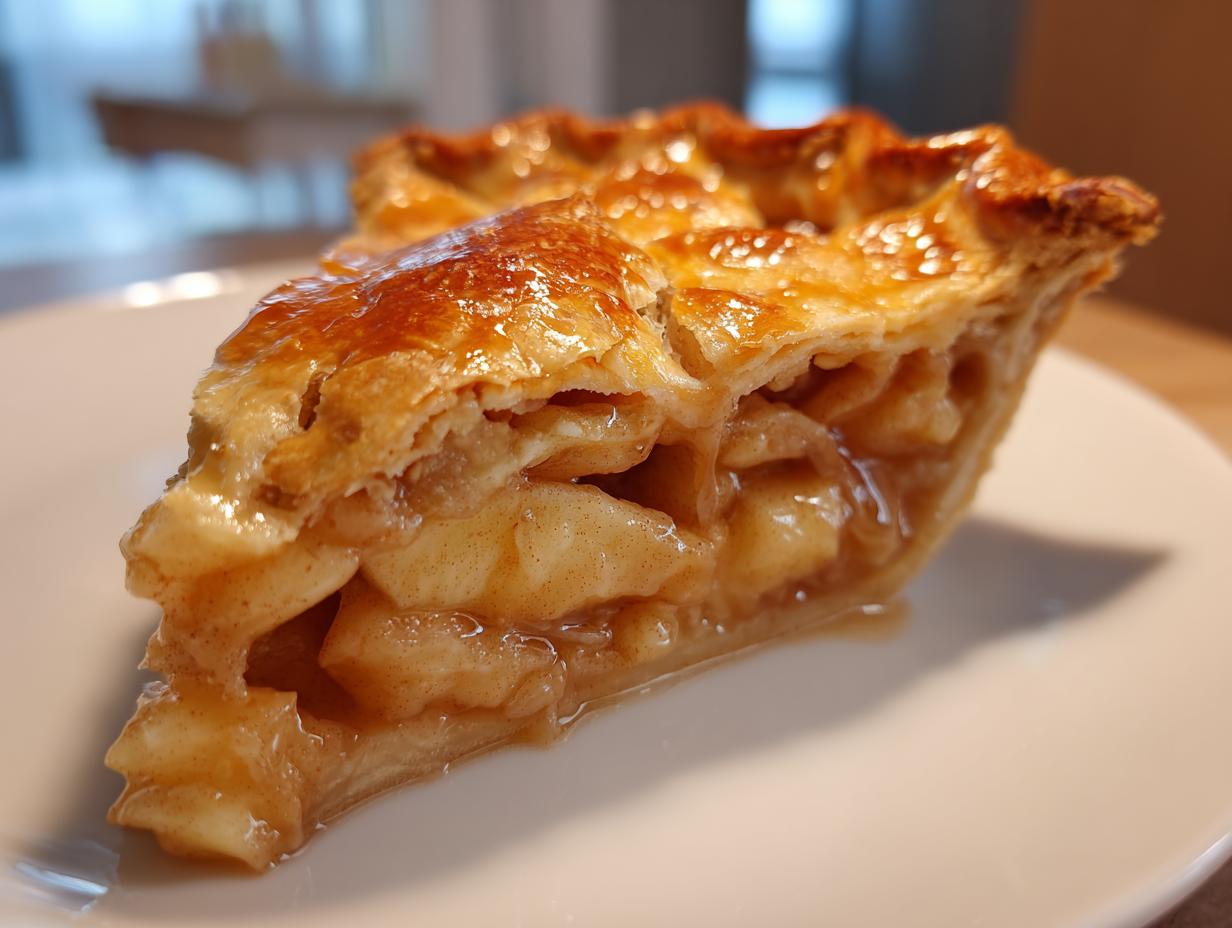
There’s something magical about the smell of apple pie baking in the oven – that warm, cinnamon-spiced aroma that makes everyone gather in the kitchen. My earliest baking memory is standing on a stool next to my mom, watching her roll out pie dough while I sneaked slices of tart Granny Smith apples. That’s when I learned the real secret to great apple pie isn’t just the recipe (though this one’s fantastic), but the love and patience you mix into every step. Whether it’s a holiday tradition or just a Tuesday night treat, a homemade apple pie makes any moment feel special.
Why You’ll Love This Apple Pie Recipe
Oh, where do I even start? This apple pie recipe is the one I reach for every time because:
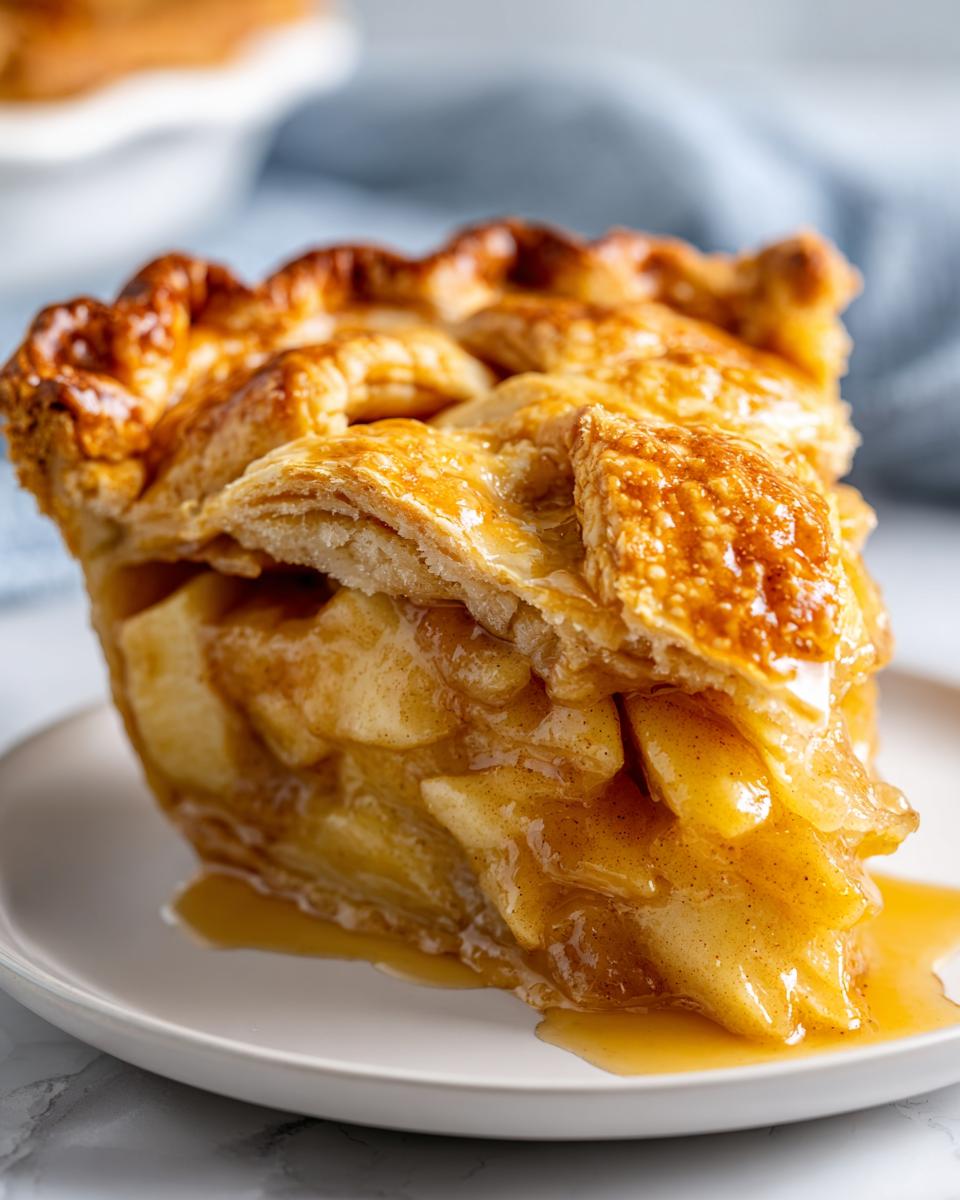
- That flaky crust—so buttery it practically shatters when you cut into it
- The filling strikes the perfect balance between sweet and tart (no mushy apples here!)
- It’s simple enough for weeknight baking but impressive for holidays
- The cinnamon and nutmeg make your kitchen smell like pure happiness
- Leftovers (if you’re lucky enough to have any) taste even better the next day
Seriously, this pie disappears faster than I can slice it whenever I make it for friends. You’re going to adore it.
Ingredients for the Perfect Apple Pie
Listen, I’ve made enough mediocre pies to know – the magic starts with exactly the right ingredients. Don’t you dare use mealy apples or skimp on the butter! Here’s what you’ll need:
- 6 cups thinly sliced apples – Granny Smith are my go-to because they hold their shape, but mix in some Honeycrisp if you like it sweeter
- 3/4 cup granulated sugar – not packed, just lightly spooned into your measuring cup
- 2 tablespoons all-purpose flour – this is our secret against runaway juices
- 1 teaspoon cinnamon – the good stuff, none of that dusty old spice jar
- 1/4 teaspoon fresh nutmeg – trust me, grating it yourself makes all the difference
- 1 tablespoon lemon juice – just enough to brighten everything up
- 2 tablespoons cold butter – cut into little dots that’ll melt into sweet pockets
- 2 pie crusts – homemade if you’re feeling fancy, but no shame in the refrigerated dough game
See that flour measurement? That’s Grandma’s exact trick to prevent soupy filling. Every ingredient here plays its part!
How to Make Apple Pie Step by Step
Okay friends, let’s get baking! I’m walking you through each step exactly how I do it in my kitchen. Don’t worry – it’s easier than you think, and I’ll point out all my little tricks along the way.
Preparing the Apple Filling
First things first – preheat that oven to 425°F (220°C). While that’s heating up, grab your biggest mixing bowl. Toss in those beautiful apple slices with the sugar, flour, cinnamon, nutmeg, and lemon juice. Use your hands to mix it all together – you’ll feel when every slice gets coated just right. The apples should look glossy but not swimming in liquid. That’s your cue it’s perfect!
Assembling the Pie
Now for the fun part! Roll out your bottom crust and gently press it into a 9-inch pie dish. Don’t stretch it – just let it settle naturally. Pour in your apple mixture (juices and all), then dot the top with those little butter pieces. Lay the top crust over everything and crimp the edges together with your fingers or a fork. Don’t forget to cut 4-5 slits in the top! I always make mine in a star pattern because it’s pretty, but simple lines work too.
Baking and Cooling
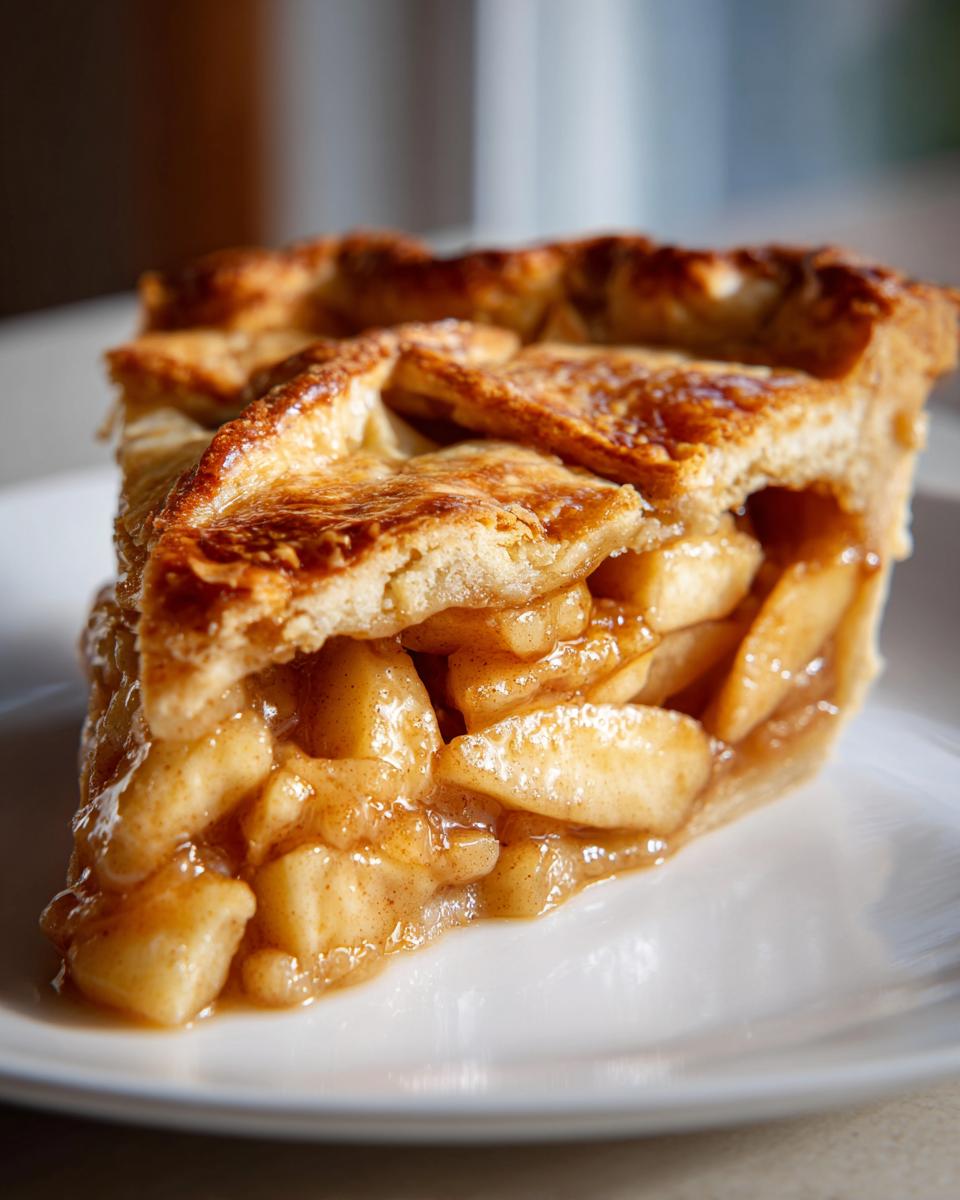
Pop that beauty in the oven and let the magic happen! After about 15 minutes, I like to check if the edges are getting too dark (if they are, just cover them with foil). Keep baking until the crust is golden brown and you see those gorgeous bubbling juices through the vents – usually 40-45 minutes total. Here’s the hardest part – let it cool for at least 1 hour before slicing. I know, I know, it smells amazing, but trust me, this waiting time helps the filling set up perfectly.
Tips for the Best Apple Pie
After burning my fair share of pies (and learning the hard way), here are my can’t-live-without tips:
- Keep everything cold – I even chill my rolling pin! Cold butter = flaky layers
- Blind bake the bottom crust for 10 minutes if you hate soggy bottoms (just prick it with a fork first)
- Listen for the “gurgle” – when juices bubble thickly through the vents, it’s done
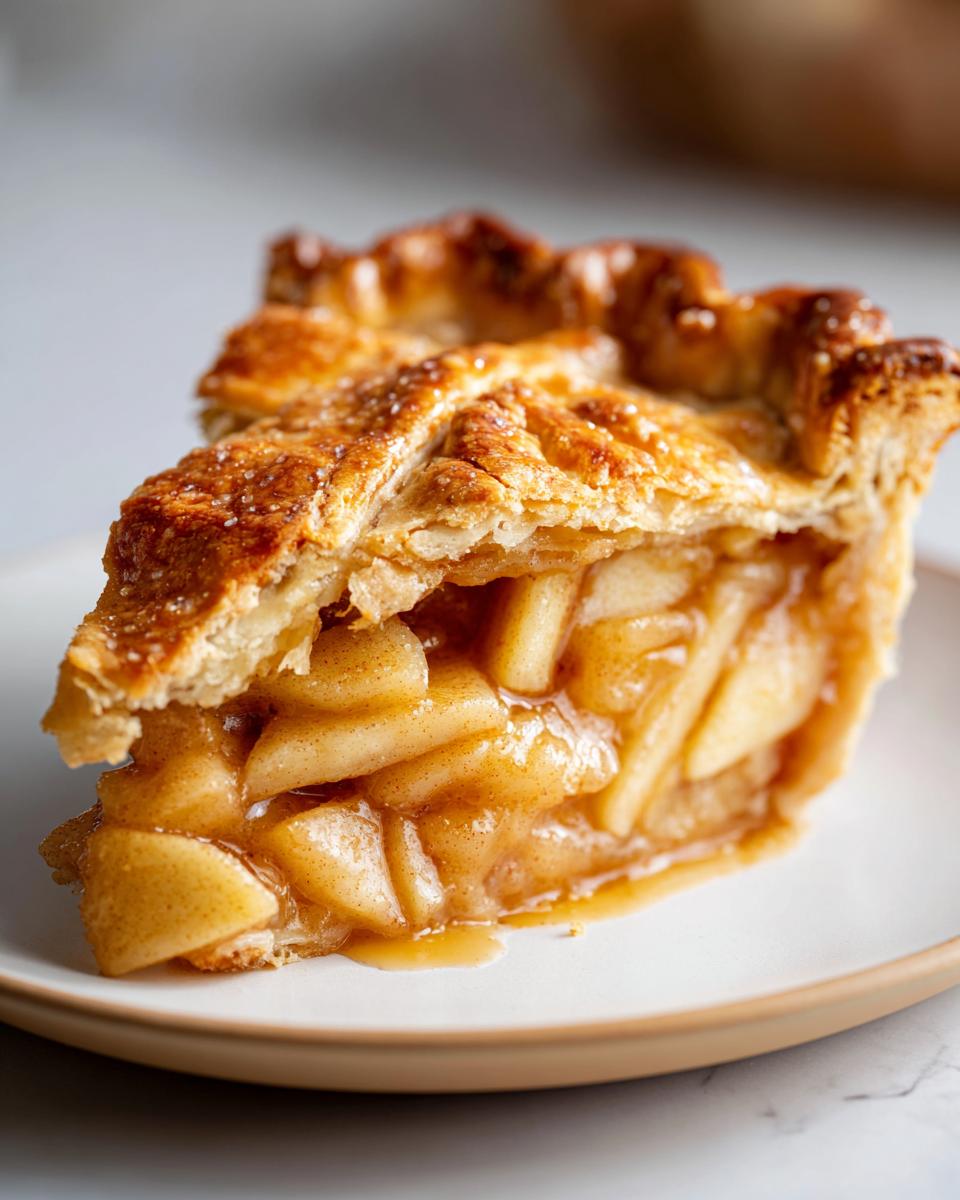
- Brush the top with egg wash or cream for that perfect golden shine
- Let it rest – cutting too soon turns your masterpiece into apple soup
These little tricks took my pies from “meh” to “more please!” overnight.
Apple Pie Variations
Want to mix things up? Try adding a drizzle of caramel sauce before the top crust for a sweet surprise, or swap cinnamon for cardamom for a unique twist. Feeling fancy? Go for a lattice crust—it’s easier than it looks and makes your pie look bakery-worthy. The possibilities are endless!
Serving and Storing Apple Pie
Oh, that first warm slice straight from the oven with a scoop of vanilla ice cream melting over the top – pure heaven! Here’s how to keep your apple pie perfect:
- Serve it warm (not piping hot) so the filling holds its shape
- Leftovers keep at room temperature for 2 days – just cover loosely with foil
- For longer storage, refrigerate up to 5 days (but really, who can resist it that long?)
- To reheat, pop slices in a 350°F oven for 10 minutes to revive that flaky crust
- Pie freezes beautifully too – wrap it tight and it’ll keep for 3 months
Pro tip: The microwave makes the crust soggy – always use the oven for reheating!
Apple Pie FAQs
I’ve gotten so many great questions about this recipe over the years – here are the ones that pop up most often:
Can I use frozen apples?
Absolutely! Just thaw them completely first and drain off any excess liquid. You might need to add an extra tablespoon of flour since frozen apples tend to release more juice. I did this last winter when fresh apples were crazy expensive, and it worked like a charm.
How do I prevent a soggy bottom crust?
My two favorite tricks: 1) Brush the bottom crust with egg white before adding filling (it creates a moisture barrier), or 2) Pop just the bottom crust in the oven for 10 minutes before assembling (we call this “blind baking”). Either method makes a world of difference!
Can I make apple pie ahead of time?
You bet! Assemble the whole pie (minus the egg wash if using) and refrigerate overnight. In the morning, just brush with egg wash and bake as directed – add 5-10 minutes to the baking time since it’s going in cold. The crust stays extra flaky this way too!
Why did my filling bubble over?
Oh honey, we’ve all been there! Usually means either the vents weren’t big enough, or the pie was overfilled. Next time, place a baking sheet on the rack below to catch drips – my oven thanks me every time I remember this trick.
Can I freeze baked apple pie?
Yes! Let it cool completely, wrap tightly in plastic, then foil. It keeps for 3 months. To serve, thaw overnight in the fridge, then reheat at 350°F until warmed through – about 20 minutes. The crust won’t be quite as crisp, but the flavor’s still amazing!
Nutritional Information
Just so you know what you’re biting into, here’s the scoop on one slice of this deliciousness (but let’s be real – who stops at one slice?). Nutritional values are estimates and vary based on ingredients used.
- Calories: 320
- Fat: 12g (5g saturated)
- Carbs: 50g
- Fiber: 3g
- Sugar: 25g
- Protein: 2g
Remember – it’s pie, not a salad. Enjoy every guilt-free bite!
Share Your Apple Pie Experience
I’d love to hear how your pie turns out! Did you add any special twists? Maybe your family fought over the last slice? Drop a comment below – your baking stories make my day almost as much as warm pie does!
Print
Perfectly Flaky Apple Pie in 6 Easy Steps
- Total Time: 1 hour 5 minutes
- Yield: 8 servings 1x
- Diet: Vegetarian
Description
A classic apple pie with a flaky crust and sweet apple filling.
Ingredients
- 6 cups sliced apples
- 3/4 cup sugar
- 2 tbsp flour
- 1 tsp cinnamon
- 1/4 tsp nutmeg
- 1 tbsp lemon juice
- 2 tbsp butter
- 2 pie crusts (store-bought or homemade)
Instructions
- Preheat your oven to 425°F (220°C).
- Mix apples, sugar, flour, cinnamon, nutmeg, and lemon juice in a bowl.
- Place one pie crust in a 9-inch pie dish.
- Pour the apple mixture into the crust.
- Dot the top with small pieces of butter.
- Cover with the second crust and seal the edges.
- Cut slits in the top crust for steam to escape.
- Bake for 40-45 minutes until golden brown.
- Cool before serving.
Notes
- Use firm apples like Granny Smith for best texture.
- Add a sprinkle of sugar on top before baking for extra crispness.
- Serve warm with vanilla ice cream if desired.
- Prep Time: 20 minutes
- Cook Time: 45 minutes
- Category: Dessert
- Method: Baking
- Cuisine: American
Nutrition
- Serving Size: 1 slice
- Calories: 320
- Sugar: 25g
- Sodium: 200mg
- Fat: 12g
- Saturated Fat: 5g
- Unsaturated Fat: 6g
- Trans Fat: 0g
- Carbohydrates: 50g
- Fiber: 3g
- Protein: 2g
- Cholesterol: 10mg

