There’s something magical about that first crisp autumn breeze that sends me straight to the kitchen for pumpkin cheesecake bars. I’ve been baking these creamy, spice-kissed treats for over a decade, ever since my neighbor Mrs. Thompson shared her recipe during a particularly epic leaf-raking party. The way the smooth pumpkin filling melts against that buttery cinnamon crust – it’s like fall in every bite! What I love most is how these bars capture all the cozy vibes of pumpkin pie but in portable, shareable squares perfect for potlucks, coffee dates, or sneaking midnight fridge raids (no judgment here).

Why You’ll Love These Pumpkin Cheesecake Bars
Trust me, these bars are about to become your fall baking MVP. Here’s why:
- Effortless elegance – They look fancy but come together faster than you can drink a PSL
- That perfect texture – Creamy pumpkin filling meets crunchy spiced crust in every bite
- Spiced just right – Not too pumpkin-y, not too sweet – just warm cinnamon hugs
- Crowd-pleasing magic – Works for Thanksgiving dessert or Tuesday night cravings (we’ve all been there)
Seriously, I’ve brought these to every autumn potluck since 2012 and they always disappear first.
Ingredients for Pumpkin Cheesecake Bars
Gather these simple ingredients – I promise you probably have most in your pantry already! A quick tip: measure everything before starting (my grandma called this “mise en place” and it saves SO much stress):
- For the crust:
1 1/2 cups graham cracker crumbs (about 10 full sheets)
1/4 cup granulated sugar (the secret for that caramelized crunch)
1/2 tsp ground cinnamon (trust me, don’t skip this!)
1/2 cup unsalted butter, melted (real butter only – margarine makes sad crusts) - For the filling:
16 oz cream cheese, softened (leave it out for 2 hours – no cheating!)
3/4 cup granulated sugar
1 cup canned pumpkin puree (NOT pie filling – Libby’s works best)
2 large eggs (room temperature prevents lumps)
1 tsp vanilla extract (the good stuff if you have it)
1 tsp ground cinnamon (because fall)
1/2 tsp ground nutmeg (freshly grated if possible)
1/4 tsp ground ginger (just a kiss of spice)
See? Nothing crazy – just quality ingredients treated right. Now let’s make some magic!

How to Make Pumpkin Cheesecake Bars
Okay, let’s get baking! This recipe comes together in three easy stages – crust, filling, and the all-important chilling time. Follow these steps and you’ll have perfect pumpkin cheesecake bars every time.
Preparing the Crust
First, preheat your oven to 350°F (175°C) – this is crucial for even baking. Line an 8×8-inch baking pan with parchment paper, leaving some overhang on two sides for easy lifting later (your future self will thank you). In a medium bowl, stir together graham cracker crumbs, sugar, and cinnamon until well combined. Pour in the melted butter and mix until it resembles wet sand. Now here’s the trick: dump the crumbs into your prepared pan and press them FIRMLY into an even layer using the bottom of a measuring cup. I use the flat side to really compact it – this prevents crumbling when you slice the bars later. Pop it in the oven for 10 minutes to set, then let it cool slightly while you make the filling.
Making the Pumpkin Cheesecake Filling
In a large bowl (or stand mixer), beat the softened cream cheese until smooth and creamy – about 2 minutes. Scrape down the sides! Gradually add the sugar and beat until fully incorporated. Now add the pumpkin puree, eggs (one at a time!), vanilla, and spices. Mix just until combined – overbeating incorporates too much air and can cause cracks. The filling should be velvety smooth with no lumps (except maybe a few pumpkin flecks, which I think add character).
Baking and Chilling
Pour the filling over your slightly cooled crust and smooth the top. Bake for 30-35 minutes – the edges should look set but the center will still jiggle slightly when you gently shake the pan. This is perfect! Turn off the oven and crack the door open, letting the bars cool gradually for about 1 hour to prevent cracking. Then transfer to the fridge to chill completely – at least 2 hours, though overnight is even better for flavor development. When ready to serve, use the parchment “handles” to lift the whole slab out before slicing into clean squares with a hot knife.

Tips for Perfect Pumpkin Cheesecake Bars
After making these bars more times than I can count, here are my must-know tricks for pumpkin cheesecake perfection:
- Temperature matters! Cold cream cheese = lumpy filling. Let it soften naturally – no microwave shortcuts!
- The jiggle test – Pull bars out when the center wobbles like Jell-O. They’ll firm up while cooling.
- Hot knife magic – Dip your knife in hot water and wipe dry between cuts for picture-perfect slices.
- Patience pays off – That 2-hour chill? Non-negotiable. I often make them a day ahead for best texture.
Bonus tip: If you’re nervous about cracks, place a pan of water on the rack below while baking – the steam helps!
Ingredient Substitutions & Notes
Okay, let’s talk swaps! While I’m a stickler for the original recipe, I get that life happens. Graham crackers can be gluten-free (I love Pamela’s brand) or try crushed gingersnaps for extra spice. Need dairy-free? Coconut cream cheese works surprisingly well – just add an extra tablespoon of cornstarch to the filling. And please, double-check that pumpkin can – you want 100% pure pumpkin puree, NOT pie filling (that premixed stuff will throw off all your ratios). For my nutmeg lovers, freshly grated makes a difference, but jarred is totally fine in a pinch.
Storage & Serving Suggestions
These pumpkin cheesecake bars keep beautifully in the fridge for up to 5 days – just cover them tightly (I press plastic wrap directly on the surface to prevent drying). For longer storage, freeze individual squares wrapped in parchment for up to 3 months – they thaw perfectly in the fridge overnight. When serving, I love topping with fresh whipped cream (a sprinkle of cinnamon on top!) or a drizzle of salted caramel for special occasions. But honestly? They’re pretty magical all on their own with a cup of coffee – morning, noon, or midnight snack o’clock!

Pumpkin Cheesecake Bars FAQs
Q1: Can I freeze pumpkin cheesecake bars?
Absolutely! These freeze like a dream. Once fully chilled, cut them into squares and wrap individually in plastic wrap, then pop in a freezer bag. They’ll keep for up to 3 months. Thaw overnight in the fridge – they’ll taste just as creamy as the day you made them. Pro tip: freeze slices on a tray first before bagging to prevent sticking.
Q2: How do I prevent cracks in my cheesecake bars?
The two biggest crack-preventers: 1) Don’t overmix the batter after adding eggs – this incorporates too much air. 2) Cool them slowly – that hour in the turned-off oven is magic. If you’re still nervous, try the water bath trick: place your pan in a larger dish with hot water while baking.
Q3: Can I use fresh pumpkin instead of canned?
You can, but canned pumpkin puree gives more consistent results. If using fresh, roast and puree it first, then strain through cheesecloth to remove excess moisture. Expect a slightly lighter color and more subtle pumpkin flavor. Whatever you choose – no pumpkin pie filling! That sweetened stuff will throw everything off.
Nutritional Information
Just so you know, these numbers are estimates – actual values change based on your specific ingredients (especially that butter!). Per luscious bar (makes 16 total):
- Calories: 220
- Fat: 14g (8g saturated – worth every bite!)
- Carbs: 21g (15g sugar, 1g fiber)
- Protein: 3g (from those happy eggs)
Now go make these pumpkin cheesecake bars and tell me how they turned out in the comments – I live for your baking stories!
Print
Irresistible Pumpkin Cheesecake Bars in Just 5 Easy Steps
- Total Time: 50 minutes
- Yield: 16 bars 1x
- Diet: Vegetarian
Description
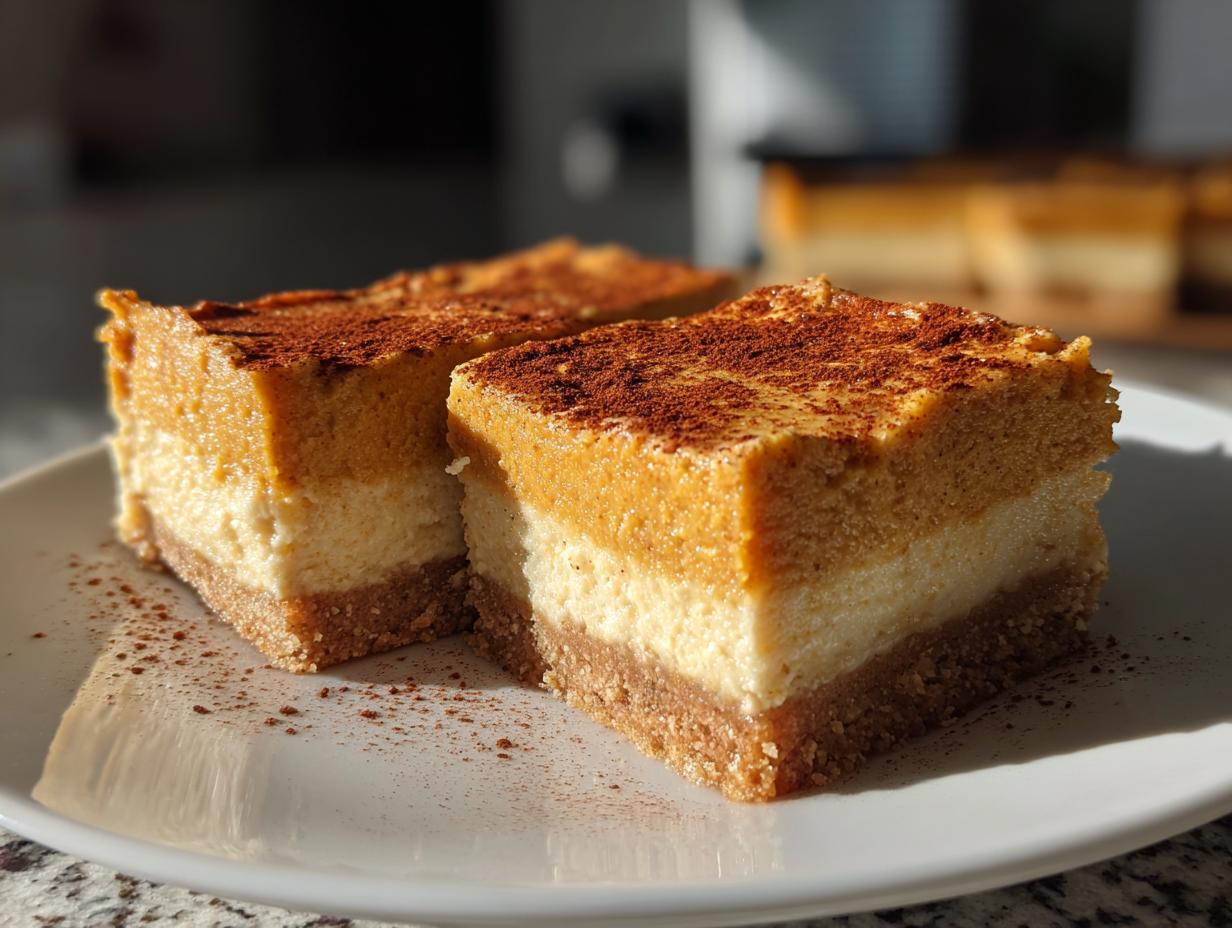
Delicious pumpkin cheesecake bars with a spiced crust and creamy filling. Perfect for fall or any occasion.
Ingredients
- 1 1/2 cups graham cracker crumbs
- 1/4 cup granulated sugar
- 1/2 tsp ground cinnamon
- 1/2 cup unsalted butter, melted
- 16 oz cream cheese, softened
- 3/4 cup granulated sugar
- 1 cup pumpkin puree
- 2 large eggs
- 1 tsp vanilla extract
- 1 tsp ground cinnamon
- 1/2 tsp ground nutmeg
- 1/4 tsp ground ginger
Instructions
- Preheat oven to 350°F. Line an 8×8-inch baking pan with parchment paper.
- Mix graham cracker crumbs, sugar, cinnamon, and melted butter. Press into the pan.
- Bake crust for 10 minutes. Let it cool slightly.
- Beat cream cheese and sugar until smooth. Add pumpkin, eggs, vanilla, and spices.
- Pour filling over crust. Bake for 30-35 minutes until set.
- Cool completely, then refrigerate for at least 2 hours before slicing.
Notes
- Use canned pumpkin puree, not pumpkin pie filling.
- Let bars chill thoroughly for cleaner slices.
- Store leftovers in the fridge for up to 5 days.
- Prep Time: 15 minutes
- Cook Time: 35 minutes
- Category: Dessert
- Method: Baking
- Cuisine: American
Nutrition
- Serving Size: 1 bar
- Calories: 220
- Sugar: 15g
- Sodium: 120mg
- Fat: 14g
- Saturated Fat: 8g
- Unsaturated Fat: 5g
- Trans Fat: 0g
- Carbohydrates: 21g
- Fiber: 1g
- Protein: 3g
- Cholesterol: 55mg