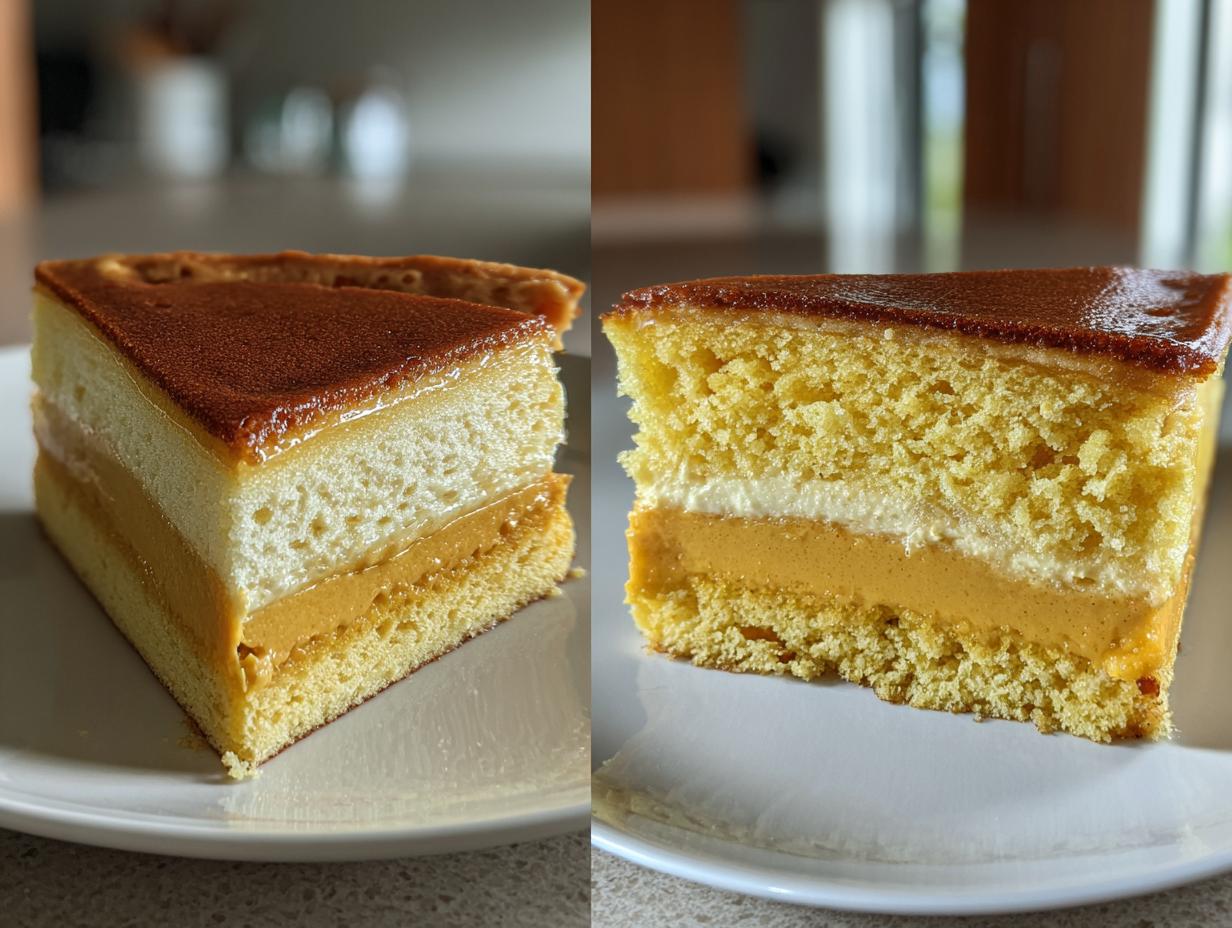
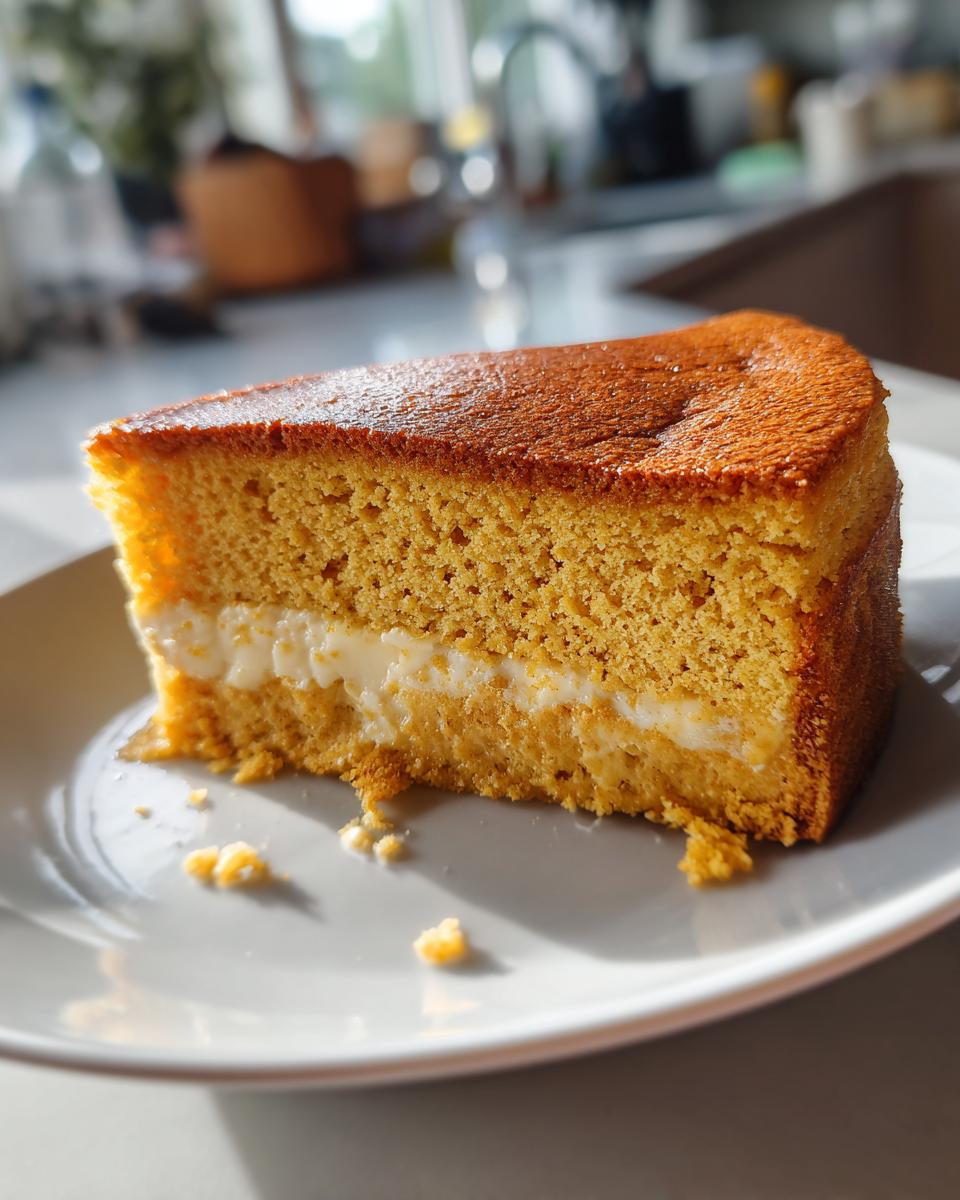
I still remember the first time I made pumpkin magic cake – it was pure kitchen sorcery! My skeptical husband watched as I poured what looked like a single layer of batter into the pan. “That’s it?” he asked. But when it came out of the oven, we both gasped – the cake had transformed into three distinct layers all on its own! The bottom was dense and cakey, the middle was this dreamy custard, and the top had the lightest sponge texture. It was like autumn in dessert form.
What makes this pumpkin magic cake so special is how impossibly easy it is compared to how impressive it looks. With just a few basic ingredients and one bowl (okay, maybe two if we’re being honest about the egg whites), you get this showstopper that tastes like pumpkin pie crossed with vanilla custard. I’ve made it for every fall gathering since that first attempt, and friends always beg for the recipe.
The real magic happens when the different densities separate during baking – the flour sinks, the egg whites rise, and the pumpkin custard settles gloriously in between. Don’t let the simple ingredients fool you; this cake delivers big on flavor and wow factor. Just wait until you see your guests’ faces when they cut into it!
Why You’ll Love This Pumpkin Magic Cake
Listen, I’m not exaggerating when I say this pumpkin magic cake will become your new autumn obsession. Here’s why:
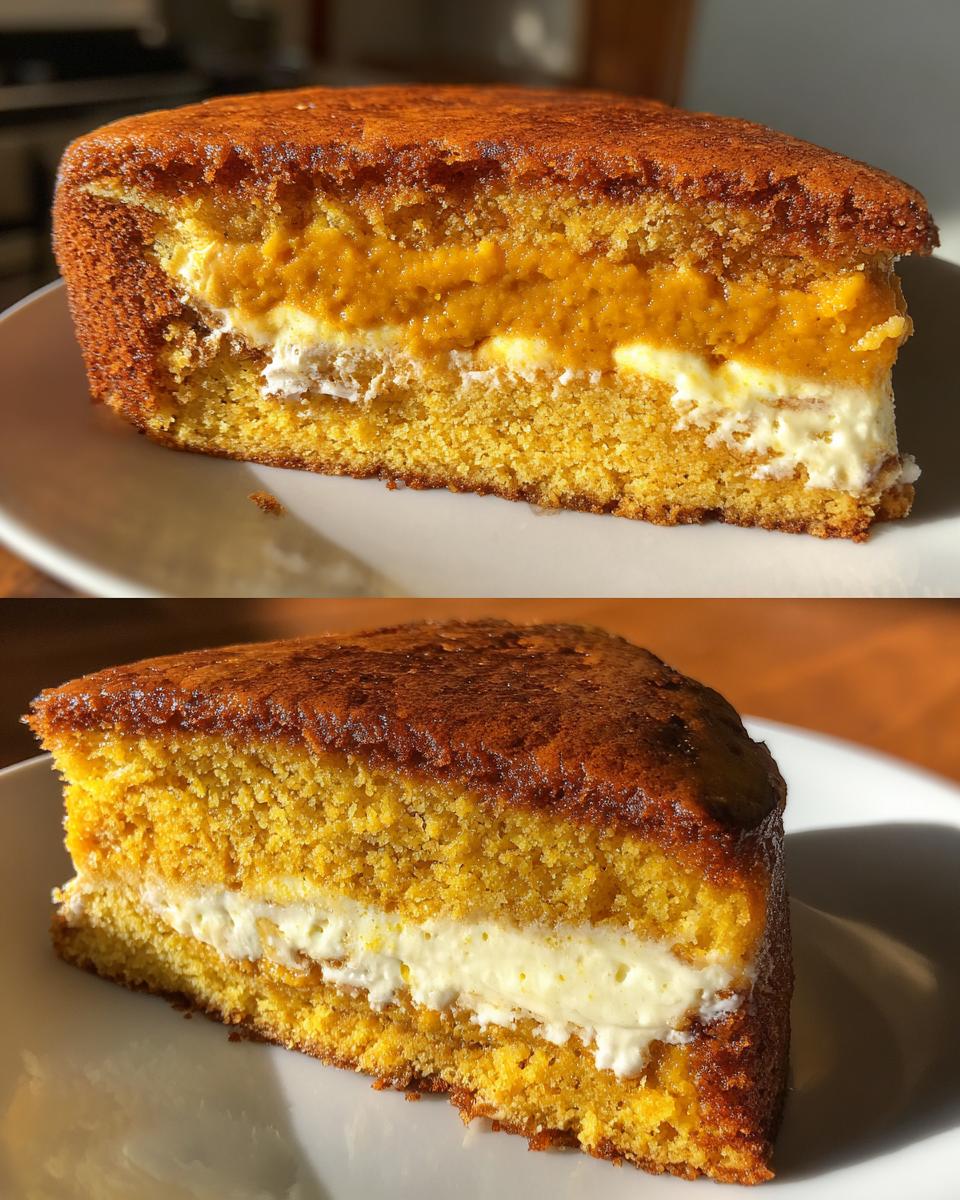
- Kitchen alchemy: Watching the batter transform into three distinct layers while baking feels like actual magic – dense cake bottom, creamy custard middle, and airy sponge top!
- Fall flavors perfected: That rich pumpkin spice flavor mingles with vanilla custard notes in every bite – like pumpkin pie upgraded.
- Foolproof baking: Despite the impressive results, this pumpkin magic cake couldn’t be easier (just wait till you see how few ingredients you need!).
- Crowd pleaser: Serve it at gatherings and watch people’s eyes light up when they taste (and see!) this showstopper.
Trust me, once you make this pumpkin magic cake, you’ll understand why I make it on repeat every fall!
Ingredients for Pumpkin Magic Cake
Here’s what you’ll need to work your own kitchen magic – and believe me, every ingredient plays a special role in creating those dreamy layers!
- 4 large eggs (room temperature – this helps them incorporate better)
- 1 cup granulated sugar (I’ve tried brown sugar too, but white gives the best texture)
- 1/2 cup unsalted butter, melted and slightly cooled (don’t skip the cooling step!)
- 1 cup all-purpose flour (I’ve tested this with gluten-free blends – results vary)
- 1 cup whole milk (2% works in a pinch, but whole makes the custard extra creamy)
- 1 cup pumpkin puree (not pumpkin pie filling – trust me, there’s a big difference)
- 1 tsp vanilla extract (the good stuff – no imitation here)
- 1 tsp pumpkin pie spice (or make your own blend if you’re fancy like that)
- 1/4 tsp salt (just enough to balance all that sweetness)
See? Nothing too crazy – just pantry staples that transform into something extraordinary. Now let’s get mixing!
Equipment You’ll Need
Here’s all you need to make this pumpkin magic cake happen – nothing fancy, I promise:
- 8-inch square baking dish (glass or metal both work)
- 2 mixing bowls (one for yolks, one for whites – no cheating!)
- Whisk (or electric mixer if you’re feeling lazy like me sometimes)
- Rubber spatula (for that gentle folding action)
- Measuring cups/spoons (eyeballing won’t cut it for this magic trick)
That’s it! Now let’s get to the fun part.
How to Make Pumpkin Magic Cake
Okay, let’s work some pumpkin magic together! This recipe looks simple, but these steps are what make that gorgeous layering happen. Follow along carefully – I’ll walk you through every bit of kitchen sorcery.
Preparing the Batter
First, separate those eggs – yolks in one bowl, whites in another. Now, beat the yolks and sugar together until they’re pale and creamy, about 2 minutes with a mixer (or 3-4 by hand if you need an arm workout). This is where the magic starts – you’re creating the base for all three layers!
Drizzle in the slightly cooled melted butter while mixing – go slow or you’ll scramble those yolks! Then add the pumpkin puree and vanilla. The batter will smell amazing already. Whisk together the flour, pumpkin pie spice and salt in a separate bowl, then gently stir it into the wet ingredients. Now slowly pour in the milk while mixing. The batter will be thin – that’s perfect!
Here comes the crucial part: Beat those egg whites until stiff peaks form – they should stand straight up when you lift the beaters. Now, gently fold them into the batter in three additions. I mean gentle – no vigorous stirring! Some white streaks are fine; they’ll disappear during baking. This step creates that magical layered texture.
Baking and Cooling
Pour the batter into your prepared pan – it’ll look like one uniform mixture, but just wait! Bake at 325°F for 40-45 minutes. The top should be golden and set, but the center should still have a slight jiggle when you gently shake the pan. That jiggle means your custard layer will be perfect!
Now the hardest part – let it cool completely in the pan. I know, I know, the smell is heavenly, but if you cut in too soon, the layers won’t set properly. I usually make mine in the afternoon and let it cool until dessert time. The wait is worth it – chilling helps those layers firm up beautifully.
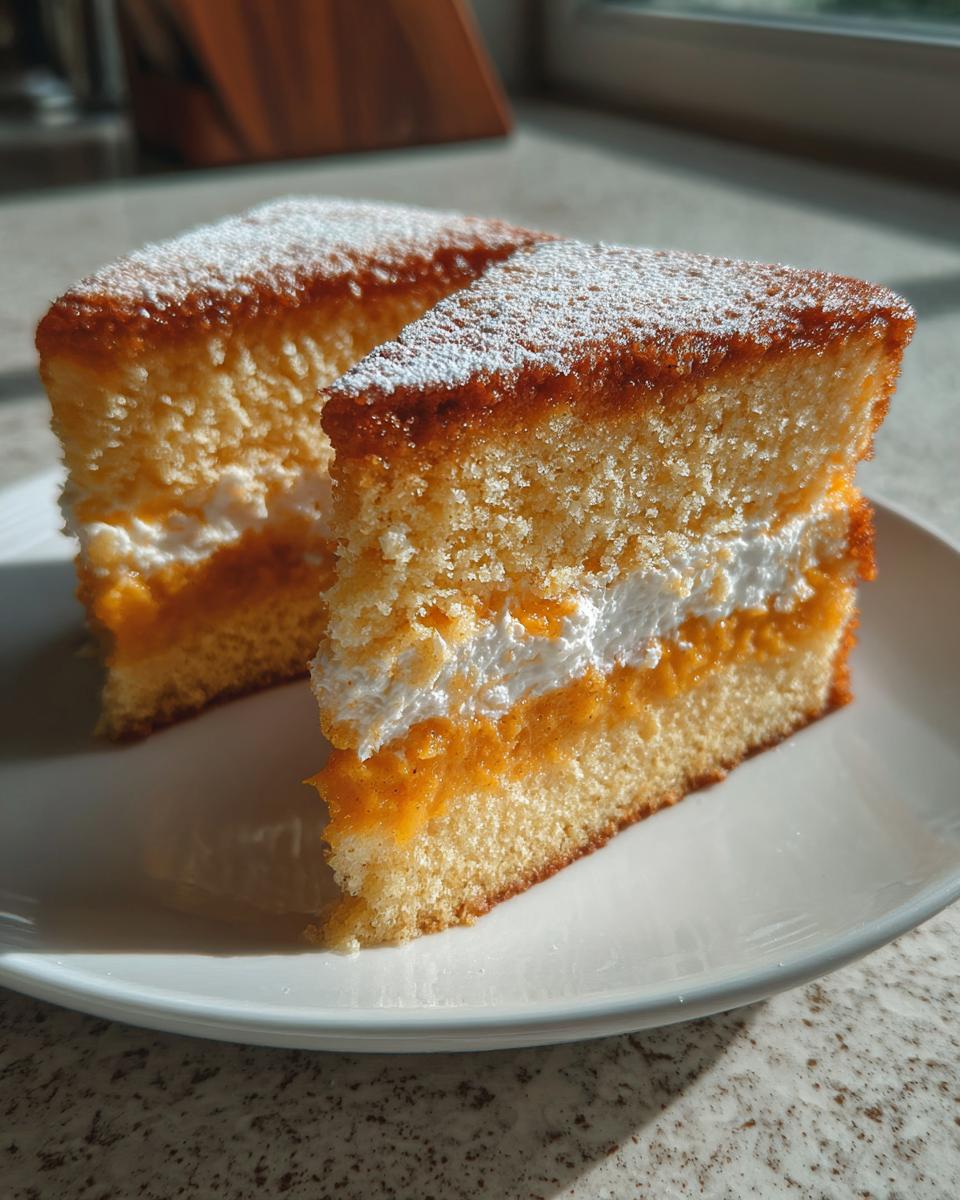
When you’re ready, slice carefully and watch as each piece reveals all three glorious layers. That’s pumpkin magic at work!
Tips for Perfect Pumpkin Magic Cake
After making this pumpkin magic cake more times than I can count, here are my can’t-miss tips for magical results every time:
- Room temp is key: Cold eggs won’t whip properly – take them out at least 30 minutes ahead.
- Fold, don’t stir: When adding egg whites, use a light hand to keep those air bubbles intact for perfect layers.
- Embrace the jiggle: The center should wobble slightly when done – overbaking makes the custard layer disappear.
- Chill out: Let it cool completely before cutting (I know it’s hard!) or the layers won’t set right.
- Slice carefully: Use a thin, sharp knife dipped in warm water for clean cuts through all three layers.
Follow these simple tricks, and your pumpkin magic cake will look and taste like pure kitchen wizardry!
Variations and Serving Suggestions
While this pumpkin magic cake is heavenly plain, here are my favorite ways to dress it up for special occasions! For extra decadence, top slices with freshly whipped cream spiked with cinnamon or a drizzle of warm caramel sauce. My husband goes wild when I sprinkle chopped pecans on top – that crunch with the creamy layers is unreal.
When serving, keep it chilled until the last minute – the cold makes those custard and cake layers even more distinct. I love pairing it with vanilla ice cream for hot-cold contrast or a simple dusting of powdered sugar for elegance. Leftovers (if you have any!) taste even better the next day as the flavors meld together beautifully.
Storage and Reheating
Here’s the good news – this pumpkin magic cake keeps beautifully in the fridge! Just cover it tightly with plastic wrap and it’ll stay fresh for 3-4 days (though ours never lasts that long). The layers actually get more defined as it chills. If you want to reheat a slice, 15 seconds in the microwave takes off the chill – but honestly, I think it’s best served cold straight from the fridge. That custard layer stays extra dreamy when chilled!
Frequently Asked Questions
Over the years, I’ve gotten so many questions about this pumpkin magic cake – here are the ones that keep popping up:
Q: Can I use butternut squash instead of pumpkin puree?
A: You can, but the flavor won’t be quite the same. Pumpkin has a unique sweetness that makes this magic cake special. If you must substitute, roasted butternut squash puree works, but add an extra tablespoon of sugar.
Q: Why didn’t my layers separate properly?
A: The most common culprit is overmixing after adding the egg whites! Remember – gentle folding is key. Also, make sure your oven temperature is accurate (an oven thermometer helps). Too hot, and the layers won’t have time to form.
Q: Can I make this without separating eggs?
A: Nope, that’s the magic trick! The egg whites create the top sponge layer while the yolks form the custard. Skipping this step just gives you pumpkin pound cake (still tasty, but not magical).
Q: How do I know when it’s done baking?
A: Look for golden edges and a set top that still has a slight jiggle in the center when you gently shake the pan. That jiggle turns into perfect custard as it cools!
Nutritional Information
Just a quick note about the nutritional info – while I love sharing this pumpkin magic cake recipe, I’m not a nutritionist! All values are approximate and can vary based on the exact brands of ingredients you use. Remember, this is a special treat meant to be enjoyed in moderation while we marvel at its magical layers!
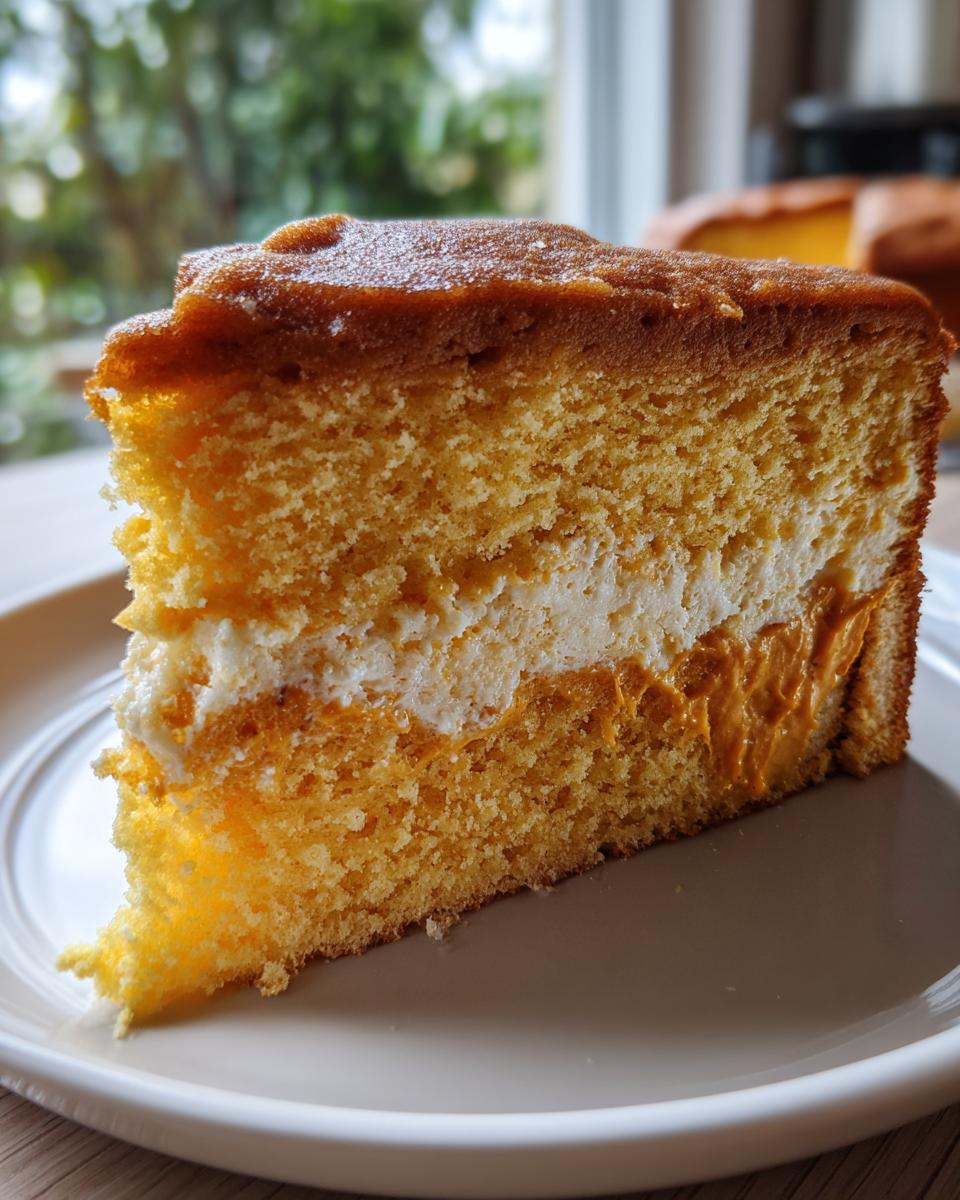
3-Layer Pumpkin Magic Cake
- Total Time: 60 mins
- Yield: 9 servings 1x
- Diet: Vegetarian
Description
A delicious and easy-to-make pumpkin magic cake with a soft, custard-like texture and rich pumpkin flavor.
Ingredients
- 4 eggs
- 1 cup granulated sugar
- 1/2 cup unsalted butter, melted
- 1 cup all-purpose flour
- 1 cup whole milk
- 1 cup pumpkin puree
- 1 tsp vanilla extract
- 1 tsp pumpkin pie spice
- 1/4 tsp salt
Instructions
- Preheat oven to 325°F (165°C). Grease an 8-inch square baking dish.
- Separate egg yolks and whites. Beat egg yolks and sugar until light and creamy.
- Add melted butter, vanilla, and pumpkin puree. Mix well.
- Gradually add flour, pumpkin pie spice, and salt. Stir until combined.
- Slowly pour in milk while mixing until smooth.
- In a separate bowl, beat egg whites until stiff peaks form.
- Gently fold egg whites into the batter until fully incorporated.
- Pour batter into the prepared baking dish.
- Bake for 40-45 minutes or until the top is set but the center is slightly jiggly.
- Let cool completely before slicing. Serve chilled.
Notes
- Use room temperature eggs for better volume.
- Do not overmix the batter after adding egg whites to keep the layers distinct.
- Store leftovers in the refrigerator for up to 3 days.
- Prep Time: 15 mins
- Cook Time: 45 mins
- Category: Dessert
- Method: Baking
- Cuisine: American
Nutrition
- Serving Size: 1 slice
- Calories: 220
- Sugar: 15g
- Sodium: 90mg
- Fat: 10g
- Saturated Fat: 6g
- Unsaturated Fat: 3g
- Trans Fat: 0g
- Carbohydrates: 28g
- Fiber: 1g
- Protein: 4g
- Cholesterol: 100mg

