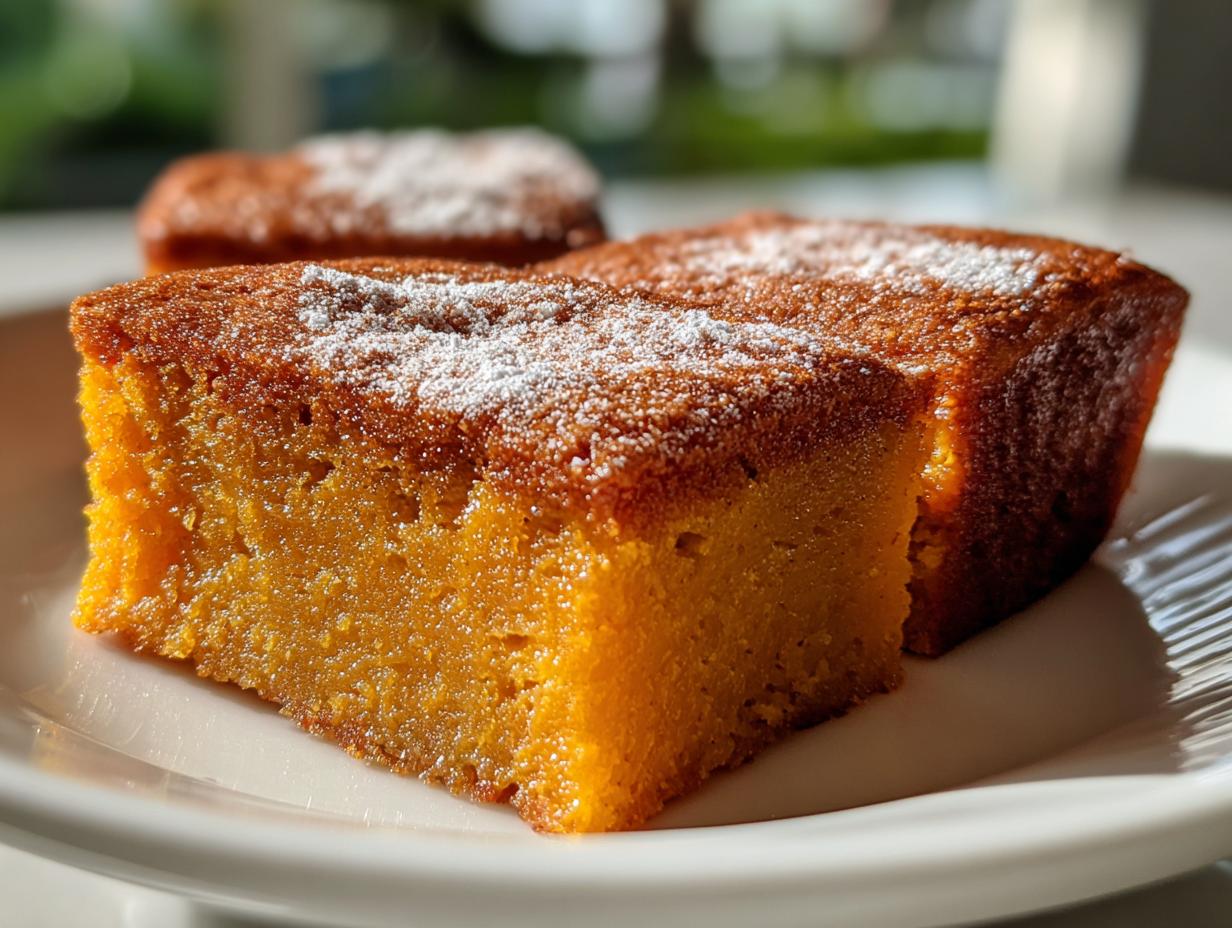
Oh my gosh, you have to try this pumpkin mochi recipe! It’s like autumn in dessert form – that perfect chewy texture meets warm pumpkin spice flavors that just melt in your mouth. I still remember the first time I stumbled upon this treat at a little Japanese bakery during October. The owner smiled when she saw my eyes light up after one bite of that orange-hued delight. “We make it special for fall,” she whispered proudly.
Now, pumpkin mochi has become my absolute must-make Halloween tradition (though let’s be real – I bake batches well into November). There’s something magical about how the mochiko flour creates that signature bounce while letting the pumpkin flavor shine. And don’t get me started on how the kitchen smells like pumpkin pie and cinnamon when this beauty bakes! Whether you’re new to mochi or a longtime fan, this recipe will make you fall in love with that perfect chewy-sweet texture all over again.
What makes this version special? It’s simpler than you’d think – just a handful of pantry ingredients transform into something extraordinary. Trust me, once you try homemade pumpkin mochi, those store-bought versions just won’t compare!
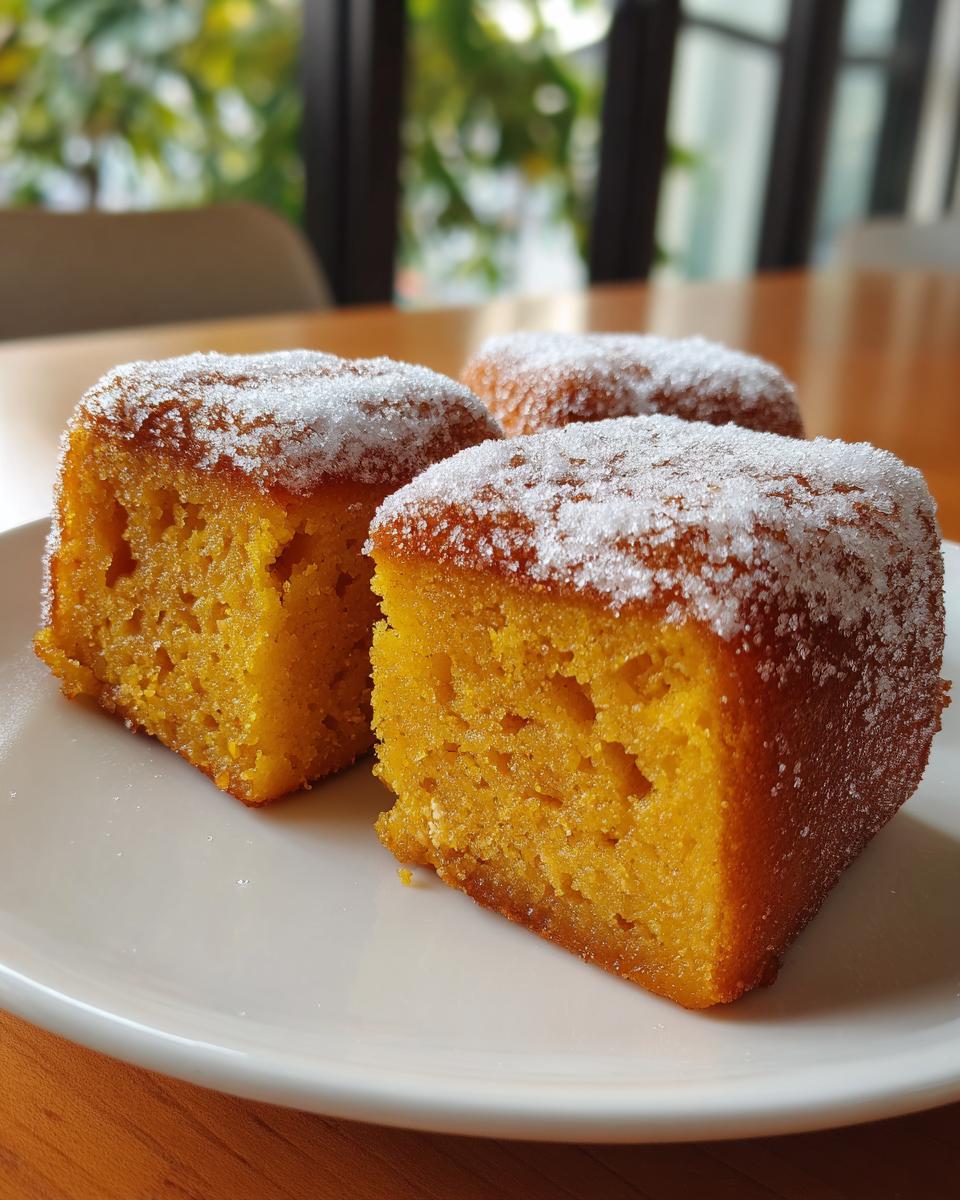
Why You’ll Love This Pumpkin Mochi Recipe
Okay, let me count the ways this pumpkin mochi will steal your heart (and probably become your new fall obsession):
- That magical chew: The mochiko flour gives it that perfect bouncy, slightly sticky texture that makes every bite so satisfying
- Pumpkin spice heaven: Just enough cinnamon and nutmeg to taste like autumn, but not so much it overpowers the sweet pumpkin flavor
- No fancy skills needed: Seriously – if you can stir ingredients together, you can make this! My 8-year-old niece helps me with it
- Better than pumpkin pie: No soggy crusts here! The texture stays perfect for days (if it lasts that long)
- Wildly versatile: Perfect warm with tea, chilled as a snack, or even toasted the next day (game changer!)
The best part? Your house will smell like a pumpkin spice candle factory while it bakes. Just try not eating half the pan fresh from the oven – I dare you!
Ingredients for Pumpkin Mochi
Here’s everything you’ll need to make that dreamy, chewy pumpkin mochi happen. I’m a stickler for using exactly these ingredients – trust me, each one plays a special role in creating that perfect texture and flavor we love!
- 1 cup pumpkin puree: Not pie filling! Use 100% pure pumpkin puree (I like Libby’s) packed firmly into the measuring cup. Fresh works too if you roast and mash it first
- 1 cup mochiko flour: This sweet rice flour is the magic behind that signature chew – don’t substitute regular flour!
- 1/2 cup sugar: Plain granulated works great, but brown sugar adds a lovely caramel note if you’re feeling adventurous
- 1/4 cup coconut milk: The full-fat canned kind gives richness, but any milk works in a pinch
- 1 tsp vanilla extract: Pure extract makes all the difference – it enhances all those warm flavors
- 1/2 tsp cinnamon + 1/4 tsp nutmeg: My grandma’s perfect spice blend – measure with your heart if you prefer more!
See? No weird ingredients here. Just pantry staples that come together to create something extraordinary. Now let’s get mixing!
Essential Equipment for Making Pumpkin Mochi
You don’t need fancy gadgets for perfect pumpkin mochi – just a few basic tools you probably already have:
- 8×8 inch baking pan (glass or metal both work)
- Mixing bowl (I use my trusty Pyrex glass one)
- Whisk or wooden spoon (your arm workout for the day!)
- Measuring cups/spoons (precision matters with mochiko)
- Oven (test your temp with a thermometer if it runs hot/cold)
That’s it! No stand mixer or special pans required. Easy peasy.
How to Make Pumpkin Mochi Step-by-Step
Okay friends, let’s dive into making the magic happen! This pumpkin mochi recipe couldn’t be simpler – just follow these steps and you’ll have that perfect chewy texture in no time. Here’s exactly how I make mine, just like my favorite Japanese bakery taught me:
Preparing the Batter
First things first – turn on that oven to 350°F (175°C) so it’s nice and hot when we’re ready. Now let’s make the batter:
- In your mixing bowl, whisk together the pumpkin puree, coconut milk, and vanilla until they’re completely combined and smooth. No lumps allowed!
- Add the sugar and spices (cinnamon + nutmeg) – keep whisking until everything looks evenly distributed.
- Here comes the magic: gradually sprinkle in the mochiko flour while stirring constantly. This prevents clumps and ensures our mochi will have that perfect uniform chew.
- Mix until you’ve got a smooth, thick batter – it should look like a slightly thinner pumpkin pie filling at this point.
Baking the Pumpkin Mochi
Now for the easy part:
- Pour that gorgeous orange batter into your greased baking pan, smoothing the top with a spatula.
- Pop it in the oven for exactly 45 minutes. Resist opening the door – we want even heat!
- When the timer goes off, do the toothpick test: it should come out mostly clean with just a few moist crumbs (not wet batter).
- The edges will pull away slightly from the pan – that’s your visual cue it’s done!
Cooling and Cutting
Here’s where patience pays off:
- Let the mochi cool in the pan for at least 30 minutes – this helps it set properly.
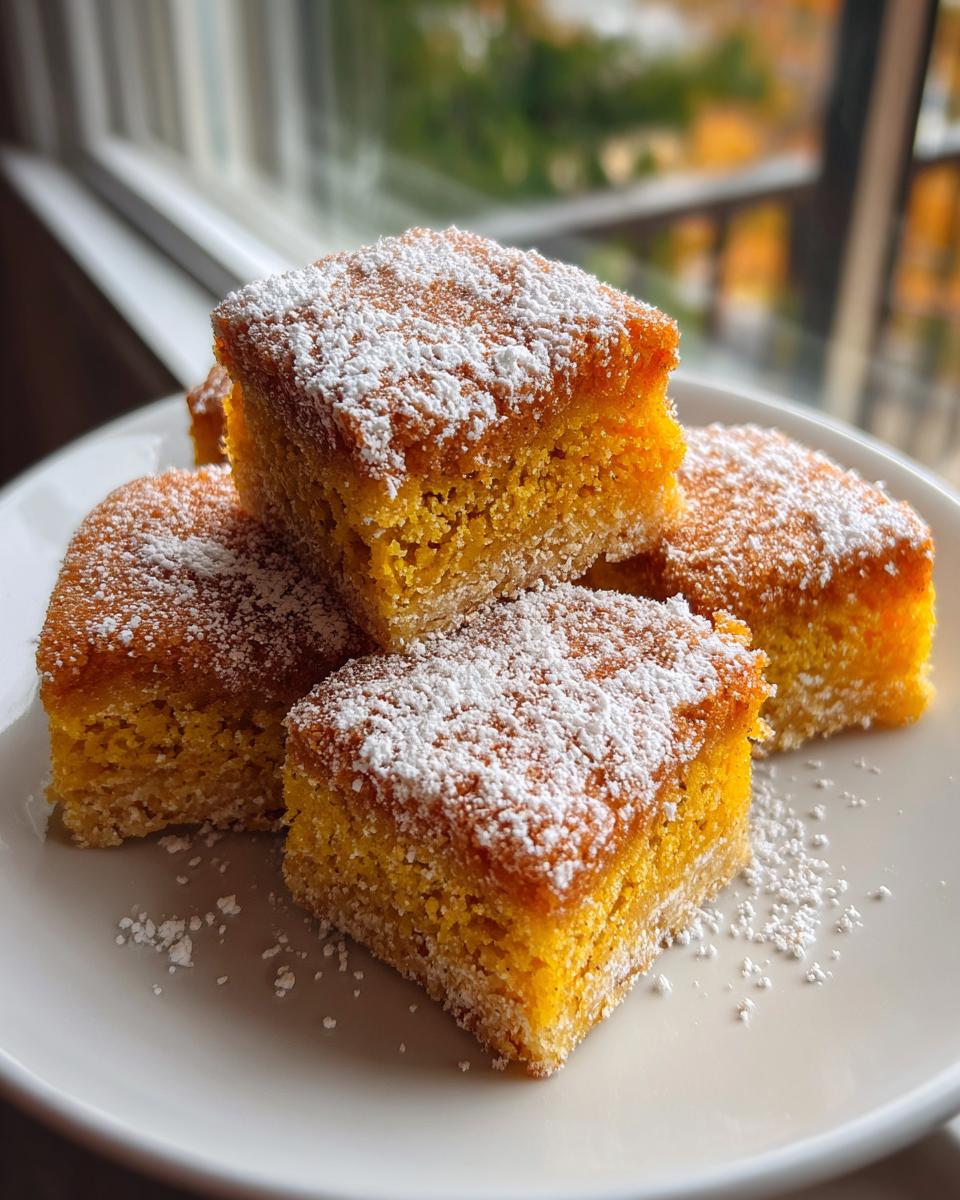
- Once it’s warm but not hot, use a plastic knife (trust me, it works better than metal!) to cut into squares.
- For super clean cuts, wet the knife between slices. The texture should be firm yet springy.
- Now try not to eat them all at once – though I won’t judge if you do!
And that’s it – easy peasy pumpkin mochi perfection! See? I told you it was simple. Now let’s talk about all my favorite tricks for making it even better…
Tips for Perfect Pumpkin Mochi Every Time
After making dozens (okay, maybe hundreds) of batches, I’ve picked up some game-changing tricks to guarantee pumpkin mochi perfection. Here are my absolute must-know tips:
- Don’t overmix: Once the mochiko flour is incorporated, stop stirring! Overworking the batter can make it tough instead of delightfully chewy.
- Room temp ingredients: Let your pumpkin puree and coconut milk sit out for 20 minutes – they’ll blend together much smoother.
- Watch your oven: Every oven lies! Mine runs hot, so I bake at 340°F instead. Get an oven thermometer – it’s a game changer.
- Adjust sweetness: Taste the batter before baking (yep, it’s safe!) and add more sugar if you like it sweeter.
- Rest before slicing: I know it’s hard to wait, but letting it cool ensures clean cuts and perfect texture.
Follow these simple tips, and you’ll have bakery-worthy pumpkin mochi that’ll impress everyone!
Variations and Substitutions
One of my favorite things about this pumpkin mochi recipe is how easily you can play around with it! Here are some delicious twists I’ve tried (and loved) over the years:
- Sweet potato mochi: Swap the pumpkin puree for mashed cooked sweet potatoes – it’s amazing with a sprinkle of Chinese five-spice powder
- Dairy-free delight: Any plant-based milk works instead of coconut – almond milk makes it extra light
- Chocolate chip surprise: Toss in 1/4 cup mini chocolate chips (trust me, pumpkin + chocolate is magical)
- Ginger kick: Add 1/4 tsp ground ginger to the spices for some zing
- Maple magic: Replace half the sugar with maple syrup (reduce other liquids slightly)
Don’t be afraid to experiment! The basic mochi texture is so forgiving – just keep the flour ratio the same and have fun with flavors.
Serving and Storing Pumpkin Mochi
Oh, the joy of enjoying fresh pumpkin mochi still slightly warm from the oven – the texture is absolute perfection! I love serving mine with a dusting of powdered sugar or a drizzle of honey while it’s still warm (the way the sweetener melts into those chewy squares… heaven!).
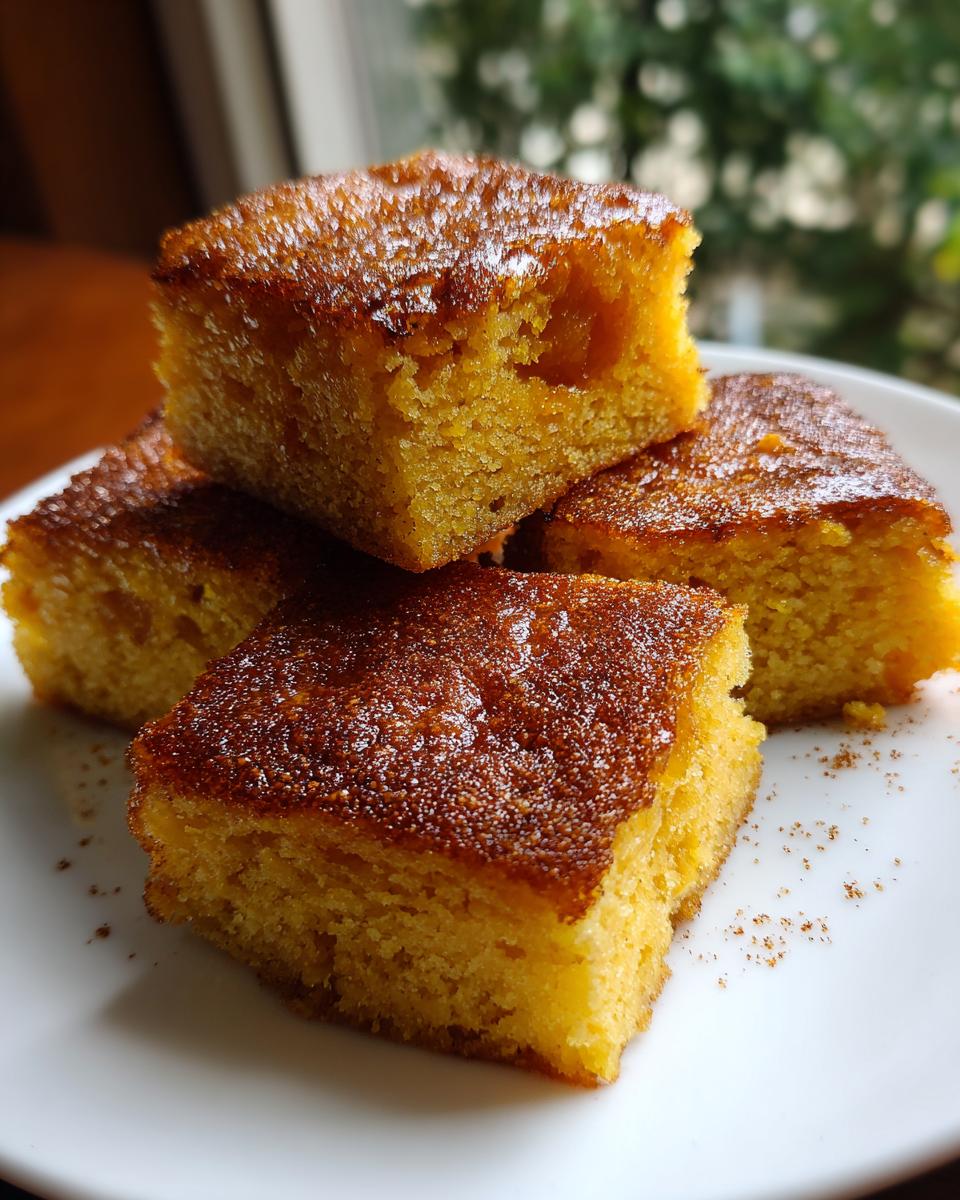
For storage, just pop any leftovers in an airtight container – no refrigeration needed! It stays wonderfully fresh at room temp for 3 days, though good luck keeping it around that long. If you do manage to save some, try toasting slices the next day – the edges get delightfully crisp while the inside stays gorgeously chewy. Freezing works too – just wrap pieces individually for up to a month!
Nutritional Information
Just so you know what you’re biting into – each piece of this pumpkin mochi contains about 120 calories, with 24g carbs (including 1g fiber and 10g sugar). It’s a pretty light treat! But remember, these numbers are estimates – your exact ingredients might change things slightly. Either way, it’s way better than store-bought snacks!
Frequently Asked Questions
I get asked about pumpkin mochi all the time – here are the answers to everyone’s burning questions!
Can I freeze pumpkin mochi?
Absolutely! Wrap individual squares tightly in plastic wrap, then pop them in a freezer bag for up to 2 months. Thaw at room temperature when cravings strike – or my favorite trick, toast them frozen for a warm, crispy-chewy treat!
Can I use fresh pumpkin instead of canned?
You bet! Roast pumpkin chunks until super tender, then blend into a smooth puree. Just make sure to drain any excess liquid – fresh pumpkin tends to be wetter than canned. About 1 1/4 cups roasted pumpkin equals 1 cup canned.
Why is my mochi too sticky?
Usually means it needed more baking time – give it an extra 5 minutes next round. Also make sure you’re using mochiko flour specifically (not regular rice flour), and let it cool completely before cutting.
Can I make this gluten-free?
Good news – mochiko flour is naturally gluten-free! Just double-check that your other ingredients (especially vanilla and spices) are certified GF if needed.
Help! My mochi is dense – what went wrong?
Most likely overmixed the batter or measured the flour incorrectly. Spoon the mochiko into your measuring cup instead of scooping – it packs down easily. And remember – mix just until combined!
Share Your Pumpkin Mochi Experience
I’d love to hear how your pumpkin mochi turns out! Did you add any fun twists? Maybe the chocolate chip version became your new favorite? Leave a comment below or tag me on social – I cheer for every mochi success story. And if this recipe made your fall a little sweeter, please share it with a fellow pumpkin lover!
Print
Pumpkin Mochi – 1 Bowl Magic for Irresistible Fall Treats
- Total Time: 55 minutes
- Yield: 12 servings 1x
- Diet: Vegetarian
Description
A delicious and chewy pumpkin-flavored mochi dessert.
Ingredients
- 1 cup pumpkin puree
- 1 cup mochiko flour
- 1/2 cup sugar
- 1/4 cup coconut milk
- 1 tsp vanilla extract
- 1/2 tsp cinnamon
- 1/4 tsp nutmeg
Instructions
- Preheat oven to 350°F (175°C).
- Mix pumpkin puree, mochiko flour, sugar, coconut milk, vanilla extract, cinnamon, and nutmeg in a bowl.
- Pour the batter into a greased baking pan.
- Bake for 45 minutes or until firm.
- Let it cool before cutting into squares.
Notes
- Use fresh pumpkin puree for best results.
- Store leftovers in an airtight container.
- Prep Time: 10 minutes
- Cook Time: 45 minutes
- Category: Dessert
- Method: Baked
- Cuisine: Japanese
Nutrition
- Serving Size: 1 piece
- Calories: 120
- Sugar: 10g
- Sodium: 5mg
- Fat: 2g
- Saturated Fat: 1g
- Unsaturated Fat: 1g
- Trans Fat: 0g
- Carbohydrates: 24g
- Fiber: 1g
- Protein: 1g
- Cholesterol: 0mg

