Oh my gosh, you guys – once you taste this roasted garlic hummus, you’ll never go back to store-bought again! I swear, the first time I made this at home, my kitchen smelled like a Mediterranean bistro and my family went absolutely nuts for it. That creamy texture? Check. That deep, caramelized garlic flavor? Double check. There’s just something magical about blending those simple ingredients together – chickpeas, tahini, and of course, that gorgeous roasted garlic. I used to buy those little tubs from the grocery store, but honestly? This homemade version blows them all away. And the best part? It comes together in minutes with just a food processor and a little love.
Why You’ll Love This Roasted Garlic Hummus
Listen, I don’t just make this hummus because it’s delicious (though trust me, it absolutely is). I make it because it’s one of those magical recipes that checks all the boxes:
- Creamy dreamy texture – The tahini and olive oil blend into the chickpeas so smoothly, you’ll want to eat it by the spoonful
- Ridiculously easy – Just roast the garlic, then let your food processor do all the work
- That roasted garlic punch – It’s mellow yet bold, adding depth you just can’t get from raw garlic
- Crowd-pleaser – Perfect for parties, meal prep, or just when you need a snack that makes you happy
- Vegetarian & vegan friendly – Plus it’s packed with plant-based protein to keep you full
Seriously, once you try this version, you’ll understand why it’s become my go-to recipe for everything from potlucks to midnight snacks!
Ingredients for Roasted Garlic Hummus
Okay, let’s talk ingredients – and yes, every single one matters here! Here’s exactly what you’ll need:
- 1 can (15 oz) chickpeas, drained and rinsed (save that aquafaba for another use!)
- 1/4 cup tahini – the good stuff, stirred well
- 3 cloves roasted garlic (trust me, roast extra – you’ll want them!)
- 2 tbsp fresh lemon juice – about half a juicy lemon
- 2 tbsp olive oil – plus more for drizzling
- 1/2 tsp salt – I use kosher
- 1/4 tsp cumin – just enough to whisper through
- 2-4 tbsp water – as needed for perfect creaminess
Ingredient Notes & Substitutions
Tahini can be tricky – look for one with just sesame seeds listed. No tahini? Swap in 2 tbsp Greek yogurt for tang (but it won’t be vegan). Fresh lemon juice is best, but in a pinch, 1 tbsp apple cider vinegar works. For roasted garlic, wrap whole unpeeled cloves in foil and bake at 400°F until soft – about 25 minutes. And please, for the love of hummus, don’t use raw garlic unless you want it to punch you in the taste buds!
How to Make Roasted Garlic Hummus
Alright, let’s get blending! I promise this is easier than you think – just follow these simple steps and you’ll have hummus heaven in no time:
- Roast that garlic first – Preheat your oven to 400°F (200°C). Take 3 unpeeled garlic cloves, wrap them in foil, and roast for 20-25 minutes until they’re soft and golden. Let them cool slightly before peeling – they’ll be hot!
- Blitz the base – In your food processor, combine the drained chickpeas, tahini, squeezed-out roasted garlic, lemon juice, olive oil, salt, and cumin. Process for about 1 minute until it starts coming together.
- Add the magic liquid – With the processor running, drizzle in water 1 tablespoon at a time through the feed tube. You’ll see it transform before your eyes! Blend for a full 2 minutes – patience makes it creamy.
- Taste and tweak – Stop, scrape down the sides, and taste. Need more zing? Add lemon. More depth? Pinch of salt. Too thick? Another splash of water.
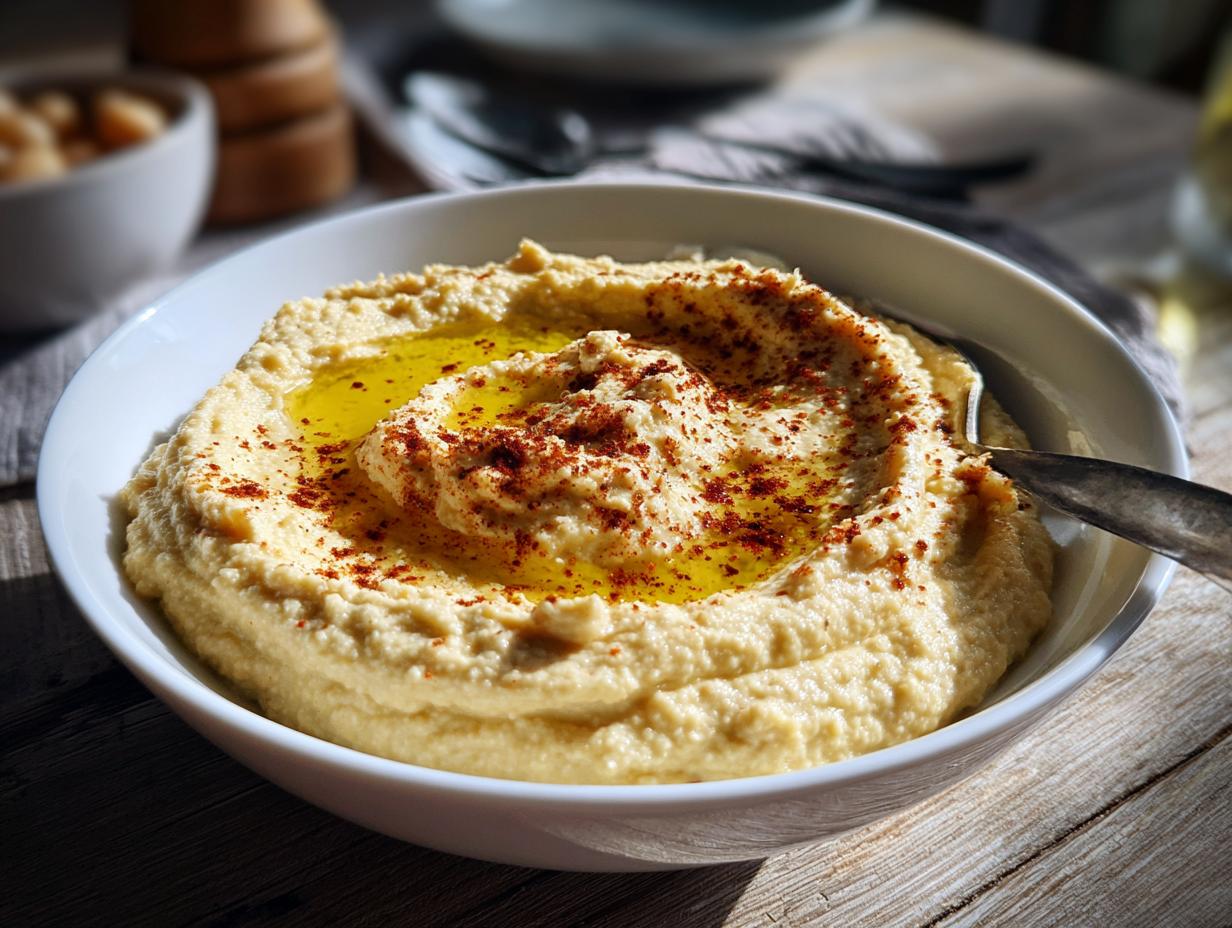
- Finish with flair – Transfer to a bowl, make swirls with the back of a spoon, and drizzle with your best olive oil. Maybe a sprinkle of paprika if you’re feeling fancy!

Tips for Perfect Roasted Garlic Hummus
Want that pro-level creaminess? Here are my not-so-secret secrets:
- For ultra-smooth hummus, pop those chickpeas out of their skins – it’s tedious but makes a difference
- Always blend first, then adjust seasoning – flavors develop as it mixes
- Use garlic fresh from the oven when it’s easiest to squeeze out
- If it’s too thick tomorrow, stir in a teaspoon of water to revive it
- Let it sit 30 minutes before serving – the flavors marry beautifully
Serving Suggestions for Roasted Garlic Hummus
Oh, the places this hummus will go! My absolute favorite way? Warm pita bread torn into fluffy chunks – it’s like edible spoons for that creamy goodness. But don’t stop there! Try it with:
- Crisp veggie sticks (carrots, cucumbers, bell peppers – the crunch contrast is everything)
- Falafel or grilled chicken for a protein-packed meal
- Spread thick on sourdough toast with sliced tomatoes
- As a surprise sandwich spread instead of mayo
And please – never skip that final drizzle of golden olive oil on top! It adds the perfect rich finish that’ll make everyone ask for your recipe.

Storage & Reheating Instructions
Here’s the great news – this hummus keeps beautifully in an airtight container in the fridge for up to 5 days! The flavors actually deepen overnight. Just give it a quick stir before serving. Now, I don’t recommend freezing it – the texture turns grainy and sad. And reheating? No need! This creamy dip tastes perfect straight from the fridge, though taking the edge off the chill for 10 minutes on the counter never hurts.
Roasted Garlic Hummus Nutritional Information
Now let’s talk nutrition – because delicious doesn’t have to mean guilty! A 1/4 cup serving of this hummus packs:
- 120 calories – Perfect for mindful snacking
- 8g healthy fats – Mostly from olive oil and tahini
- 4g plant protein – Thanks to those mighty chickpeas
- 10g carbs – With 3g fiber to keep you satisfied
Now remember – these are estimates. Your exact numbers might dance a little depending on how much olive oil you drizzle (no judgment here!). But overall? This hummus gives you nutrients with every creamy bite.
Frequently Asked Questions
Can I use raw garlic instead of roasted?
Oh honey, I wouldn’t recommend it! Raw garlic has a much sharper, almost bitter flavor that can overpower the hummus. Roasting mellows it beautifully while adding that deep, caramelized sweetness we love. If you’re in a pinch, try sautéing minced garlic in olive oil for 2 minutes to take the edge off.
How long does homemade hummus last?
In an airtight container in the fridge, your roasted garlic hummus will stay fresh and delicious for about 5 days. The olive oil might solidify a bit when cold – just give it a good stir before serving. You’ll notice the flavors actually get better after a day!
Why is my hummus grainy?
Two tricks: blend longer (at least 2 full minutes) and consider peeling those chickpeas. Also, make sure your tahini is well-stirred before measuring. If it’s still not smooth enough, add water 1 tablespoon at a time while blending.
Can I make this without tahini?
You can substitute Greek yogurt for a similar creamy texture, though it won’t be vegan. Another option is using 2 tablespoons of almond butter – it changes the flavor profile but still gives that rich mouthfeel we love in hummus.

Share Your Roasted Garlic Hummus
I’d love to see your hummus creations! Snap a pic of that creamy goodness and tag me on Instagram – I might just feature your masterpiece. And hey, if you tweaked the recipe to make it your own, drop a comment below to share your genius with fellow hummus lovers!
Print
Irresistible Roasted Garlic Hummus Recipe in 5 Steps
- Total Time: 35 mins
- Yield: 2 cups 1x
- Diet: Vegetarian
Description
A smooth and creamy hummus with the rich flavor of roasted garlic. Perfect as a dip or spread.
Ingredients
- 1 can (15 oz) chickpeas, drained and rinsed
- 1/4 cup tahini
- 3 cloves roasted garlic
- 2 tbsp lemon juice
- 2 tbsp olive oil
- 1/2 tsp salt
- 1/4 tsp cumin
- 2–4 tbsp water (as needed)
Instructions
- Preheat oven to 400°F (200°C). Wrap garlic cloves in foil and roast for 20-25 minutes until soft.
- Blend chickpeas, tahini, roasted garlic, lemon juice, olive oil, salt, and cumin in a food processor.
- Add water 1 tbsp at a time until desired consistency is reached.
- Blend until smooth and creamy.
- Transfer to a bowl and drizzle with olive oil before serving.
Notes
- Store in an airtight container in the fridge for up to 5 days.
- Adjust lemon juice and salt to taste.
- Serve with pita bread, veggies, or crackers.
- Prep Time: 10 mins
- Cook Time: 25 mins
- Category: Appetizer
- Method: Blending
- Cuisine: Middle Eastern
Nutrition
- Serving Size: 1/4 cup
- Calories: 120
- Sugar: 1g
- Sodium: 180mg
- Fat: 8g
- Saturated Fat: 1g
- Unsaturated Fat: 6g
- Trans Fat: 0g
- Carbohydrates: 10g
- Fiber: 3g
- Protein: 4g
- Cholesterol: 0mg