Oh, the smell of cinnamon and pears baking together – it takes me right back to my grandma’s kitchen every single time. That’s why this spiced pear tart holds such a special place in my heart. The moment those warm spices hit the oven, my whole house smells like autumn magic. And let me tell you, the flaky, buttery crust against those tender spiced pears? Pure heaven. It’s one of those desserts that looks fancy but secretly comes together with such ease. I’ve made this tart for everything from cozy Sunday dinners to fancy holiday gatherings, and without fail, someone always asks for the recipe.

Why You’ll Love This Spiced Pear Tart
This isn’t just any dessert – it’s the kind of recipe that makes people think you spent hours in the kitchen when really, it’s shockingly simple. Here’s why it’s become my go-to:
- The crust comes together in minutes (no fancy equipment needed!) and bakes up flaky and golden every time
- Warm spices transform ordinary pears into something magical – one bite and you’ll be hooked
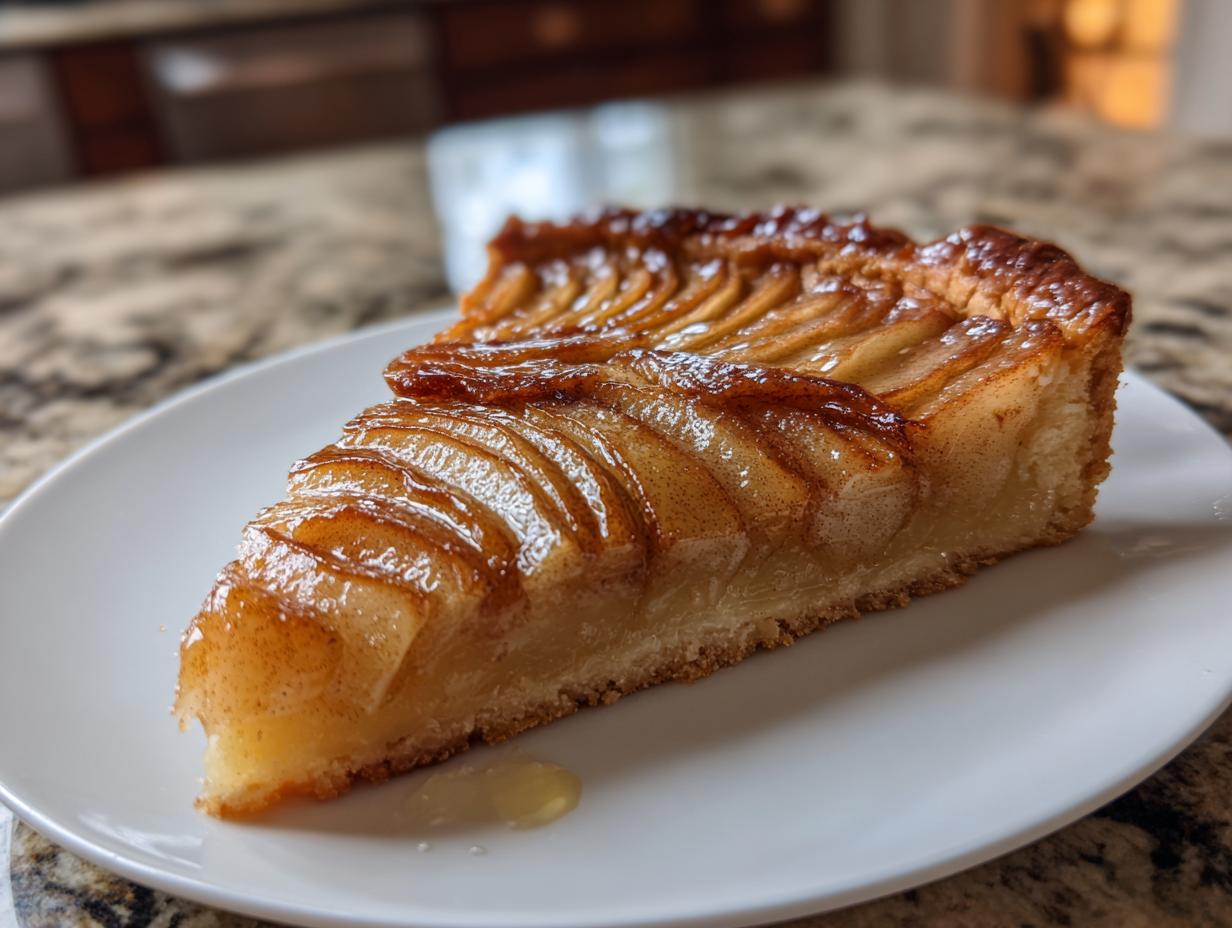
- It looks absolutely stunning arranged in a spiral, yet requires zero decorating skills
- The aroma while baking will have your family hovering around the oven impatiently
Trust me, this tart disappears faster than you can say “seconds please!”
Ingredients for Spiced Pear Tart
Here’s everything you’ll need to make this beauty – simple ingredients that create something truly special:
- 2 cups all-purpose flour (spooned and leveled, please!)
- 1/2 cup unsalted butter, chilled and cubed (trust me, cold is key)
- 1/4 cup ice-cold water (I keep mine in the freezer for 10 minutes)
- 4 ripe but firm pears, peeled and sliced 1/4-inch thick (I’m partial to Bosc or Anjou)
- 1/2 cup granulated sugar (divided between crust and filling)
- 1 teaspoon ground cinnamon (the good stuff!)
- 1/2 teaspoon freshly grated nutmeg (worth grating it yourself)
- 1/4 teaspoon ground cloves (just a whisper – they’re powerful)
- 1 tablespoon fresh lemon juice (keeps those pears looking pretty)

Ingredient Notes & Substitutions
No pears? No problem! Firm apples work beautifully too. If you’re out of butter, coconut oil can stand in for the crust (but the flavor changes slightly). Brown sugar adds lovely depth if you swap it for the granulated. And if you’re not a cloves fan? Just skip ’em – the cinnamon and nutmeg will still make magic.
Equipment You’ll Need
Grab these basic tools – chances are you’ve already got most in your kitchen:
- 9-inch tart pan with removable bottom (my secret for perfect slices)
- Rolling pin (or that wine bottle in your fridge in a pinch!)
- Mixing bowl (any decent-sized one will do)
- Measuring cups and spoons
- Paring knife for those pears
That’s it! No fancy gadgets required – just good old-fashioned baking.
How to Make Spiced Pear Tart
Alright, let’s get to the fun part! Making this spiced pear tart is easier than you think, but I’ve got some little secrets to share along the way that make all the difference.
- Start with cold everything – I mean it! Pop your butter cubes and water in the freezer for 10 minutes while you measure the flour. This keeps the crust flaky. Toss flour and butter in a bowl, then use your fingers to rub them together until it looks like coarse crumbs with some pea-sized butter bits remaining.
- Add water gradually – drizzle in that ice water just a tablespoon at a time, mixing with a fork until the dough just comes together. You’ll know it’s ready when you can pinch some and it holds together. Don’t overwork it!
- Chill that dough – form it into a disk, wrap in plastic, and let it rest in the fridge for 30 minutes. This relaxes the gluten and prevents shrinkage. Meanwhile, toss your pear slices with sugar, spices, and lemon juice – the acid keeps them from browning.
- Roll with confidence – flour your surface lightly and roll the dough to about 11 inches round. Gently transfer to your tart pan (I like to roll it onto my pin to move it) and press into the edges. Don’t stress perfection – rustic is charming!
- Arrange those pears artfully – start from the outside edge and overlap slices in concentric circles. Pour any remaining spiced juices over top – that’s flavor gold!
- Bake to golden perfection – 375°F for about 35-40 minutes until the crust is golden and pears are tender when poked with a fork. The smell will tell you when it’s close!

Tips for the Perfect Spiced Pear Tart
After making this dozens of times, here are my can’t-live-without tips:
- Chill the dough twice – after mixing and after rolling into the pan for 15 minutes
- Use slightly underripe pears – they hold their shape better when baked
- Brush the crust edges with egg wash for extra golden color
- Let it cool completely before slicing – I know it’s hard, but the filling sets properly
Serving Suggestions for Spiced Pear Tart
Oh, the possibilities! This tart shines all on its own, but here’s how I love to serve it: a dollop of freshly whipped cream melting slightly into the warm spices is perfection. Vanilla bean ice cream turns it into an instant showstopper. For breakfast (yes, breakfast!), I’ll dust it with powdered sugar and pair it with strong coffee. My neighbor swears by a drizzle of caramel sauce – and who am I to argue?
Storing & Reheating Spiced Pear Tart
This tart keeps beautifully! At room temperature, it’s good for a day (covered loosely with foil). For longer storage, pop it in the fridge for up to 3 days in an airtight container. To reheat, I always use the oven (300°F for 10 minutes) – the microwave makes the crust soggy. Pro tip: Freeze individual slices between parchment for a sweet emergency treat!

Spiced Pear Tart Nutrition Information
Here’s the scoop on what’s in each delicious slice (based on 8 servings): about 280 calories, 12g fat (7g saturated), 42g carbs (3g fiber, 18g sugar), and 3g protein. Now listen – these numbers might dance around a bit depending on your exact ingredients (especially those gorgeous pears and butter quality). That’s home baking for you! For more general information on baking science, you can check out resources from The Exploratorium’s Cooking Science section.
Frequently Asked Questions
Can I use canned pears instead of fresh?
You can, but fresh is best! Canned pears tend to be too soft and will turn mushy. If you must use them, drain well and pat dry with paper towels first.
How do I prevent a soggy crust?
Two tricks: 1) Make sure your butter is ice-cold when making the dough, and 2) Don’t skip chilling the dough before baking – this helps the crust set up properly.
Can I make this ahead of time?
Absolutely! The unbaked dough keeps in the fridge for 2 days or freezer for a month. Baked tart stays fresh at room temp for a day or refrigerated for 3 days.
What if I don’t have a tart pan?
No worries! A 9-inch pie dish works in a pinch – just expect a slightly thicker crust. For individual portions, use muffin tins (reduce baking time to 20-25 minutes).

Irresistible Spiced Pear Tart in Only 4 Simple Steps
- Total Time: 60 minutes
- Yield: 8 servings 1x
- Diet: Vegetarian
Description
A delicious spiced pear tart with a flaky crust and warm spices.
Ingredients
- 2 cups all-purpose flour
- 1/2 cup unsalted butter, chilled
- 1/4 cup cold water
- 4 ripe pears, peeled and sliced
- 1/2 cup granulated sugar
- 1 tsp cinnamon
- 1/2 tsp nutmeg
- 1/4 tsp cloves
- 1 tbsp lemon juice
Instructions
- Preheat oven to 375°F (190°C).
- Mix flour and butter until crumbly.
- Add water and form a dough.
- Roll dough and place in tart pan.
- Toss pears with sugar, spices, and lemon juice.
- Arrange pears on dough.
- Bake for 35-40 minutes.
- Cool before serving.
Notes
- Use firm pears for best results.
- Chill dough before rolling.
- Serve with whipped cream if desired.
- Prep Time: 20 minutes
- Cook Time: 40 minutes
- Category: Dessert
- Method: Baking
- Cuisine: French
Nutrition
- Serving Size: 1 slice
- Calories: 280
- Sugar: 18g
- Sodium: 5mg
- Fat: 12g
- Saturated Fat: 7g
- Unsaturated Fat: 4g
- Trans Fat: 0g
- Carbohydrates: 42g
- Fiber: 3g
- Protein: 3g
- Cholesterol: 30mg