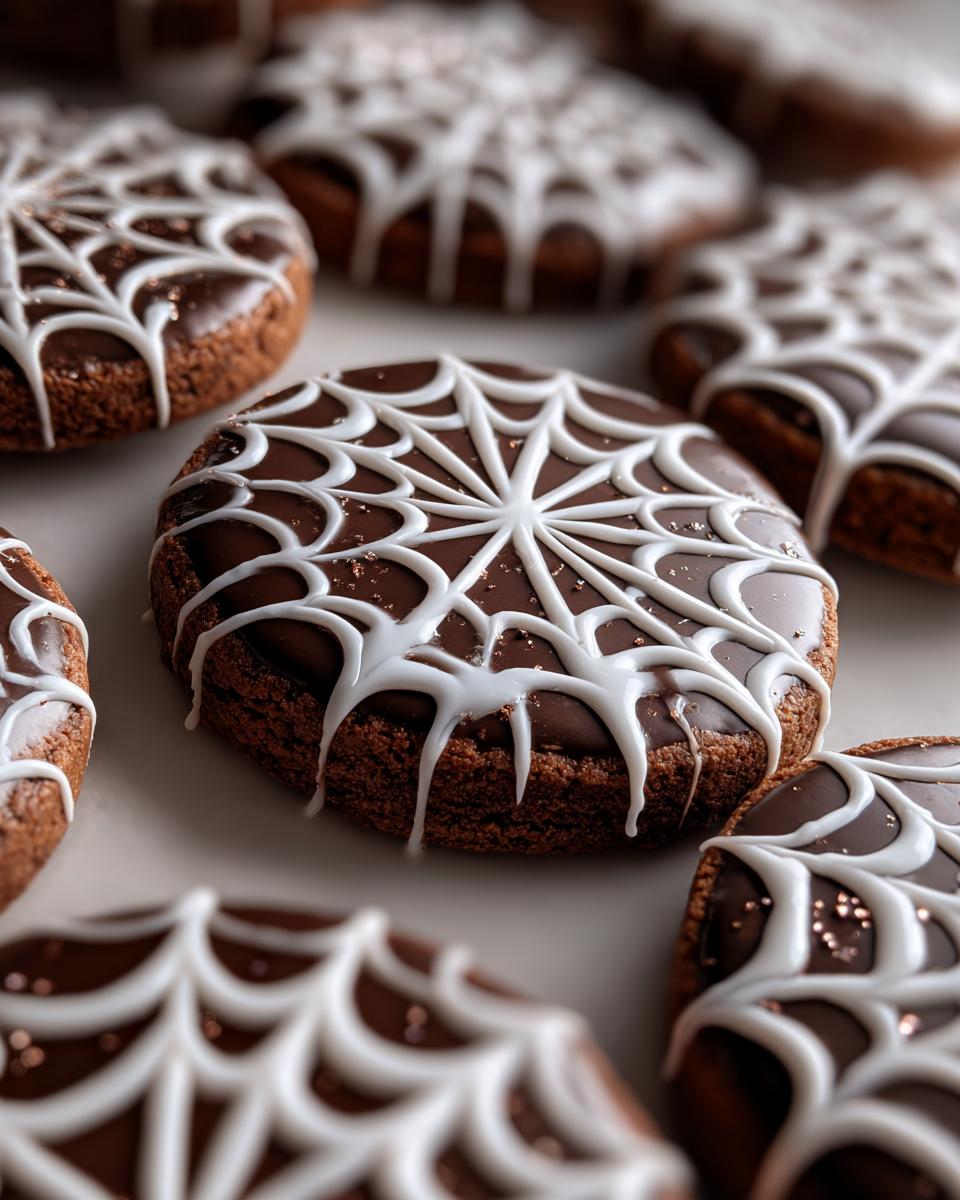
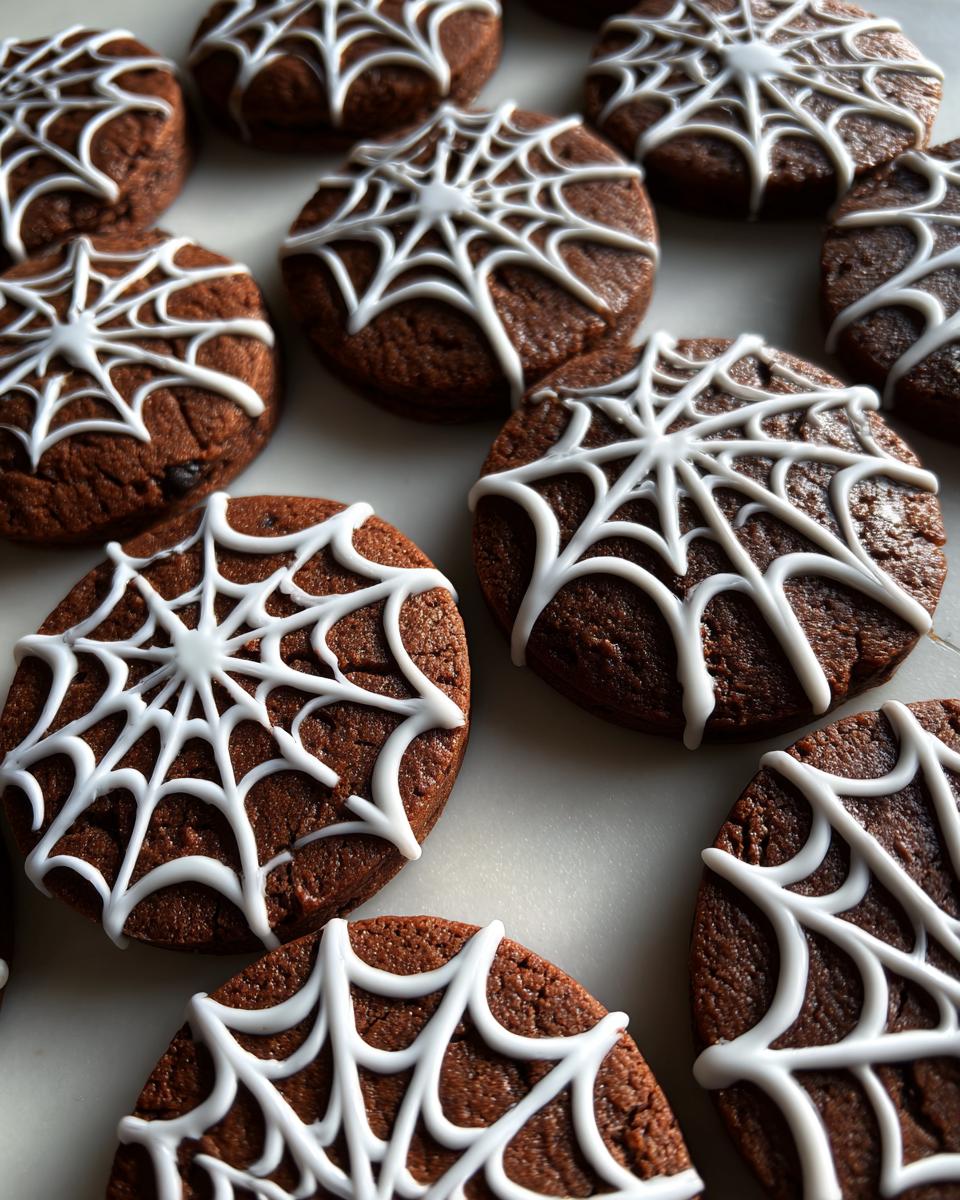
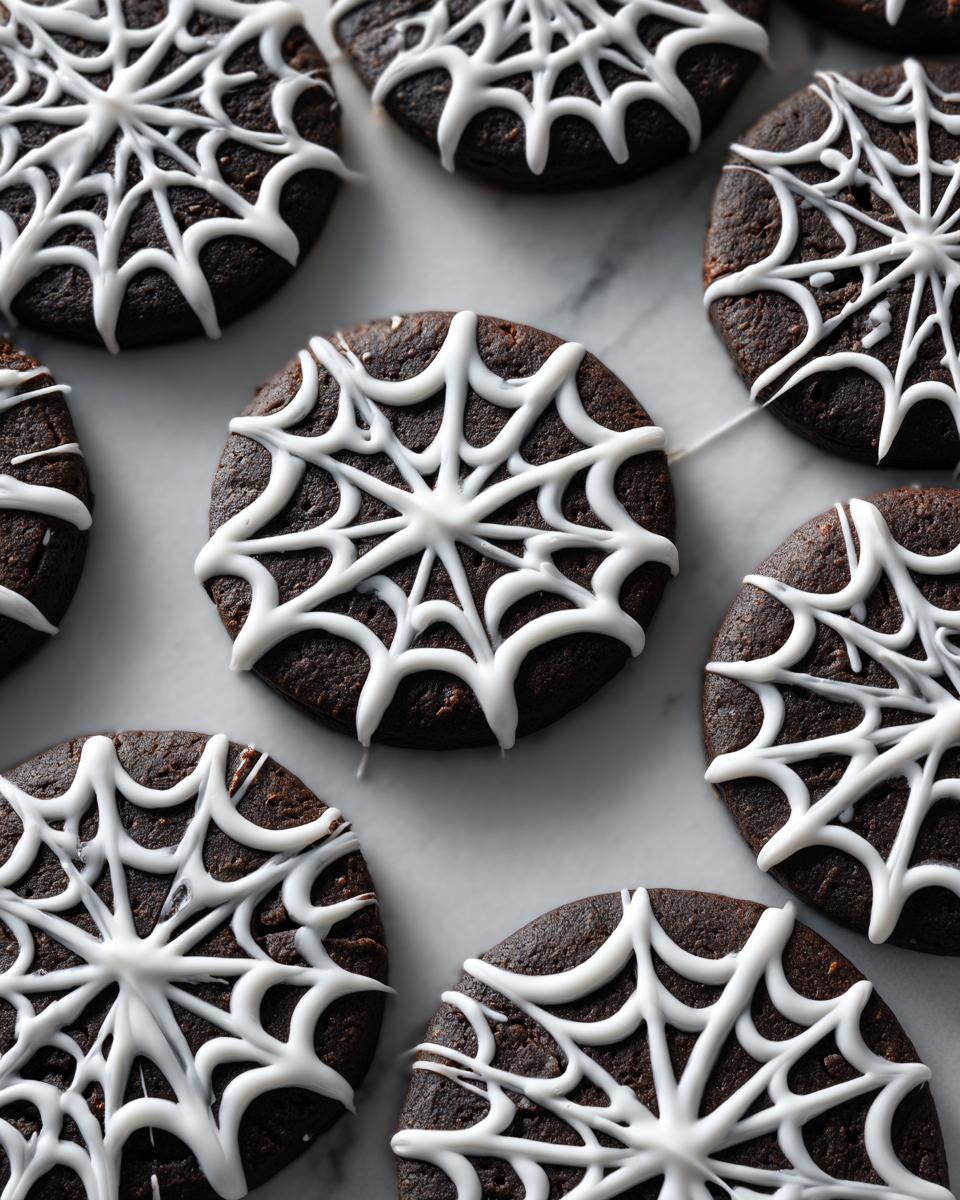
Every Halloween, my kitchen turns into a spooky baking lab, and these spider web iced cookies are always the star of the show. There’s something magical about transforming simple chocolate cookies into creepy-crawly masterpieces with just a drizzle of icing. I still remember the first time I made them – my nephew squealed when he saw the webs appearing before his eyes! The rich chocolate base pairs perfectly with the sweet vanilla icing, creating a treat that’s almost too pretty to eat (almost!).

What I love most is how these cookies manage to be impressive yet totally doable. Even if you’re not a piping pro, the web design is forgiving – those little “mistakes” just make your spiders look more realistic! They’ve become my go-to Halloween gift for neighbors, and I always stash a few extras because, trust me, you’ll want to keep some for yourself.
Why you’ll love these spider web cookies
- Super simple to make – no fancy skills needed
- The chocolate cookie base stays soft for days
- Kids go crazy for the spooky web design
- Perfect for Halloween parties or creepy cookie exchanges
- Icing mistakes just make them look more authentically spider-made!
Ingredients for Spider Web Iced Cookies
Gathering the right ingredients is half the magic for these spooky treats! Here’s what you’ll need for the chocolate cookies: 2 1/4 cups all-purpose flour (I always fluff mine before measuring), 1/2 cup cocoa powder (sift it if it’s lumpy – trust me, it makes a difference), 1 teaspoon baking powder, and 1/2 teaspoon salt. For the wet ingredients: 1 cup unsalted butter (softened but still cool to the touch – about 30 minutes out of the fridge), 1 cup granulated sugar, 1 large egg (room temperature blends better), and 1 teaspoon vanilla extract. The icing calls for 2 cups powdered sugar, 2 tablespoons milk (any kind works), 1/4 teaspoon vanilla, and a drop of black food coloring if you’re feeling extra spooky!
Ingredient Notes & Substitutions
No Dutch-process cocoa? Regular works fine here – the cookies just won’t be quite as dark. If you only have salted butter, just skip the added salt. For vegan versions, coconut oil replaces butter beautifully, and flax eggs work in a pinch. Don’t stress about the food coloring – skip it for pure white webs, or try activated charcoal for a natural black hue (though it’ll tint your icing slightly gray).
How to Make Spider Web Iced Cookies
Alright, let’s get spooky! First, preheat that oven to 350°F (175°C) and line your baking sheets with parchment paper – this keeps the bottoms from browning too fast. In a bowl, whisk together the flour, sifted cocoa powder (I just hold a fine mesh strainer over the bowl and tap it – so satisfying!), baking powder, and salt. Now grab your mixer and cream together the softened butter and sugar until it’s light and fluffy, about 2 minutes. Beat in the egg and vanilla until just combined.
Here’s where the magic happens: gradually add your dry ingredients to the wet mixture on low speed. The dough will come together beautifully – it should be soft but not sticky. If it clings to your fingers, wrap it in plastic and chill for 30 minutes (perfect time to clean up and sneak a chocolate chip or two).
Shaping and Baking the Cookies
Roll the dough between two sheets of parchment to about 1/4-inch thickness – any thinner and they might burn, any thicker and they won’t bake evenly. I use a standard 3-inch round cutter (a glass works in a pinch!), leaving about an inch between cookies on the sheet. Pro tip: dip your cutter in flour to prevent sticking! Bake for 10-12 minutes until the centers look set. They’ll continue firming up as they cool, so don’t wait for them to get dark – that bitter cocoa taste is no treat!

Creating the Spider Web Icing Design
While cookies cool completely (must be patient here or your webs will melt!), whisk together the powdered sugar, milk, and vanilla. You want it thick enough to hold its shape but thin enough to flow – when you lift the whisk, the ribbon should disappear after 5 seconds. Too thick? Add milk drop by drop. Too thin? More powdered sugar to the rescue! Transfer to a piping bag with a small round tip (or a zip-top bag with the corner snipped). Start with concentric circles, then use a toothpick to drag lines from center to edge – watch those webs appear! If you mess up? Wipe it off with a damp paper towel and try again. Even “failed” webs look intentionally creepy!
Tips for Perfect Spider Web Cookies
After countless batches (and a few “spider fails”), here are my hard-earned secrets: First, that dough texture is KEY – it should feel like Play-Doh, not sticking to your hands but still pliable. If it’s too soft, 30 minutes in the fridge works wonders. Second, your icing consistency makes or breaks the webs – aim for “honey thickness” that slowly drips off the spoon. And piping control? Practice on parchment first! My trick: hold the bag at a 45-degree angle and let the icing flow naturally – no squeezing! Store cooled cookies between wax paper layers so the webs don’t smudge.

Serving and Storing Spider Web Iced Cookies
These cookies steal the show on any Halloween dessert table – arrange them on a black platter with plastic spiders for extra creep factor! Store them in a single layer in an airtight container (I use tins with wax paper between layers) and they’ll stay fresh for up to 5 days. The icing actually gets slightly crisp overnight, making the webs even more dramatic!
Nutritional Information
Just so you know, these numbers are estimates – my grandmother never counted calories during Halloween! Each cookie has about 150 calories and 10g sugar. The cocoa adds a little fiber too, so that’s something!
FAQs About Spider Web Iced Cookies
Over the years, I’ve gotten so many questions about these cookies – here are the ones that pop up most often from fellow bakers!
Can I use melted butter instead of softened?
Oh honey, resist that shortcut! Melted butter makes the dough spread too thin – you’ll lose those perfect round shapes. If you forgot to soften yours, try this trick: cut cold butter into chunks and microwave at 50% power in 5-second bursts, flipping between each.
Why did my icing web disappear into the cookie?
Been there! This happens when cookies are still warm (even slightly). Let them cool completely – I wait at least an hour. Another culprit could be icing that’s too thin. Test a small spot first – if it soaks in, stir in more powdered sugar 1 tablespoon at a time.
Can I use food coloring in the cookie dough?
Absolutely! For extra-spooky black cookies, add 1 teaspoon black gel coloring when creaming the butter. But heads up – they’ll look more gray than black after baking. For true darkness, use black cocoa powder instead of regular.
Can I Make These Cookies Ahead?
Yes! The dough keeps wrapped tightly for 3 days in the fridge or 3 months frozen (thaw overnight before rolling). Baked cookies (without icing) freeze beautifully too – just layer with parchment in an airtight container. Icing? Make it fresh – it only takes 5 minutes!
How Do I Get Crisp Icing Lines?
The secret’s in the thickness! Your icing should be like honey – dip a spoon, then count: if the ribbon disappears in under 5 seconds, it’s too thin. Piping bags give you control, but a squeeze bottle works in a pinch. Mess up? Let it dry completely, then gently scrape off with a knife.
Share Your Creations!
I’d love to see your spooky cookie masterpieces! Tag me @HalloweenBaker so I can ooh and ahh over your spider web designs. Nothing makes me happier than seeing all the creepy-crawly variations folks come up with!
Print
Creepy Spider Web Iced Cookies Kids Devour in 2 Bites
- Total Time: 32 minutes
- Yield: 24 cookies 1x
- Diet: Vegetarian
Description
Spider web iced cookies are a perfect spooky treat for Halloween. These cookies feature a chocolate base with a white icing web design.
Ingredients
- 2 1/4 cups all-purpose flour
- 1/2 cup cocoa powder
- 1 tsp baking powder
- 1/2 tsp salt
- 1 cup unsalted butter, softened
- 1 cup granulated sugar
- 1 large egg
- 1 tsp vanilla extract
- 2 cups powdered sugar
- 2 tbsp milk
- 1/4 tsp vanilla extract
- Black food coloring (optional)
Instructions
- Preheat oven to 350°F (175°C). Line baking sheets with parchment paper.
- In a bowl, whisk flour, cocoa powder, baking powder, and salt.
- Cream butter and sugar until light and fluffy. Beat in egg and vanilla.
- Gradually mix in dry ingredients until dough forms.
- Roll dough to 1/4-inch thickness and cut into circles. Bake for 10-12 minutes. Cool completely.
- Mix powdered sugar, milk, and vanilla to make icing. Drizzle over cookies in a web pattern.
Notes
- Chill dough for 30 minutes if too soft.
- Use a piping bag for clean web designs.
- Store cookies in an airtight container for up to 5 days.
- Prep Time: 20 minutes
- Cook Time: 12 minutes
- Category: Dessert
- Method: Baking
- Cuisine: American
Nutrition
- Serving Size: 1 cookie
- Calories: 150
- Sugar: 10g
- Sodium: 50mg
- Fat: 7g
- Saturated Fat: 4g
- Unsaturated Fat: 2g
- Trans Fat: 0g
- Carbohydrates: 20g
- Fiber: 1g
- Protein: 2g
- Cholesterol: 20mg


