You know those mornings when you want something cozy, wholesome, and just a little bit special? That’s exactly why I fell in love with sweet potato waffles. They’re like a warm hug on a plate—naturally sweet, packed with nutrients, and ridiculously easy to whip up. The first time I made them, my kitchen smelled like autumn, and my kids (who usually turn up their noses at anything orange) devoured them in minutes. The secret? Using leftover roasted sweet potatoes for extra depth of flavor. Whether you’re craving a weekend treat or a sneaky way to add veggies to breakfast, these waffles never disappoint.

Why You’ll Love These Sweet Potato Waffles
Listen, I don’t say this lightly—these waffles might just become your new breakfast obsession. Here’s why:
- Perfect texture, every time: Crispy on the outside, fluffy on the inside. No sad, soggy waffles here—just golden, buttery perfection.
- Naturally sweet (no sugar overload!): The sweet potatoes bring just the right amount of caramel-like sweetness, so you can skip the syrup if you want (but honestly, why would you?).
- Ready in a flash: If you’ve got mashed sweet potatoes ready (leftovers are gold here), you’re 10 minutes away from warm waffles. Even my “I’m starving” toddler can wait that long.
- Sneaky-good for you: Sweet potatoes pack in fiber, vitamins, and that gorgeous orange color—way more exciting than plain old flour waffles.
- Kid-approved magic: My pickiest eater thinks they’re eating “special orange waffles.” Joke’s on him—he’s getting veggies before 8 AM.
Seriously, once you try these, regular waffles will taste… well, boring. You’ve been warned!
Sweet Potato Waffles Ingredients
Gather these simple ingredients—you probably have most in your pantry already! The magic happens when these humble players come together:
- 1 cup mashed sweet potatoes (cooled to room temp—hot potatoes will scramble your eggs!)
- 1 ½ cups all-purpose flour (spooned and leveled, not packed)
- 2 teaspoons baking powder (check the date—old baking powder = flat waffles)
- ½ teaspoon salt (trust me, it balances the sweetness perfectly)
- 1 teaspoon cinnamon (the secret spice that makes it smell like heaven)
- 2 large eggs (lightly beaten—I crack mine right into the wet mix)
- 1 cup milk (whole milk makes them extra rich, but any kind works)
- 2 tablespoons melted butter (slightly cooled—save that wrapper for greasing the iron!)
- 1 tablespoon honey (or more if you like it sweeter—no judgment here)
Ingredient Notes & Substitutions
Life happens—here’s how to adapt without sacrificing flavor:
- Sweet potatoes: Canned puree works in a pinch (drain excess liquid first), but roasted leftovers taste best. No sweet potatoes? Try pumpkin puree for a fun twist!
- Milk: Dairy-free? Almond, oat, or coconut milk blend right in. Just avoid anything too thin (looking at you, rice milk).
- Honey: Swap for maple syrup, agave, or even brown sugar if needed. Just adjust to taste—the sweet potatoes already do heavy lifting.
- Flour: For gluten-free, use a 1:1 GF blend. I’ve had great luck with King Arthur’s mix.
Pro tip: Measure your flour correctly! Too much = dense waffles. Spoon it into the cup, then level with a knife. Your future crispy waffles will thank you.
How to Make Sweet Potato Waffles
Alright, let’s get cooking! The key to perfect sweet potato waffles is keeping things simple and not overthinking it. I’ve burned enough waffles in my day to know—this method works like a charm. Just follow these steps, and you’ll be flipping golden waffles in no time.
Step 1: Prep the Batter
First things first: Preheat your waffle iron while you mix. A hot iron = crispier edges (and nobody likes a pale, floppy waffle).
Now, grab two bowls—one for dry, one for wet. In the first bowl, whisk together:
- Flour
- Baking powder
- Salt
- Cinnamon
In the second bowl, whisk the wet team:
- Mashed sweet potatoes (cooled—hot ones will cook your eggs!)
- Eggs
- Milk
- Melted butter
- Honey
Now, pour the wet ingredients into the dry. Here’s the secret: stop mixing when you still see a few flour streaks. A lumpy batter means tender waffles. Overmix, and you’ll end up with something closer to cardboard. Trust me on this.
Step 2: Cook to Perfection
Okay, time to work that waffle iron! Give it a quick spray or brush with butter (I use the butter wrapper—zero waste, maximum flavor). Pour about ½ cup batter per waffle (or follow your iron’s guidelines—some like more or less).

Close the lid and resist the urge to peek. Seriously, walk away for 3-4 minutes. When steam stops pouring out the sides and your kitchen smells like a cinnamon roll factory, check for golden-brown perfection. If it’s sticking, give it another 30 seconds.
Carefully lift the waffle out (tongs are your friend here) and repeat. Pro tip: Keep finished waffles warm in a 200°F oven while you cook the rest. They’ll stay crisp while you argue with your family over who gets the first one.
See? Easy as (sweet potato) pie. Now, let’s talk toppings…
Tips for the Best Sweet Potato Waffles
After making approximately a zillion batches of these waffles (okay, maybe just dozens), I’ve learned a few tricks that take them from good to “can I have your recipe?” level. Here’s what makes all the difference:
- Cool your sweet potatoes first: Hot mashed sweet potatoes will turn your batter into scrambled eggs—not the vibe we’re going for. Spread them on a plate to cool fast, or use leftovers from last night’s dinner (my lazy hack).
- Grease like you mean it: Even “nonstick” waffle irons can betray you. Butter the grids between every batch—I use the wrapper from my melted butter for this. Crispy edges guaranteed.
- Serve ‘em hot off the press: These waffles are at peak crispiness straight from the iron. If you must wait, keep them single-layer on a baking rack in a 200°F oven—never stacked (unless you like sweaty waffles).
- Don’t overfill the iron: That tempting urge to pour extra batter? Resist! Overflow means messy cleanup and uneven cooking. Stick to ½ cup max (or your iron’s recommended amount).
Bonus confession: Sometimes I double the batch and freeze extras. Pop ‘em in the toaster for instant weekday wins—because adulting is hard before coffee.
Serving Suggestions for Sweet Potato Waffles
Here’s where the real fun begins—dressing up your sweet potato waffles! The beauty of these golden beauties is how perfectly they play with both sweet and savory flavors. I’ve lost count of how many combinations I’ve tried over the years (my family calls it my “waffle lab phase”), but these are the winners that keep us coming back for more.
Sweet Toppings That Shine
- Maple syrup + toasted pecans: My absolute go-to. The maple’s deep sweetness and the pecans’ crunch? Perfection. Bonus points if you warm the syrup first.
- Greek yogurt + honey drizzle: Sounds fancy, but it’s just dollops of yogurt, honey, and maybe some granola. Makes me feel virtuous even when eating waffles.
- Whipped cream + apple compote: My autumn special—tart apples simmered with cinnamon spooned over clouds of cream. The kids go wild for this one.
- Peanut butter + banana slices: Elvis would approve. The peanut butter melts into the waffle’s nooks, and the bananas add fresh sweetness.
Savory Twists That Wow
Don’t tell the breakfast police—I eat these for dinner at least once a week. The sweet potato base pairs beautifully with:
- Fried egg + hot sauce: Runny yolk becomes instant sauce. The sweet-spicy combo? Life-changing.
- Avocado + everything bagel seasoning: Creamy avocado on crispy waffles with those salty, garlicky bits? Yes please.
- Pulled pork + coleslaw: My Southern grandma’s hack—pile leftovers on waffles for the ultimate brunch sandwich.
- Goat cheese + balsamic glaze: Fancy-pants lunch right here. The tangy cheese cuts through the waffle’s sweetness.

Last tip: Let people build their own! I set out bowls of toppings for Sunday brunch—watching my nephew mix chocolate chips with bacon was a revelation. There are no wrong answers here, just delicious experiments.
Storing and Reheating Sweet Potato Waffles
Let’s be real—you might not have leftovers (my family certainly never does), but just in case, here’s how to keep those sweet potato waffles tasting fresh for round two. Because cold waffles should still be delicious, not sad and rubbery.
Keeping Them Fresh
First rule: Let your waffles cool completely before storing—no steam allowed in that container! I lay them in a single layer on a cooling rack (no stacking!) until they’re room temp. Then:
- Fridge (3 days): Slide them into an airtight container with parchment between layers. Those cute little wax paper squares? Perfect for preventing waffle-on-waffle stickage.
- Freezer (1 month): For longer storage, freeze individually on a baking sheet first (about 1 hour), then transfer to a freezer bag. This “flash freeze” trick stops them from becoming one giant waffle brick. Write the date—future you will thank past you.
Reheating Like a Pro
Now, the magic trick—bringing them back to crispy perfection:
- Toaster: My weekday hero. Pop frozen waffles straight in (no thawing needed!) on medium setting. They’ll come out nearly as crisp as fresh—just watch for sugary toppings that might drip (learned that the hard way).
- Oven: For a bigger batch, spread waffles on a baking sheet at 350°F for 5-8 minutes (10 if frozen). Bonus: Brush with melted butter halfway through for extra crunch.
- Air fryer (game changer!): 3 minutes at 375°F makes them impossibly crispy. Works even better than my waffle iron sometimes—don’t tell anyone I said that.
Microwave warning: Only do this if you’re okay with soft waffles (great for kids). 30 seconds with a damp paper towel helps, but they’ll never get that signature crunch back.
Pro tip: Freeze waffles with parchment squares between them—then grab just one or two for quick breakfasts. My kids love “waffle popsicles” straight from the freezer to the toaster on busy mornings. Parenting win!
Sweet Potato Waffles FAQs
Over the years, I’ve gotten so many questions about these waffles—some from friends, some from my kids (“Why are they orange?!”), and some from my own kitchen experiments gone wild. Here are the answers to the most common head-scratchers:
Can I use canned sweet potatoes?
Absolutely! Just drain them well—canned puree tends to be wetter than homemade. Squeeze it in a clean towel or press through a fine mesh strainer to remove excess liquid. Pro tip: Look for cans labeled “100% sweet potato” without added syrups or sugars for the best flavor.
How do I make these gluten-free?
Easy swap! Use a 1:1 gluten-free flour blend (I love King Arthur’s or Bob’s Red Mill). The batter might be slightly thicker, so add an extra tablespoon of milk if needed. For extra crispiness, let the batter sit 5 minutes before cooking—GF flours absorb liquid slower.
Why won’t my waffles get crispy?
Three likely culprits: 1) Not enough butter/oil on the iron (grease like you’re buttering toast), 2) Overcrowding the batter (less is more!), or 3) Peeking too soon—wait until steam stops pouring out. Also, older baking powder loses its oomph—check the expiration date!
Can I prep the batter ahead?
You can mix dry and wet ingredients separately overnight, but combine them right before cooking. Sitting batter = flat waffles. Exception: For fluffier texture, let mixed batter rest 10 minutes while the iron heats—this activates the baking powder.
Are these freezer-friendly?
Oh yes—they freeze like champs! Cool completely, then layer between parchment in a freezer bag. Reheat frozen waffles straight in the toaster (no thawing!) for 2 cycles. My freezer stash has saved many rushed mornings (and midnight snack emergencies).
Nutritional Information
Okay, let’s talk numbers—but keep in mind, these are just ballpark figures based on my kitchen escapades. Your sweet potato waffles might dance a little differently depending on your exact ingredients (like how much honey you drizzled in or whether you went wild with the butter). Here’s the general scoop per waffle:
Calories: Around 220
Fiber: 3g (thanks, sweet potatoes!)
Protein: 6g (not bad for breakfast!)
Natural sugars: 8g (no refined sugar added—just the good stuff from the sweet potatoes and honey)
Important note: These values are estimates only—your mileage may vary based on ingredient brands, substitutions, or whether you smother your waffle in half a jar of peanut butter (no judgment from me). For exact numbers, plug your specific ingredients into a nutrition calculator. But honestly? Some mornings, delicious comfort wins over precision. Enjoy every bite!


10-Minute Sweet Potato Waffles: The Ultimate Comfort Brunch
- Total Time: 25 minutes
- Yield: 4 waffles 1x
- Diet: Vegetarian
Description
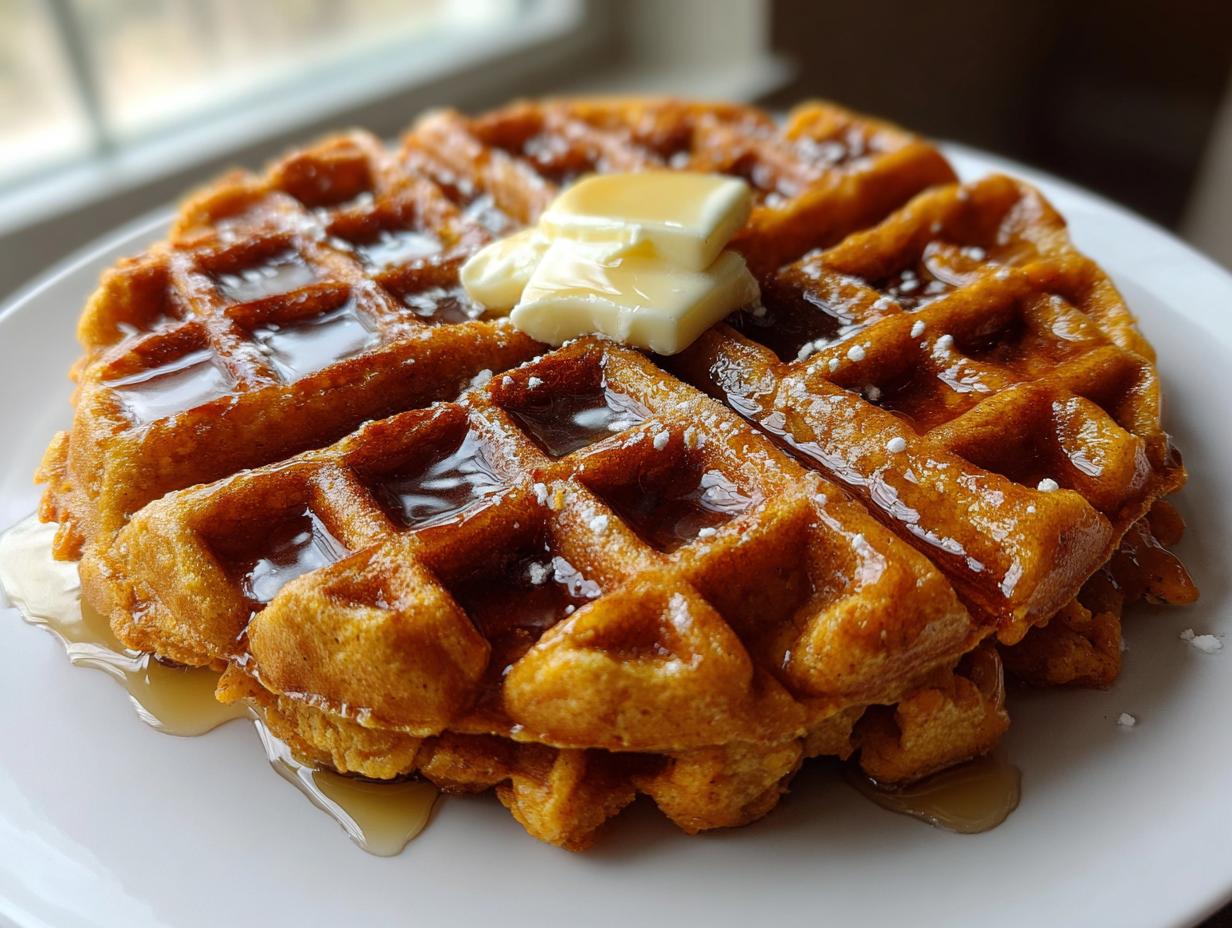
Sweet potato waffles are a nutritious and delicious twist on traditional waffles. They combine the natural sweetness of sweet potatoes with a crispy exterior and fluffy interior.
Ingredients
- 1 cup mashed sweet potatoes
- 1 1/2 cups all-purpose flour
- 2 teaspoons baking powder
- 1/2 teaspoon salt
- 1 teaspoon cinnamon
- 2 large eggs
- 1 cup milk
- 2 tablespoons melted butter
- 1 tablespoon honey
Instructions
- Preheat your waffle iron.
- Mix dry ingredients in a bowl.
- Whisk wet ingredients in another bowl.
- Combine wet and dry ingredients.
- Pour batter onto the waffle iron.
- Cook until golden brown.
- Serve warm.
Notes
- Use cooled mashed sweet potatoes.
- Adjust honey to taste.
- Store leftovers in an airtight container.
- Prep Time: 10 minutes
- Cook Time: 15 minutes
- Category: Breakfast
- Method: Waffle Iron
- Cuisine: American
Nutrition
- Serving Size: 1 waffle
- Calories: 220
- Sugar: 8g
- Sodium: 320mg
- Fat: 7g
- Saturated Fat: 4g
- Unsaturated Fat: 2g
- Trans Fat: 0g
- Carbohydrates: 34g
- Fiber: 3g
- Protein: 6g
- Cholesterol: 65mg