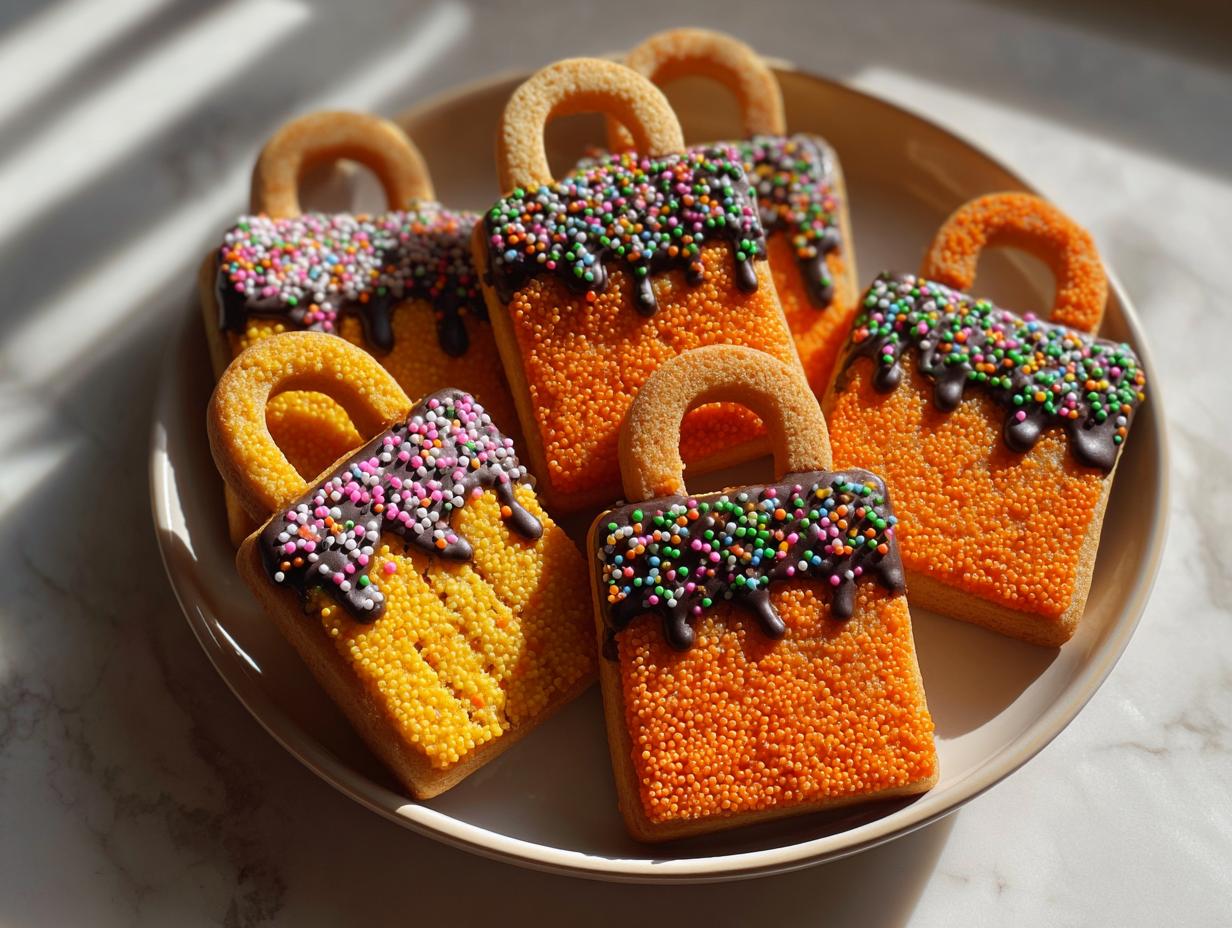
Nothing screams Halloween like homemade treats that look as fun as they taste! My obsession with Trick-or-Treat Bag Cookies started years ago when my niece begged me to make something “spook-tacular” for her class party. I’ll never forget the kids’ faces when they saw these edible candy bags – their eyes lit up brighter than jack-o’-lanterns! These buttery cookies are my favorite way to celebrate the season, with their festive sprinkle tops and chocolate-drawn details. They’re easier than you’d think, but look impressively professional. Every year now, my kitchen turns into a cookie factory come October, and I wouldn’t have it any other way.

Why You’ll Love These Trick-or-Treat Bag Cookies
These aren’t just cookies – they’re edible Halloween magic! Here’s why they’ll become your new seasonal staple:
- Instant festive vibes: The trick-or-treat bag shape with colorful sprinkles screams Halloween party-ready
- Decorator’s dream: Melted chocolate lets you get creative – draw spiderwebs, ghosts, or simple “BOO!” messages
- Kid-approved fun: Little hands love pressing in the sprinkles (though they might “disappear” a few!)
- Better than store-bought: That homemade buttery taste beats plastic-wrapped treats every time
Honestly? The hardest part is not eating them all while you decorate!
Ingredients for Trick-or-Treat Bag Cookies
Gathering these simple ingredients is like assembling a little Halloween magic potion – each one plays a special role in creating those perfect edible candy bags. Here’s everything you’ll need:
- 1 cup unsalted butter, softened (I leave mine out for exactly 37 minutes – yes, I timed it!)
- 1 cup granulated sugar (pack it lightly – no cement-like sugar here)
- 1 large egg (room temperature blends smoother)
- 1 tsp vanilla extract (the good stuff makes all the difference)
- 3 cups all-purpose flour (measured correctly – spoon and level, don’t scoop!)
- 1/2 tsp baking powder (freshness matters – check your date)
- 1/2 tsp salt (my secret? A tiny pinch more for balance)
- Assorted Halloween-colored sprinkles (the more colors, the better!)
- 1 cup chocolate chips or candy melts (for decorating – I prefer dark chocolate’s contrast)
See? Nothing weird or complicated – just good old-fashioned baking staples transformed into something spook-tacular!
Equipment You’ll Need
Before we dive into the fun part, let’s round up our baking “broomsticks” – these tools make the magic happen:
- Stand mixer or hand mixer (or strong arms and a wooden spoon!)
- Large mixing bowls (one for wet, one for dry – no cross-contaminating!)
- Trick-or-treat bag cookie cutter (or freehand it with a knife if you’re feeling crafty)
- Baking sheets (line them with parchment – trust me on this)
- Rolling pin (or an empty wine bottle in a pinch – we’ve all been there)
- Piping bag or zip-top bag (for those fancy chocolate details)
That’s it! No fancy gadgets required – just the basics every baker should have.
How to Make Trick-or-Treat Bag Cookies
Ready to turn your kitchen into a Halloween bakery? These Trick-or-Treat Bag Cookies come together in three simple phases – dough magic, cookie sculpting, and the best part: decorating! Follow these steps and you’ll have edible candy bags that’ll steal the show at any Halloween gathering.
Preparing the Dough
This is where the cookie magic begins! Start by creaming together your softened butter and sugar until it’s light and fluffy – about 2 minutes with a mixer. You’ll know it’s ready when it looks like pale yellow clouds. Beat in the egg and vanilla until fully incorporated.
In another bowl, whisk together your dry ingredients – flour, baking powder, and that secret pinch of salt. Gradually add this to your butter mixture, mixing just until combined. The dough should come together nicely without being sticky. If it feels too soft (especially if your kitchen is warm), pop it in the fridge for 30 minutes – this makes rolling much easier!
Shaping and Baking the Cookies
Flour your surface lightly and roll the dough to about 1/4-inch thickness – too thin and they’ll crisp up too much. Use your trick-or-treat bag cookie cutter to make shapes, pressing firmly. Transfer these to parchment-lined baking sheets, leaving about an inch between cookies.
Now the fun part! Press sprinkles into each cookie before baking – I like to mix colors randomly for that “candy explosion” look. Bake at 350°F for 10-12 minutes until the edges just start turning golden. They’ll still be soft when hot but firm up perfectly as they cool.

Decorating Trick-or-Treat Bag Cookies
Once completely cooled, it’s time for the signature details! Melt your chocolate or candy melts gently (I microwave in 30-second bursts, stirring between). Transfer to a piping bag or zip-top bag with a tiny corner snipped off. Now get creative! Draw simple “stitches” along the top edge to resemble a candy bag, or add spooky faces. Let the chocolate set before stacking – about 20 minutes at room temperature.
Pro tip: If your chocolate is too thick, add a tiny bit of vegetable oil to make it more pipeable. For extra flair, use white chocolate for some cookies and dark for others – the contrast looks amazing on a party platter!
Tips for Perfect Trick-or-Treat Bag Cookies
After making thousands of these cookies (seriously, my neighbors think I’m obsessed), I’ve learned a few tricks to guarantee picture-perfect results every time:
- Chill sticky dough: If your dough feels too soft after mixing, wrap it in plastic and refrigerate for 30 minutes – it’ll roll out like a dream
- Parchment is your friend: No more stuck cookies ruining your Halloween spirit
- Sprinkle strategy: Press sprinkles gently but firmly so they don’t fall off during baking
- Cool completely: Decorating warm cookies leads to melty chocolate disasters – patience pays off!
Oh, and hide a few for yourself before the kids find them – trust me on this one!
Ingredient Substitutions & Notes
Baking emergencies happen – here’s how to adapt without sacrificing those perfect Trick-or-Treat Bag Cookies:
- Butter: Margarine works in a pinch, but your cookies might spread more. For best results, stick with real butter
- Flour: Gluten-free 1:1 blends work surprisingly well, though cookies may be slightly more delicate
- Sugar: Light brown sugar adds a caramel note, but reduce to 3/4 cup to avoid over-sweetness
- Egg-free: Try 1/4 cup applesauce, but expect a cakier texture
Remember: every change affects the final result, so adjust expectations accordingly!
Storing and Freezing Trick-or-Treat Bag Cookies
These cookies disappear fast, but when you need to stash some away (or hide them from sneaky hands!), here’s how: Store cooled cookies in an airtight container at room temperature for up to 5 days – layer them with parchment to protect decorations. For longer storage, freeze undecorated cookies for up to 3 months; thaw at room temperature before decorating. The chocolate details might lose a tiny bit of shine after freezing, but they’ll still taste amazing!
Nutritional Information
Nutritional values are estimates and vary based on ingredients used – these are treats meant for enjoying, not counting!
FAQs About Trick-or-Treat Bag Cookies
Got questions about these spooky sweet treats? I’ve answered all the most common ones below – straight from years of Halloween baking experience!
Can I use store-bought cookie dough?
You can, but honestly? The homemade version tastes so much better! Store-bought dough often spreads too much and lacks that perfect buttery flavor. If you’re in a pinch, look for sugar cookie dough and roll it slightly thicker before cutting.
How long do these cookies last?
Stored properly in an airtight container, they stay fresh for about 5 days at room temperature. The chocolate decorations might lose a tiny bit of shine after day 3, but they’ll still taste delicious!
Can kids help decorate?
Absolutely! This is one of my favorite kid-friendly baking projects. Little ones love pressing in the sprinkles, and older kids can practice piping chocolate designs. Just keep the melted chocolate at a safe temperature.
What if I don’t have a cookie cutter?
No worries! You can freehand cut bag shapes with a knife, or use any Halloween cutter you have – pumpkins, ghosts, or bats would look adorable too. The decorating is what makes them special!
Share Your Halloween Creations
I’d love to see your spooky cookie masterpieces! Tag me in your photos or leave a comment below – nothing makes me happier than seeing other bakers’ Halloween creations!
Print
Spooky Trick-or-Treat Bag Cookies Kids Adore in 3 Steps
- Total Time: 32 minutes
- Yield: 24 cookies 1x
- Diet: Vegetarian
Description
Fun and festive cookies shaped like trick-or-treat bags, perfect for Halloween celebrations.
Ingredients
- 1 cup unsalted butter, softened
- 1 cup granulated sugar
- 1 large egg
- 1 tsp vanilla extract
- 3 cups all-purpose flour
- 1/2 tsp baking powder
- 1/2 tsp salt
- Assorted Halloween-colored sprinkles
- 1 cup chocolate chips or candy melts for decorating
Instructions
- Preheat your oven to 350°F (175°C). Line baking sheets with parchment paper.
- In a large bowl, cream the butter and sugar until light and fluffy.
- Beat in the egg and vanilla extract.
- In a separate bowl, whisk together the flour, baking powder, and salt.
- Gradually add the dry ingredients to the wet mixture, mixing until combined.
- Roll out the dough on a floured surface and cut into bag shapes using a cookie cutter.
- Place cookies on the prepared baking sheets and decorate with sprinkles.
- Bake for 10-12 minutes or until edges are lightly golden.
- Let cool completely before decorating with melted chocolate or candy melts to resemble trick-or-treat bags.
Notes
- Chill the dough for 30 minutes if it’s too sticky to handle.
- Use Halloween-themed cookie cutters for festive shapes.
- Store cookies in an airtight container for up to 5 days.
- Prep Time: 20 minutes
- Cook Time: 12 minutes
- Category: Dessert
- Method: Baking
- Cuisine: American
Nutrition
- Serving Size: 1 cookie
- Calories: 150
- Sugar: 10g
- Sodium: 50mg
- Fat: 7g
- Saturated Fat: 4g
- Unsaturated Fat: 2g
- Trans Fat: 0g
- Carbohydrates: 20g
- Fiber: 0.5g
- Protein: 2g
- Cholesterol: 20mg