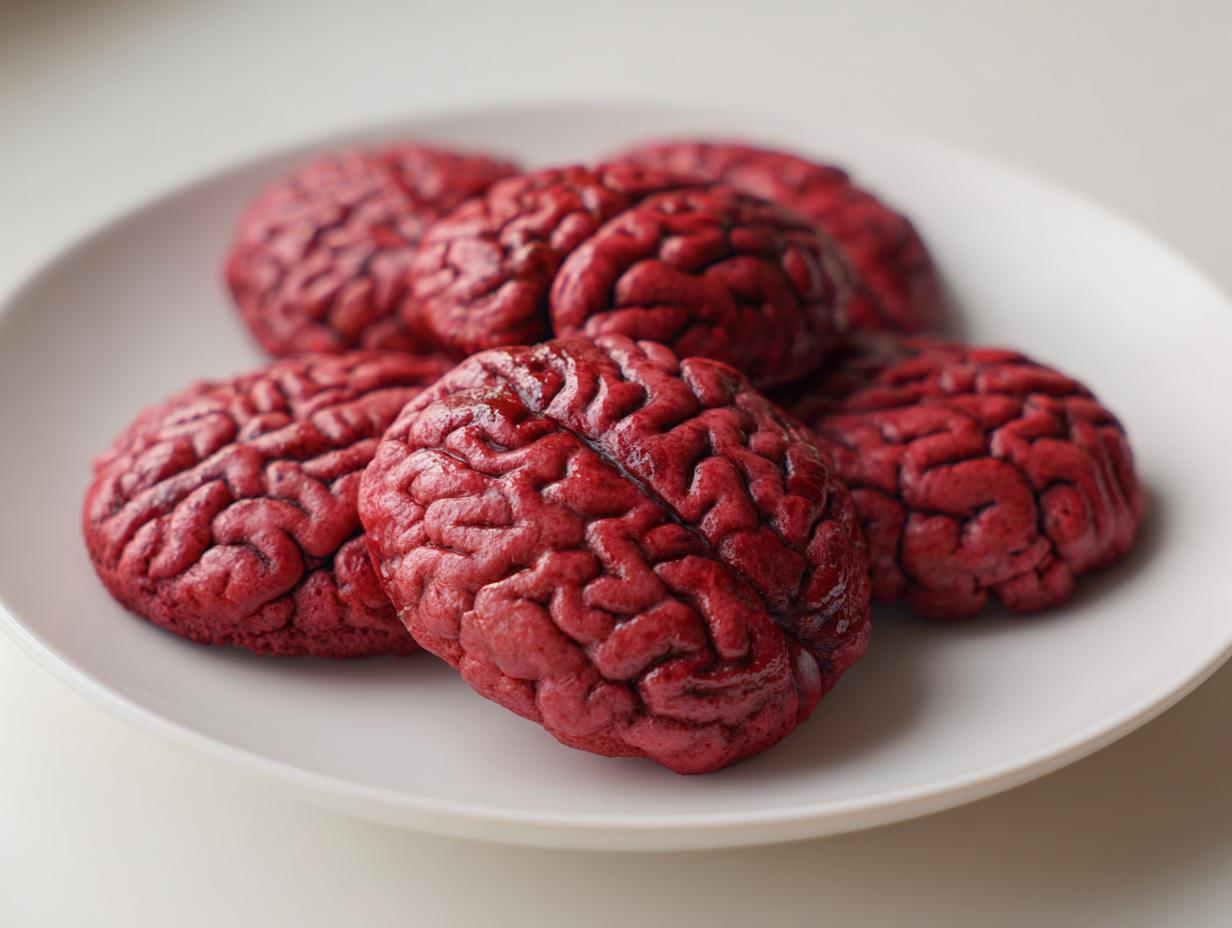
Let me tell you about the Halloween party where my Zombie Brain Cookies became the star of the show! Picture this: I was scrambling last-minute for a spooky dessert that would actually impress, when it hit me – creepy, brain-shaped cookies with a vibrant red hue that looks straight out of a zombie flick. These aren’t just any cookies – they’re playful, slightly gross (in the best way possible), and totally irresistible. The best part? They’re simple sugar cookies in disguise! When I brought these to the party, grown adults were giggling like kids while nibbling on “brain matter.” Trust me, nothing gets people into the Halloween spirit quite like edible zombie parts!

Ingredients for Zombie Brain Cookies
Gather these simple pantry staples – you probably have most already! The magic happens when ordinary ingredients transform into something delightfully creepy. Here’s what you’ll need:
- 2 1/4 cups all-purpose flour (spooned and leveled, please!)
- 1/2 teaspoon baking powder
- 1/4 teaspoon salt
- 3/4 cup unsalted butter, softened (that’s 1 1/2 sticks)
- 3/4 cup granulated sugar
- 1 large egg (room temperature works best)
- 1 teaspoon vanilla extract
- Red food coloring (I swear by gel for intense color)
See? Nothing too scary here – just classic cookie ingredients waiting to become zombie brains!
How to Make Zombie Brain Cookies
Now for the fun part – turning dough into delicious zombie brains! Follow these steps carefully, and you’ll have creepy cookies that’ll steal the show at any Halloween gathering:
- Preheat your oven to 350°F (175°C). Line your baking sheets with parchment paper – trust me, you’ll thank me later when the brains slide right off!
- In a medium bowl, whisk together the flour, baking powder, and salt. This dry team needs to be well acquainted before meeting the wet ingredients.
- In a large bowl, cream the butter and sugar until light and fluffy (about 3 minutes with an electric mixer). This is where the magic starts – don’t rush it!
- Beat in the egg and vanilla until fully incorporated. The mixture should look smooth and velvety.
- Gradually add the dry ingredients to the wet, mixing until just combined. Overmixing makes tough brains – and zombies prefer tender ones!
- Now for the gross-out factor! Divide the dough and knead in red food coloring until you achieve that perfect bloody brain hue. Gel coloring gives the most realistic results.

Shaping the Zombie Brains
Here’s where your inner artist shines! Pinch off small portions (about 1 tablespoon) and roll into rope-like strands. Twist and curl them into brain-like shapes on your prepared baking sheets. If the dough gets too sticky, pop it in the fridge for 15 minutes – cold dough is much easier to work with!
Baking and Cooling
Slide your zombie brains into the oven and bake for 10-12 minutes. You want them firm but not browned – we’re going for freshly risen-from-the-grave color here! Let them cool completely on the baking sheets before handling. The parchment paper makes removal a breeze and keeps those delicate brain shapes intact.
Tips for Perfect Zombie Brain Cookies
After making dozens of batches (and eating almost as many!), here are my tried-and-true tricks for zombie cookie success:
- Gel food coloring is your best friend – it gives that deep, bloody red color without making the dough sticky like liquid dyes.
- If your dough feels too soft, chill it for 20-30 minutes – cold dough holds those brain shapes perfectly!
- For extra creepy details, use a toothpick to carve “veins” into the shaped cookies before baking.
- Store leftovers (if you have any!) in an airtight container – they’ll stay fresh for up to 3 days.
- Want brains that look freshly dug up? Lightly dust cooled cookies with cocoa powder for a “dirt” effect!
Remember – the messier and more irregular your brain shapes look, the more authentic they’ll appear. Perfect imperfection is what makes these cookies so delightfully gross!
Zombie Brain Cookies Variations
Want to take your zombie brains to the next level? Here are my favorite ways to make them even creepier! Try mixing in a touch of green food coloring for a “rotting brain” effect – the subtle green streaks look disgustingly realistic. For extra texture, dip half of each cooled cookie in white chocolate or drizzle with red icing “blood.” My nephew loves when I add mini chocolate chip “bugs” crawling through the brain folds. The best part? These variations are just as easy as the original – just a little extra Halloween magic!

Serving and Storing Zombie Brain Cookies
Presentation is everything with these gruesome goodies! I love serving my Zombie Brain Cookies piled high on a black platter with plastic spiders crawling through them – it gets screams (the good kind!) every time. For storage, tuck them into an airtight container where they’ll stay fresh and creepy for up to 3 days (if they last that long!). Pro tip: Layer them between wax paper so your brain cookies don’t fuse together in their afterlife!
Zombie Brain Cookies Nutritional Information
Each delightfully creepy cookie contains approximately 120 calories. Nutritional values are estimates and vary based on ingredients/brands used. For exact counts, always check your specific product labels!
Zombie Brain Cookies FAQs
I get asked these questions all the time about my zombie cookies, so let me share what I’ve learned through trial and (delicious) error!
- Can I freeze the dough? Absolutely! Wrapped tightly in plastic, it keeps beautifully for up to 1 month. Thaw overnight in the fridge before shaping.
- Can I use natural food coloring? Yes, but be warned – beet powder or raspberry juice give a more pinkish than bloody red hue. Still tasty, just less terrifying!
- Gluten-free option? Easy swap! Use your favorite 1:1 gluten-free flour blend. The texture might be slightly more crumbly, but still delightfully brain-like.
- Can I make these ahead? The baked cookies hold up great for 3 days stored properly. The dough actually benefits from chilling!
Remember – there’s no wrong way to make zombie brains… unless they’re still moving. Then you might have bigger problems!

I can’t wait to see how your Zombie Brain Cookies turn out! Snap a photo of your creepy creations and tag me – I want to see your best brain-shaped masterpieces and hear all about the horrified reactions they get at your Halloween parties. Trust me, nothing beats that moment when someone realizes those scary-looking brains are actually delicious cookies. Happy baking, and may your zombies be the tastiest ones at the apocalypse!
Print
Gruesome 12 Zombie Brain Cookies That’ll Haunt Your Tastebuds
- Total Time: 32 mins
- Yield: 24 cookies 1x
- Diet: Vegetarian
Description
A spooky and fun Halloween treat that looks like zombie brains. Perfect for parties and themed events.
Ingredients
- 2 1/4 cups all-purpose flour
- 1/2 teaspoon baking powder
- 1/4 teaspoon salt
- 3/4 cup unsalted butter, softened
- 3/4 cup granulated sugar
- 1 large egg
- 1 teaspoon vanilla extract
- Red food coloring
Instructions
- Preheat oven to 350°F (175°C). Line baking sheets with parchment paper.
- In a bowl, whisk flour, baking powder, and salt.
- Cream butter and sugar until light and fluffy. Beat in egg and vanilla.
- Gradually mix in dry ingredients until dough forms.
- Divide dough and tint red with food coloring.
- Roll small portions into brain-shaped ropes and place on baking sheets.
- Bake for 10-12 minutes until firm. Cool completely.
Notes
- Use gel food coloring for vibrant color.
- Dough can be chilled for easier shaping.
- Store in an airtight container for up to 3 days.
- Prep Time: 20 mins
- Cook Time: 12 mins
- Category: Dessert
- Method: Baking
- Cuisine: American
Nutrition
- Serving Size: 1 cookie
- Calories: 120
- Sugar: 6g
- Sodium: 35mg
- Fat: 6g
- Saturated Fat: 3.5g
- Unsaturated Fat: 2g
- Trans Fat: 0g
- Carbohydrates: 15g
- Fiber: 0.5g
- Protein: 1.5g
- Cholesterol: 20mg