Halloween isn’t Halloween in our house without Zombie Teeth Taffy scattered across the kitchen counter like some sugary crime scene. I still remember the first time I made these creepy little candies—my niece squealed when she saw them, then immediately popped three in her mouth. That’s the magic of this recipe: it’s equal parts spooky and irresistible.
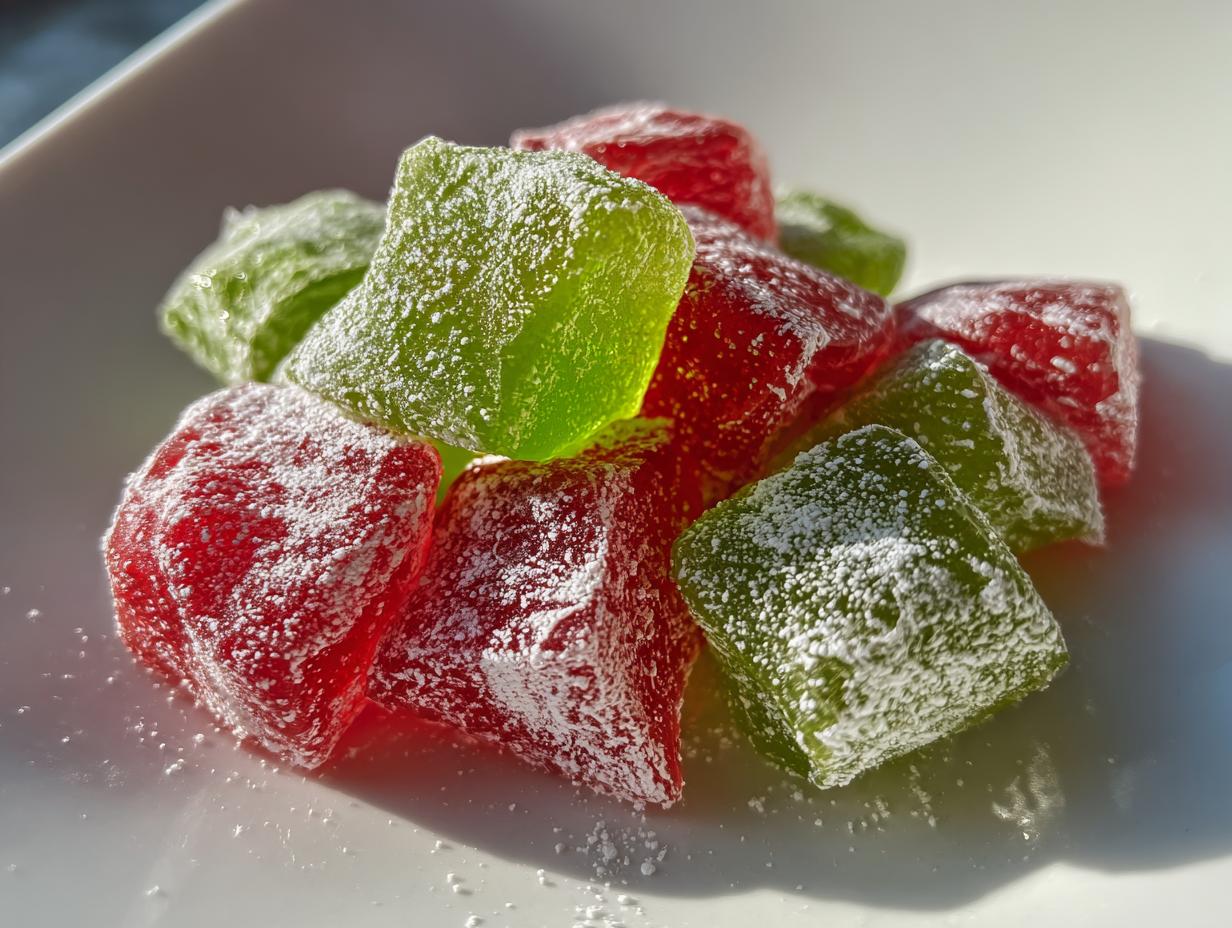
What I love most about Zombie Teeth Taffy is how it transforms basic pantry ingredients into something delightfully gross. One minute you’re stirring sugar syrup, the next you’re twisting sticky rectangles into jagged “teeth” that look like they belong in a monster’s mouth. The confectioners’ sugar dusting? Pure genius—it gives them that eerie, freshly-dug-from-the-grave look.
This became our must-make Halloween tradition after that first batch disappeared faster than ghosts at sunrise. Now the neighborhood kids expect their annual bag of Zombie Teeth Taffy, and I’ve learned to triple the recipe. Pro tip: make extra for yourself—these disappear faster than you can say “trick or treat!”

Why You’ll Love This Zombie Teeth Taffy
This recipe is my go-to Halloween treat for so many reasons—it’s basically magic in candy form. Here’s why you’ll be obsessed:
- Foolproof fun: No fancy skills needed—just stir, pour, and twist. Even my 7-year-old nephew can help (with supervision for the hot sugar, of course).
- Fast frights: From saucepan to spooky in under 30 minutes. Perfect for last-minute party prep when you realize you promised to bring something “cool.”
- Customizable creepiness: Use green food coloring for rotting zombie teeth or red for bloody vampire bites. Swap extracts to make lemon “werewolf fangs” or raspberry “witch teeth.”
- Crowd-pleaser: Kids go wild for the gross-out factor, while adults sneak extras for the perfect chewy texture. (I’ve caught my brother-in-law “testing” an entire batch before parties.)
Trust me—once you see how easy and fun these are, you’ll be making them every October!

Zombie Teeth Taffy Ingredients
Here’s the beautiful thing about this recipe—you probably have most of these ingredients in your pantry already. But let me tell you exactly what you’ll need to make those gruesomely delicious zombie teeth:
- 1 cup granulated sugar (not powdered!): The coarse crystals are key for that perfect taffy texture.
- ½ cup light corn syrup: This keeps the taffy chewy instead of turning into hard candy.
- ¼ cup water: Just regular tap water—no fancy stuff needed.
- ¼ teaspoon salt: Trust me, this tiny bit balances all the sweetness.
- 1 teaspoon flavored extract: I love using strawberry for “bloody” teeth or lime for that rotting zombie look.
- Food coloring (green or red): A few drops go a long way—unless you want neon-bright monster teeth!
- 1 tablespoon butter: Real butter only—it makes the taffy easier to handle.
- Confectioners’ sugar for dusting: The “grave dust” that makes these look properly creepy.
See? Nothing weird or hard-to-find. Now let’s turn these simple ingredients into something gloriously gross!
How to Make Zombie Teeth Taffy
Okay, let’s make some gloriously gross candy! This process is simple, but there are a few key steps that’ll make the difference between perfect zombie teeth and a sticky mess. (Speaking from experience here—my first batch looked more like melted marshmallows than monster teeth!)
Step 1: Prepare the Workstation
First rule of Zombie Teeth Taffy Club: get everything ready before the sugar hits the heat. Trust me, you don’t want to be scrambling for parchment paper with boiling syrup on the stove.
- Line a baking sheet with parchment paper—no greasing needed!
- Set out all measured ingredients within arm’s reach (this is your “candy making mise en place”)
- Keep a heatproof silicone spatula and candy thermometer handy
- Have oven mitts and kitchen shears ready (hot sugar is no joke!)
Pro tip: I put a damp towel under my cutting board to keep it from sliding during the shaping step. Lifesaver!
Step 2: Cook the Sugar Mixture
This is where the magic happens. Combine the sugar, corn syrup, water, and salt in a medium saucepan. Here’s my foolproof method:
- Cook over medium heat, stirring just until the sugar dissolves (about 2 minutes)
- Stop stirring! Let the mixture bubble away undisturbed until it hits 250°F on your candy thermometer (the hard ball stage)
- Watch carefully—this takes about 10 minutes but can go from perfect to burnt fast
Safety first: Keep kids and pets away from the stove, and always use oven mitts when handling the hot pan. That syrup is like edible lava! For more on candy making safety, check out food safety guidelines.
Step 3: Shape the Zombie Teeth
Now for the fun part—turning that sticky syrup into creepy teeth! Work quickly but carefully:
- Remove the pan from heat and immediately stir in extract, food coloring, and butter (the mixture will bubble—that’s normal!)
- Pour onto your prepared baking sheet and let cool just until you can handle it (about 2 minutes)
- Use kitchen shears to cut strips, then snip into small rectangles
- Twist each piece between your (buttered!) fingers to make jagged tooth shapes
- Toss in confectioners’ sugar to coat—this prevents sticking and adds that perfect “undead” look
Warning: You’ll be tempted to sample them immediately. Resist for 5 minutes to let them set properly—if you can!

Tips for Perfect Zombie Teeth Taffy
After making enough Zombie Teeth Taffy to fill a haunted house (and eating my fair share of failed batches), here are my hard-earned tricks for spooky success:
- Butter those fingers: Rub a tiny bit of butter on your hands before shaping—it prevents the taffy from sticking like monster glue.
- Temperature matters: If the sugar mixture cools too much before shaping, pop the baking sheet in a 200°F oven for 30 seconds to soften.
- Glove up: Disposable food-safe gloves are perfect for handling the hot taffy (and keep food coloring off your skin).
- Layer colors: For rotting zombie teeth, add a drop of green and yellow food coloring without fully mixing for a gross marbled effect.
- Store smart: Keep in an airtight container with parchment between layers—they’ll stay fresh for 2 weeks (if they last that long!).
Remember—imperfect teeth look more authentically creepy, so don’t stress about making them uniform!
Zombie Teeth Taffy Variations
Half the fun of Zombie Teeth Taffy is playing mad scientist with the flavors and colors! Here are my favorite ways to mix things up:
- Vampire bites: Use raspberry extract + red food coloring, then drizzle with “blood” (corn syrup tinted red)
- Mummy molars: Skip food coloring and roll in shredded coconut for a wrapped-in-bandages look
- Witchy wisdom teeth: Purple coloring + blackberry extract with edible glitter dust
- Franken-fangs: Layer neon green and yellow taffy before twisting for that stitched-together monster effect
My niece swears the peppermint “ice zombie” version tastes like Christmas gone wrong—in the best way!
Serving and Storing Zombie Teeth Taffy
These creepy candies deserve a dramatic presentation! I love scattering them on a black platter with Halloween cupcake liners as little “crypts.” For extra spook factor, nestle them in coconut “cobwebs” or pipe red icing “blood” around the edges.
Storage is simple—just toss them in an airtight container with parchment between layers. They’ll stay perfectly chewy for up to 2 weeks at room temperature (though they never last that long at my house). Pro tip: Hide the container from sneaky candy thieves—I’ve lost whole batches to midnight snack raids!
Zombie Teeth Taffy Nutrition Info
Okay, let’s be real—we’re not eating zombie teeth for their health benefits! But since you asked, here’s the scoop (nutrition facts are per creepy little tooth):
- Calories: About 45 per piece
- Sugar: 8g (it’s candy, folks!)
- Fat: 0.5g (thank you, tiny bit of butter)
Remember, these numbers can change depending on the exact ingredients and brands you use. My advice? Enjoy a few teeth guilt-free—it’s Halloween! (But maybe don’t eat the whole batch in one sitting like I did last year.)
Zombie Teeth Taffy FAQs
After years of making these creepy candies, I’ve gotten the same questions over and over—so here’s everything you need to know before you start twisting those zombie teeth!
Can I use honey instead of corn syrup?
Technically yes, but I don’t recommend it. Honey burns faster and makes the taffy grainier. Corn syrup gives that perfect chewy texture—just like old-school carnival taffy. If you must substitute, try golden syrup and watch the temperature like a hawk!
How long do these stay fresh?
Stored properly in an airtight container, your zombie teeth will stay deliciously chewy for about 2 weeks. Unless, of course, your family finds the hiding spot—mine never last more than 48 hours!
Help! My taffy hardened too fast to shape!
Been there! Just pop the baking sheet in a 200°F oven for 30 seconds to soften it up. Work in small sections and keep the rest warm while you shape. And next time, butter your hands really well—it buys you extra working time.
Can kids help with this recipe?
Absolutely! Little hands love twisting the teeth (once the syrup has cooled slightly). I put mine in charge of the confectioners’ sugar “grave dust.” Just keep them far away from the hot sugar stage—that’s grown-up work.
Why did my food coloring turn streaky?
That’s actually a happy accident! Streaks make the teeth look more authentically rotten. But if you want even color, stir the extract and food coloring in quickly right after removing from heat. The taffy starts setting up fast!

Rate This Recipe!
Did your zombie teeth turn out gloriously gross? I’d love to see photos of your creepy creations! Drop a comment below with your rating (how many rotting teeth out of five?) and tell me which flavor combo was your favorite. Bonus points if you share any monstrous modifications you invented!
Print
Gruesome 30-Minute Zombie Teeth Taffy Recipe Kids Crave
- Total Time: 25 mins
- Yield: 24 pieces 1x
- Diet: Vegetarian
Description
A fun and spooky candy recipe perfect for Halloween parties.
Ingredients
- 1 cup granulated sugar
- 1/2 cup light corn syrup
- 1/4 cup water
- 1/4 tsp salt
- 1 tsp flavored extract (e.g., strawberry or lime)
- Food coloring (green or red)
- 1 tbsp butter
- Confectioners’ sugar for dusting
Instructions
- Line a baking sheet with parchment paper.
- Combine sugar, corn syrup, water, and salt in a saucepan.
- Cook over medium heat until mixture reaches 250°F (hard ball stage).
- Remove from heat and stir in extract, food coloring, and butter.
- Pour onto the prepared baking sheet and let cool slightly.
- Cut into small rectangles and twist to resemble teeth.
- Dust with confectioners’ sugar.
Notes
- Store in an airtight container.
- Use gloves when handling hot sugar.
- Adjust food coloring for different effects.
- Prep Time: 10 mins
- Cook Time: 15 mins
- Category: Dessert
- Method: Stovetop
- Cuisine: American
Nutrition
- Serving Size: 1 piece
- Calories: 45
- Sugar: 8g
- Sodium: 15mg
- Fat: 0.5g
- Saturated Fat: 0.3g
- Unsaturated Fat: 0.2g
- Trans Fat: 0g
- Carbohydrates: 10g
- Fiber: 0g
- Protein: 0g
- Cholesterol: 1mg