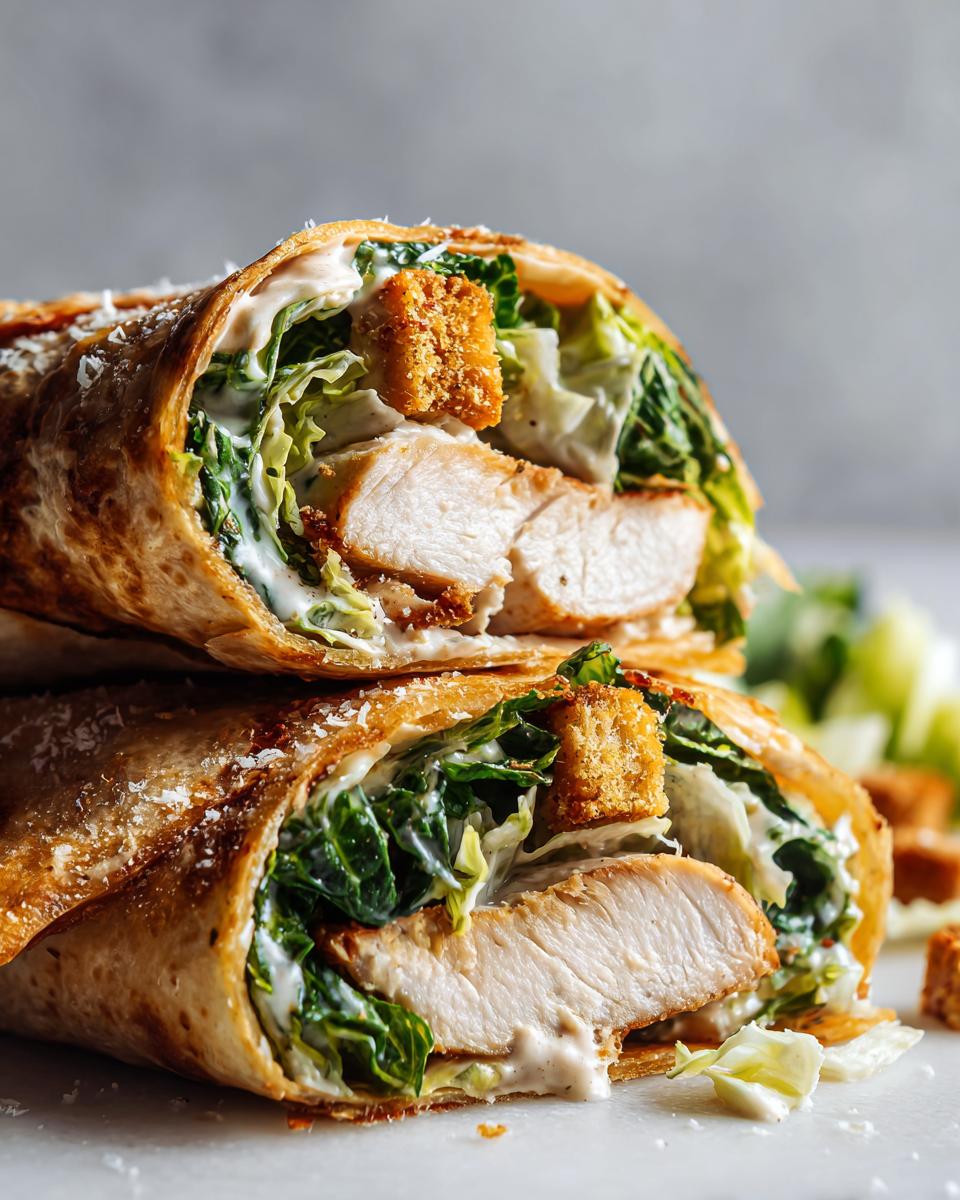
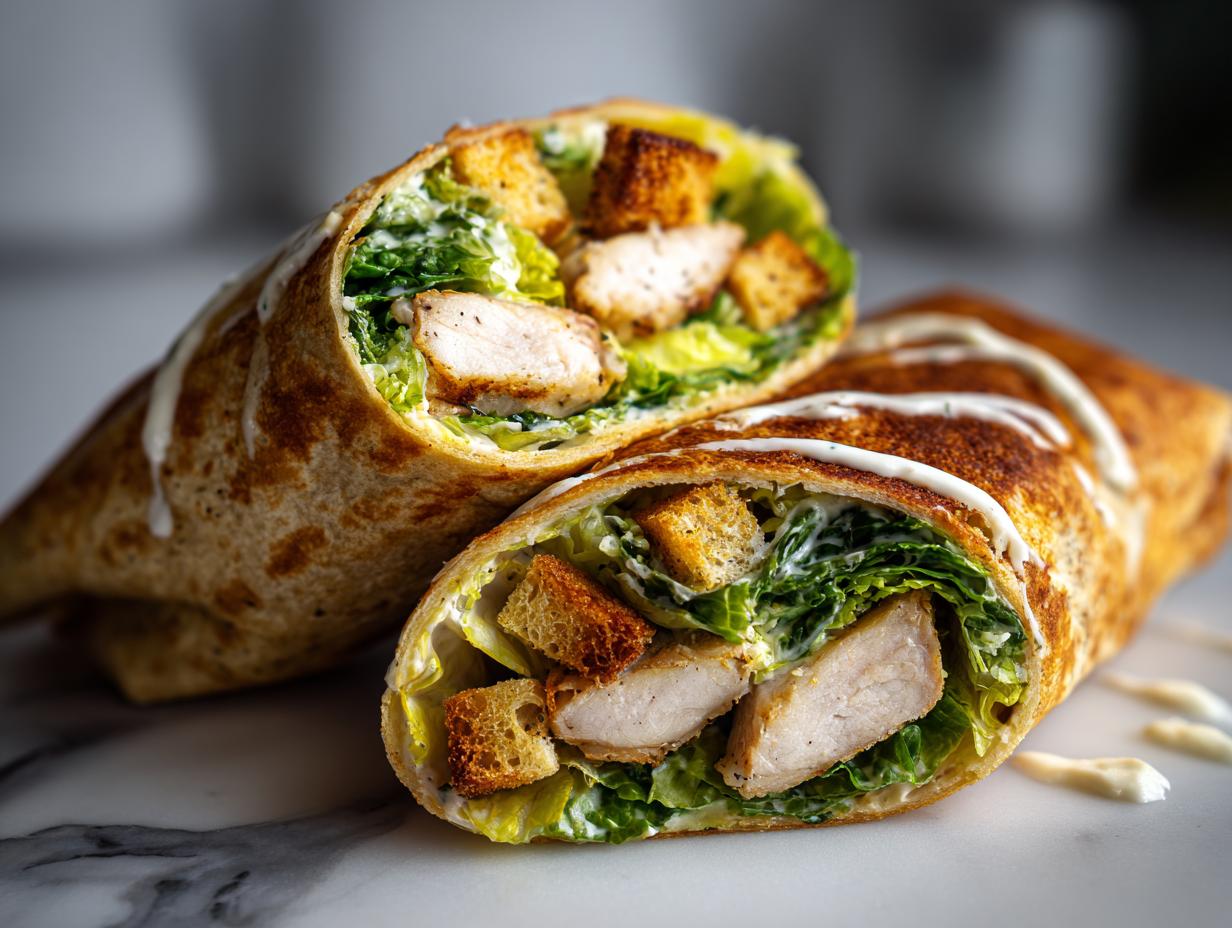
Oh my gosh, have you ever had one of those days where you’re starving but don’t want to spend forever in the kitchen? That’s exactly how I discovered this air-fried Caesar wrap! I was rushing between Zoom calls last Tuesday when I threw this together in about 15 minutes flat. The first crispy bite had me hooked – that perfect crunch from the air-fried tortilla with the cool, creamy Caesar dressing inside? Absolute magic. Now it’s my go-to lunch when I need something satisfying but don’t have time for fuss. And the best part? It’s healthier than takeout but tastes just as indulgent. Trust me, once you try this, you’ll be making it on repeat!

Why You’ll Love This Air-Fried Caesar Wrap
Listen, I know you’re going to fall hard for this wrap – just like I did! Here’s why:
- Crunch factor: That air-fried tortilla gets so crispy, you’d swear it came from a restaurant
- Speedy solution: From fridge to plate in under 20 minutes – perfect for those “I’m starving NOW” moments
- Flavor bomb: The combo of garlicky dressing, salty Parmesan, and juicy chicken? Pure perfection
- No-mess magic: Unlike traditional Caesar salads that wilt, everything stays neatly wrapped up (literally!)
- Endless options: Swap in shrimp, tofu, or extra veggies – it’s like a whole new meal each time
Seriously, my kids even beg for these now instead of chicken nuggets. That’s how you know it’s good!
Ingredients for Your Air-Fried Caesar Wrap
Gather these simple ingredients – you probably have most already!
- 1 large tortilla wrap (about 10-inch diameter – burrito size works best)
- 1 cup chopped romaine lettuce (packed! The crispier the better)
- 1/2 cup cooked chicken breast, sliced into thin strips (leftover rotisserie chicken is perfect)
- 2 tbsp Caesar dressing (my homemade version has extra garlic, but store-bought works too)
- 1/4 cup grated Parmesan cheese (freshly grated melts better than pre-shredded)
- 1/4 cup croutons (I like the garlicky ones crushed slightly)
- 1 tbsp olive oil (for that golden, crispy exterior)
Ingredient Substitutions & Notes
Here’s how to make it work with what you’ve got:
- Tortilla tip: Gluten-free wraps work great – just check they’re pliable before rolling
- Protein swap: No chicken? Try shrimp, turkey, or even chickpeas for vegetarian option
- Dressing dilemma: Vegan Caesar dressing tastes amazing here too! Just avoid watery dressings
- Cheese cheat: Asiago or Pecorino Romano make tasty Parmesan alternatives in a pinch
- Crouton crisis: No croutons? Toast some bread cubes with garlic powder for DIY version
Warning: Skip the iceberg lettuce – it gets too watery. And whatever you do, don’t skimp on the olive oil brush – that’s what makes the magic crispy shell!
How to Make an Air-Fried Caesar Wrap
Okay, let’s make some crispy magic happen! I promise it’s easier than you think – just follow these simple steps for wrap perfection every time.
Step 1: Prep the Fillings
First things first: grab your chicken and slice it into thin strips about the width of your pinky finger. This ensures every bite gets some juicy chicken goodness. For the lettuce, give it a good chop – I like pieces about 1-inch long so they don’t poke out awkwardly when you roll. Measure out your Parmesan while you’re at it (no shame in eyeballing – I won’t tell!). Crush those croutons slightly with your hands – just enough to break them up but still leave some satisfying crunch.
Step 2: Assemble & Air Fry
Now the fun part! Preheat your air fryer to 375°F (190°C) – this is crucial for that perfect crisp. While it heats, lay your tortilla flat and spread dressing evenly, leaving about an inch border all around. Layer your ingredients starting with lettuce, then chicken, Parmesan, and croutons. Fold the sides in first, then roll up tightly like a burrito – pretend you’re wrapping a precious gift! Brush the outside generously with olive oil – this is your golden ticket to crispiness. Place seam-side down in the air fryer basket and cook for 5-7 minutes. Check at 5 minutes – you want golden brown perfection without burning. Pro tip: Let it rest 1 minute before slicing so the cheese sets and prevents spillage!

See? Told you it was easy! That irresistible crunch sound when you bite in? Worth every second.
Expert Tips for the Best Air-Fried Caesar Wrap
After making this wrap at least twice a week (no exaggeration!), I’ve learned some tricks for absolute perfection:
- Patience is key: Let it rest 1 minute after air frying – that quick pause lets the cheese set so your fillings don’t go everywhere
- Size matters: Overstuffing leads to messy spills – keep fillings just below the tortilla’s edge when rolling
- Oil evenly: Use a pastry brush to coat every inch of tortilla – missed spots stay soggy while others burn
- Fresh is best: Day-old croutons lose their crunch – toast them briefly in a dry pan if they’ve softened
- Cut with care: Use a serrated knife at a slight angle for clean slices that won’t squish your masterpiece
Follow these simple tips and you’ll have wrap shop-quality results every single time!
Serving Suggestions
This wrap is fantastic on its own, but here’s how I love to serve it: with a simple arugula salad tossed with lemon juice and olive oil for brightness. A lemon wedge on the side is perfect for squeezing over the wrap – that little hit of acidity takes it next-level! If you’re extra hungry, roasted sweet potato fries make the ultimate crispy companion. My husband always steals my fries when I make this combo – consider yourself warned!
Storage & Reheating Instructions
Leftovers? No problem! Store your wrap tightly wrapped in foil or in an airtight container in the fridge for up to 2 days. When you’re ready to eat again, pop it back in the air fryer at 350°F (175°C) for 3-4 minutes – trust me, it crisps up beautifully like new. Microwave reheating? Don’t even think about it – you’ll lose that perfect crunch!
Air-Fried Caesar Wrap FAQs
I get asked about this wrap all the time – here are the answers to the most common questions!
Can I use store-bought Caesar dressing?
Absolutely! I love homemade, but quality store-bought works great in a pinch. Just check the consistency – thicker dressings coat better than watery ones. My favorite brands are the refrigerated ones near the salad greens.
How do I keep the wrap from drying out?
The olive oil brush is your best friend here! It creates a protective crispy barrier. Also, don’t overcook – 5-7 minutes is perfect. If you’re reheating leftovers, a quick spritz of oil before air frying brings it back to life.
Can I make these ahead for meal prep?
You can prep ingredients ahead, but assemble right before cooking for best texture. Pre-made wraps get soggy. Instead, chop lettuce, slice chicken, and store separately. Assembly takes just 2 minutes when you’re ready!
What’s the secret to rolling tightly?
Fold sides in first like an envelope, then roll firmly away from you while tucking ingredients in with your fingers. Practice makes perfect! If it’s being stubborn, warm the tortilla briefly first to make it more pliable.
Nutritional Information
Just a heads up – these nutritional values are estimates and can vary based on your specific ingredients and brands. Use them as a general guide, not gospel truth. The beauty of cooking at home is you control what goes in!
Share Your Creation!
I’d love to see your crispy creations! Tag me @AirFryerAdventures so I can cheer on your wrap-making skills – bonus points for creative fillings!
Print
Crunchy Air-Fried Caesar Wrap Recipe in Just 15 Minutes
- Total Time: 17 mins
- Yield: 1 wrap 1x
- Diet: Low Calorie
Description
A delicious and healthy Air-Fried Caesar Wrap packed with fresh ingredients and crispy textures.
Ingredients
- 1 large tortilla wrap
- 1 cup chopped romaine lettuce
- 1/2 cup cooked chicken breast, sliced
- 2 tbsp Caesar dressing
- 1/4 cup grated Parmesan cheese
- 1/4 cup croutons
- 1 tbsp olive oil
Instructions
- Preheat air fryer to 375°F (190°C).
- Lay the tortilla flat and spread Caesar dressing evenly.
- Layer lettuce, chicken, Parmesan cheese, and croutons.
- Fold the sides of the tortilla inward and roll tightly.
- Brush the wrap with olive oil.
- Place in the air fryer basket and cook for 5-7 minutes until golden and crispy.
- Remove, slice in half, and serve warm.
Notes
- Use gluten-free tortilla for a gluten-free option.
- Add extra veggies like tomatoes or cucumbers for more crunch.
- Store leftovers in an airtight container for up to 2 days.
- Prep Time: 10 mins
- Cook Time: 7 mins
- Category: Lunch
- Method: Air-Frying
- Cuisine: American
Nutrition
- Serving Size: 1 wrap
- Calories: 350
- Sugar: 2g
- Sodium: 450mg
- Fat: 18g
- Saturated Fat: 5g
- Unsaturated Fat: 10g
- Trans Fat: 0g
- Carbohydrates: 25g
- Fiber: 3g
- Protein: 22g
- Cholesterol: 50mg


