
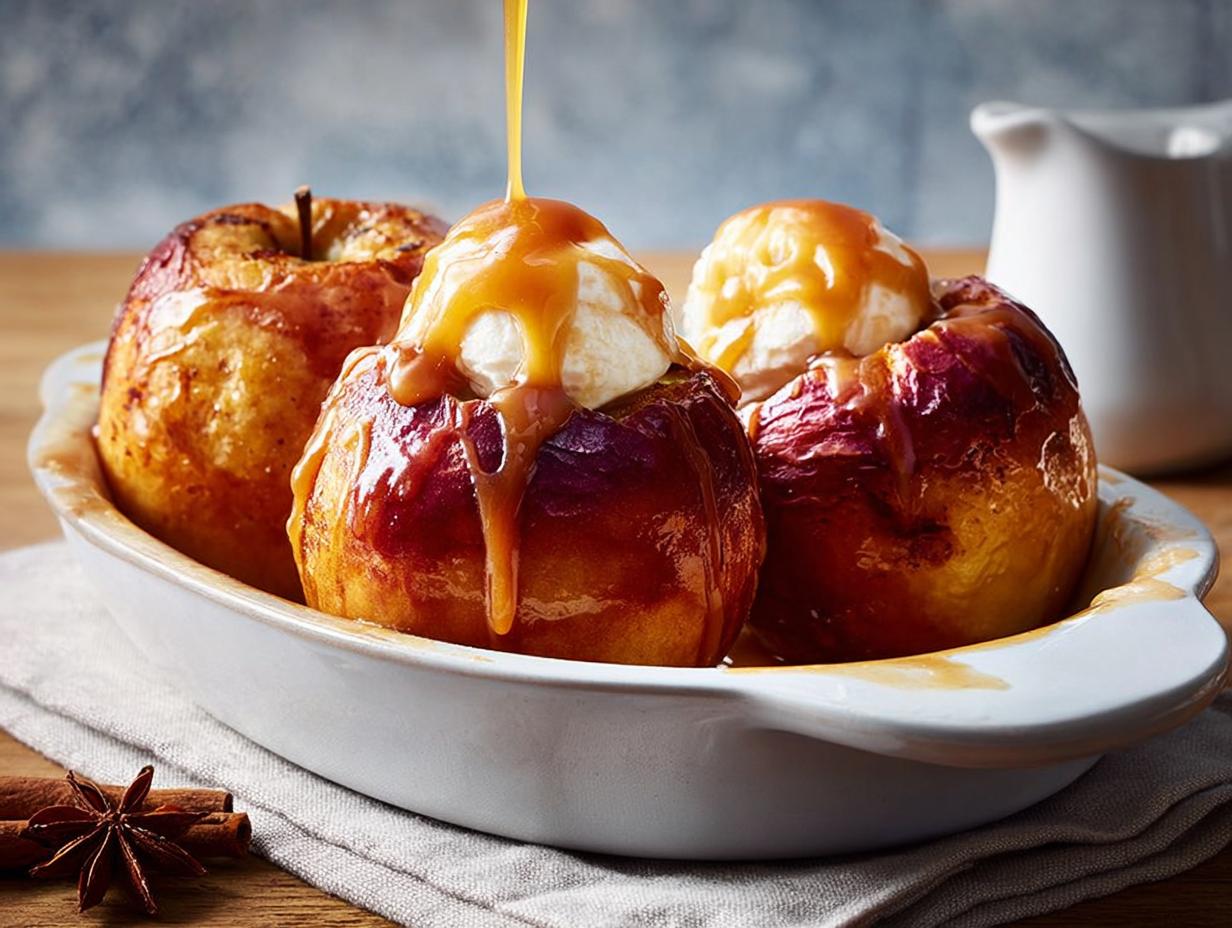
I still remember the first time I made these Bloomin’ Apples for a chilly fall family dinner—I wanted something impressive but didn’t have hours to spend in the kitchen. These little beauties were the answer: tender apples coated in cinnamon sugar, baked until they practically melt, then drizzled with caramel sauce. Honestly, they stole the show.
I’ve tested this recipe with all sorts of apple varieties over the years. Granny Smith holds its shape best and balances the sweetness, but I’ve had great luck with Honeycrisp too (just check them a few minutes earlier). The magic is how simple ingredients turn into something that feels truly special. Trust me, you’ll get all the credit for a dessert that’s almost embarrassingly easy to pull off.
Why You’ll Love This Recipe for Bloomin’ Apples
- Quick prep, big payoff. You get tender, cinnamon-scented apples on the table in under an hour. No fussy techniques or endless steps.
- Minimal ingredients, maximum flavor. Just apples, butter, sugar, cinnamon, and caramel. Things you probably already have on hand.
- Crowd-pleaser every time. I’ve served these at casual weeknight dinners and holiday gatherings—they disappear fast. Kids and adults both grab seconds.
- Easily customizable. Swap the caramel for a drizzle of honey, add a scoop of ice cream, or use your favorite apple variety. This recipe bends to whatever you’re craving.
Ingredients for Bloomin’ Apples
You really don’t need much for this one. Grab 4 large Granny Smith apples (about 7–8 ounces each)—firm and tart so they hold their shape. You’ll also need 1/2 cup unsalted butter, melted (that’s one stick), 1/2 cup granulated sugar, 1 teaspoon ground cinnamon, and 1/4 cup caramel sauce (store-bought works perfectly, or make your own if you’re feeling fancy). That’s it. Simple, right?
Ingredient Notes and Substitutions for Bloomin’ Apples
Let’s talk ingredients for a sec. I always reach for Granny Smith apples here—they’re sturdy enough to hold their shape while baking, and that tart edge balances the sweet cinnamon-caramel situation perfectly. If you prefer a sweeter apple, Honeycrisp or Fuji work great too, just check them a few minutes earlier so they don’t turn to mush.
I use unsalted butter so I’m in complete control of the salt. If salted is all you’ve got, skip adding extra salt to the mix. Need it dairy-free? Coconut oil melts down and coats the apples just as nicely.
Granulated sugar does the job, but dark brown sugar adds a lovely molasses depth. If you want to use maple syrup, go for it—just reduce the other liquid slightly so the coating isn’t too thin. And please, use fresh cinnamon if you can—it really wakes up the whole dish.
As for the caramel sauce, a good store-bought brand is totally fine when you’re short on time. Just warm it up so it drizzles smoothly. Homemade works beautifully too.
How to Prepare Bloomin’ Apples
Alright, let’s get these Bloomin’ Apples into the oven. The process is straightforward, but a few little tricks make all the difference. I’ll walk you through every step so you feel confident—even if it’s your first time.
Preparing the Apples
First, preheat your oven to 375°F (190°C). Now grab your apples. I like to peel them completely—the skin gets tough during baking, and you want that soft, buttery texture all the way through. Use a sharp vegetable peeler or a paring knife. Next, slice off the top ¼ inch of each apple and set those little lids aside (or just snack on them).
For coring, I use an apple corer—it’s the easiest way to get a clean hole without breaking the apple. Push it straight down through the center and twist gently. If you don’t have a corer, a small paring knife works, just be careful not to cut all the way through the bottom. I also like to run a melon baller or a small spoon around the inside to scrape out any remaining seeds and the tough core bits. You want a nice hollow cavity but the apple should still stand tall.
Coating and Baking
In a small bowl, mix the melted butter, granulated sugar, and cinnamon until it’s well combined. It’ll look like a thick, grainy syrup. Roll each prepared apple in the mixture, turning it to coat every surface—the outside, the top, and even inside the core cavity. Place the apples upright in a baking dish that holds them snugly so they don’t tip over. If they wobble, crumple a small piece of foil and tuck it around the base for stability. Drizzle any remaining butter mixture over the tops and into the cavities.
Bake for 30 to 35 minutes. I always start checking at the 30-minute mark: poke a knife into the side of an apple. It should slide in easily but the apple shouldn’t collapse. If it’s still firm, give it another 5 minutes. The goal is tender but not mushy—you want them to hold their shape when you lift them out.
Cooling and Serving
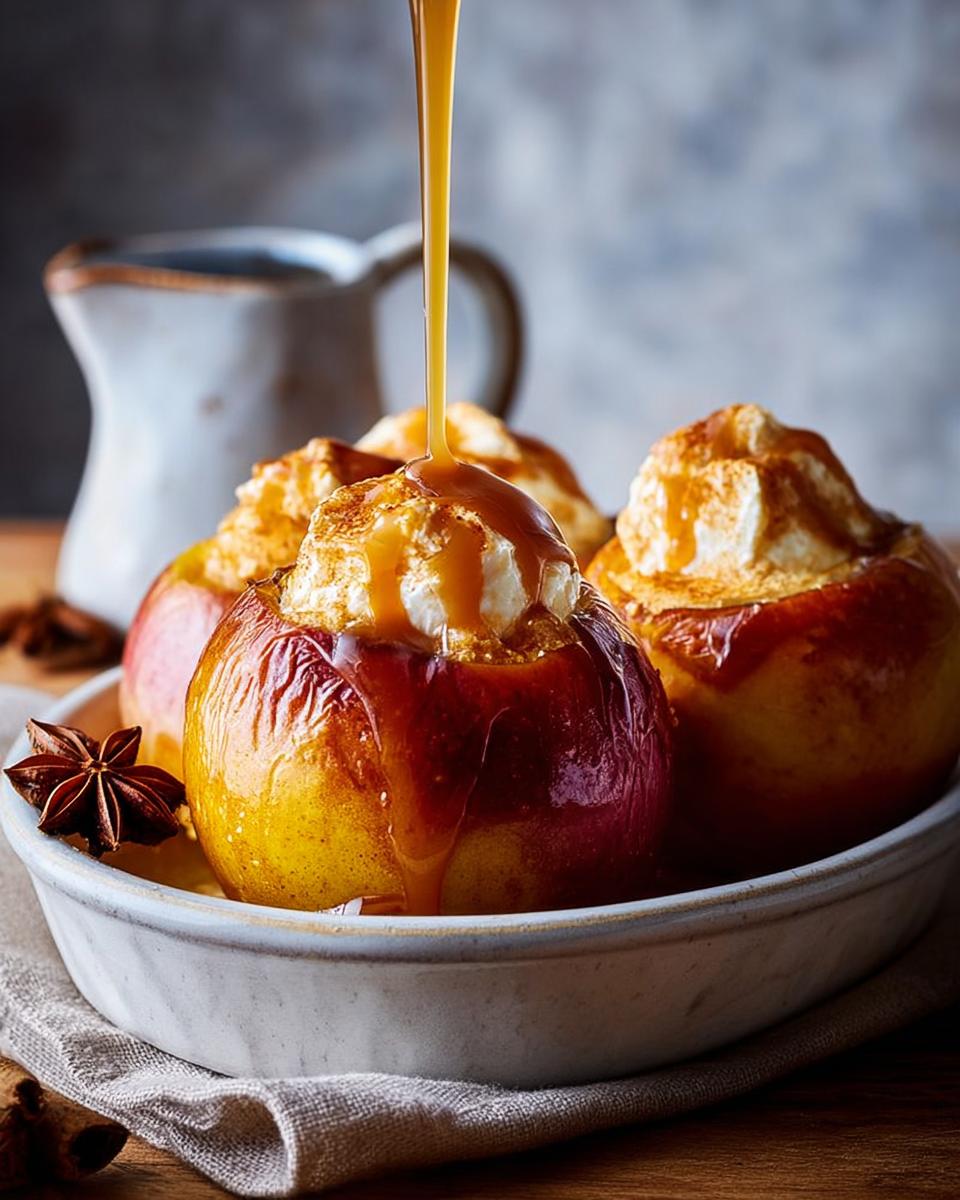
Let the apples rest in the dish for a full 5 minutes after baking. This is important—they’re molten hot inside, and that rest time lets the juices settle so you don’t burn your mouth. Transfer each apple to a serving plate. Warm the caramel sauce slightly (about 15 seconds in the microwave) so it pours easily, then drizzle it over the top. The caramel will pool around the base and run into the core cavity. If you want to go all out, add a scoop of vanilla ice cream right next to the apple. The hot-and-cold contrast is absolutely dreamy.
Tips for Success
A few little things make these apples turn out perfect every time. First, pick apples that are roughly the same size—I weigh mine at the store to be sure. That way they bake evenly and finish at the same moment. Nobody wants one mushy apple and another still crunchy.
Don’t wander off during the last few minutes of baking. I always check at 30 minutes, even if the recipe says 35. Ovens vary, and apples can go from perfectly tender to sad mush in a flash. A knife should slide in with just a little resistance—that’s your sweet spot.
Use a dish that fits your apples snugly. If they’re rattling around, they’ll tip over and leak their buttery filling. A small baking dish or even a loaf pan works great. If they still wobble, crumple a piece of foil and wedge it underneath.
And warm that caramel sauce before drizzling—just 10–15 seconds in the microwave. Cold caramel is thick and won’t flow into all those lovely nooks and crannies. If an apple does collapse (hey, it happens), you probably overbaked or cored it too aggressively. No worries—just spoon it into a bowl and call it “apple compote.” Tastes the same!
Serving Suggestions for Bloomin’ Apples
These are best served warm, no question. I almost always drop a scoop of vanilla ice cream right next to the apple—that hot-and-cold thing is irresistible. A dollop of whipped cream works beautifully too, or just a light dust of cinnamon if you want to keep it simple.
For a cozy fall night, I’ll pour myself a mug of hot cider or coffee and let everyone grab their own apple. If I’m putting together a dessert table, I arrange them on a platter with extra caramel pooled around the base and maybe a sprinkle of chopped pecans (if no one’s avoiding nuts). They always disappear fast.
How to Store and Reheat Leftovers
If you somehow have leftovers (it doesn’t happen often in my house), just pop any uneaten apples into an airtight container and stash them in the fridge. They’ll keep for up to three days, though the texture does soften a bit more over time.
To reheat, I usually go with the oven at 350°F for about 10 minutes—that way the apples warm through without turning into applesauce. If you’re in a hurry, the microwave works too; just zap them in 30-second bursts until heated. My favorite trick is to drizzle a little extra caramel over the apples before reheating—it restores that glorious moisture and makes them taste almost like fresh out of the oven. I wouldn’t recommend freezing these, by the way. The apples get mushy when thawed, and you lose all that lovely structure.
Frequently Asked Questions About Bloomin’ Apples
I’ve been making these for years, and people always have the same questions. Here are the answers I usually give—hopefully they help you out too.
Can I use other apple varieties?
Absolutely! Granny Smith is my go-to because it holds shape well and balances the sweetness, but Honeycrisp, Fuji, or even Braeburn work beautifully. Just keep an eye on them—softer apples like McIntosh might turn mushy faster. Start checking at 25 minutes instead of 30.
Can I make these ahead of time?
Yes, you can bake them a day ahead. Let them cool completely, then store in the fridge in an airtight container. When you’re ready to serve, reheat in a 350°F oven for about 10 minutes and drizzle fresh caramel on top. They won’t be quite as firm as fresh-baked, but they’re still delicious—perfect if you’re planning a dinner party.
Can I skip the caramel?
Sure, but I’d add a little extra cinnamon sugar on top before baking to make up for the lost sweetness. The apples themselves are already pretty tasty with just the butter and cinnamon—caramel is a bonus, not a necessity. If you’re watching sugar, a light dusting of cinnamon alone works too.
Can I use a different sweetener?
Definitely. Honey or maple syrup both work nicely. Just use the same amount as the granulated sugar, but keep in mind that liquids will thin out the coating. I usually reduce the melted butter by a tablespoon or two to balance it. And if you go with maple, the flavor pairs beautifully with the cinnamon—makes these baked apples taste like a cozy autumn morning.
Nutritional Information for Bloomin’ Apples
Here’s the breakdown for one apple (without ice cream): about 320 calories, 38g sugar, 120mg sodium, 16g fat, 46g carbs, 4g fiber, and 1g protein. Of course, these numbers shift depending on your exact apple size and the brand of caramel you use—so take them as a rough guide, not gospel. If you make these Bloomin’ Apples, I’d love to hear how they turned out! Drop a comment and star rating below, and feel free to share your photos on social media—tag me so I can see. Your feedback helps other home cooks find this easy dessert.
Print
Bloomin’ Apples: 1 Simple Caramel Dessert You’ll Love
- Total Time: 50 minutes
- Yield: 4 servings 1x
- Diet: Low Lactose
Description
A warm apple dessert with a cinnamon sugar coating, baked until soft and served with a caramel sauce.
Ingredients
- 4 large apples (such as Granny Smith)
- 1/2 cup unsalted butter, melted
- 1/2 cup granulated sugar
- 1 teaspoon ground cinnamon
- 1/4 cup caramel sauce
Instructions
- Preheat your oven to 375°F (190°C).
- Peel the apples and cut off the tops. Remove the cores using an apple corer or a small knife.
- Mix the melted butter, sugar, and cinnamon in a small bowl.
- Roll each apple in the cinnamon butter mixture until evenly coated.
- Place the apples upright in a baking dish. Drizzle any remaining butter mixture over them.
- Bake for 30 to 35 minutes, until the apples are tender.
- Let them cool for 5 minutes. Drizzle with caramel sauce before serving.
Notes
- Serve warm for best flavor.
- You can top with vanilla ice cream if desired.
- Prep Time: 15 minutes
- Cook Time: 35 minutes
- Category: Dessert
- Method: Baking
- Cuisine: American
Nutrition
- Serving Size: 1 apple
- Calories: 320
- Sugar: 38 g
- Sodium: 120 mg
- Fat: 16 g
- Saturated Fat: 10 g
- Unsaturated Fat: 5 g
- Trans Fat: 0 g
- Carbohydrates: 46 g
- Fiber: 4 g
- Protein: 1 g
- Cholesterol: 40 mg