
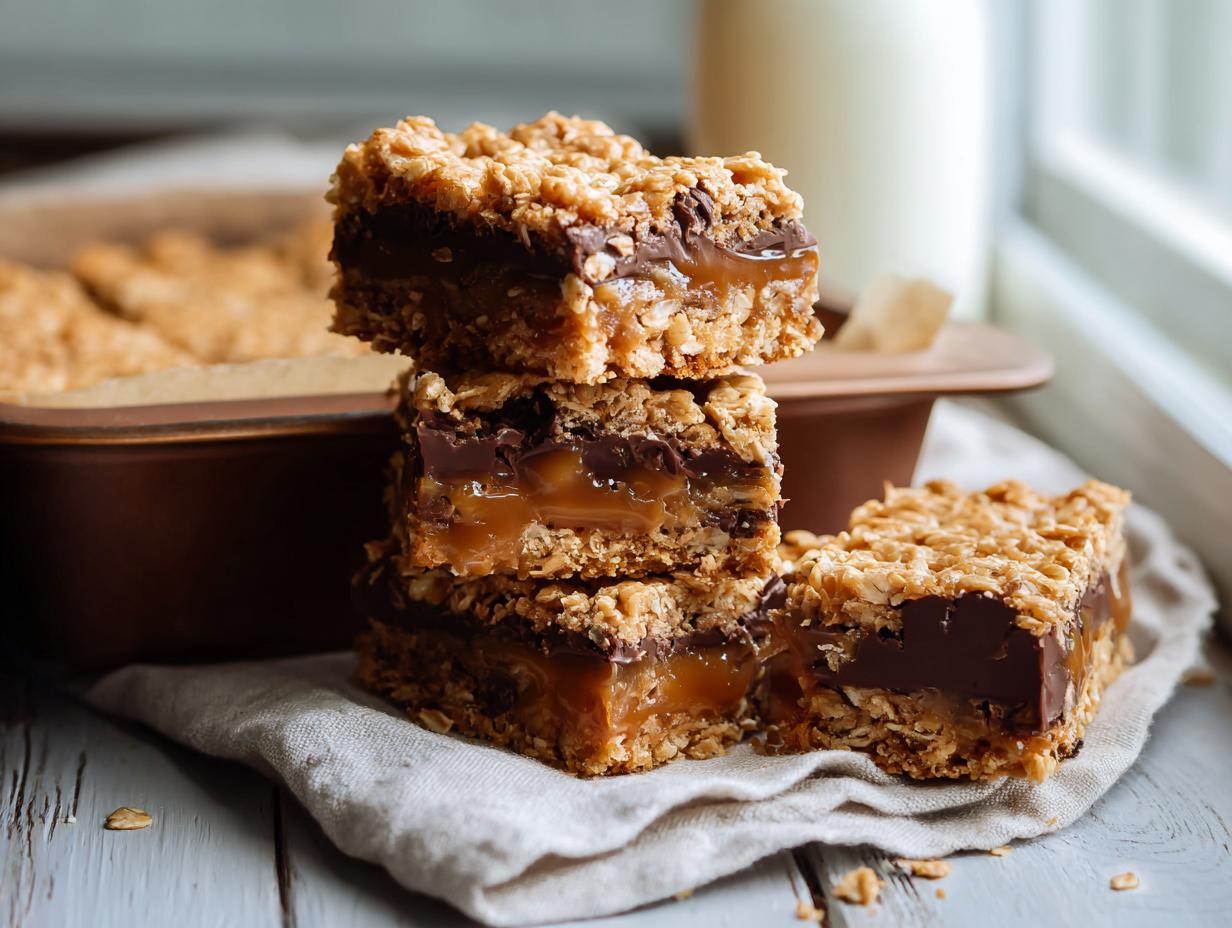
I’m not joking when I say these Carmelitas have ruined me for every other dessert bar. It happened last Thanksgiving, actually. I was scrambling for something quick to bring to my sister’s, and I remembered this old recipe I’d bookmarked but never tried. I whisked together the oat crust, dumped the chocolate and caramel on top, and crossed my fingers. What came out of that oven was pure chaos in the best way—a crunchy, chewy, gooey mess of a bar that everyone fought over before the turkey even hit the table. My nephew literally stood by the pan with a fork.
Here’s the thing that gets me every time: it looks fancy, but it’s embarrassingly easy. No stand mixer, no creaming, no fuss. Just a simple crumble crust, a rich chocolate layer, and that silky caramel that gets all thick and sticky in the oven. The only real trick? Patience. You absolutely have to let them cool long enough for the caramel to set, or you’ll end up with a delicious puddle. I promise, it’s worth the wait.
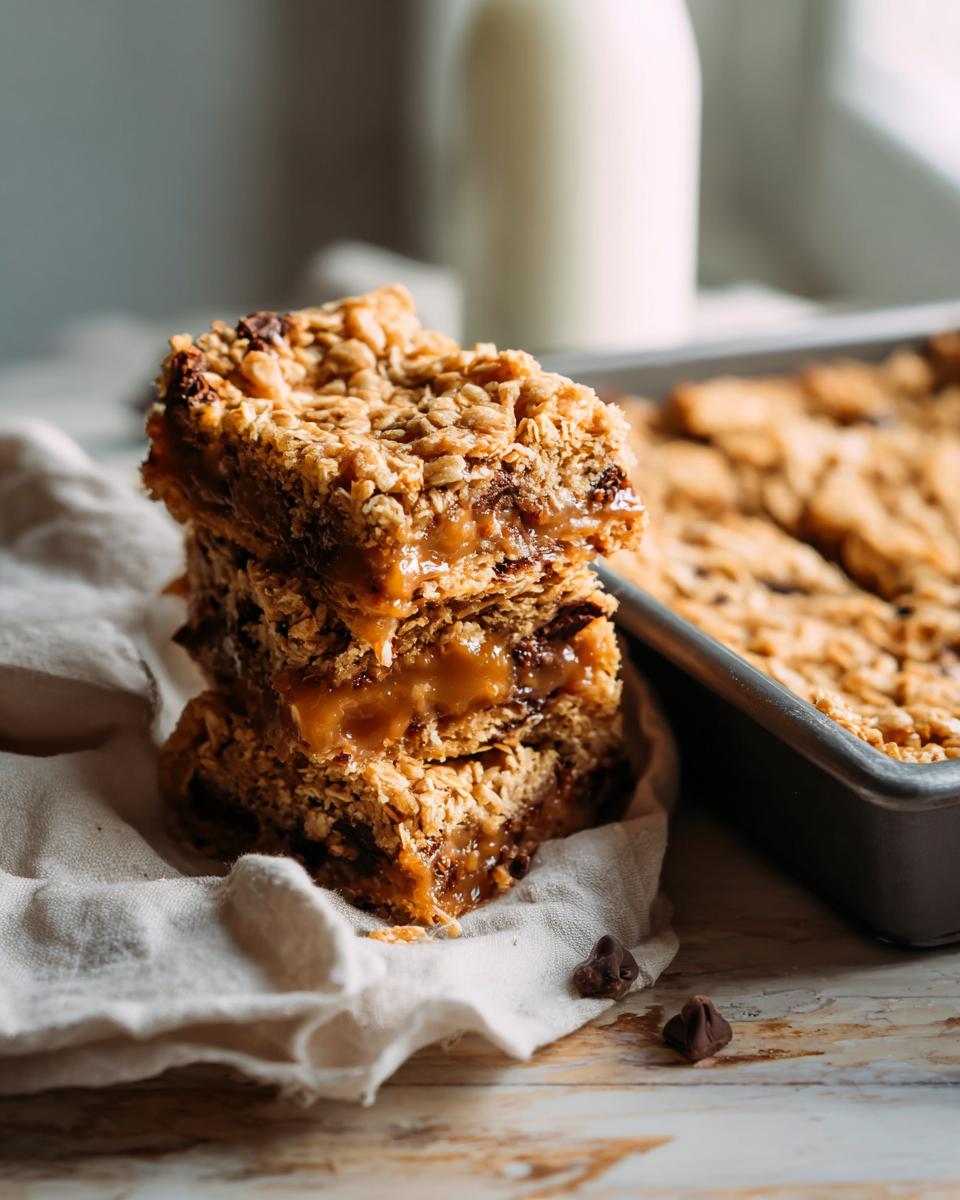
Why You Will Love These Carmelitas
I mean, where do I even start? These bars check every single box for me. Here’s why they’ll do the same for you:
- Ridiculously easy. No mixer, no complicated steps, no fuss. You just stir, press, and bake. It’s basically foolproof.
- The texture situation. That crunchy oat crust gives way to a gooey, chewy caramel center with pockets of melted chocolate. It’s a party in every bite.
- They’re a total crowd-pleaser. I’ve brought them to holiday dinners, potlucks, and lazy Sunday hangs, and they disappear every single time. Everyone thinks you worked way harder than you did.
Ingredients for Carmelitas
Okay, let’s go through the lineup. The ingredient list is short and sweet, but a few things really matter here. Pay attention to the details, and you’ll nail it every time.
- 1 cup all-purpose flour (divided—keep reading!)
- 1 cup rolled oats – make sure they’re old-fashioned, not instant. You want that chewy, crunchy texture.
- 3/4 cup packed brown sugar – and I mean packed. Spoon it into the measuring cup and press it down firm. Dark or light both work, but dark gives a deeper caramel flavor.
- 1/2 teaspoon baking soda
- 1/4 teaspoon salt
- 3/4 cup unsalted butter, melted – unsalted is key here so you can control the salt level. Melt it gently, don’t boil it.
- 1 cup semisweet chocolate chips – totally fine to swap for milk or dark, but semisweet is my go-to for that perfect balance.
- 1 jar (11 oz) caramel sauce – get a good, thick one, like a sundae topping. Not the watery stuff.
- 3 tablespoons all-purpose flour – this is the second part of the divided flour. You’ll whisk it into the caramel to help it set.
That’s it. Simple, right? Just remember: the flour is split 1 cup for the crust and 3 tablespoons for the caramel. Don’t mix them up, or your crust will be off.
Step-by-Step Instructions for Making Carmelitas
Alright, let’s get our hands dirty! The process is simple, but a few little tricks make all the difference. Trust me, I’ve learned them the hard way so you don’t have to. First things first: preheat your oven to 350°F (175°C) and grease up a 9×9 inch baking pan. Don’t skip the preheat – you want that oven hot and ready when the crust goes in.
Preparing the Oat Crust
In a large bowl, whisk together 1 cup flour, the rolled oats, packed brown sugar, baking soda, and salt. Make sure there are no lumps in the brown sugar. Then pour in the melted butter and stir with a fork or spatula until everything is well combined. The mixture should look like coarse, damp sand – kinda like wet streusel. Now, here’s the trick: press half of this mixture firmly and evenly into the bottom of your prepared pan. I use the bottom of a measuring cup to really pack it down. Bake that base layer for 10 minutes. It’ll be lightly golden and smell incredible.
Layering Chocolate and Caramel
Pull the pan out of the oven (careful, it’s hot!). Immediately sprinkle the chocolate chips all over the hot crust – don’t stir, just spread them evenly. In a small bowl, whisk together the caramel sauce and the remaining 3 tablespoons of flour until completely smooth. This is super important: the flour keeps the caramel from soaking into the crust and helps it set into that perfect gooey layer. Drizzle the caramel mixture all over the chocolate chips. Don’t worry if it looks messy; it’ll come together in the oven.
Baking and Cooling Your Carmelitas
Now take the remaining oat mixture and sprinkle it evenly over the caramel and chocolate. Press it down gently – you don’t want to pack it tight like the base layer. A light press with your fingers is perfect. Bake for 18 to 20 minutes, until the top is golden brown and the caramel is bubbling up around the edges. It’ll look super soft and jiggly right out of the oven – that’s normal! The hardest part comes next: let them cool completely at room temperature, at least 1 to 2 hours. I know, it’s torture. If you cut too early, the caramel will run and your bars will fall apart. For extra clean slices, pop the pan in the fridge for 30 minutes after they’ve cooled. Totally worth the wait, I promise.
Tips for Perfect Carmelitas Every Time
Alright, I’ve made these bars more times than I can count, and I’ve picked up a few tricks along the way. These little tips are the difference between good Carmelitas and absolutely unforgettable ones. Trust me on these!
- Measure your flour right. Spoon it into the measuring cup and level it off with a knife. Scooping straight from the bag packs it down, and you’ll end up with a dry, crumbly crust. Nobody wants that.
- Don’t skimp on the caramel sauce. Get a thick, high-quality jarred sauce, like the kind you’d put on ice cream sundaes. The cheap, watery stuff won’t set properly and will make your bars a sticky mess.
- Watch that oven! Overbaking is the easiest way to ruin these. You want the top golden brown and the caramel bubbly, but the second it starts looking too dark, pull it out. Dry Carmelitas are a tragedy.
- Line your pan with parchment paper. Leave some overhang on two sides so you can lift the whole block out for easy cutting. It’s a game-changer, seriously.
- Be patient, my friend. I know it’s hard, but let them cool completely before slicing. It’s the only way to get those clean, beautiful layers.
- Store them right. Keep leftovers in an airtight container at room temperature for up to 5 days. If they last that long, that is.
Variations and Substitutions for Your Carmelitas
I love that these bars are so easy to tweak depending on what you have in the pantry. Sometimes I swap the semisweet chocolate chips for milk chocolate when I want it sweeter, or dark chocolate if I’m feeling fancy. Both work great. If you’re a nut fan like me, toss in a handful of chopped pecans or walnuts into the oat mixture before pressing it in. It adds the best crunch. Need a gluten-free version? Just use a 1-to-1 gluten-free flour blend instead of regular flour—works like a charm. And if you only have salted butter on hand, go ahead and use it. The salty-sweet contrast is amazing, just skip the added salt in the crust. Simple swaps, big flavor.
How to Store and Reheat Carmelitas
Okay, so you’ve somehow managed not to eat the whole pan in one sitting. (I’m impressed, honestly.) Pop them in an airtight container and they’ll keep at room temperature for up to 5 days. If you want to stash some for later, freeze them for up to 3 months—just wrap ’em well. When you’re ready for a fix, a few seconds in the microwave softens the caramel right back to that gooey perfection. Just don’t leave them sitting out in a hot kitchen; the caramel can get a little too loose and messy. Trust me, I’ve made that mistake!
Frequently Asked Questions About Carmelitas
I’ve gotten a lot of questions about these bars over the years, so let’s clear up the most common ones. These little details can make or break your batch, and I want you to have the same success I’ve had.
Can I Use Quick Oats Instead of Rolled Oats?
Great question! Rolled oats are my go-to because they give that chewy, crunchy texture that makes these oatmeal caramel bars so special. Quick oats will work in a pinch, but you’ll end up with a softer, less structured crust. For the best results, stick with old-fashioned rolled oats.
Why Did My Carmelitas Fall Apart?
I’ve been there, and it’s always because I got impatient. The number one culprit is cutting too early—the caramel needs time to set completely. That’s also why we whisk flour into the caramel sauce; it helps the whole thing firm up. Let them cool at least 1 to 2 hours, and your chocolate caramel dessert bars will hold together perfectly.
What Is the Best Caramel Sauce to Use?
Don’t use thin, watery caramel sauce. I always grab a good jarred sundae topping—thick and rich, like the kind you’d drizzle on ice cream. That consistency ensures the caramel layer stays gooey and sets properly. Cheap sauce will just soak into the crust and make a mess.
Can I Make Carmelitas Ahead of Time?
Absolutely! These are one of those desserts that actually get better after a day. Store them in an airtight container at room temperature, and the flavors meld together beautifully. You can also freeze them for up to 3 months. Just thaw at room temperature, and they’re ready to go.
Nutritional Information for Carmelitas
I should mention that these numbers are just estimates based on the ingredients I listed. The exact values will change depending on the specific brands you use or any swaps you make. Here’s what you’re looking at for one bar (based on 16 servings):
- Calories: 350
- Fat: 18g
- Carbohydrates: 45g
- Protein: 4g
- Sugar: 25g
Alright, I hope you’re as excited as I am to get these in the oven. Seriously, give them a try—I think you’ll be hooked. If you do, come back and leave a comment or a star rating to let me know how they turned out. And hey, if you snap a photo of your gooey, beautiful Carmelitas, tag me on social media—I love seeing your creations! Happy baking, friends.
Print
Carmelitas: 1 Secret for Gooey Perfection
- Total Time: 35 minutes
- Yield: 16 bars 1x
- Diet: Vegetarian
Description
Carmelitas are dessert bars with a crunchy oatmeal crust, rich chocolate, and gooey caramel. They are easy to make and perfect for a sweet treat.
Ingredients
- 1 cup all-purpose flour
- 1 cup rolled oats
- 3/4 cup packed brown sugar
- 1/2 teaspoon baking soda
- 1/4 teaspoon salt
- 3/4 cup unsalted butter, melted
- 1 cup semisweet chocolate chips
- 1 jar (11 oz) caramel sauce
- 3 tablespoons all-purpose flour
Instructions
- Preheat your oven to 350°F (175°C). Grease a 9×9 inch baking pan.
- In a large bowl, mix together 1 cup flour, oats, brown sugar, baking soda, and salt.
- Stir in melted butter until the mixture is crumbly.
- Press half of the oat mixture into the bottom of the prepared pan. Bake for 10 minutes.
- Remove from oven and sprinkle chocolate chips over the crust.
- In a small bowl, combine caramel sauce with 3 tablespoons flour. Drizzle over the chocolate chips.
- Top with the remaining oat mixture, pressing gently.
- Bake for 18 to 20 minutes, until golden brown.
- Cool completely before cutting into bars.
Notes
- Let the bars cool fully before cutting to keep them intact.
- Store in an airtight container at room temperature for up to 5 days.
- You can use milk chocolate or dark chocolate chips.
- Prep Time: 15 minutes
- Cook Time: 20 minutes
- Category: Dessert
- Method: Baking
- Cuisine: American
Nutrition
- Serving Size: 1 bar
- Calories: 350
- Sugar: 25g
- Sodium: 200mg
- Fat: 18g
- Saturated Fat: 10g
- Unsaturated Fat: 6g
- Trans Fat: 0g
- Carbohydrates: 45g
- Fiber: 2g
- Protein: 4g
- Cholesterol: 40mg