Nothing says Halloween like spooky treats that taste as good as they look! My Chocolate Ghost Cupcakes with White Frosting have been a hit at every Halloween party I’ve thrown – even the year my ghost decorations looked more like lumpy marshmallows than proper spirits (oops!). These rich chocolate cupcakes topped with fluffy white frosting are seriously addictive, and the best part? They’re way easier to make than they look. I’ll never forget my nephew’s face when he saw a tray of these ghostly goodies – he couldn’t decide whether to eat them or check for real ghosts first!
Why You’ll Love These Chocolate Ghost Cupcakes with White Frosting
These cupcakes aren’t just adorable – they’re downright irresistible! Here’s why they’ve become my go-to Halloween treat:
- So simple to make – even if you’re not a baking pro, you can whip these up in no time
- Perfect party food – kids go crazy for the ghostly decorations (adults too, if we’re being honest)
- Rich chocolate flavor that’s moist and decadent, thanks to my secret sour cream trick
- Endless decorating fun – make silly ghosts, scary ghosts, or let the kids create their own spooky designs
Trust me, these disappear faster than ghosts at sunrise!
Ingredients for Chocolate Ghost Cupcakes with White Frosting
Gathering the right ingredients is half the battle when making these spooky treats! I’ve learned through many Halloween baking sessions that quality matters – especially with chocolate. Here’s everything you’ll need, divided neatly between cupcakes and frosting:
For the Chocolate Cupcakes:
- 1 cup all-purpose flour (spooned and leveled – no packing!)
- 1/2 cup cocoa powder (I prefer Dutch-processed for richer flavor)
- 1 tsp baking powder
- 1/2 tsp baking soda
- 1/4 tsp salt (regular table salt works perfectly)
- 1/2 cup unsalted butter, softened (leave it out for 30 minutes)
- 1 cup granulated sugar
- 2 large eggs, room temperature (they mix in better this way)
- 1 tsp vanilla extract (the real stuff, not imitation!)
- 1/2 cup milk (whole milk gives the best texture)
- 1/2 cup sour cream (this is my secret for super moist cupcakes)
For the White Frosting:
- 2 cups powdered sugar (sifted if it’s lumpy)
- 1/2 cup unsalted butter, softened (same as for the cupcakes)
- 1 tsp vanilla extract
- 2 tbsp milk (plus more if needed for perfect piping consistency)
Pro tip: I always measure everything before starting – it makes the baking process so much smoother when you’re not scrambling to find ingredients mid-recipe! And don’t worry – if you’re missing something, I’ve got substitution ideas coming up later.
Equipment You’ll Need
You won’t need any fancy gadgets for these ghostly cupcakes – just the basics from your kitchen! Here’s what I always grab:
- Muffin tin (standard 12-cup works perfectly)
- Cupcake liners (Halloween-themed ones make it extra fun!)
- Mixing bowls (2 medium-sized – one for dry, one for wet ingredients)
- Electric mixer (hand mixer works great if you don’t have a stand mixer)
- Whisk (for blending dry ingredients – no lumps allowed!)
- Spatula (to scrape every last bit of batter – waste not!)
- Piping bag with round tip (or a ziplock bag with the corner snipped off in a pinch)
- Cooling rack (essential – warm cupcakes make melty ghosts!)
That’s it! No special ghost-making tools required – though I won’t judge if you want to wear a witch’s hat while baking like I do every Halloween.
How to Make Chocolate Ghost Cupcakes with White Frosting
Alright, let’s get spooky! I’ve made these ghost cupcakes so many times I could probably do it in my sleep (though I don’t recommend trying that – hot ovens and sleepy bakers don’t mix well). Follow these steps, and you’ll have perfect Halloween treats in no time!
Step 1: Prepare the Chocolate Cupcake Batter
First things first – preheat that oven to 350°F (175°C). While it’s heating up, let’s make magic happen in two bowls:
- In one bowl, whisk together your dry ingredients – flour, cocoa powder (sift it if it’s clumpy!), baking powder, baking soda, and salt. I like to give them a good 30-second whisk to make sure everything’s evenly distributed.
- In another bowl, beat the softened butter and sugar together until they’re light and fluffy. This takes about 2 minutes with my hand mixer – you’ll know it’s ready when the mixture looks almost white.
- Add eggs one at a time, beating well after each. Then mix in the vanilla – the good stuff makes all the difference!
- Now for the secret weapons – alternate adding the dry ingredients with the milk and sour cream. Start and end with dry ingredients, mixing just until combined after each addition. Don’t overmix! A few flour streaks are fine – they’ll disappear in the final stir.
Step 2: Bake and Cool the Cupcakes
Time to bring these ghosts to life (or… unlife?):
- Line your muffin tin with those cute Halloween liners and fill each about 2/3 full. I use an ice cream scoop for perfect portions – no messy drips!
- Bake for 18-20 minutes. They’re done when a toothpick comes out with a few moist crumbs (not wet batter). Mine are usually perfect at 19 minutes, but ovens vary.
- Let them cool in the pan for 5 minutes, then transfer to a wire rack. This is crucial – if you frost warm cupcakes, you’ll end up with ghost puddles instead of cute little spirits!

Step 3: Make the White Frosting
While the cupcakes cool, let’s whip up some fluffy ghost clouds:
- Beat the softened butter until it’s completely smooth – about 1 minute. Scrape down the bowl to make sure no lumps are hiding.
- Gradually add the powdered sugar, about 1/2 cup at a time, beating well after each addition. It will look crumbly at first – don’t panic!
- Mix in the vanilla and 2 tablespoons of milk. Beat for a full 2 minutes until light and fluffy. If it’s too thick, add milk 1 teaspoon at a time. Too thin? More powdered sugar to the rescue!
Step 4: Decorate Your Ghost Cupcakes
Here’s where the fun really begins! My favorite simple ghost technique:
- Fill your piping bag with frosting (no tip needed – just snip about 1/2 inch off the end).
- Starting at the edge of a cupcake, pipe a tall spiral upwards to make a ghost shape. Give it a little peak at the top for a cute head.
- Use mini chocolate chips or edible markers to add eyes and a mouth. Sometimes I make silly faces, sometimes scary – let your Halloween mood guide you!
- For extra spookiness, dust with a tiny bit of edible glitter or add candy corn “hats.”

There you have it – ghostly perfection! The first time I made these, my ghosts looked more like snowmen, but practice makes perfect. Now they disappear faster than real ghosts at sunrise!
Tips for Perfect Chocolate Ghost Cupcakes with White Frosting
After years of making these Halloween treats (and plenty of “ghost fails” along the way), I’ve learned some tricks that guarantee perfect results every time. Here are my absolute must-know tips:
Room temperature ingredients are non-negotiable
I know it’s tempting to use cold butter straight from the fridge – don’t do it! Softened butter creams properly with sugar, creating those tiny air pockets that make your cupcakes light and fluffy. Same goes for eggs and milk – cold ingredients can make your batter separate. I leave everything out for about 30 minutes before baking. Test your butter by pressing it – it should leave an indent but not feel greasy.
Sift that cocoa powder like your ghosts depend on it
Nothing ruins a perfect chocolate cupcake like lumpy cocoa powder. I learned this the hard way when my first batch had bitter little cocoa clumps throughout. Now I sift it with the flour – just hold a fine mesh strainer over your mixing bowl and gently tap the sides. The extra minute is worth it for that smooth, rich chocolate flavor in every bite.
Master your frosting consistency
The perfect ghost frosting should hold its shape but still be easy to pipe. Here’s how I test mine: Scoop a spoonful and turn it upside down. If it stays put but slowly starts to droop after 5 seconds, it’s perfect. Too runny? Add powdered sugar 1 tablespoon at a time. Too stiff? More milk, 1 teaspoon at a time. And always beat for a full 2 minutes after adding liquids – this makes it wonderfully fluffy.
Cool your cupcakes completely
I once frosted slightly warm cupcakes in a hurry – big mistake! My ghosts melted into sad little blobs. Now I wait until the cupcakes are completely cool to the touch. Pro tip: Speed up the process by placing them in the fridge for 15 minutes after they’ve cooled on the rack for 30 minutes.
Get creative with decorations
Don’t stress about perfect ghost shapes! Some of my favorite creations came from “mistakes.” No piping bag? Use a ziplock with the corner snipped off. For super simple ghosts, just spread frosting with a knife and add chocolate chip eyes. Kids especially love helping with this part – messy ghosts have more personality anyway!
Remember, even if your ghosts don’t turn out picture-perfect (mine rarely do!), they’ll still taste amazing. The real magic is in sharing these spooky treats with friends and family. Happy haunting – I mean, baking!
Ingredient Substitutions and Variations
Okay, let’s talk swaps! I know we don’t always have every ingredient on hand (especially when Halloween sneaks up on us!), so here are my tried-and-true substitutions that still make fantastic ghost cupcakes:
When You’re Out of Sour Cream
That half-cup of sour cream does wonders for moisture, but don’t panic if your fridge is empty. Plain Greek yogurt works beautifully – just use the same amount. I’ve even used buttermilk in a pinch (reduce the milk to 1/4 cup if you do this). The tanginess still gives that perfect balance to the chocolate.
Dairy-Free Ghosts
My niece has a dairy allergy, so we’ve perfected these cupcakes without butter or milk. For the cupcakes: use vegan butter sticks (not tub spreads!) and any unsweetened plant milk. The frosting gets trickier – I’ve had best results with half vegan butter and half vegetable shortening for stability. Coconut milk adds nice richness too!
Cocoa Powder Options
No Dutch-process cocoa? Regular unsweetened cocoa works fine – just add 1/8 teaspoon more baking soda to balance the acidity. For ultra-rich flavor, I sometimes swap half the cocoa with melted dark chocolate (cool it slightly before adding). Warning: this makes the batter thicker, so you might need an extra tablespoon of milk.
Egg Alternatives
Ran out of eggs? For each egg, mix 1 tablespoon ground flaxseed with 3 tablespoons water and let it sit for 5 minutes. It won’t rise quite as much, but the texture stays moist. Applesauce (1/4 cup per egg) works too, but your ghosts might be denser.
Frosting Twists
Want to mix it up? Try these fun variations on the classic white frosting:
- Cream cheese frosting: Replace half the butter with softened cream cheese for tangy ghosts
- Marshmallow fluff: Fold in 1/2 cup for extra fluffy, sticky spirits
- Peppermint: Swap vanilla for peppermint extract and add crushed candy canes for “icy” ghosts
The best part? Even with substitutions, these cupcakes still disappear faster than ghosts at dawn! Just remember – baking is part science, part magic. If your first attempt isn’t perfect, tweak it next time. My early batches were… let’s call them “abstract art,” but now they’re (mostly) recognizable as ghosts!
Serving and Storing Chocolate Ghost Cupcakes with White Frosting
Here’s the spooky truth – these ghost cupcakes rarely last long enough to need storing! But just in case you have leftovers (or want to bake ahead), here’s how I keep them fresh and fabulous:
Room Temperature is Ghost-Friendly
These cupcakes taste best served at room temperature – the chocolate flavor really shines when they’re not too cold. I usually take them out of the fridge about 30 minutes before serving if I’ve stored them there. The frosting softens up perfectly, and you get that amazing melt-in-your-mouth texture.
Airtight is the Way to Go
Halloween or not, frosting hates air! I store mine in an airtight container with layers separated by parchment paper. They’ll stay fresh for up to 3 days this way. Pro tip: If your container isn’t quite tall enough for the ghost decorations, invert a second container over the top as a “lid” – works like a charm!
Freezing for Future Ghosts
Yes, you can freeze these! Here’s my method:
- Unfrosted cupcakes: Freeze individually wrapped in plastic wrap, then transfer to a freezer bag. They’ll keep for 2 months – thaw at room temperature before frosting.
- Frosted cupcakes: Freeze uncovered on a tray until solid (about 1 hour), then wrap tightly in plastic. The ghosts might lose some definition, but the taste stays perfect!

One Halloween, I completely forgot to make treats until the night before – thank goodness I had a batch of these in the freezer! They thawed beautifully and saved my spooky reputation. Just remember: never refreeze thawed cupcakes, or you’ll end up with sad, soggy ghosts.
Whether you’re serving them fresh or pulling them from storage, these chocolate ghost cupcakes always disappear faster than… well, you know!
Nutritional Information
Now, let’s talk numbers – but remember, I’m a baker, not a nutritionist! These estimates are just to give you a general idea, since ingredients and brands can vary. My ghost cupcakes are definitely a treat (I mean, they’re topped with frosting – let’s be real!), but everything in moderation, right?
Each of these chocolate ghost cupcakes with white frosting provides a decent amount of energy to fuel your Halloween adventures (or sugar crashes, depending on how many you eat!). The chocolate base offers some antioxidants from the cocoa, while the eggs and dairy provide protein to balance the sweetness.
Keep in mind that if you make substitutions like using Greek yogurt instead of sour cream or almond milk instead of dairy, your nutritional values will shift. Same goes for decorating additions – those chocolate chip eyes and candy corn hats add up!
The most important number to remember? Infinite smiles per serving when you see those excited faces biting into your spooky creations. That’s the kind of nutrition that really counts in my book!
Frequently Asked Questions
Q1. Can I make these ghost cupcakes ahead of time?
Absolutely! The unfrosted cupcakes freeze beautifully for up to 2 months (see my freezing tips above). You can also bake them 1-2 days before and store at room temperature in an airtight container. Just wait to frost them until the day you’re serving – fresh frosting makes the happiest ghosts!
Q2. Help! My frosting is too runny – how do I fix it?
Don’t panic – I’ve been there! First, pop your frosting in the fridge for 15 minutes to firm up the butter. Then beat in powdered sugar 1 tablespoon at a time until it holds its shape. If it’s still too soft, a pinch of cornstarch can help thicken it without making it too sweet.
Q3. Can I use black cocoa powder for extra-dark ghosts?
You sure can – but be warned, black cocoa has a stronger flavor and less acidity. I’d recommend using half black cocoa and half regular Dutch-process for the best balance. Your ghosts will look extra spooky with that deep, dark color!
Q4. What’s the easiest way to decorate these if I don’t have piping skills?
No fancy piping required! Simply spread frosting with a butter knife into ghost shapes, then use mini chocolate chips or raisins for eyes. For super simple ghosts, dollop frosting with a spoon and give them a little peak at the top – imperfect ghosts have more character anyway!
Q5. My cupcakes sunk in the middle – what went wrong?
This usually happens if the oven door was opened too early or the batter was overmixed. Next time, wait until at least 15 minutes have passed before peeking, and mix just until ingredients are combined. The good news? Sunken centers just mean more room for extra frosting – call it a happy accident!

Spooky Chocolate Ghost Cupcakes with 5 Secret Tricks for Halloween
- Total Time: 35 minutes
- Yield: 12 cupcakes 1x
- Diet: Vegetarian
Description
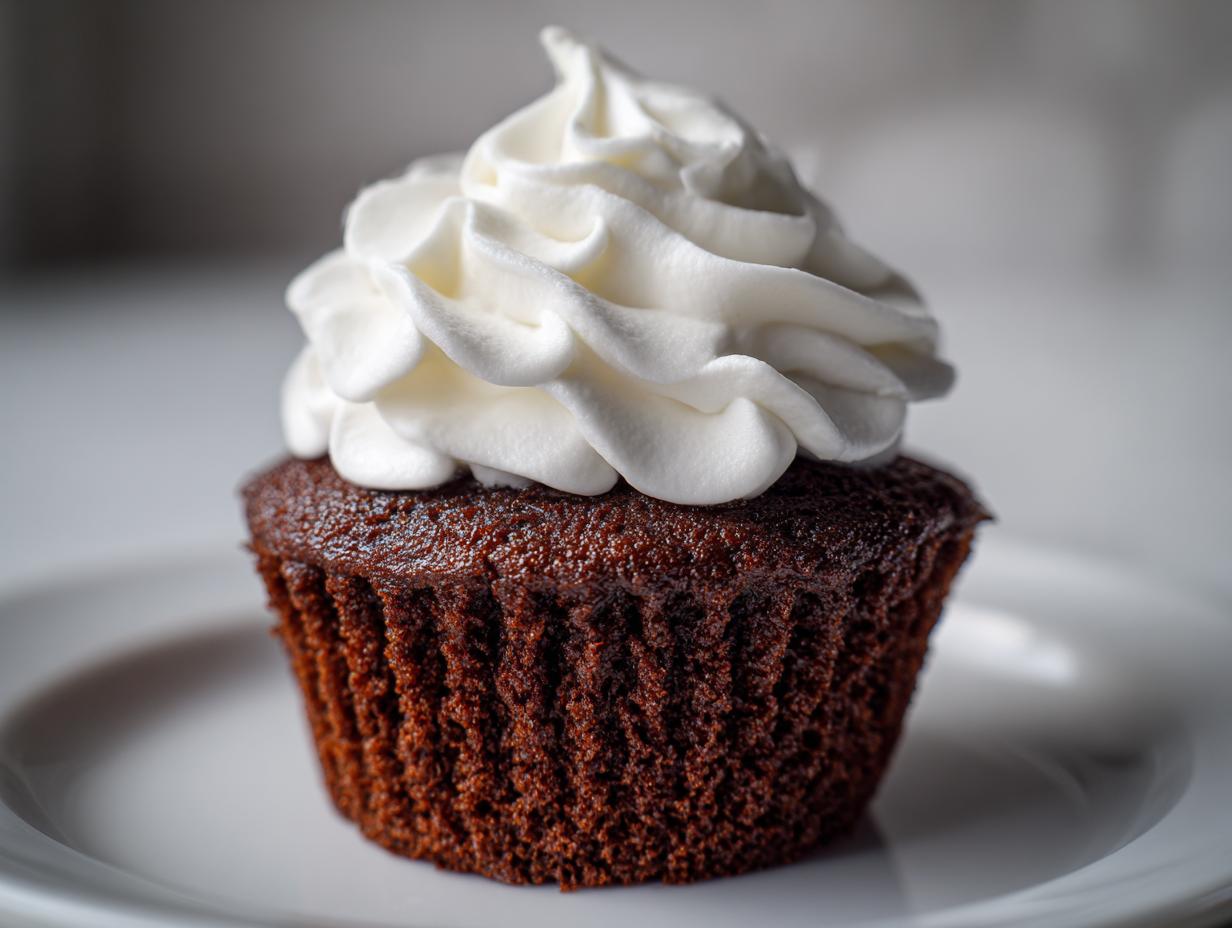
Decadent chocolate cupcakes topped with white frosting, perfect for Halloween.
Ingredients
- 1 cup all-purpose flour
- 1/2 cup cocoa powder
- 1 tsp baking powder
- 1/2 tsp baking soda
- 1/4 tsp salt
- 1/2 cup unsalted butter, softened
- 1 cup granulated sugar
- 2 large eggs
- 1 tsp vanilla extract
- 1/2 cup milk
- 1/2 cup sour cream
- 2 cups powdered sugar
- 1/2 cup unsalted butter, softened
- 1 tsp vanilla extract
- 2 tbsp milk
Instructions
- Preheat oven to 350°F (175°C). Line a muffin tin with cupcake liners.
- In a bowl, whisk flour, cocoa powder, baking powder, baking soda, and salt.
- In another bowl, beat butter and sugar until fluffy. Add eggs one at a time, then vanilla.
- Mix in milk and sour cream. Gradually add dry ingredients until combined.
- Divide batter evenly among liners. Bake for 18-20 minutes. Cool completely.
- For frosting, beat butter until smooth. Add powdered sugar, vanilla, and milk until fluffy.
- Pipe frosting onto cupcakes and decorate as desired.
Notes
- Store cupcakes in an airtight container for up to 3 days.
- For a richer flavor, use dark cocoa powder.
- Adjust frosting consistency with more milk or powdered sugar if needed.
- Prep Time: 15 minutes
- Cook Time: 20 minutes
- Category: Dessert
- Method: Baking
- Cuisine: American
Nutrition
- Serving Size: 1 cupcake
- Calories: 280
- Sugar: 25g
- Sodium: 120mg
- Fat: 14g
- Saturated Fat: 8g
- Unsaturated Fat: 5g
- Trans Fat: 0g
- Carbohydrates: 36g
- Fiber: 2g
- Protein: 3g
- Cholesterol: 55mg