
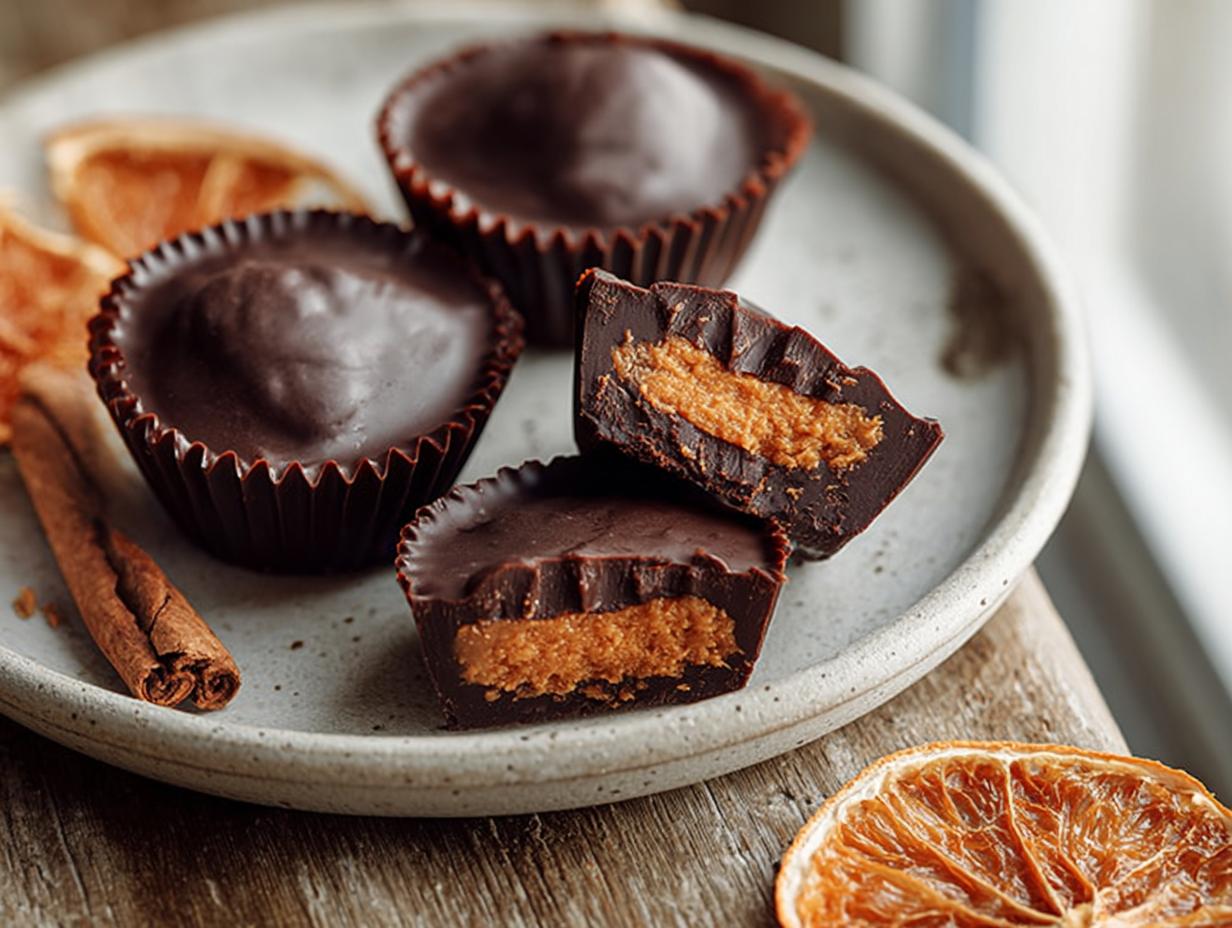
These Chocolate Pumpkin Butter Cups came into my life during one of those crazy autumn weeks when I had zero time but a serious sweet tooth. I needed something fast, something satisfying, and something that actually tasted like fall without turning on the oven. After a few messy experiments with pumpkin and chocolate, these little cups were born. They’re creamy, rich, and come together in almost no time. Best of all? No baking required. Just a few simple ingredients, a little patience while they set, and you’ve got a treat that feels way more indulgent than it actually is. Trust me, you’re going to want these in your life.
Why You Will Love These Chocolate Pumpkin Butter Cups
These Chocolate Pumpkin Butter Cups are about to become your new favorite fall dessert, and here’s why I can’t stop making them:
- No oven required. Seriously, zero baking. That means no heating up the kitchen, and you can whip them up even on the busiest weeknights.
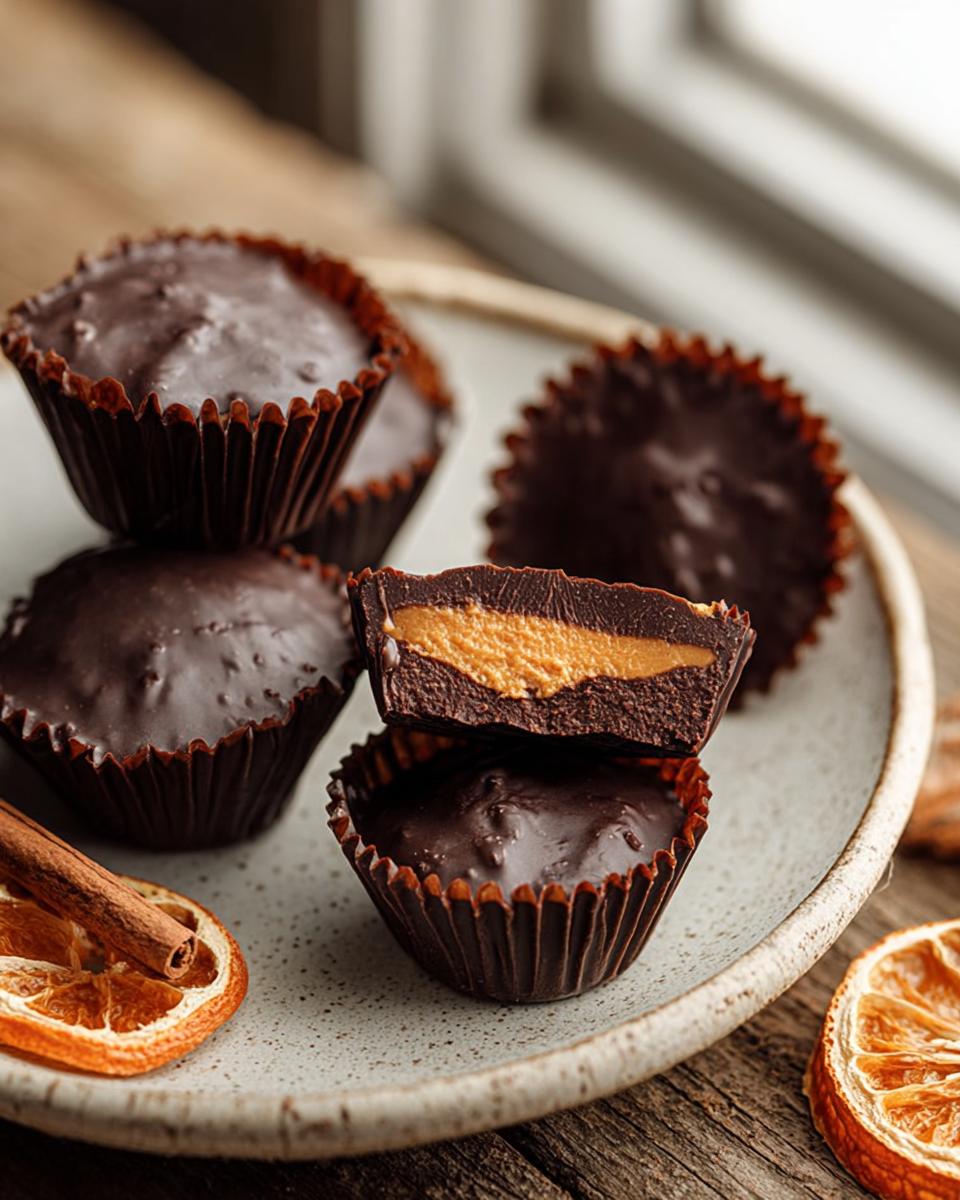
- The filling is pure magic. It’s creamy, spiced just right, and tastes like a pumpkin pie filling that decided to get cozy with chocolate.
- Rich, dark chocolate coating. That satisfying snap when you bite in? Perfection. It balances the sweet pumpkin beautifully.
- They’re vegetarian-friendly. Made with simple, wholesome ingredients, these cups are a treat everyone can enjoy.
Once you try them, you’ll see why they disappear so fast around my house.
Ingredients for Chocolate Pumpkin Butter Cups
Before we get started, let’s talk ingredients. The beauty of these Chocolate Pumpkin Butter Cups is that they use simple stuff you probably already have in your pantry. Here’s exactly what you’ll need:
- 1 cup pumpkin puree – Make sure it’s pure pumpkin puree, not pumpkin pie filling. Big difference! The pie filling has sugar and spices already mixed in, and we want to control that ourselves.
- 1/2 cup creamy peanut butter or almond butter – Go for natural, no sugar added. The kind that’s just nuts and maybe a little salt. Trust me, it makes the filling so much better.
- 1/4 cup pure maple syrup – Not pancake syrup, the real stuff. It adds a lovely depth of flavor that pairs perfectly with the pumpkin.
- 1 teaspoon vanilla extract – Pure vanilla, if you’ve got it. It rounds everything out.
- 1/2 teaspoon pumpkin pie spice – That cozy blend of cinnamon, nutmeg, ginger, and cloves. You could also mix your own if you’re feeling fancy.
- 1/4 teaspoon fine sea salt – Just a pinch to balance the sweetness and make the flavors pop.
- 1 1/2 cups dark chocolate chips (60-70% cacao) – This is where the magic happens. The darker chocolate keeps the cups from being too sweet and gives them that rich, sophisticated taste.
- 1 tablespoon coconut oil (refined) – Refined is key here if you don’t want a coconut flavor. It helps the chocolate melt smoothly and gives the cups that perfect snap when you bite in.
That’s it! Eight ingredients, and you’re on your way to the best no-bake fall treat.
Equipment You Will Need
You don’t need anything fancy to make these, which is part of why I love them. Grab a standard 12-cup muffin tin and some paper liners – that’s your mold. You’ll also want a medium mixing bowl for the filling, a small saucepan or microwave-safe bowl for melting the chocolate, and a spatula for stirring. That’s literally it. Simple tools, amazing results.
How to Make Chocolate Pumpkin Butter Cups Step by Step
Alright, let’s get into the fun part. Making these Chocolate Pumpkin Butter Cups is actually pretty straightforward, but there are a few little tricks I’ve learned along the way that make all the difference. Follow these steps, and you’ll be amazed at how professional they look. The key is taking your time with each layer and not rushing the freezing steps. Trust me, it’s worth it.
Prepare the Pumpkin Filling
Start by grabbing your medium mixing bowl. Add the pumpkin puree, your nut butter of choice, the maple syrup, vanilla extract, pumpkin pie spice, and that pinch of salt. Stir everything together with a spatula until it’s completely smooth and uniform. You don’t want any streaks of nut butter or clumps of spice. Once it’s silky and gorgeous, set it aside. This filling is going to be the star of the show.
Melt the Chocolate and Create the Base
Now for the chocolate. Combine your dark chocolate chips and the coconut oil in a small saucepan or a microwave-safe bowl. If you’re using the microwave, go in 30-second bursts, stirring well between each one. Be careful not to overheat it – chocolate seizes up if it gets too hot, and nobody wants that. Once it’s smooth and glossy, spoon a small amount into each paper liner. Just enough to coat the bottom. Tilt the muffin tin around a bit to spread it evenly. Pop the whole thing in the freezer for exactly 10 minutes.
Assemble the Chocolate Pumpkin Butter Cups
After those 10 minutes, pull the tin out. The chocolate base should be firm to the touch. Now, gently spoon your pumpkin filling into each cup. Here’s the important part: do not let the filling touch the sides of the liner. Leave a little gap all around. You also want to leave about 1/4 inch of space at the top for the final chocolate layer. Spoon the remaining melted chocolate over the filling, covering it completely. Give the tin a gentle tap on the counter to release any trapped air bubbles and level everything out.
Set and Store
Place the tin back in the freezer and let it sit for 30 minutes, or until the cups are completely firm. Once they’re solid, pop them out of the tin and carefully peel off the paper liners. Now, here’s the thing – these Chocolate Pumpkin Butter Cups need to stay cold. Store them in an airtight container in the refrigerator. They’ll be perfect for up to a week, though I doubt they’ll last that long.
Tips for Perfect Chocolate Pumpkin Butter Cups
Over the years, I’ve learned a few tricks that make these Chocolate Pumpkin Butter Cups turn out absolutely flawless every time. First, make sure your pumpkin puree is at room temperature before mixing—cold puree can make the filling stiff and harder to blend smoothly. Second, do not overheat your chocolate. Melt it gently in short bursts, because if it seizes, there’s no saving it. Also, don’t rush the first freeze—that 10-minute set is crucial. If the base isn’t fully firm, the filling will sink into the chocolate and make a mess. Finally, splurge on a good quality dark chocolate (60-70% cacao). It makes a huge difference in the final taste, giving the cups that rich, sophisticated flavor that keeps everyone coming back for more.
Variations for This Recipe
One of the best things about this recipe is how easy it is to switch things up. If you’re out of pumpkin pie spice, just use a pinch of cinnamon and a tiny pinch of nutmeg—works like a charm. Feeling fancy? Swap the dark chocolate for white chocolate. It makes for a sweeter, creamier cup that’s totally decadent. I also love sprinkling a little flaky sea salt on top right before the final set. That salty-sweet combo? Irresistible. And if you’re making these for someone with a nut allergy, sunflower seed butter is a perfect swap. It blends right in and tastes just as delicious.
How to Store Chocolate Pumpkin Butter Cups
These Chocolate Pumpkin Butter Cups need to stay cold—no leaving them out on the counter! Pop them in an airtight container in the fridge, and they’ll be perfect for up to a week. Want to stash some for later? Freeze them in a single layer inside a freezer-safe bag for up to three months. When you’re ready, just let them thaw in the refrigerator for about 10 minutes before serving. Easy peasy.
Frequently Asked Questions
Can I use canned pumpkin pie filling instead of puree?
Oh, please don’t! I know it’s tempting, but pumpkin pie filling already has sugar and spices added, and it’ll throw off the whole balance of these Chocolate Pumpkin Butter Cups. Stick with pure pumpkin puree—it gives you that clean, earthy flavor that makes this no-bake pumpkin dessert so special. You get to control the sweetness and spice yourself, which is way better.
Can I make these vegan?
Absolutely! These Chocolate Pumpkin Butter Cups are already pretty close. Just swap the maple syrup for a vegan-friendly sweetener (it already is!), and make sure your dark chocolate is dairy-free. Most good-quality dark chocolate (60-70% cacao) is vegan, but double-check the label. That’s it—you’ve got yourself a healthy fall treat everyone can enjoy.
Why did my chocolate seize?
Ugh, it happens to the best of us. Chocolate seizes when it gets too hot or when even a tiny drop of water sneaks in. That’s why I always melt it in 30-second bursts in the microwave, stirring between each. If you’re using a double boiler, make sure the bowl doesn’t touch the water. And keep everything bone-dry—no wet spoons! If it does seize, sadly there’s no saving it. Start fresh.
Can I use milk chocolate instead of dark?
You can, but I wouldn’t recommend it. Milk chocolate is much sweeter and softer, so your cups won’t have that satisfying snap when you bite in. Dark chocolate (60-70% cacao) balances the sweet pumpkin filling perfectly. If you really want a milder flavor, try a 55% cacao dark chocolate—still better than milk chocolate.
How do I get clean layers?
Patience is key! Make sure that first chocolate layer is completely frozen solid before you add the pumpkin filling. I freeze for exactly 10 minutes, and I always do the touch test—if it’s firm and doesn’t stick to my finger, I’m good. Also, when spooning the filling, keep it in the center and don’t let it touch the sides of the liner. That little gap ensures the top chocolate seals it all in beautifully.
Nutritional Information
I always get asked about the numbers, so here’s the quick breakdown for one cup. Just keep in mind these are estimates—they’ll vary a bit depending on your exact ingredients and brands. Per cup: about 210 calories, 14g fat, 20g carbs, and 5g protein. Not bad for a treat this good, right?
Your Turn to Make Chocolate Pumpkin Butter Cups
I really hope you give these Chocolate Pumpkin Butter Cups a try! When you do, come back and leave a comment telling me how they turned out, or drop a star rating. And if you snap a photo, tag me on social media—I love seeing your creations!
Print
Chocolate Pumpkin Butter Cups 4 No-Bake Treats
- Total Time: 45 minutes
- Yield: 12 cups 1x
- Diet: Vegetarian
Description
Chocolate pumpkin butter cups are a no-bake dessert. They combine creamy pumpkin filling with rich chocolate. Perfect for fall.
Ingredients
- 1 cup pumpkin puree
- 1/2 cup peanut butter or almond butter
- 1/4 cup maple syrup
- 1 teaspoon vanilla extract
- 1/2 teaspoon pumpkin pie spice
- 1/4 teaspoon salt
- 1 1/2 cups dark chocolate chips
- 1 tablespoon coconut oil
Instructions
- Line a muffin tin with paper liners.
- Mix pumpkin puree, nut butter, maple syrup, vanilla, pumpkin pie spice, and salt until smooth.
- Melt chocolate chips and coconut oil together in a double boiler or microwave.
- Pour a small layer of melted chocolate into each liner. Spread to coat the bottom.
- Place in the freezer for 10 minutes to set.
- Spoon pumpkin filling into each cup, leaving space for the top chocolate layer.
- Pour remaining chocolate over the filling. Tap the tin to level.
- Freeze for 30 minutes until firm.
- Store in the refrigerator.
Notes
- Use natural peanut butter for best texture.
- You can substitute coconut butter for nut butter.
- These cups are best served cold.
- Keep leftovers in an airtight container in the fridge for up to one week.
- Prep Time: 15 minutes
- Cook Time: 0 minutes
- Category: Dessert
- Method: No-Bake
- Cuisine: American
Nutrition
- Serving Size: 1 cup
- Calories: 210
- Sugar: 14 g
- Sodium: 85 mg
- Fat: 14 g
- Saturated Fat: 7 g
- Unsaturated Fat: 5 g
- Trans Fat: 0 g
- Carbohydrates: 20 g
- Fiber: 3 g
- Protein: 5 g
- Cholesterol: 0 mg