Oh my gosh, you have to try making these coffin-shaped chocolate bonbons! They’re my absolute favorite Halloween treat – spooky enough to impress your friends but secretly so easy to whip up. I’ve been making them every October since I found these adorable coffin molds at a thrift store years ago. The best part? That rich, velvety ganache center wrapped in crisp dark chocolate – it’s like biting into a little piece of chocolate heaven with a gothic twist.
Trust me, these aren’t your average store-bought chocolates. The first time I made them, my nephew thought they were too pretty to eat (for about three seconds before devouring half the batch). What I love most is how the simple coffin shape transforms basic ingredients into something magical. Just wait until you see people’s faces when you pull these out at your Halloween party!

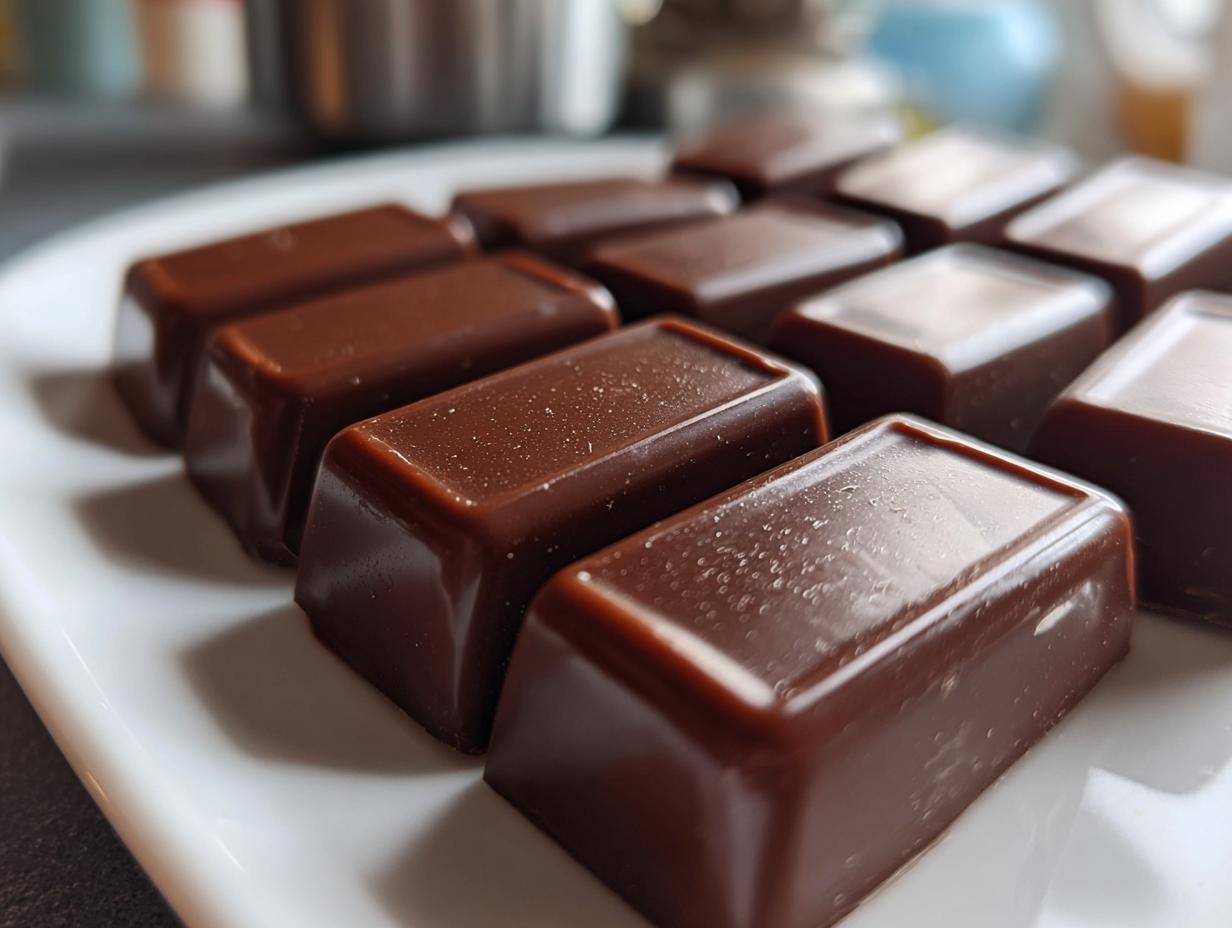
The secret is in the quality chocolate – none of that waxy stuff. When you break into one of these bonbons, the shell gives this satisfying snap before melting into pure chocolate bliss. And don’t even get me started on how amazing your kitchen will smell while making them…
Why You’ll Love These Coffin-Shaped Chocolate Bonbons
Let me tell you why these little chocolate coffins have become my go-to Halloween treat:
- So easy even a zombie could make them – Seriously, if I can do it after burning three batches, anyone can!
- Perfect Halloween vibes – The coffin shape instantly makes any dessert table look fabulous
- Rich, grown-up chocolate flavor – No cheap waxy stuff here, just real dark chocolate goodness
- Endless customization – Fill them with orange zest for a citrus kick or sprinkle edible glitter for extra spookiness
- Total crowd-pleaser – Kids go nuts for the shape, adults swoon over the taste
Honestly, they disappear faster than candy in a haunted house!
Ingredients for Coffin-Shaped Chocolate Bonbons
Okay, let’s talk ingredients – this is where the magic starts! You’ll need just a few simple things, but quality matters here. I learned the hard way that cheap chocolate makes sad bonbons. Here’s what goes into my perfect little chocolate coffins:
- 200g dark chocolate (70% cocoa) – Chop this into pea-sized pieces so it melts evenly. I’m obsessed with Valrhona or Guittard, but any good baking chocolate works
- 100g heavy cream – Look for cream that’s at least 36% fat. Trust me, this isn’t the time for diet versions!
- 20g unsalted butter – Room temp is best. It gives that melt-in-your-mouth texture
- 1 tsp vanilla extract – The real stuff, please! That imitation vanilla just won’t do
- Coffin-shaped chocolate molds – Silicone works great for easy popping out, but plastic works too if you grease lightly
See? Nothing crazy. Just good chocolate, great cream, and a little love. Oh, and those coffin molds – they’re usually cheapest online in September!
How to Make Coffin-Shaped Chocolate Bonbons
Alright, let’s get spooky! Making these coffin-shaped bonbons is easier than you think, but there are a few tricks I’ve learned over the years to make them perfect every time. Follow these steps, and you’ll have chocolates that look like they came from a fancy chocolatier (but shhh… no one needs to know how simple they really are!).
Step 1: Prepare the Chocolate
First, grab your chocolate and chop it into small pieces – think pea-sized or smaller. This helps it melt evenly without scorching. I like to use a serrated knife because it grips the chocolate better. If you’re fancy, you can melt it in a double boiler, but honestly? I just use a microwave in 30-second bursts, stirring between each one. Watch it closely – chocolate burns faster than a vampire in sunlight!
Step 2: Heat the Cream
Now for the cream – pour it into a small saucepan and heat until you see little bubbles around the edges (that’s called “simmering,” not boiling). You want it hot enough to melt the chocolate but not boiling over. Once it’s ready, pour it over your chopped chocolate and let it sit for a full minute – no cheating! This “blooming” time helps the chocolate soften properly before stirring.
Step 3: Fill the Molds
After stirring until smooth (add the butter and vanilla now!), it’s time for the fun part. Pour your ganache into the coffin molds, filling each cavity almost to the top. Here’s my secret: tap the mold gently on the counter a few times to release any air bubbles. You’ll see little bubbles rise to the surface – pop them with a toothpick if needed. This step makes your bonbons look professionally smooth!

Step 4: Chill and Serve
Now the hardest part – waiting! Pop those molds in the fridge for at least 2 hours. I know, I know, you want to peek, but resist! They need this time to set properly. When they’re ready, they’ll pop right out of silicone molds. If you’re using plastic, just flex the mold gently – they should release easily if properly chilled. Serve them chilled for that perfect crisp snap when you bite into them!
See? Told you it was easy! The whole process takes less active time than carving a pumpkin, and the results are way more delicious. Just try not to eat them all before your Halloween party…
Tips for Perfect Coffin-Shaped Chocolate Bonbons
After making these little chocolate coffins for years, I’ve picked up some tricks that take them from good to “Oh my ghost, these are amazing!”:
- Want that professional shine? Try tempering your chocolate – it’s not as scary as it sounds! Just melt 2/3 of your chocolate, then stir in the remaining 1/3 until smooth. This gives them that gorgeous glossy finish. You can learn more about how to temper chocolate for professional results.
- Struggling with bubbles? Use a toothpick to gently pop any surface bubbles right after pouring. Your bonbons will look flawless!
- Keep them fresh by storing in an airtight container in the fridge (if they last that long!). They’ll stay perfect for up to a week.
- Make cleanup easy by wiping molds with a dry paper towel before washing – melted chocolate and water are messy enemies!
Bonus tip: For extra drama, dust with edible gold powder right before serving. Spooky and fancy!
Ingredient Substitutions and Variations
Listen, I know we all have those “oops, I’m out of this ingredient” moments. Here’s how to adapt these coffin-shaped bonbons when you need to improvise:
- Not a dark chocolate fan? Use milk chocolate instead – just reduce the cream slightly since it’s sweeter
- Dairy-free? Swap the cream for full-fat coconut milk and use dairy-free chocolate
- Want some flair? Add a pinch of cinnamon or orange zest to the ganache for a flavor twist
- No vanilla extract? Try almond extract or even a splash of bourbon for adults-only treats!
The best part? These variations all work beautifully – I’ve tested them on my pickiest Halloween guests!
Serving and Storing Coffin-Shaped Chocolate Bonbons
Presentation is everything with these little chocolate coffins! I love arranging them on a black slate board with some edible silver leaf for extra drama. For Halloween parties, I’ll sometimes nestle them in crushed Oreo “dirt” with gummy worms peeking out – the kids go wild for it! If you’re looking for more fun Halloween treats, check out these chocolate spider truffles.
Storage is easy – just keep them in an airtight container in the fridge. They’ll stay perfect for up to a week (if they last that long!). Pro tip: Separate layers with parchment paper so they don’t stick together. And whatever you do, don’t leave them out in warm rooms – these beauties melt faster than a witch in a rainstorm!
Nutritional Information
Each coffin-shaped chocolate bonbon comes in at about 80 calories – totally worth every bite! They’ve got 6g of sugar and 6g of fat (mostly the good kind from quality chocolate and cream). Keep in mind these numbers might shift slightly if you tweak the recipe, like using milk chocolate or adding extras. But hey, it’s Halloween – we’re here for the spooky fun, not the diet!
Frequently Asked Questions
What if I can’t find coffin-shaped molds?
No worries! You can use any small chocolate molds you have – skulls, bats, or even simple squares work great. In a pinch, I’ve used a mini muffin tin lined with parchment paper. The shape won’t be as spooky, but the taste will still be amazing!
How long do these chocolate bonbons last?
Stored properly in the fridge, they’ll stay fresh for about a week. I don’t recommend freezing them though – the texture gets a bit weird when thawed. Trust me, they never last more than a day or two in my house anyway!
Can I use white chocolate instead?
Absolutely! White chocolate makes gorgeous “ghostly” coffins. Just reduce the cream by about 20% since white chocolate is sweeter and softer. You might need to chill them longer to set properly too.
Do I have to temper the chocolate?
Tempering gives that perfect snap and shine, but it’s not mandatory. Your bonbons will still taste delicious without it – they just might look a bit more “rustic” (that’s what I call it when mine aren’t perfect!).
Share Your Creations
I’d love to see your spooky chocolate masterpieces! Tag me on Instagram with your coffin-shaped bonbons – nothing makes me happier than seeing your Halloween creations. Did you add any fun twists? Let me know in the comments below what worked (or didn’t!) in your kitchen adventures.


Spooky 3-Ingredient Coffin-Shaped Chocolate Bonbons That Impress
- Total Time: 2 hours 20 minutes
- Yield: 20 bonbons 1x
- Diet: Vegetarian
Description
Coffin-shaped chocolate bonbons are a fun and spooky treat perfect for Halloween. These bite-sized chocolates have a rich, creamy filling encased in smooth dark chocolate.
Ingredients
- 200g dark chocolate (70% cocoa)
- 100g heavy cream
- 20g unsalted butter
- 1 tsp vanilla extract
- Coffin-shaped chocolate molds
Instructions
- Chop the dark chocolate into small pieces and set aside.
- Heat the heavy cream in a saucepan until it simmers.
- Pour the hot cream over the chocolate and let it sit for 1 minute.
- Stir until smooth, then add butter and vanilla extract.
- Pour the mixture into coffin-shaped molds and refrigerate for 2 hours.
- Remove from molds and serve chilled.
Notes
- Use high-quality chocolate for best results.
- Store in an airtight container in the fridge for up to 1 week.
- For extra shine, temper the chocolate before molding.
- Prep Time: 15 minutes
- Cook Time: 5 minutes
- Category: Dessert
- Method: No-Bake
- Cuisine: American
Nutrition
- Serving Size: 1 bonbon
- Calories: 80
- Sugar: 6g
- Sodium: 5mg
- Fat: 6g
- Saturated Fat: 3.5g
- Unsaturated Fat: 2g
- Trans Fat: 0g
- Carbohydrates: 7g
- Fiber: 1g
- Protein: 1g
- Cholesterol: 10mg