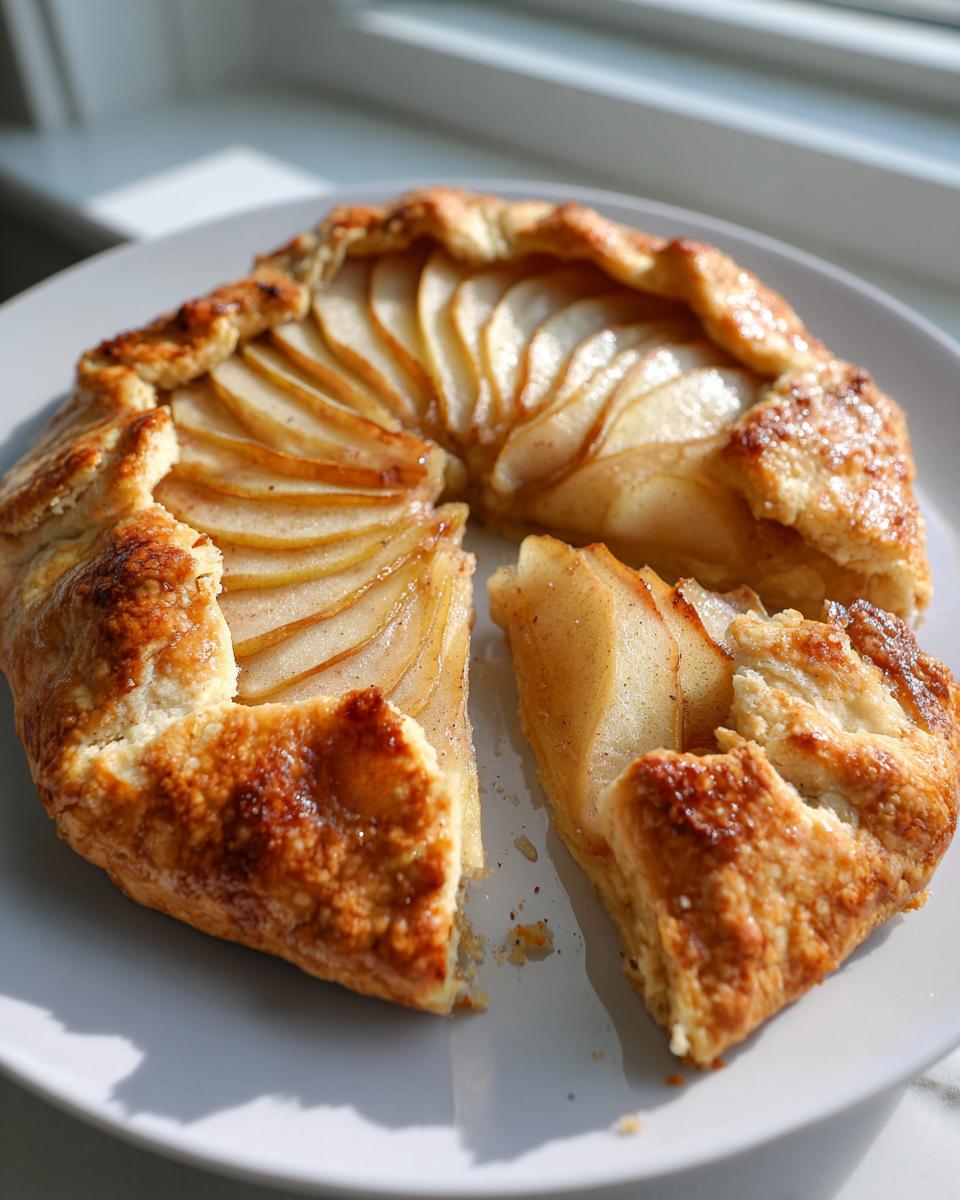
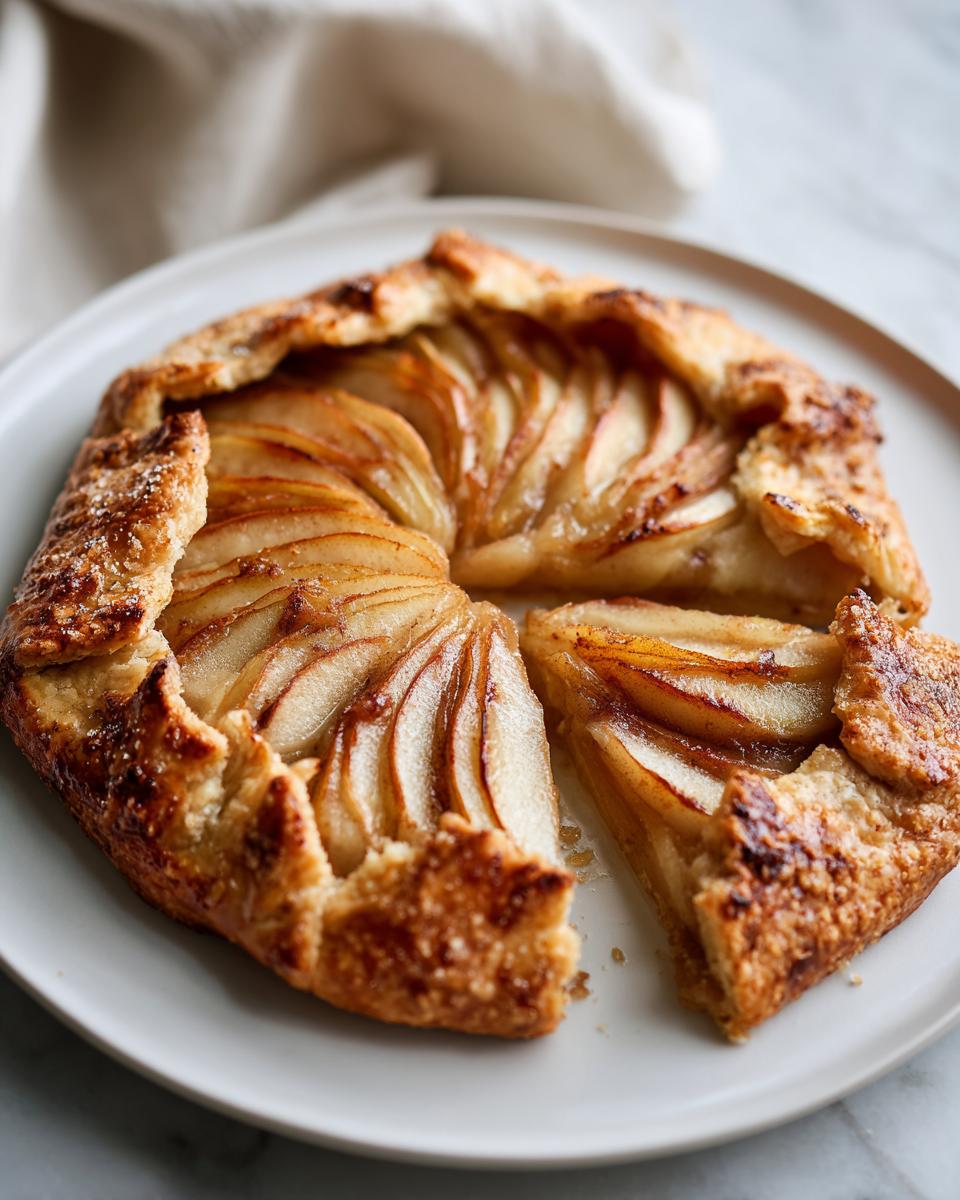
There’s something magical about a pear galette—it’s the kind of dessert that makes you feel like a pastry chef without any of the fuss. I fell in love with this rustic beauty years ago when I needed to whip up a last-minute dessert for friends. No perfect circles, no fancy piping—just buttery, flaky crust hugging juicy, cinnamon-kissed pears. It’s my go-to when I want something impressive but don’t want to spend hours in the kitchen. The best part? It’s forgiving. If your edges are a little uneven or the pears slide around, it just adds to the charm. Serve it warm with a scoop of vanilla ice cream, and suddenly, you’re the hostess who “just threw something together” (wink). Trust me, once you try this pear galette, you’ll understand why it’s the dessert I make more than any other.
Why You’ll Love This Pear Galette
This pear galette is the kind of dessert that makes you look like a kitchen rockstar with minimal effort. Here’s why it’s a winner:
- Effortless elegance: Rustic charm means no stress—imperfections just make it more beautiful.
- Pantry-friendly: Basic ingredients transform into something special (those pears sitting on your counter? Perfect!).
- Foolproof crust: My trick with cold butter guarantees flaky layers every time—no pastry degree required.
- Versatile: Fancy brunch? Casual dessert? This pear galette fits any occasion.
- Smells incredible: Your kitchen will smell like a French patisserie while it bakes—worth it just for that!
Seriously, if you want maximum reward for minimal work, this is your recipe.
Pear Galette Ingredients
Gather these simple ingredients—you probably have most in your kitchen already! The magic happens when humble staples come together just right.
For the crust:
- 2 cups all-purpose flour (I like to fluff it before measuring)
- 1/2 teaspoon salt
- 1 tablespoon sugar (the secret touch for golden crust)
- 3/4 cup unsalted butter, cold and cubed (don’t skimp on quality here!)
- 4-6 tablespoons ice water (yes, it must be icy—I keep a glass in the freezer)
For the filling:
- 3 ripe but firm pears, thinly sliced (about 1/4-inch thick—I leave the skins on for texture)
- 2 tablespoons sugar (brown sugar works beautifully too)
- 1 teaspoon cinnamon (freshly ground if you’re feeling fancy)
- 1 tablespoon butter, melted (for that golden, glossy crust)
See? Nothing fussy—just good ingredients treated right. Now let’s make some magic!
Essential Equipment for Your Pear Galette
You don’t need fancy gadgets for this rustic beauty—just a few basic tools most home cooks already have:
- Large mixing bowl (I use my favorite ceramic one)
- Rolling pin (or an empty wine bottle in a pinch)
- Baking sheet (no special tart pan needed!)
- Parchment paper (trust me, this prevents sticking disasters)
- Pastry brush (or just use your fingers for that butter glaze)
That’s it—now let’s get baking!
How to Make a Pear Galette
This is where the magic happens—turning simple ingredients into a showstopping dessert that’ll have everyone asking for seconds. Don’t let the fancy French name fool you; making a pear galette is easier than you think. Just follow these steps, and you’ll have a golden, flaky masterpiece in no time.
Step 1: Prepare the Dough
First things first—we need that perfect, buttery crust. Grab your chilled butter (cold is key here—if it’s warm, pop it back in the fridge for 10 minutes). In a large bowl, whisk together the flour, salt, and sugar. Then, using your fingertips or a pastry cutter, work the cold butter into the flour until it looks like coarse crumbs with some pea-sized bits remaining. These butter pockets are what’ll give us those dreamy flaky layers!
Now, drizzle in the ice water one tablespoon at a time, mixing gently with a fork just until the dough starts to come together. You might not need all the water—stop when you can press it into a shaggy ball. Knead it lightly on a floured surface just enough to form a smooth disk, then wrap it in plastic and chill for at least 30 minutes. This rest time relaxes the gluten and firms up the butter again—don’t skip it!

Step 2: Roll and Assemble
Here comes the fun part! Roll out your chilled dough on a lightly floured surface into about a 12-inch circle—it doesn’t need to be perfect (remember, rustic is charming!). Transfer it carefully to a parchment-lined baking sheet. Now arrange those beautiful pear slices in concentric circles in the center, leaving about 2 inches of dough bare around the edges.
Sprinkle the pears with sugar and cinnamon—I like to go heavier on the edges where the pears might be thicker. Then comes the signature galette move: fold the edges of the dough up over the pears, pleating as you go. Don’t stress about making it uniform—those uneven folds add character! Finally, brush the crust with melted butter for that gorgeous golden finish. A little sugar sprinkle on top adds extra crunch.

Step 3: Bake to Perfection
Into the preheated 375°F oven it goes! Bake for 35-40 minutes—you’ll know it’s ready when the crust turns deep golden brown and the pears are tender when pierced with a fork (the juices should be bubbling deliciously around the edges). The smell will be absolutely intoxicating—fair warning, your family might start hovering around the oven!
Let it cool for about 15 minutes before slicing—this lets the juices set so you don’t have a runny mess. The contrast of the crisp, buttery crust with those soft, sweet pears is pure heaven. Serve it slightly warm with vanilla ice cream melting over the top, and prepare to take a bow for your baking brilliance.

Pro Tips for the Best Pear Galette
After making more pear galettes than I can count, here are my hard-earned secrets for absolute perfection:
- Pear pickiness pays off: Choose pears that yield slightly when pressed near the stem—too soft and they’ll turn to mush, too hard and they won’t sweeten up. For more on selecting the best fruit, check out this guide to choosing ripe pears.
- Butter matters: Keep everything cold—I even chill my flour and bowl sometimes! Warm butter makes tough crusts, so if your kitchen’s hot, work fast.
- Thicker slices stay put: Cut pears about 1/4-inch thick—thin slices disappear, but these hold their shape beautifully when baked.
- Juice control: If your pears are extra juicy, sprinkle 1 tsp flour over them before adding sugar—this prevents a soggy bottom.
Follow these, and your pear galette will be bakery-worthy every time!
Pear Galette Variations
One of my favorite things about galettes is how easily you can mix things up! Swap pears for apples when they’re in season—just add a squeeze of lemon to keep them bright. Feeling fancy? Toss in a handful of toasted walnuts or pecans with the pears for crunch. I’ve even done a savory version with caramelized onions and goat cheese (trust me, it’s incredible). The dough stays the same, so feel free to get creative with whatever fruit looks best at the market. That’s the beauty of rustic baking—it welcomes improvisation!
Serving and Storing Your Pear Galette
There’s nothing quite like serving a pear galette warm from the oven. The flaky crust and tender pears practically beg for a scoop of vanilla ice cream melting over the top—it’s my absolute favorite way to enjoy it. For a lighter touch, a dollop of whipped cream or a drizzle of caramel sauce works wonders too. If you’re feeling fancy, dust it with powdered sugar for that extra bakery-style finish.
As for storing, this galette keeps beautifully at room temperature for up to 2 days—just cover it loosely with foil or plastic wrap. If you want it to last longer, pop it in the fridge for up to 4 days. To reheat, warm slices in the oven at 300°F for about 10 minutes to bring back that fresh-baked magic. Trust me, it’s just as good the next day!
Pear Galette FAQs
Over the years, I’ve gotten so many questions about this pear galette—here are the ones that pop up most often with my tried-and-true answers:
Can I use store-bought pie dough?
Absolutely! While homemade crust is divine, a quality store-bought dough works in a pinch. Just unroll it, add your pears, and fold—you’ll still get that gorgeous rustic look. The baking time might be slightly shorter, so keep an eye on it.
Can I freeze the pear galette?
Yes! Bake it completely, let it cool, then wrap tightly in plastic and foil. Freeze for up to 2 months. Thaw at room temperature and reheat at 300°F for 15 minutes to crisp up the crust again.
My pears are super juicy—will the galette get soggy?
Sprinkle 1 tablespoon of flour or ground almonds over the dough before adding pears—it soaks up excess juices beautifully. And don’t skip that pre-bake chill time—it helps the crust stay flaky.
Can I make the dough ahead?
You bet! The dough keeps in the fridge for 2 days or freezer for a month. Just thaw overnight in the fridge if frozen. This makes the pear galette perfect for last-minute entertaining!
Nutritional Information
Here’s the nutritional breakdown per slice (values are estimates and vary based on ingredients): Calories: 280, Sugar: 14g, Sodium: 150mg, Fat: 15g, Saturated Fat: 9g, Carbohydrates: 35g, Fiber: 3g, Protein: 3g. Remember, these numbers can change slightly depending on your specific ingredients and portion sizes.
Final Thoughts
This pear galette has stolen my heart—and I know it’ll steal yours too. It’s the kind of recipe that feels like a warm hug, simple yet special enough for any occasion. Give it a try and let me know how it turns out! I love hearing your baking stories almost as much as I love sharing mine.


Irresistible 3-Ingredient Pear Galette Recipe – Effortless Perfection
- Total Time: 1 hour
- Yield: 6 servings 1x
- Diet: Vegetarian
Description
A simple and rustic pear galette that combines the sweetness of pears with a flaky pastry crust. Perfect for a quick dessert or a cozy treat.
Ingredients
- 2 cups all-purpose flour
- 1/2 teaspoon salt
- 1 tablespoon sugar
- 3/4 cup unsalted butter, cold and cubed
- 4–6 tablespoons ice water
- 3 ripe pears, thinly sliced
- 2 tablespoons sugar
- 1 teaspoon cinnamon
- 1 tablespoon butter, melted
Instructions
- Preheat your oven to 375°F (190°C).
- In a large bowl, mix the flour, salt, and sugar. Add the cold butter and mix until the mixture resembles coarse crumbs.
- Add ice water, one tablespoon at a time, until the dough comes together. Form it into a disk, wrap in plastic, and chill for 30 minutes.
- Roll out the dough on a floured surface into a 12-inch circle. Transfer to a baking sheet lined with parchment paper.
- Arrange the pear slices in the center of the dough, leaving a 2-inch border. Sprinkle with sugar and cinnamon.
- Fold the edges of the dough over the pears, pleating as you go. Brush the crust with melted butter.
- Bake for 35-40 minutes, or until the crust is golden and the pears are tender. Let cool slightly before serving.
Notes
- Use ripe but firm pears for the best texture.
- Serve with a scoop of vanilla ice cream or whipped cream for extra indulgence.
- You can prepare the dough in advance and store it in the fridge for up to 2 days.
- Prep Time: 20 minutes
- Cook Time: 40 minutes
- Category: Dessert
- Method: Baking
- Cuisine: French
Nutrition
- Serving Size: 1 slice
- Calories: 280
- Sugar: 14g
- Sodium: 150mg
- Fat: 15g
- Saturated Fat: 9g
- Unsaturated Fat: 5g
- Trans Fat: 0g
- Carbohydrates: 35g
- Fiber: 3g
- Protein: 3g
- Cholesterol: 40mg


