There’s something magical about the smell of freshly baked garlic knot rolls wafting through the kitchen. It’s impossible to resist that warm, buttery aroma mixed with the bold punch of garlic. I remember the first time I made these for a family gathering—they disappeared before I even got to the table! My cousins were practically fighting over the last one. These little knots are more than just bread; they’re a crowd-pleaser, a conversation starter, and the perfect side to any meal. Trust me, once you try them, you’ll be hooked. Let me show you how to make the garlic knot rolls that’ll have everyone asking for seconds.

Why You’ll Love These Garlic Knot Rolls
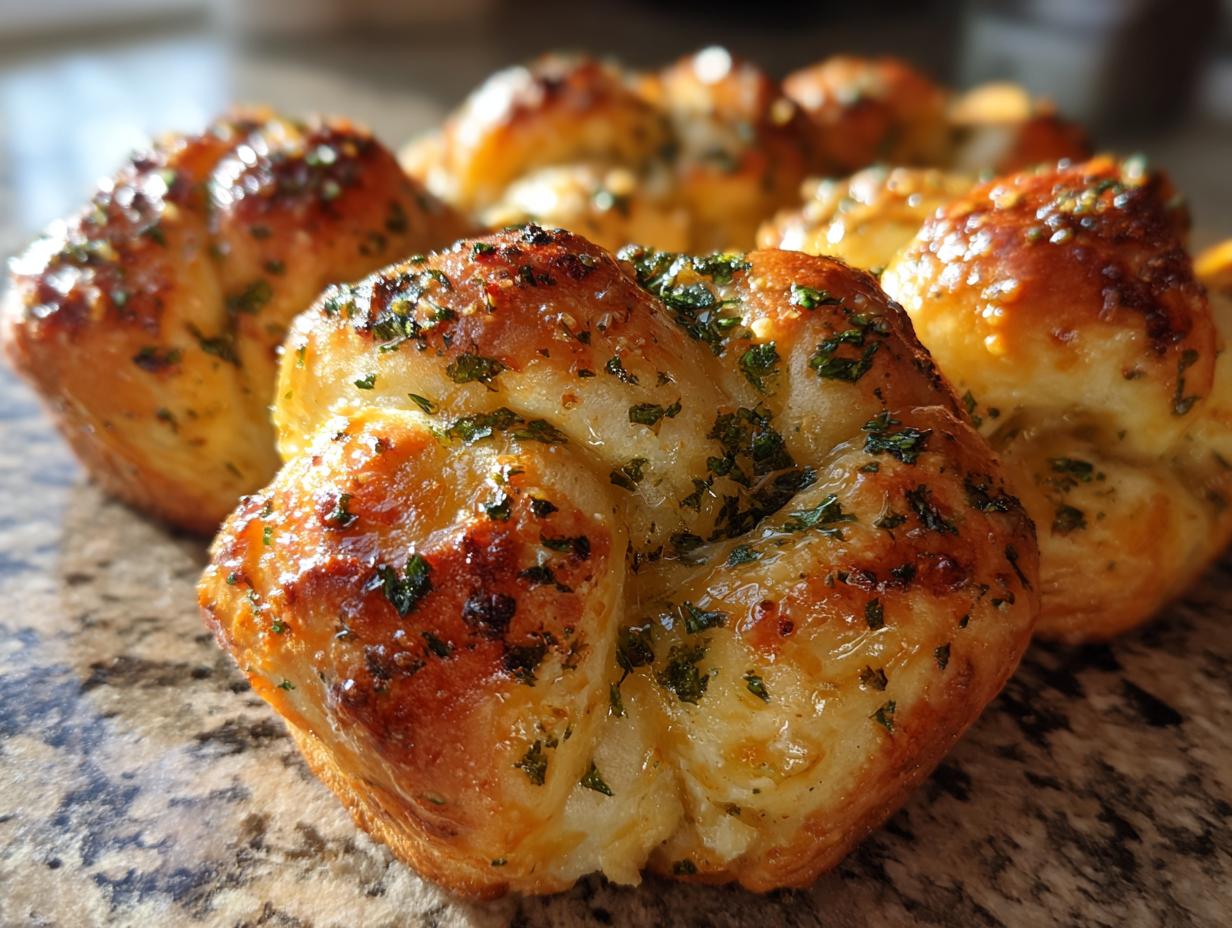
Oh, where do I even start with these little bundles of joy? First off, they’re so soft and fluffy, you’ll feel like you’re biting into a cloud—but a cloud drenched in garlic butter, which, let’s be honest, is the upgrade we all need. The garlic flavor? Bold, but not overwhelming. Just right.
And here’s the best part: you don’t need to be a baking pro to pull these off. The dough comes together with simple ingredients—flour, yeast, a little sugar—and before you know it, you’ve got golden, aromatic knots ready to steal the spotlight at any party.
They’re also crazy versatile. Serve them as a side with pasta (obviously), dunk them in marinara, or just eat them straight off the tray while no one’s looking. No judgment here.
Ingredients for Garlic Knot Rolls
Grab these simple ingredients—you probably have most in your pantry already! The key is fresh garlic and herbs for that irresistible flavor. Here’s what you’ll need:
- 2 ½ cups all-purpose flour – spooned and leveled, no packing!
- 1 tbsp sugar – just enough to wake up the yeast
- 1 tsp salt – balances the richness
- 1 packet (2 ¼ tsp) active dry yeast – check the expiration date!
- 1 cup warm water – like bathwater, not too hot
- 2 tbsp olive oil – for that perfect dough texture
- 4 tbsp unsalted butter, melted – the star of the garlic butter glaze
- 3 cloves garlic, minced – fresh only, no jarred stuff!
- 1 tbsp fresh parsley, chopped – adds that bright green pop
- ½ tsp dried oregano – for a subtle herby background note
Pro tip: If your kitchen’s chilly, warm your mixing bowl first—yeast loves a cozy start!
How to Make Garlic Knot Rolls
Alright, let’s get our hands doughy! Making garlic knot rolls is easier than you think, but there are a few key steps to nail that perfect texture. Follow along—I promise, the smell alone is worth it.
Step 1: Prepare the Dough
First, whisk together your dry ingredients—flour, sugar, salt, and yeast—right in your mixing bowl. No fancy mixer? No problem! A wooden spoon and some elbow grease work just fine. Slowly pour in the warm water and olive oil, stirring until a shaggy dough forms.
Now comes the fun part: kneading! Dust your counter with flour and go to town for about 5 minutes. You’ll know it’s ready when the dough feels smooth and slightly springy—like a soft pillow. If it sticks to your fingers, add a sprinkle more flour, but don’t go overboard. We want it soft, not tough!
Step 2: Shape and Rise the Garlic Knot Rolls
Pop that beautiful dough ball back in the bowl, cover it with a damp towel, and let it rise somewhere warm. (My trick? The oven with just the light on.) In about an hour, it’ll double in size—poke it gently, and if the indent stays, you’re golden.
Now, punch it down (so satisfying!) and divide it into 12 equal pieces. Roll each into a rope about 6 inches long, then tie them into loose knots. Don’t stress about perfection—rustic is charming! Arrange them on a baking sheet, cover again, and let them rise for another 30 minutes. They’ll puff up like little clouds.

Step 3: Bake and Add Garlic Butter
Preheat your oven to 375°F—hot enough for a golden crust but gentle enough to keep them tender. Bake for 12-15 minutes until they’re just starting to turn golden. Meanwhile, mix your melted butter with minced garlic, parsley, and oregano. The second those rolls come out of the oven, brush them generously with the garlic butter. Listen to that sizzle! The heat helps the flavors soak right in.
Let them cool for just a minute—if you can resist—then dig in. That first bite? Pure garlicky heaven.
Tips for Perfect Garlic Knot Rolls
After making these garlic knots more times than I can count, here are my can’t-skip secrets for absolute perfection:
- Find the warmest spot in your kitchen for rising—yeast thrives at around 80°F. No sunshine? Try the oven with just the light on (but keep it OFF if you forget like I did that one time… crispy dough isn’t ideal).
- Fresh garlic is non-negotiable—that pre-minced stuff just doesn’t pack the same punch. And don’t be shy with it! Sometimes I sneak in an extra clove when no one’s looking.
- Double the garlic butter glaze and keep some extra for dipping. Because let’s be real—you can never have enough buttery, herby goodness pooling in those golden crevices.
- Set a timer for baking. These go from perfect to overdone FAST. The moment you see that light golden color? Pull them—they’ll keep cooking a bit on the tray.
Oh, and if your knots aren’t Instagram-perfect on the first try? Who cares! Lopsided knots taste just as delicious.
Storage and Reheating
Okay, let’s be honest—these garlic knot rolls rarely last long enough to store! But if you somehow have leftovers (miracles happen), here’s how to keep them tasting fresh:
- Room temperature: Tuck them into an airtight container or ziplock bag for up to 2 days. The garlic butter keeps them surprisingly moist!
- Freezer magic: Wrap cooled knots tightly in foil, then freeze for up to 3 months. Thaw overnight before reheating.
- Reheating hack: Skip the microwave—it makes them soggy. Instead, pop them in a 350°F oven for 5-7 minutes until warm and slightly crisp again.
Pro tip: Freeze unbaked knots after shaping! Just thaw, let rise, and bake fresh whenever cravings strike.
Garlic Knot Rolls Variations
Once you’ve mastered the basic garlic knot rolls, it’s time to play! My favorite part about this recipe is how easily you can switch things up. Try these simple twists to make them your own:
- Cheese lover’s dream: Sprinkle grated Parmesan over the knots right before baking – it’ll get golden and crispy. (Sometimes I use a mix of Parmesan and mozzarella for extra gooeyness!)
- Spice it up: Add a pinch of red pepper flakes to the garlic butter for a nice kick. My brother insists on this version every time.
- Everything bagel twist: Before the final rise, brush with egg wash and sprinkle with everything bagel seasoning. So good with soup!
The possibilities are endless – what will you try first?
Nutrition Information
Here’s the scoop on what’s in these garlicky delights! (Remember, these are estimates—your exact amounts may vary depending on ingredients.)
- Serving size: 1 roll
- Calories: 150
- Fat: 6g
- Carbs: 22g
- Protein: 3g
Not too shabby for something this delicious, right?
FAQs About Garlic Knot Rolls
Can I use instant yeast instead of active dry yeast?
Absolutely! Instant yeast works just fine—you can use the same amount (1 packet or 2 ¼ tsp). The only difference? No need to proof it first—just mix it right in with your dry ingredients. I’ve done this when I’m in a hurry, and my knots still turn out fluffy and perfect. Just make sure your water’s warm (about 110°F) to wake up the yeast properly.
How do I prevent dry rolls?
Dry garlic knots are a tragedy we must avoid! Two key things: First, don’t overbake—pull them the second they turn golden. Those extra minutes in the oven suck out moisture fast. Second, make sure your dough is slightly tacky (not dry) when kneading—if it feels stiff, add a teaspoon of water. And of course, that garlic butter bath right after baking? Non-negotiable for keeping them soft!
Can I make these ahead?
Yes, and here’s how I do it for stress-free entertaining: Shape the knots, then refrigerate overnight before the second rise. Next day, let them sit at room temp for 30 minutes, then bake as usual. You can also freeze baked knots—wrap them tightly in foil, then reheat at 350°F for 10 minutes. They’ll taste freshly made!
Got your own garlic knot tricks? Share your twists in the comments—I’m always looking for new ideas!


Irresistible Garlic Knot Rolls Recipe – 12 Buttery Bites
- Total Time: 1 hour 45 mins
- Yield: 12 rolls 1x
- Diet: Vegetarian
Description
Soft and fluffy garlic knot rolls infused with garlic butter and herbs, perfect as a side or snack.
Ingredients
- 2 ½ cups all-purpose flour
- 1 tbsp sugar
- 1 tsp salt
- 1 packet (2 ¼ tsp) active dry yeast
- 1 cup warm water
- 2 tbsp olive oil
- 4 tbsp unsalted butter, melted
- 3 cloves garlic, minced
- 1 tbsp fresh parsley, chopped
- ½ tsp dried oregano
Instructions
- In a bowl, mix flour, sugar, salt, and yeast.
- Add warm water and olive oil, then knead into a dough.
- Cover and let rise for 1 hour or until doubled in size.
- Divide dough into 12 pieces, roll into ropes, and tie into knots.
- Place knots on a baking sheet, cover, and let rise for 30 minutes.
- Bake at 375°F for 12-15 minutes or until golden.
- Mix melted butter, garlic, parsley, and oregano. Brush over warm rolls.
Notes
- Use fresh garlic for the best flavor.
- Let dough rise in a warm place for best results.
- Serve warm for maximum enjoyment.
- Prep Time: 1 hour 30 mins
- Cook Time: 15 mins
- Category: Bread
- Method: Baking
- Cuisine: Italian
Nutrition
- Serving Size: 1 roll
- Calories: 150
- Sugar: 2g
- Sodium: 200mg
- Fat: 6g
- Saturated Fat: 3g
- Unsaturated Fat: 2g
- Trans Fat: 0g
- Carbohydrates: 22g
- Fiber: 1g
- Protein: 3g
- Cholesterol: 10mg