Halloween baking has always been my favorite kind of kitchen chaos. There’s something magical about turning ordinary desserts into spooky, playful creations that make both kids and adults light up. My Mummy Wrap Cake became an instant hit the first time I made it for a neighborhood Halloween party—simple enough for last-minute bakers but so visually striking that everyone thought I’d spent hours on it. The best part? It’s just a chocolate cake in disguise, wrapped up in creamy frosting and drizzled with melted white chocolate “bandages.” Trust me, once you see how easy it is to bring this adorable mummy to life, you’ll want to make it every October (or honestly, any time you need a fun dessert surprise).
Why You’ll Love This Mummy Wrap Cake
This cake is the ultimate crowd-pleaser, and here’s why:
- Effortless fun: Box mix keeps it simple, but the decorating makes it look like you slaved away (your secret’s safe with me).
- Halloween superstar: Nothing gets more “oohs” at a party than a dessert that looks straight out of a tomb.
- Kid-approved magic: Little helpers can drizzle the “bandages” and dot the eyes—messy fingers welcome!
- Endless creativity: Swap chocolate for strawberry cake, add gummy worms crawling out, or go neon with colored gels.
- Seriously tasty: The rich chocolate + sweet vanilla frosting combo? Irresistible. Even mummies would rise from the dead for a slice.
Mummy Wrap Cake Ingredients
Gather these simple ingredients – you probably have most in your pantry already! The magic happens when ordinary items transform into something spooktacular.
- 1 box chocolate cake mix – Any brand works, but I’m partial to devil’s food for extra rich flavor
- 1 cup water – Room temperature helps the batter come together smoothly
- 1/2 cup vegetable oil – This keeps our mummy moist and tender
- 3 large eggs – Crack them one at a time to avoid shells – trust me, I’ve learned this the hard way!
- 2 cups vanilla frosting – Store-bought or homemade, just make sure it’s spreadable
- 1/4 cup black decorating gel – For those creepy-cute mummy eyes peeking through
- 1/2 cup white chocolate chips – Melted carefully (30 second bursts in the microwave!) for perfect “bandage” drizzles
Pro tip: Double check your pantry before starting – nothing’s scarier than realizing you’re out of eggs mid-recipe! I may or may not have made that mistake last Halloween…
Equipment You’ll Need for Mummy Wrap Cake
No fancy tools required here – just the basics from your kitchen will do the trick! Here’s what you’ll want to grab:
- Mixing bowl – Big enough for enthusiastic stirring (we both know that cake batter tends to fly!)
- 9×13 inch rectangular cake pan – The perfect “mummy” shape – no need for fancy molds
- Spatula – For scraping every last bit of batter (or for sneaking tastes – I won’t tell)
- Piping bag or ziplock bag – Corner snipped off for those perfect “bandage” drizzles
- Toothpick – The old reliable doneness tester
See? Nothing scary here. If you’re missing something, chances are you’ve got a household substitute – a mug works in a pinch for melting chocolate, and a spoon can stand in for a spatula in emergencies!
How to Make Mummy Wrap Cake
Okay, let’s bring this adorable mummy to life! I promise it’s easier than it looks – even if you’re not a baking pro, these simple steps will have you creating a showstopper in no time. The key is taking it one “bandage” at a time.
Step 1: Prepare the Cake Batter
First things first – fire up that oven to 350°F (175°C). While it’s heating, grab your cake pan and give it a quick grease with butter or baking spray. (Pro tip: A little flour dusting helps too if you’re nervous about sticking!)
Now for the easy part: dump that chocolate cake mix into a big bowl. Add your water, oil, and eggs all at once. I like to crack the eggs into a separate bowl first – learned that lesson after too many shell-retrieval missions! Mix with a whisk or electric mixer until smooth, about 2 minutes. The batter should be thick but pourable – if it looks too stiff, add a tablespoon more water.
Step 2: Bake and Cool the Cake
Pour that glorious chocolate batter into your prepared pan, smoothing the top with a spatula. Pop it in the oven for 25-30 minutes. Around the 25 minute mark, do the toothpick test – stick it in the center, and if it comes out clean or with just a few moist crumbs, you’re golden!
Here’s where patience comes in (the hardest part for me!): Let that cake cool COMPLETELY before decorating. I mean it – at least an hour. Trying to frost a warm cake leads to melty disaster. Learned that one the messy way during my nephew’s birthday party!

Step 3: Decorate Your Mummy Wrap Cake
The fun begins! Spread your vanilla frosting all over the cooled cake – no need to be perfect, mummies are supposed to look a little ragged! Now melt those white chocolate chips in 30-second microwave bursts, stirring between each until smooth.
Pour the melted chocolate into a piping bag or ziplock with a tiny corner snipped off. Pipe diagonal lines across the cake, then go the opposite direction to create that crisscross “bandage” look. Remember: uneven is good – real mummy wraps weren’t perfect! Finally, dot on eyes with the black gel. I like making some peek out from under the “bandages” for extra creepiness.

Stand back and admire your masterpiece! The hardest part now? Waiting to eat it until your guests arrive!
Tips for the Perfect Mummy Wrap Cake
After making this cake more times than I can count (and learning from all my mistakes!), here are my can’t-miss tips:
- Chill out: Pop the frosted cake in the fridge for 15 minutes before drizzling – it helps the chocolate “bandages” hold their shape instead of sinking in.
- Bag it: A piping bag gives you way more control than a spoon, but if you’re using a ziplock, snip the tiniest hole – you can always make it bigger!
- Color play: Swap black gel for green or red to match your party theme – last year I did glow-in-the-dark eyes that were a total hit.
- Texture trick: For “aged” bandages, sprinkle a tiny bit of cocoa powder over the white chocolate while it’s still wet.
- Emergency fix: If your drizzles go wonky? More is more! Add extra layers until it looks intentionally messy – mummies weren’t tidy!
Remember – imperfection makes it spookier. My first attempt looked like a snowstorm hit it, but everyone still raved!
Mummy Wrap Cake Variations
Once you’ve mastered the classic version, try these fun twists to keep your mummy cake fresh (unlike its inspiration!):
- Bloody bandages: Use strawberry cake mix and add red gel “blood” drips peeking through the wraps – perfect for zombie parties!
- Crunchy surprise: Mix toasted coconut flakes into the frosting for a “sandy” mummy just unearthed from its tomb.
- Monster mash: Swap vanilla frosting for mint green and add candy eyeballs peeking through the bandages.
- Pumpkin spice: Use spice cake mix and cinnamon-spiked frosting for a cozy autumn twist on the classic.
The beauty? No matter which version you choose, that adorable mummy look always steals the show. Have fun with it – even my “failed” experiments somehow turn out Instagram-worthy!
Storing and Serving Mummy Wrap Cake
Here’s how to keep your mummy cake fresh and looking its best until showtime (and what to do with inevitable leftovers – though I’ve never actually had any!):
Short-term storage: If you’ve used store-bought frosting, the cake can sit covered at room temperature for up to 2 days. But with homemade frosting or in warm kitchens, I always refrigerate it. Just pop it in an airtight container or cover loosely with foil – the chocolate “bandages” might sweat a tiny bit when cold, but they firm back up beautifully at room temperature.
Serving tips: Take refrigerated cakes out about 30 minutes before serving – frosting tastes best when it’s not ice-cold! For neat slices, run your knife under hot water and wipe dry between cuts. Pro tip: If the white chocolate drizzle hardens too much, a quick 5-second microwave zap makes it sliceable again.
Leftovers? Ha! Just kidding – but if you somehow have extra, it keeps refrigerated for 3-4 days. The cake actually gets more moist as it sits (like a good mummy should!). My family loves sneaking midnight slices straight from the fridge – the cold makes the chocolate “bandages” extra satisfying to bite through!
Mummy Wrap Cake Nutritional Information
Let’s be real – this cake isn’t winning any health food awards, but who cares when it’s this much fun? These estimates give you a general idea of what’s in each glorious slice (because let’s face it, nobody stops at just one!). Keep in mind, nutritional values can vary depending on your specific ingredients and brands.
Each serving typically falls in the same ballpark as most homemade cakes – think sweet, satisfying, and totally worth every bite. The chocolate cake base brings that rich cocoa flavor, while the frosting and white chocolate add creamy sweetness to balance it out. If you’re watching certain nutrients, you can always tweak with low-sugar cake mixes or light frosting options.
My philosophy? Holidays and parties are for indulging – and this mummy cake is all about creating delicious memories. Just don’t ask me how many slices I “tested” last Halloween while “quality checking”!
Frequently Asked Questions
Over the years, I’ve gotten so many questions about this adorable cake – here are the ones that pop up most often (along with my tried-and-true answers):
Can I Use Homemade Cake Batter Instead of Box Mix?
Absolutely! While the box mix keeps things easy, homemade chocolate cake works beautifully. Just make sure your batter yields enough for a 9×13 inch pan. My go-to scratch recipe uses 2 cups flour, 2 cups sugar, 3/4 cup cocoa powder – you know the drill. The decorating method stays exactly the same. Pro tip: Homemade cakes tend to be more delicate, so let them cool completely (like, overnight if possible) before frosting.
Can I Use a Different Frosting?
You sure can, but hear me out – vanilla’s the MVP here. That bright white makes the chocolate “bandages” pop visually. That said, I’ve used cream cheese frosting (extra tangy!) and even chocolate frosting (for a double chocolate mummy – yum!). Just avoid anything too dark if you want those white chocolate drizzles to stand out. If you go rogue with colored frosting, maybe swap the white chocolate drizzle for a contrasting color – mint green on pink frosting makes a fun monster mash effect!
How Do I Fix Runny Frosting?
Oh man, been there! If your frosting’s too thin, try chilling it for 15 minutes first. Still runny? Mix in powdered sugar 1 tablespoon at a time until it holds its shape. Worst case scenario? Embrace the “melting mummy” look – slather it on thick, let some drip down the sides, and call it intentional. My secret weapon? A quick crumb coat – a thin layer of frosting you chill before adding the final coat. Gives you way more control!
How Do I Get Clean Drizzle Lines?
The piping bag is your best friend here! Snip just the teeniest hole – you want a thin stream, not a flood. Practice on parchment first if you’re nervous. No piping bag? A ziplock with the corner snipped off works in a pinch – just go slow and lift the bag as you drizzle to create thin lines. Temperature matters too – melted chocolate should be warm but not hot (test a dab on your wrist like baby formula!). And if some lines go rogue? More is more – pile on extra drizzles until it looks perfectly imperfect.
Can I Make This Cake Ahead?
You’re speaking my language! The cake itself can be baked 2 days in advance – just wrap it tightly in plastic once cooled. Frost and decorate up to 1 day before serving (store refrigerated). The white chocolate “bandages” hold up great overnight. For absolute peak freshness, I like to bake the cake one day, frost it the next morning, then add the finishing touches a few hours before the party. That way everything tastes freshly made (but you’re not scrambling last minute!).
Print
Spooky Mummy Wrap Cake: 3 Easy Tricks for Halloween Magic
- Total Time: 45 minutes
- Yield: 12 servings 1x
- Diet: Vegetarian
Description
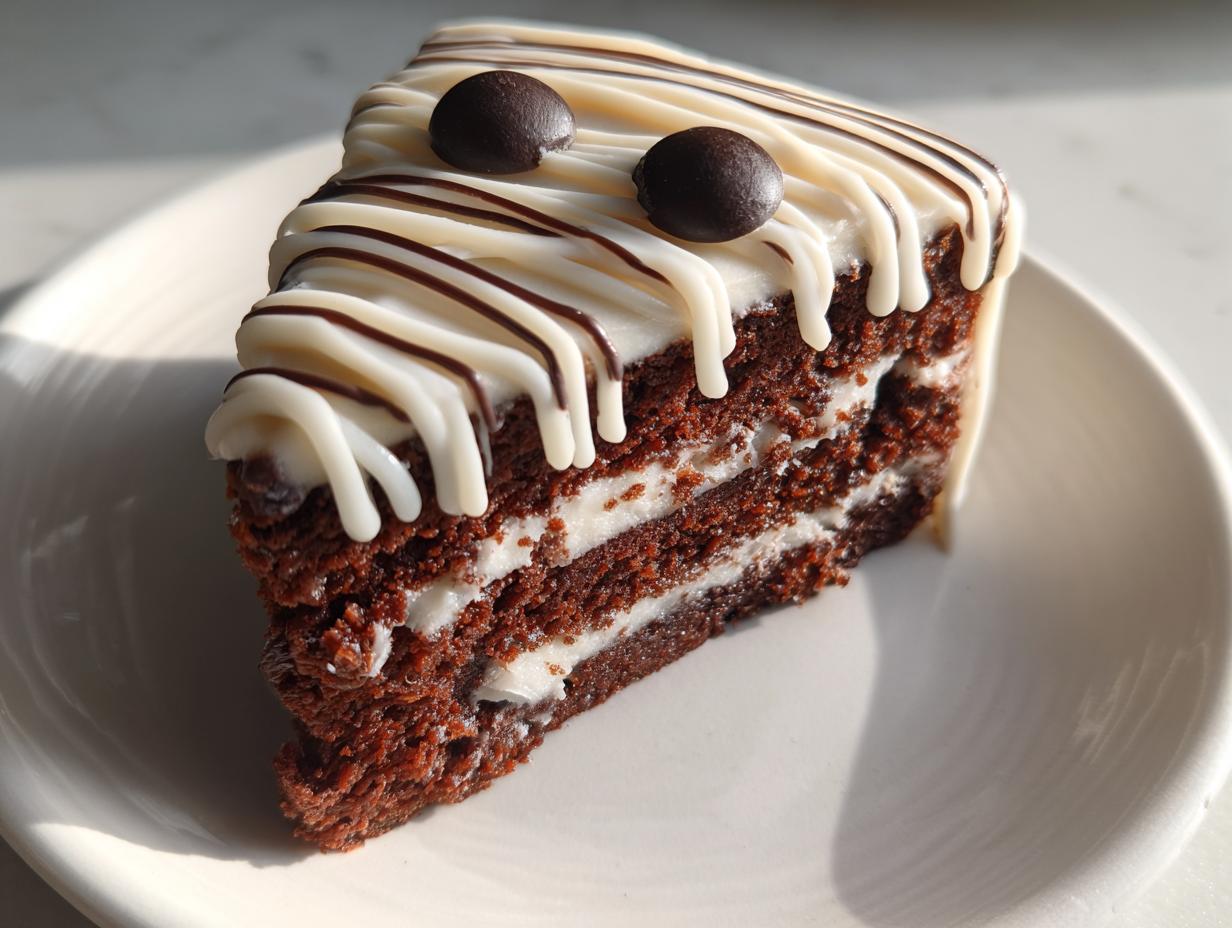
A delicious and visually stunning cake that resembles a mummy’s wrapping, perfect for Halloween or themed parties.
Ingredients
- 1 box of chocolate cake mix
- 1 cup of water
- 1/2 cup of vegetable oil
- 3 eggs
- 2 cups of vanilla frosting
- 1/4 cup of black decorating gel
- 1/2 cup of white chocolate chips (melted)
Instructions
- Preheat your oven to 350°F (175°C).
- Mix the cake mix, water, oil, and eggs in a bowl until smooth.
- Pour the batter into a greased rectangular cake pan.
- Bake for 25-30 minutes or until a toothpick comes out clean.
- Let the cake cool completely.
- Cover the cake with vanilla frosting.
- Drizzle melted white chocolate in a crisscross pattern to resemble mummy wraps.
- Use black decorating gel to add eyes or other details.
Notes
- Store the cake in the fridge if using perishable frosting.
- Customize the design with different colors for different themes.
- Prep Time: 15 minutes
- Cook Time: 30 minutes
- Category: Dessert
- Method: Baking
- Cuisine: American
Nutrition
- Serving Size: 1 slice
- Calories: 320
- Sugar: 25g
- Sodium: 280mg
- Fat: 12g
- Saturated Fat: 4g
- Unsaturated Fat: 6g
- Trans Fat: 0g
- Carbohydrates: 48g
- Fiber: 1g
- Protein: 3g
- Cholesterol: 45mg