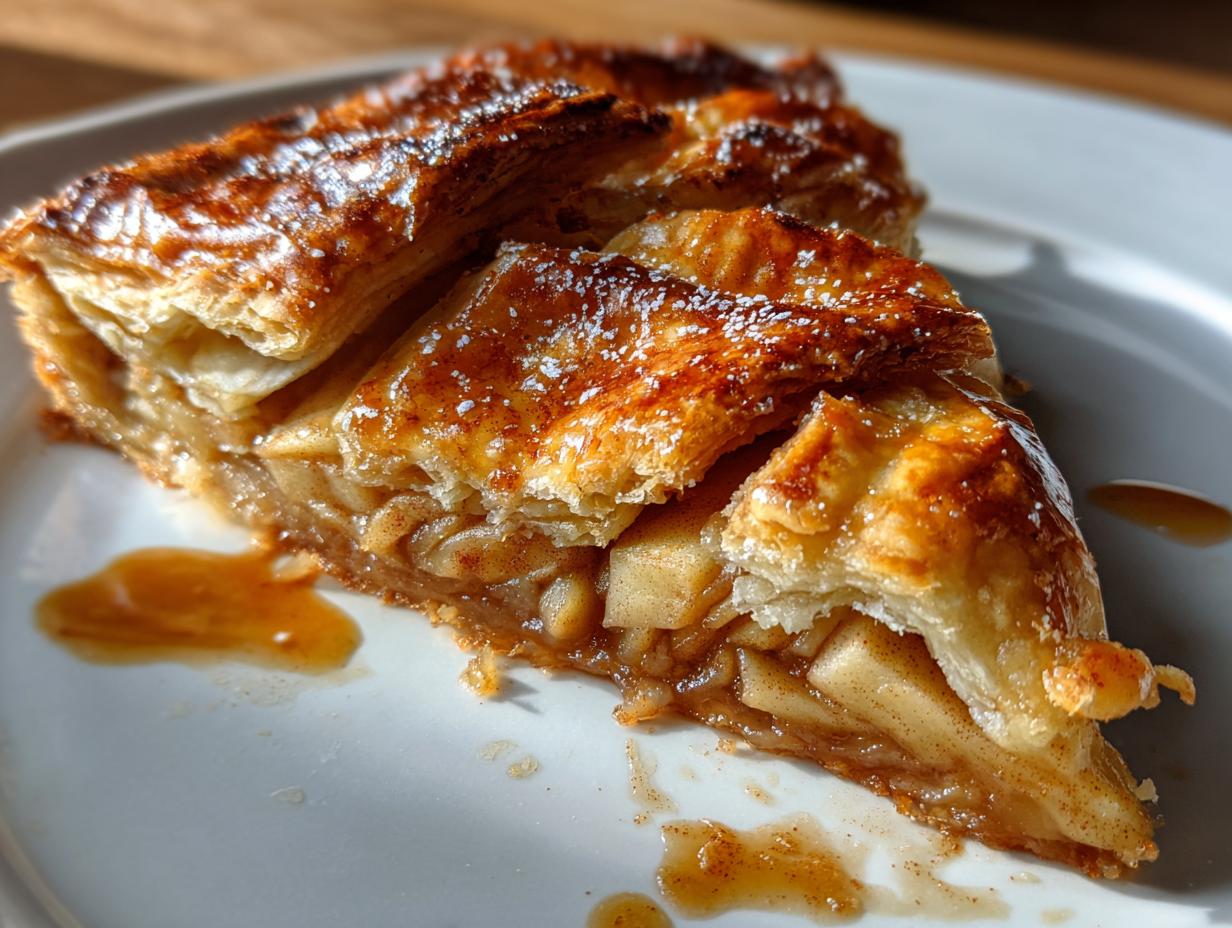
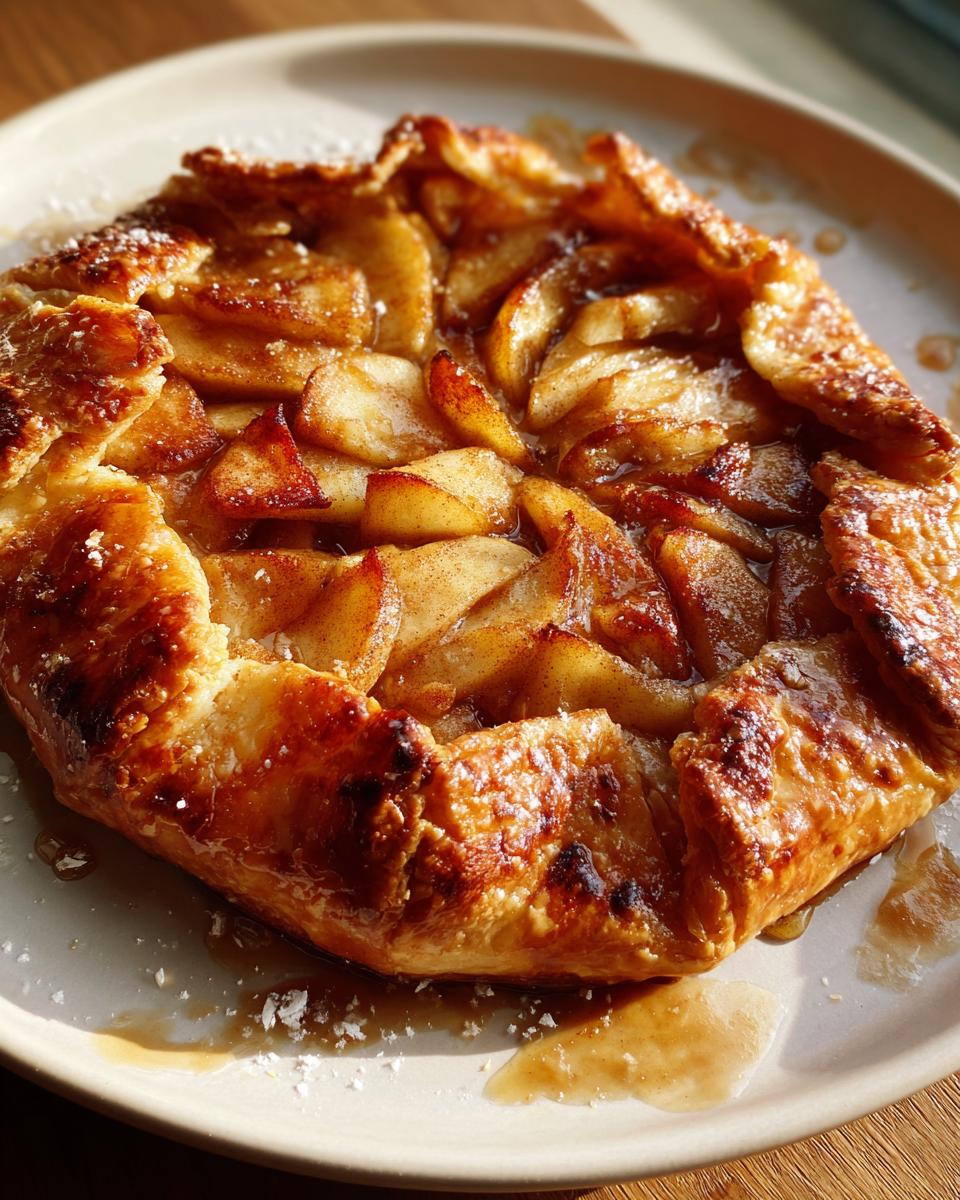
There’s something magical about pulling a rustic apple galette from the oven – that golden, flaky crust cradling tender spiced apples, filling the kitchen with the scent of cinnamon and butter. I still remember my first attempt at this free-form tart, nervously pleating the edges while my grandmother chuckled and said, “That’s the beauty of rustic – perfection is overrated!”
After years of pastry classes and countless galettes (some prettier than others), I’ve learned this simple truth: the best rustic apple galette celebrates imperfection. It’s the dessert that says “I baked this with love” rather than “I spent hours fussing.” Whether you’re new to pie dough or a seasoned baker, this recipe will become your go-to for impromptu gatherings or cozy Sunday afternoons.
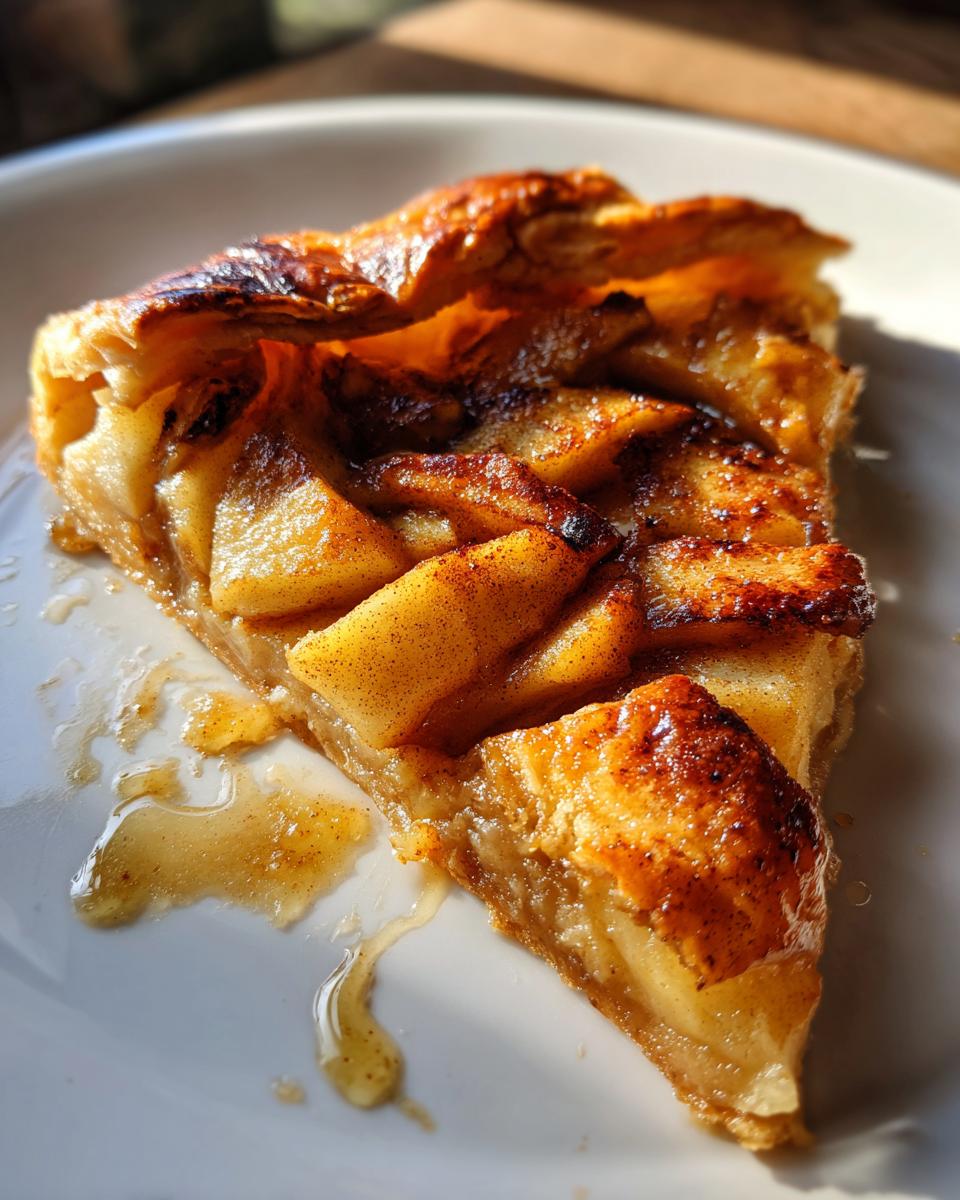
Why You’ll Fall Head Over Heels for This Rustic Apple Galette
This galette stole my heart years ago, and here’s why it’ll steal yours too:
- No pastry perfectionism needed – Those uneven folds and jammy apple juices bubbling out? That’s where the charm lives! Unlike finicky pies, galettes forgive (and even celebrate) your “rustic” touches.
- Pantry superhero – Flour, butter, apples, sugar – that’s basically it. I’ve whipped this up with last-minute guests arriving and apples that were slightly past their prime (shh, our secret).
- The sweet-tart magic – That sprinkle of cinnamon and lemon juice makes the apples sing. First bite crispy crust, then soft spiced fruit – pure texture heaven.
- Looks fancy, secretly easy – Slide this onto a wooden board and watch eyes light up. Nobody needs to know it took half the effort of a traditional pie!
Ingredients for Rustic Apple Galette
Here’s what you’ll need to make magic happen – I promise it’s simpler than you think! These are the exact ingredients I use every time (and yes, I’ve tested shortcuts – these work best):
- 1 1/2 cups all-purpose flour – Spoon and level it, don’t scoop! Too much flour makes tough crusts.
- 1/2 teaspoon salt – Just enough to balance the sweetness.
- 1/2 cup unsalted butter, chilled and cubed – Cold is the word here! I pop mine in the freezer for 15 minutes before using. Those pea-sized butter bits create flaky pockets.
- 4-5 tablespoons ice water – Literally add an ice cube to your water – warm dough = sad galette.
- 3 medium apples, thinly sliced (about 1/4-inch) – I use 2 Granny Smith and 1 Honeycrisp for perfect sweet-tart balance. Peeling optional (I never do – more fiber!).
- 1/4 cup granulated sugar – Sometimes I sneak in 1 tbsp brown sugar for caramel notes.
- 1 teaspoon ground cinnamon – The soul of this dessert! Freshly ground tastes brightest.
- 1 tablespoon lemon juice – Keeps apples from browning and adds zing.
- 1 egg, beaten (for egg wash) – That golden sheen isn’t just pretty – it seals the crust.
- 1 tablespoon turbinado sugar (optional) – That crunchy sparkle on the edges? Chef’s kiss!
Ingredient Substitutions
Out of something? Here are my tested swaps (with full disclosure on the trade-offs):
- Butter → Coconut oil – Works in a pinch, but your crust won’t be as flaky. Chill it extra cold.
- Sugar → Maple syrup – Reduce other liquids slightly. Adds lovely depth but makes apples softer.
- Apples → Pears – Delicious! Bake 5 minutes less – pears release more juice.
- All-purpose flour → 1:1 gluten-free blend – Works surprisingly well! Add 1/2 tsp xanthan gum if your blend doesn’t have it.
Pro tip: Whatever you substitute, keep that butter cold and apples thin – those two things make or break your galette!
How to Make a Rustic Apple Galette
Alright, let’s get our hands floury! I’ve made this galette dozens of times (okay, maybe hundreds), and these steps will guide you to that perfect golden-brown beauty. Don’t stress – remember, “rustic” means character, not perfection!
- Make your dough: Whisk flour and salt in a big bowl. Toss in those icy butter cubes and use your fingers to smash them into the flour until it looks like coarse crumbs with some pea-sized bits remaining. This is my favorite part – feels like playing in sand!
- Add water slowly: Drizzle in ice water 1 tablespoon at a time, mixing with a fork until the dough just holds together when you squeeze it. Too much water = tough crust, so stop at 5 tbsp max!
- Chill out: Shape dough into a disk (don’t overwork it!), wrap in plastic, and refrigerate for at least 30 minutes. This relaxes the gluten and keeps the butter cold – secret to flakiness!
- Prep apples: While dough chills, toss your thinly sliced apples with sugar, cinnamon, and lemon juice. Let them sit for 15 minutes – they’ll release some juices (save this for drizzling later if you’re fancy!).
- Roll it rustic: On a floured surface, roll dough into a rough 12-inch circle (no ruler needed!). Transfer to parchment paper – it’ll look uneven, and that’s gorgeous.
- Arrange apples: Leave a 2-inch border, then fan apple slices in overlapping circles. Pile ’em high – they’ll shrink while baking! Pour any accumulated juices over the top.
- Fold with flair: Fold dough edges over apples, pleating every 2-3 inches. No need to be precise – uneven folds add charm! Brush crust with egg wash and sprinkle with turbinado sugar.
- Bake to golden glory: Bake at 375°F for 35-40 minutes until crust is deep golden and apples are tender when poked with a fork. That heavenly smell means it’s working!
- Cool (if you can wait): Let it cool for at least 15 minutes before slicing – those juices need to set so they don’t run everywhere!
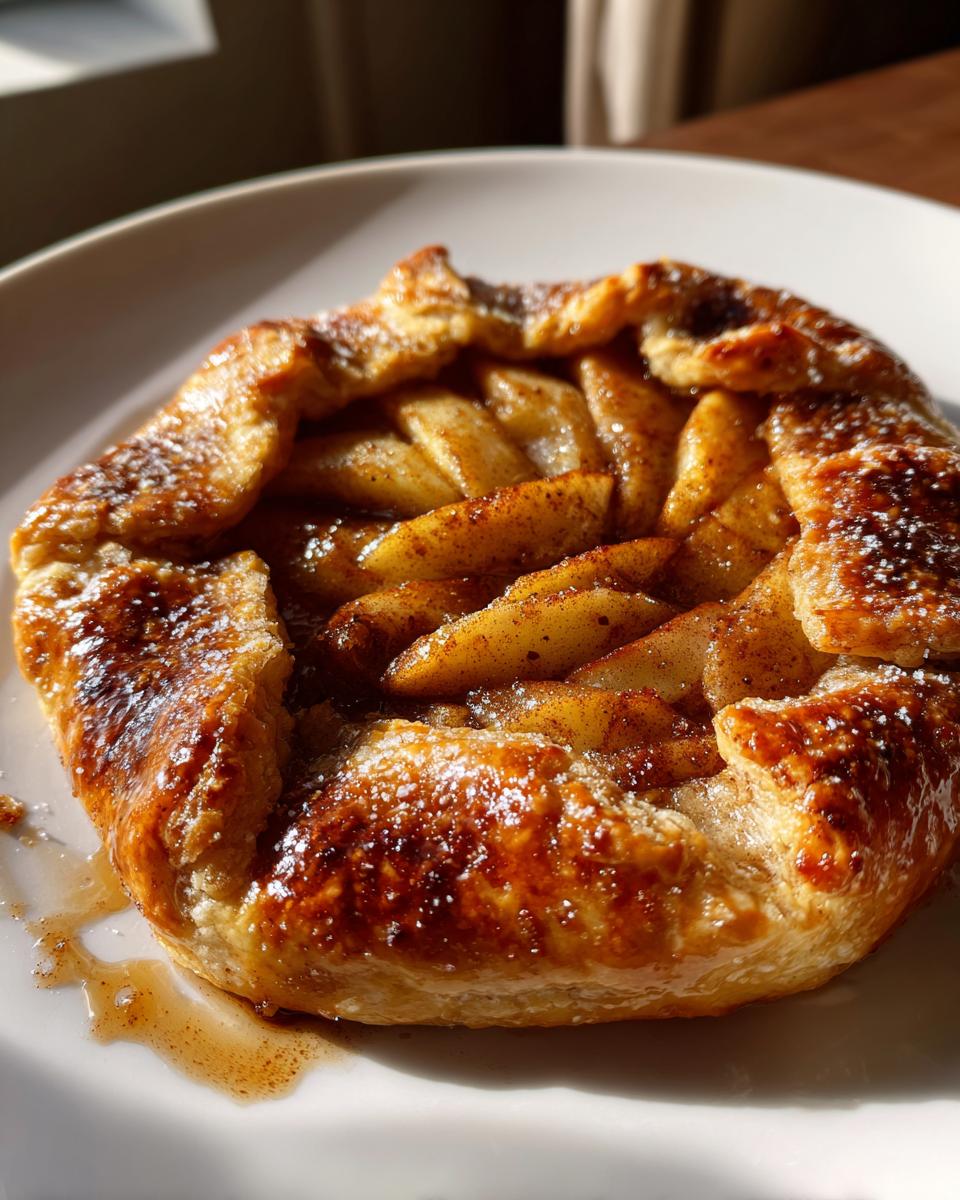
Tips for the Perfect Rustic Apple Galette
After many “learning experiences” (read: kitchen disasters), here are my can’t-skip tips:
- Butter must stay cold: If your dough gets warm while rolling, pop the whole galette in the freezer for 5 minutes before baking. Warm butter = sad, dense crust.
- Slice apples uniformly: About 1/4-inch thick ensures even cooking. Too thin = applesauce texture; too thick = crunchy apples.
- Egg wash is non-negotiable: It gives that gorgeous shine and helps the sugar stick. For extra sparkle, sprinkle turbinado sugar right after brushing.
- Bake on parchment: Those bubbling juices can get sticky! Parchment makes cleanup a breeze and prevents sticking disasters.
- Rotate halfway: Ovens have hot spots. Rotating your galette at the 20-minute mark ensures even browning.
See? No fancy pastry skills needed – just good ingredients and a little patience. Now go make some delicious memories!
Serving Suggestions for Rustic Apple Galette
Oh, the joy of slicing into a warm galette while that cinnamon-scented steam escapes! Here’s how I love to serve mine:
- À la mode dreams: A scoop of vanilla bean ice cream melting into the cracks is pure magic. The hot/cold contrast? Perfection.
- Caramel kiss: Drizzle with warm salted caramel – the way it pools around those crispy edges makes my heart sing.
- Cloud nine: Freshly whipped cream with a whisper of vanilla makes every bite feel like a hug.
Pro tip: Let it cool just enough so the juices set, but serve it warm – that’s when the crust is at its flakiest!
Storing and Reheating Rustic Apple Galette
Here’s the beautiful thing about this galette – it’s just as good the next day (if it lasts that long!). I’ve stored more than my fair share of these beauties, so here’s exactly how to keep that flaky magic alive:
Room temperature: If we’re being honest, mine never makes it past day one! But if you must, cover loosely with foil and store on the counter for up to 2 days. The crust softens a bit, but the flavors deepen beautifully.
In the fridge: Wrap tightly in plastic or store in an airtight container for up to 5 days. The apples stay nice and tender – perfect for those “I need dessert NOW” moments. Just know the crust won’t be quite as crisp.
Freezing for later: Oh yes, galettes freeze like a dream! Cool completely, then wrap in plastic followed by foil. It’ll keep for 3 months. When the craving hits, no need to thaw – just pop it straight into a 350°F oven for 15-20 minutes until warmed through.
Reheating magic: To bring back that just-baked crispness, always reheat in the oven (never microwave – we’re not savages!). 10 minutes at 350°F works wonders. I sometimes brush the crust with a little melted butter first for extra shine.
Pro tip: Freeze individual slices on a tray before wrapping – then you can grab just one when that midnight sweet tooth strikes! (Not that I’d know anything about that… ahem.)
Rustic Apple Galette FAQs
Over the years, I’ve gotten the same great questions about this recipe from friends and readers (and my own trial-and-error sessions!). Here are the answers I wish I’d known when I made my first galette:
Q: Can I use store-bought pie dough to save time?
You absolutely can – I’ve done it many times when in a pinch! But fair warning: it won’t be as flaky or flavorful as homemade. If you go this route, look for an all-butter puff pastry in the freezer section. Thaw it overnight in the fridge, then roll it slightly thinner before assembling.
Q: How thin should I slice the apples?
About 1/4-inch thick is the sweet spot – think slightly thinner than a pencil. This ensures they soften perfectly without turning to mush. My grandma taught me to stack 3-4 slices and cut them together – saves so much time! Pro tip: if some slices are thicker, tuck them toward the center where they’ll bake longer.
Q: Can I make the galette ahead of time?
The dough can (and should!) be made ahead – it keeps in the fridge for 2 days or freezer for 3 months. But assemble and bake it the day you plan to serve. That said, I’ve successfully baked it 6 hours ahead, then reheated at 300°F for 10 minutes – the crust stays surprisingly crisp!
Q: My galette juices bubbled over – did I do something wrong?
Not at all – those caramelized drips are a badge of honor! To minimize it, don’t overfill (leave that 2-inch border) and make sure your pleats are snug. But honestly? Some of my most delicious galettes have been the messiest. Just bake it on a parchment-lined sheet pan to catch any drips.
Q: Can I use different fruits besides apples?
Absolutely! This method works beautifully with pears, peaches, or even mixed berries. Just adjust sugar based on sweetness – berries need less, tart fruits might need more. For extra juicy fruits like peaches, toss them with 1 tbsp cornstarch to thicken the juices.
Nutritional Information
Let’s be real – we’re not eating galette for its health benefits! But because I know you’re curious (and maybe tracking macros), here’s the scoop on what’s in each delicious slice:
Disclaimer: These are estimates based on my exact recipe – your numbers might vary slightly depending on apple size, exact sugar measurements, or how generous you are with that egg wash!
- Typical serving (1/6 of galette): ~280 calories
- Sweet stuff: 18g sugar (mostly from the apples and that light sugar sprinkle)
- Fiber boost: 3g (thank you, apple skins!)
- Fat content: 12g (worth every buttery bite)
Now that we’ve covered the technical stuff – go enjoy your creation! I’d love to hear how your rustic apple galette turns out. Snap a pic of those gorgeous imperfect edges and tag me – nothing makes me happier than seeing your baking adventures!
Print
Delectable Rustic Apple Galette in Just 6 Easy Steps
- Total Time: 1 hour 30 minutes (includes chilling)
- Yield: 6 servings 1x
- Diet: Vegetarian
Description
A simple yet delicious rustic apple galette with a flaky crust and tender spiced apples.
Ingredients
- 1 1/2 cups all-purpose flour
- 1/2 teaspoon salt
- 1/2 cup unsalted butter, chilled and cubed
- 4–5 tablespoons ice water
- 3 medium apples, thinly sliced
- 1/4 cup granulated sugar
- 1 teaspoon ground cinnamon
- 1 tablespoon lemon juice
- 1 egg, beaten (for egg wash)
- 1 tablespoon turbinado sugar (optional)
Instructions
- Mix flour and salt in a bowl.
- Cut in butter until mixture resembles coarse crumbs.
- Add ice water, 1 tablespoon at a time, until dough forms.
- Shape dough into a disk, wrap in plastic, and refrigerate for 30 minutes.
- Preheat oven to 375°F (190°C).
- Toss apples with sugar, cinnamon, and lemon juice.
- Roll dough into a 12-inch circle on a floured surface.
- Arrange apples in the center, leaving a 2-inch border.
- Fold edges over apples, pleating as needed.
- Brush crust with egg wash and sprinkle with turbinado sugar.
- Bake for 35-40 minutes until golden brown.
- Cool slightly before serving.
Notes
- Use a mix of sweet and tart apples for balanced flavor.
- Keep butter cold for a flaky crust.
- Serve warm with vanilla ice cream or whipped cream.
- Prep Time: 20 minutes
- Cook Time: 40 minutes
- Category: Dessert
- Method: Baking
- Cuisine: French
Nutrition
- Serving Size: 1 slice
- Calories: 280
- Sugar: 18g
- Sodium: 150mg
- Fat: 12g
- Saturated Fat: 7g
- Unsaturated Fat: 4g
- Trans Fat: 0g
- Carbohydrates: 40g
- Fiber: 3g
- Protein: 3g
- Cholesterol: 45mg

