
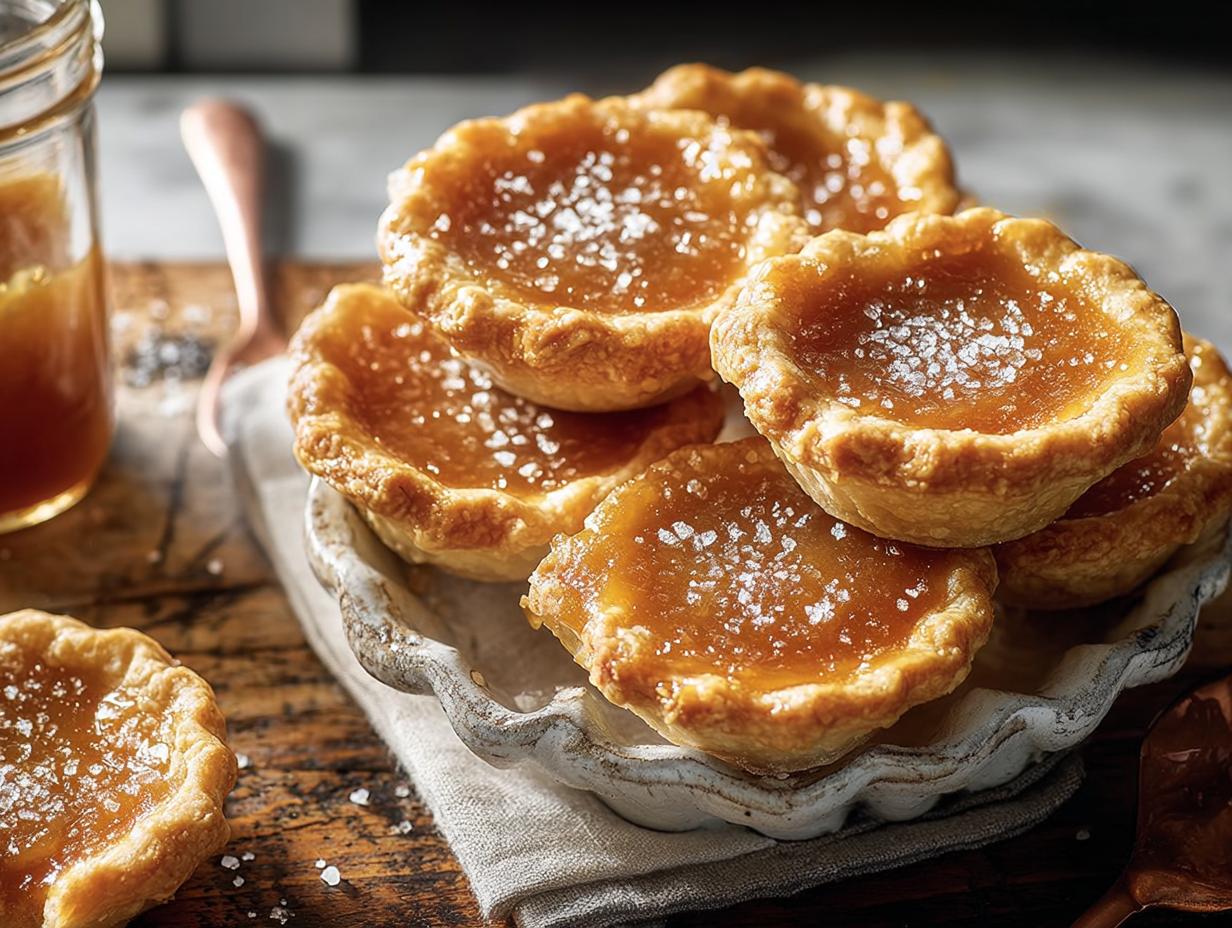
I still remember the first time I made these Salted Maple Mini Pies. It was a crisp October afternoon, and I was scrambling for a dessert that felt special but wouldn’t take all day. I wanted something that captured the cozy flavors of fall without the fuss of a full-sized pie. After a few batches—okay, maybe more than a few—I landed on the perfect ratio of buttery crust to silky maple filling. The secret? A generous pinch of flaky sea salt on top. That little bit of savory crunch completely transforms each bite, balancing the sweetness so perfectly that you can’t stop at just one.
These little pies are my go-to for Thanksgiving potlucks, Friendsgiving dinners, or any time I want to impress guests without breaking a sweat. They’re personal-sized, which means zero slicing and no fighting over the last piece. The crust is tender and sturdy enough to hold the rich, custardy filling, and the whole thing comes together in under an hour. Trust me, once you taste that first warm, salty-sweet forkful, you’ll be making these all season long.
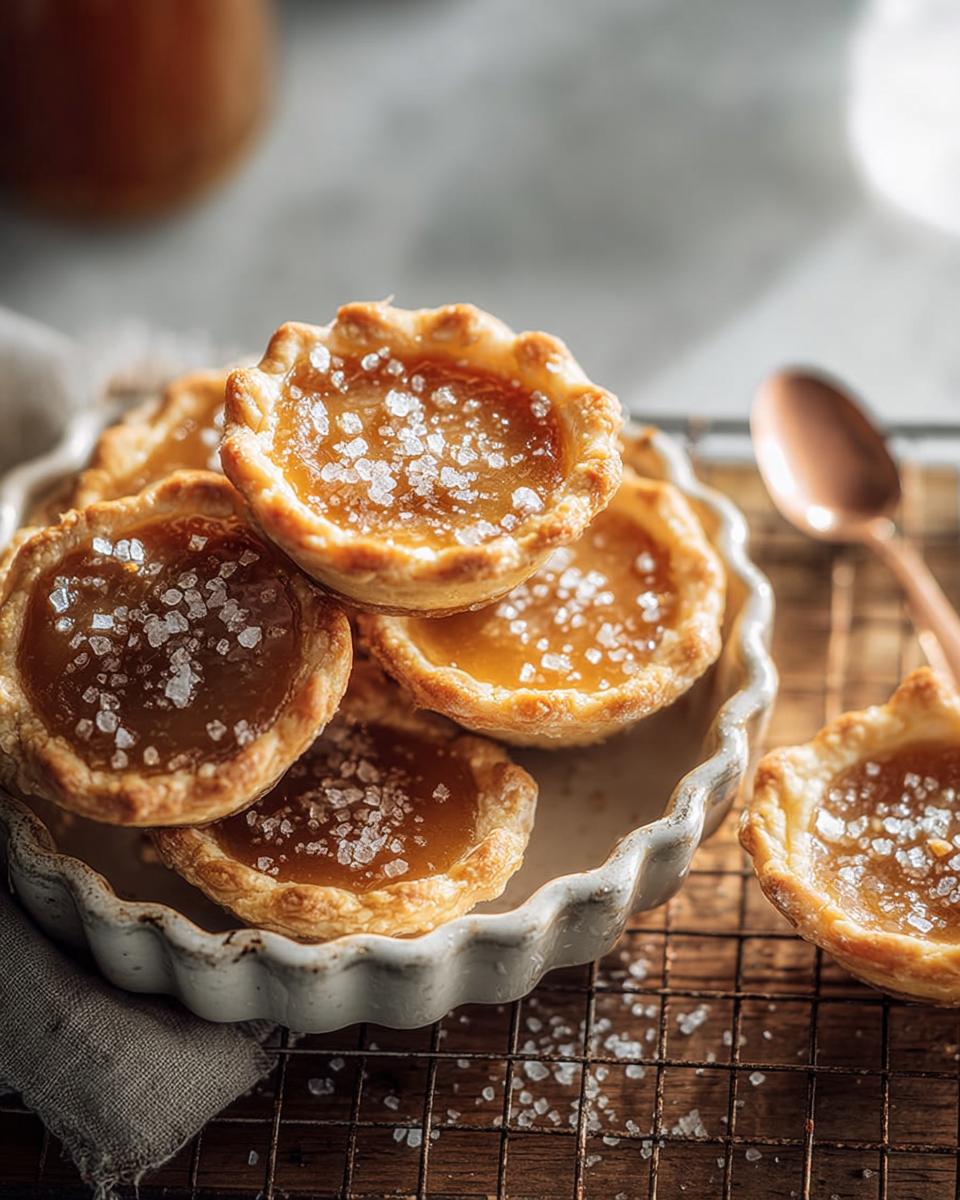
Why You Will Love These Salted Maple Mini Pies
These little guys are about to become your new favorite fall dessert. Here’s why they’ll steal the show every time:
- Quick prep time. Twenty minutes is all you need to get them in the oven. That’s less time than deciding what takeout to order!
- Simple ingredients. You probably have most of these in your pantry already. No hunting down weird specialty items.
- Perfect for parties. No slicing, no plates, no forks needed. Just grab and go – they disappear fast.
- No special equipment. A mini muffin tin and a whisk are all you really need. Your pastry cutter helps, but a fork works fine.
- That sweet-salty magic. The rich maple filling and that flaky sea salt finish? It’s the combination that makes these Salted Maple Mini Pies completely irresistible.
Ingredients for Your Salted Maple Mini Pies
Before you dive in, let me walk you through what you’ll need. I’ve tested these Salted Maple Mini Pies more times than I care to admit, and a few small details make all the difference. Trust me, your filling will thank you.
- All-purpose flour – Make sure you spoon it into your measuring cup and level it off. Scooping directly packs it down and gives you a tough crust. Nobody wants that.
- Unsalted butter – Cold and cut into small cubes, about the size of peas. Keeping it chilled is the secret to a flaky crust. I pop mine back in the fridge for a few minutes if my kitchen is warm.
- Ice water – You won’t use much, maybe 3 to 4 tablespoons. Just enough to bring the dough together. Add it one spoonful at a time.
- Pure maple syrup – Please, please reach for the real stuff, not pancake syrup. The flavor is deeper and less cloying. Your pies will taste worlds better.
- Brown sugar – Light or dark works, but I prefer dark for a hint of molasses that plays nicely with the maple.
- Large eggs – Let them sit out for 15 minutes before mixing. Room-temperature eggs blend into the filling smoothly, no curdling.
- Heavy cream – Adds richness and a silky texture. Half-and-half works in a pinch, but the pies won’t be quite as luscious.
- Vanilla extract – Pure vanilla, if you have it. A little goes a long way.
- Sea salt – You’ll mix ½ teaspoon into the filling, but save a big flaky salt for the final sprinkle. That crunch on top? It’s the reason these mini pies disappear so fast.
Essential Equipment
You don’t need a fancy kitchen to pull off these Salted Maple Mini Pies. Seriously, the shopping list is short and sweet. Grab a mini muffin tin — that’s the star of the show. A couple of mixing bowls, a pastry cutter (or just a fork if you’re like me and can’t find yours), a whisk for the filling, and maybe a small saucepan if you want to warm the maple syrup slightly. That’s it. Easy peasy.
How to Make Salted Maple Mini Pies Step by Step
Alright, let’s get rolling. Making these Salted Maple Mini Pies is way easier than you think, and I’ll walk you through every little step. Just take it one stage at a time, and you’ll be pulling golden, fragrant pies out of the oven before you know it.
Prepare the Crust
Start by mixing your flour and salt in a bowl. Drop in those cold butter cubes, then grab your pastry cutter or two forks. You want to cut the butter into the flour until it looks like coarse crumbs with some pea-sized butter bits still visible — that’s the flaky texture waiting to happen. Work quickly here; warm hands are the enemy of a tender crust. Once it’s crumbly, drizzle in ice water one tablespoon at a time, tossing with a fork until the dough just holds together when you squeeze a handful. Don’t overmix or you’ll get tough little hockey pucks instead of delicate crusts.
Blind Bake the Crusts
Press about a tablespoon of dough into each mini muffin cup, going up the sides evenly. Prick the bottom of each crust a few times with a fork — this keeps them from puffing up into weird domes. Pop the tin into your preheated oven for 10 minutes. You’ll know they’re ready when the crusts look dry and just barely golden around the edges. Pull them out and set them aside while you make the filling.
Make the Maple Filling
In a medium bowl, whisk together the pure maple syrup, brown sugar, and eggs until everything’s smooth and well-blended. Pour in the heavy cream, vanilla, and that ½ teaspoon of sea salt. Whisk again until it’s all silky and uniform — no streaks, no lumps. It should look like a thin, glossy custard. That’s it, simple as can be.
Assemble and Bake
Spoon or pour the filling into each pre-baked crust, filling them almost to the rim. They’ll puff just a little in the oven, so leave a tiny bit of room. Bake for 12 to 15 minutes, until the filling is set but still has a slight jiggle in the center. Here’s the most important part: as soon as the tin comes out of the oven, sprinkle a pinch of flaky sea salt over each warm pie. The salt sticks to the hot surface and creates that magical sweet-salty finish. Let them cool in the pan for 10 minutes, then transfer to a wire rack to cool completely.
Tips for Perfect Salted Maple Mini Pies
I’ve made these Salted Maple Mini Pies more times than I can count, and a few small tricks make all the difference between “pretty good” and “wow, these are incredible.” Let me save you the trial and error.
Don’t overwork the dough. I know it’s tempting to keep kneading until it’s smooth, but stop the second it comes together. Overmixing develops gluten and gives you a tough, chewy crust instead of that tender, flaky bite. A few streaks of flour are totally fine.
Use room temperature eggs. I’ve made the mistake of using cold eggs straight from the fridge, and the filling came out a little lumpy. Let your eggs sit on the counter for about 15 minutes before whisking. They blend into the maple mixture so much more smoothly.
Let the pies cool completely in the pan for 10 minutes. I know you’ll want to pop them out right away, but patience here is key. The filling needs that time to set up properly. After 10 minutes, gently run a knife around the edges and lift them out. They’ll hold their shape perfectly.
Stick with these tips, and you’ll be pulling out a batch that looks and tastes like you spent hours in the kitchen — but we’ll keep our little secrets, right?
Variations and Substitutions
The beauty of these Salted Maple Mini Pies is how easily they adapt. Need them gluten-free? Just swap the all-purpose flour for your favorite gluten-free blend – I’ve used a 1-to-1 baking mix and the crust turns out perfectly tender. Going dairy-free? Substitute the butter with coconut oil (solid, not melted) and use a plant-based cream. The texture stays just as flaky. And if you want to warm up the filling, add a pinch of cinnamon or a tiny grating of nutmeg. It gives the maple a cozy, spiced depth that’s absolutely lovely. Don’t be afraid to play around – that’s how new favorites are born.
How to Store Salted Maple Mini Pies
If you somehow have leftovers—though that’s rare in my house—here’s how to keep them fresh. Pop your Salted Maple Mini Pies into an airtight container and stash them in the fridge. They’ll stay perfect for up to three days. But here’s the thing: take them out about 20 minutes before you’re ready to serve. They really shine at room temperature, where the filling gets all silky and the crust softens just a touch. I don’t recommend freezing them, though. The texture gets a bit sad and watery once thawed. Trust me on this one.
Frequently Asked Questions
I get these questions all the time from readers, so I figured I’d answer them here. Hope this helps you nail your Salted Maple Mini Pies on the first try!
Can I use store-bought pie crust?
Absolutely, if you’re short on time. Just make sure it’s thawed completely, then press it into your mini muffin tin the same way you would with homemade dough. Works like a charm.
Why is my crust soggy?
Two things usually cause that: either you didn’t blind bake the crusts long enough, or you poured the filling in while it was still hot. Let the crusts cool just a bit before adding the maple mixture, and you’re golden.
Can I make these Salted Maple Mini Pies ahead of time?
You bet! I often prepare the crusts a day in advance and keep them right in the pan, covered. Then I just mix up the filling and bake fresh when I’m ready. They taste like you just made them.
What if I do not have a mini muffin tin?
No worries at all. Grab a regular muffin tin instead – the baking time will be about 5 to 7 minutes longer. You’ll get around 12 pies instead of 24, but they’ll be just as delicious.
Nutritional Information
I always get asked about nutrition numbers, so here’s the honest truth: these are estimates based on the exact ingredients I list and the brands I typically use. Your actual values can vary depending on what you grab from the store. So take them as a rough guide, not gospel. The best way to know is to plug everything into your favorite calculator app. Enjoy every bite!
Your Turn to Bake
Alright, you’ve got all the secrets—now it’s time to make these Salted Maple Mini Pies your own! I’d love to hear how they turn out, so swing back by and leave a comment or give the recipe a star rating. And if you snap a photo of your batch, tag me on social media—I absolutely live for seeing your creations in action. Happy baking, friend!
Print
Salted Maple Mini Pies 5 Easy Steps to Fall Bliss
- Total Time: 45 minutes
- Yield: 24 mini pies 1x
- Diet: Vegetarian
Description
These salted maple mini pies are small, sweet, and savory treats. You make them with a buttery crust and a rich maple filling. A sprinkle of sea salt on top balances the sweetness.
Ingredients
- 1 1/2 cups all-purpose flour
- 1/2 cup unsalted butter, cold and cubed
- 1/4 cup ice water
- 1/2 cup pure maple syrup
- 1/4 cup brown sugar
- 2 large eggs
- 1/4 cup heavy cream
- 1 teaspoon vanilla extract
- 1/2 teaspoon sea salt, plus more for sprinkling
Instructions
- Preheat your oven to 375°F (190°C). Grease a mini muffin tin.
- Make the crust. Mix flour and salt. Cut in butter until crumbly. Add ice water, one tablespoon at a time, until dough forms. Press dough into mini muffin cups.
- Bake crusts for 10 minutes. Let them cool slightly.
- Whisk together maple syrup, brown sugar, eggs, cream, vanilla, and 1/2 teaspoon salt.
- Pour filling into each crust, filling almost to the top.
- Bake for 12–15 minutes until filling is set. Sprinkle a pinch of sea salt on each pie while warm.
- Cool completely before removing from tin.
Notes
- You can use a store-bought pie crust to save time.
- These pies taste best the same day, but you can store them in the fridge for up to 3 days.
- Prep Time: 20 minutes
- Cook Time: 25 minutes
- Category: Dessert
- Method: Baking
- Cuisine: American
Nutrition
- Serving Size: 1 mini pie
- Calories: 120
- Sugar: 8 g
- Sodium: 95 mg
- Fat: 6 g
- Saturated Fat: 3.5 g
- Unsaturated Fat: 2 g
- Trans Fat: 0 g
- Carbohydrates: 15 g
- Fiber: 0 g
- Protein: 2 g
- Cholesterol: 30 mg