
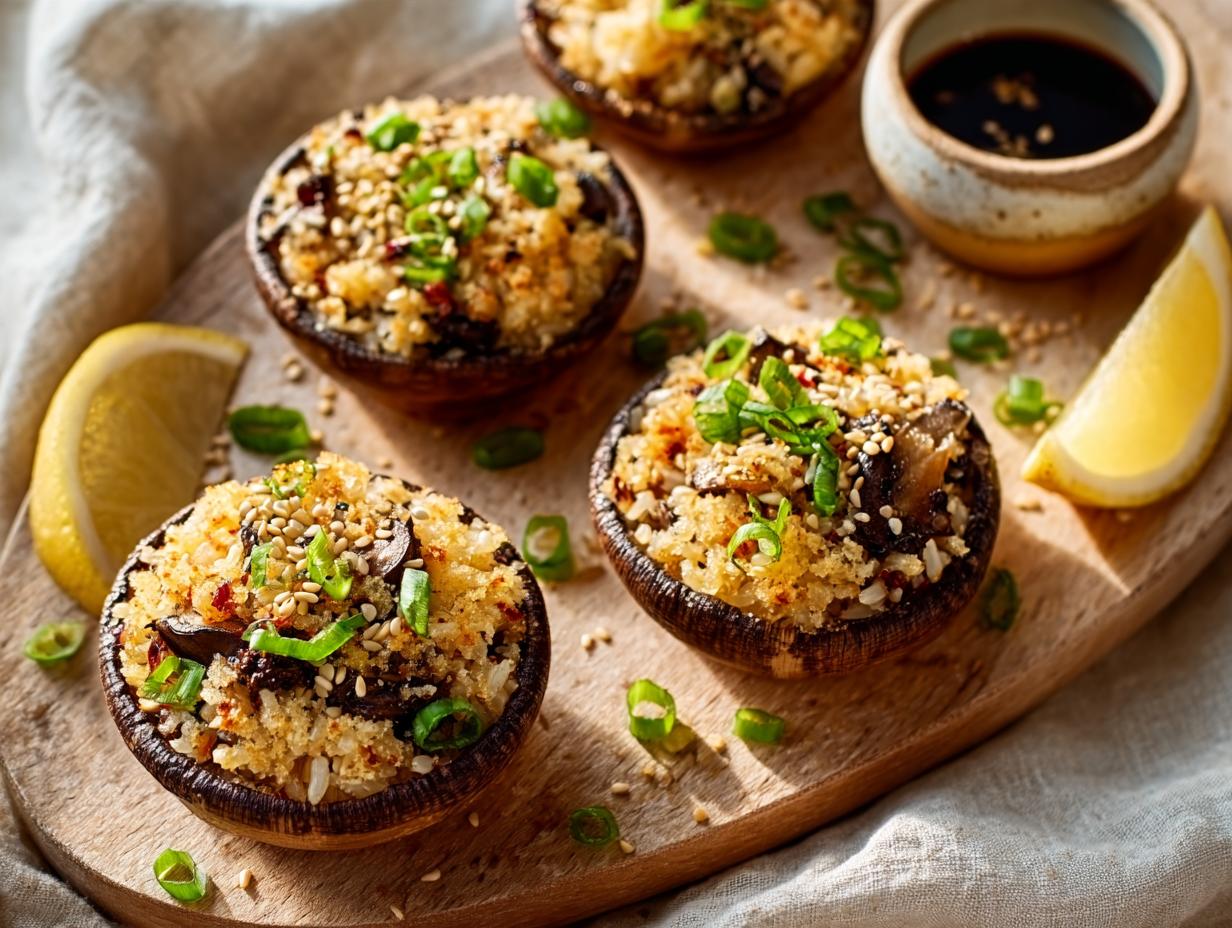
I still remember the first time I stumbled upon these crispy little flavor bombs at a friend’s party. I grabbed one expecting a standard pastry shell, but instead got a shatteringly crunchy rice cup packed with savory mushrooms. I was hooked. That night, I knew I had to recreate these Stuffed Mushroom Crispy Rice Cups at home—and make them my own. After testing a dozen variations (and eating way too many test batches), I landed on this version that’s totally vegan, naturally gluten-free, and comes together in just 30 minutes. Trust me, these little cups disappear fast.
Why You’ll Love This Stuffed Mushroom Crispy Rice Cups
This recipe has seriously become my secret weapon for parties and potlucks. People go absolutely nuts for them because they look so fancy but are secretly so simple to throw together.
So, here’s exactly why you’re going to love making these little guys:
- They come together in just 30 minutes flat. Yes, really! Perfect for those last-minute cravings or when unexpected guests show up.
- They’re totally vegan and naturally gluten-free, so basically everyone at the table can grab a handful without any worries.
- You get that incredible, shatterringly crunchy rice cup paired with a rich, savory mushroom filling. It’s a total textur win.
- I brought them to a game night last month, and honestly, I’m still getting asked for the recipe. They vanish every single time without fail.
Basically, they’re a total no-brainer, and they always steal the show.
Ingredients for Stuffed Mushroom Crispy Rice Cups
Before you dive in, let’s talk about what you’ll need. I’ve tested these cups a bunch, so trust me when I say these specific ingredients make all the difference. Grab your standard measuring cups and spoons, and you’re good to go.
- 1 cup cooked sushi rice (that’s about 1/3 cup uncooked) – You absolutely want sticky short-grain rice here. It’s the only kind that forms those nice, firm cups without falling apart.
- 1 tablespoon soy sauce – Gives the rice a salty kick and a bit of color. Use tamari if you’re gluten-free.
- 1 teaspoon sesame oil – Just a tiny drizzle adds that warm, nutty flavor I love.
- 8 ounces finely chopped mushrooms – Cremini work best (they’re meatier), but white buttons are fine too. Just chop ’em small so they fit neatly into the cups.
- ½ cup finely chopped onion – Yellow or white, doesn’t matter. I keep it fine so it cooks quickly.
- 2 cloves garlic, minced – Fresh, please. The jarred stuff just doesn’t pop the same way.
- 1 tablespoon vegetable oil – A neutral oil for sautéing. Avocado or canola works great.
- ¼ cup chopped green onions – Save a few extra for garnishing at the end if you’re feeling fancy.
- 1 tablespoon rice vinegar – Adds a little tang that brightens the whole filling.
- ½ teaspoon salt and ¼ teaspoon black pepper – Season to taste, but this is a solid starting point.
- Nonstick cooking spray – Don’t skip it! Makes unmolding those rice cups a breeze.
How to Prepare Stuffed Mushroom Crispy Rice Cups
Alright, let’s get right into the fun part! Honestly, this recipe looks way more impressive than it actually is, and that’s exactly what I love about it. The whole thing breaks down into four simple moves: form the rice cups, bake them crispy, whip up the savory mushroom filling, then bring it all together. Sound good? Let’s do this!
Step 1: Form the Rice Cups
First up, grab a mixing bowl and toss your cooked sushi rice with the soy sauce and sesame oil. Make sure every grain gets a little love. Now, press the rice into your greased mini muffin cups. I like to use the bottom of a small glass to really pack it down—even thickness is key so they hold their shape. Keep a small bowl of water nearby, too. Wet fingers stop the rice from sticking to you while you press.
Step 2: Bake the Rice Cups
Pop the muffin pan on the middle rack of your preheated 375°F oven and bake for about 12 minutes, just until the edges turn a gorgeous golden brown. Watch them closely, though!
- Do not overbake the rice cups, or they’ll become too hard to enjoy.
When they’re done, let them cool in the pan for 2 minutes. They’re much easier to handle that way.
Step 3: Prepare the Mushroom Filling
While the cups are baking, heat the vegetable oil in a skillet over medium heat. Toss in the mushrooms first and let them get some nice color. Once they’ve released their moisture, add the onion and cook until softened, about 5 minutes, then finish with the garlic for one fragrant minute. At the very end, stir in the green onions, rice vinegar, salt, and pepper. Cook for another minute. Keep the mixture slightly chunky.
- If the filling looks watery at all, just cook it a little longer or drain the excess liquid.
Step 4: Assemble and Serve
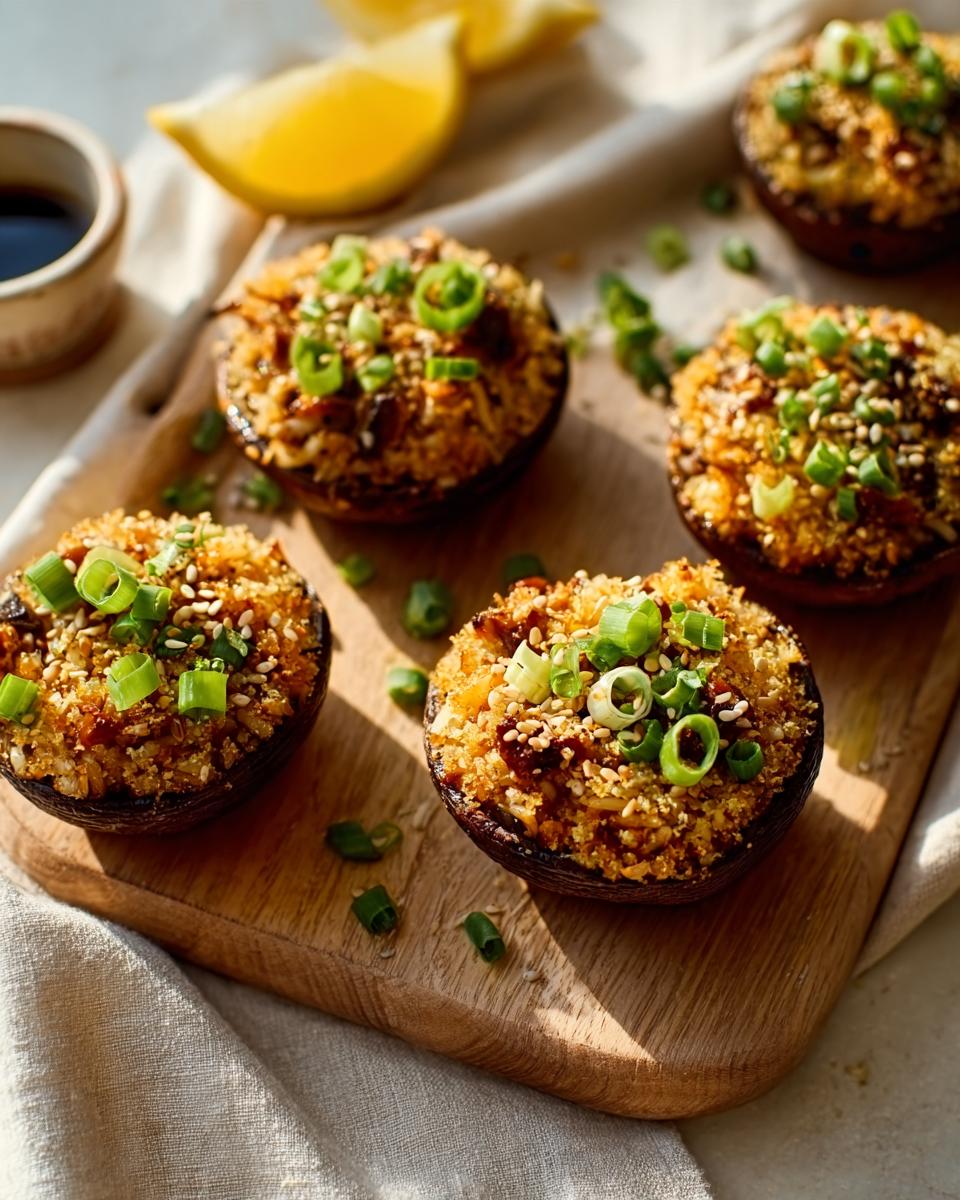
Now for the exciting moment! Spoon that savory mushroom filling generously into each warm rice cup. If you saved some extra green onions, sprinkle a few on top for a pop of color. Serve these immediately while the cups are still crispy. Trust me, they’ll disappear before you know it!
Tips for Perfect Stuffed Mushroom Crispy Rice Cups
I’ve made these little cups more times than I can count, and believe me, I’ve learned a thing or two along the way. Some batches came out perfect, and others… well, let’s just say they taught me what *not* to do. Here are my best tips so you can nail it on the first try.
Choose the Right Rice
Sushi rice or any short-grain sticky rice is an absolute must here. Long-grain rice simply won’t hold together when you press it into the muffin tin. Also, make sure you rinse your rice before cooking to remove excess starch—that’s what helps it stick together nicely. For more on cooking rice, check out this guide to cooking rice.
Handle Mushroom Moisture
Mushrooms release a ton of water as they cook. If your chopped mushrooms seem extra wet, give them a gentle squeeze in a clean kitchen towel before sautéing. I learned the hard way that wet mushrooms make for a soggy filling that soaks right through your crispy cups.
Press Firmly for Crisp Cups
When forming the rice cups, don’t be shy with the pressure. Use the bottom of a shot glass or a tart shaper to press the rice firmly and evenly against the muffin tin walls. Give your tool a quick spray of cooking oil first so it doesn’t stick. Even thickness means even baking and a sturdier cup.
Make Ahead and Reheat
Here’s a lifesaver for party planning! You can bake the rice cups a day in advance and store them in an airtight container. When you’re ready to serve, just pop them in a 350°F oven for about 5 minutes to re-crisp them. Fill them with the mushroom mixture right before serving so everything stays crunchy and fresh.
Variations on Stuffed Mushroom Crispy Rice Cups
One of my favorite things about this recipe is how easy it is to switch things up. I’ve played around with so many different flavors, and honestly, every version has been a hit. Here are a few of my favorite twists that keep things exciting without losing that crunchy, savory magic.
Spicy Asian Version
If you like a little heat, this one’s for you. Just stir 1 teaspoon of sriracha or a pinch of red pepper flakes into the mushroom filling while it cooks. I also swap the rice vinegar for lime juice to brighten things up. The kick pairs beautifully with the earthy mushrooms.
Cheesy Vegan Option
For a creamy, indulgent twist, I stir in 2 tablespoons of nutritional yeast or a spoonful of vegan cream cheese at the very end of cooking the filling. It melts right in and gives the mushrooms a rich, almost cheesy flavor that everyone loves, even non-vegans!
Herb-Infused Mushroom Filling
Fresh herbs just make everything better, don’t they? I love adding 1 tablespoon of chopped fresh thyme or rosemary along with the green onions. The earthy herbs really complement the mushrooms and give the whole cup a cozy, rustic feel. It’s my go-to for fall gatherings.
Serving Suggestions for Stuffed Mushroom Crispy Rice Cups
These little guys are so versatile, I honestly serve them all the time in different ways. Here’s how I like to bring them to the table:
- Dipping sauces: A little bowl of soy sauce or tamari is classic, but sweet chili sauce is my absolute favorite. The sweet heat pairs perfectly with the savory mushrooms.
- As a starter or snack: They’re perfect on their own as a party platter. I often arrange them on a board with some pickled veggies and a light salad on the side.
- Pair with a soup or salad: For a light meal, I’ll serve a few cups alongside a bowl of miso soup or a simple cucumber salad. It’s a complete, satisfying bite.
However you serve them, they’ll disappear fast. Just a heads up!
Storage and Reheating Stuffed Mushroom Crispy Rice Cups
Alright, let’s talk about leftovers (if you’re lucky enough to have any!). For assembled cups, just pop them in an airtight container and stash them in the fridge. They’ll stay good for up to two days.
When you’re ready to bring them back to life, the oven is your best friend. A quick 5 to 7 minutes at 350°F will crisp those rice cups right up again. I’d steer clear of the microwave on this one, though. It’ll make the rice cups soft and sad, and nobody wants that.
As for freezing, I don’t love freezing the fully assembled cups because the filling makes the soggy when it thaws. But, the baked rice cups on their own freeze beautifully. I’ll sometimes make a double batch of just the cups, freeze them, then fill and reheat when a craving hits. So convenient!
Frequently Asked Questions about Stuffed Mushroom Crispy Rice Cups
I get questions about these little cups all the time, so I figured I’d round up the most common ones right here. Hopefully, this clears everything up!
Can I use brown rice instead of sushi rice?
I’ve tested it, and honestly, brown rice just isn’t sticky enough to hold the cup shape well. If you’re determined, short-grain brown rice works a little better, but you’ll still need to press it really firmly and expect a bit more moisture. For best results, stick with sushi rice.
How do I prevent the rice cups from sticking to the pan?
A good nonstick mini muffin pan is your best friend here, along with a generous spray of cooking oil. I also let the cups cool for about 2 minutes in the pan before trying to pop them out—that makes a huge difference. Don’t rush it, or they’ll crumble.
Can I substitute the mushrooms with another vegetable?
Absolutely! Finely chopped zucchini, bell peppers, or eggplant work great in this vegan appetizer. Just sauté them until they’re soft and season them the same way. It’s a fun way to switch things up depending on what you’ve got in the fridge.
Can I freeze the Stuffed Mushroom Crispy Rice Cups?
I wouldn’t freeze them after they’re assembled—the filling just makes the rice cups soggy. But, the baked rice cups on their own freeze beautifully. Pop them in an airtight container for up to a month, then fill and reheat when you’re ready. Perfect for planning ahead!
Nutritional Information for Stuffed Mushroom Crispy Rice Cups
I always like to know what I’m working with, so here’s the breakdown for one cup (that’s one serving). These numbers are based on standard ingredients, so yours might vary a smidge depending on brands and swaps.
- Calories: 85
- Fat: 3g (0.5g saturated, 2g unsaturated)
- Carbohydrates: 13g
- Fiber: 1g
- Protein: 2g
- Sodium: 220mg
- Sugar: 1g
- Cholesterol: 0mg
Pretty light for such a satisfying, crunchy little bite, right? Nutritional info is just an estimate, so take it with a grain of salt—literally and figuratively!
Share Your Feedback
Did you make these Stuffed Mushroom Crispy Rice Cups? I’d love to hear how they turned out! Drop a comment below, leave a star rating, or tag me in your photos on social media. I honestly get so excited seeing your own twists on these little cups—it’s the best part of sharing recipes. So go ahead, tell me all about it!
Print
30-Minute Irresistible Stuffed Mushroom Crispy Rice Cups
- Total Time: 30 minutes
- Yield: 12 cups 1x
- Diet: Vegan
Description
Crispy rice cups filled with savory mushroom stuffing. A crunchy and flavorful appetizer.
Ingredients
- 1 cup cooked sushi rice
- 1 tablespoon soy sauce
- 1 teaspoon sesame oil
- 8 ounces mushrooms, finely chopped
- 1/2 cup finely chopped onion
- 2 cloves garlic, minced
- 1 tablespoon vegetable oil
- 1/4 cup chopped green onions
- 1 tablespoon rice vinegar
- 1/2 teaspoon salt
- 1/4 teaspoon black pepper
- Nonstick cooking spray
Instructions
- Preheat oven to 375°F.
- Mix cooked rice with soy sauce and sesame oil. Press into greased mini muffin cups to form cups.
- Bake rice cups for 12 minutes until edges are golden.
- While cups bake, sauté mushrooms, onion, and garlic in vegetable oil until softened.
- Stir in green onions, rice vinegar, salt, and pepper. Cook 1 minute.
- Fill baked rice cups with mushroom mixture. Serve warm.
Notes
- Use sticky rice for best cup shape.
- You can substitute mushrooms with other vegetables.
- Rice cups can be made ahead and reheated.
- Prep Time: 15 minutes
- Cook Time: 15 minutes
- Category: Appetizer
- Method: Baking
- Cuisine: Asian
Nutrition
- Serving Size: 1 cup
- Calories: 85
- Sugar: 1g
- Sodium: 220mg
- Fat: 3g
- Saturated Fat: 0.5g
- Unsaturated Fat: 2g
- Trans Fat: 0g
- Carbohydrates: 13g
- Fiber: 1g
- Protein: 2g
- Cholesterol: 0mg