
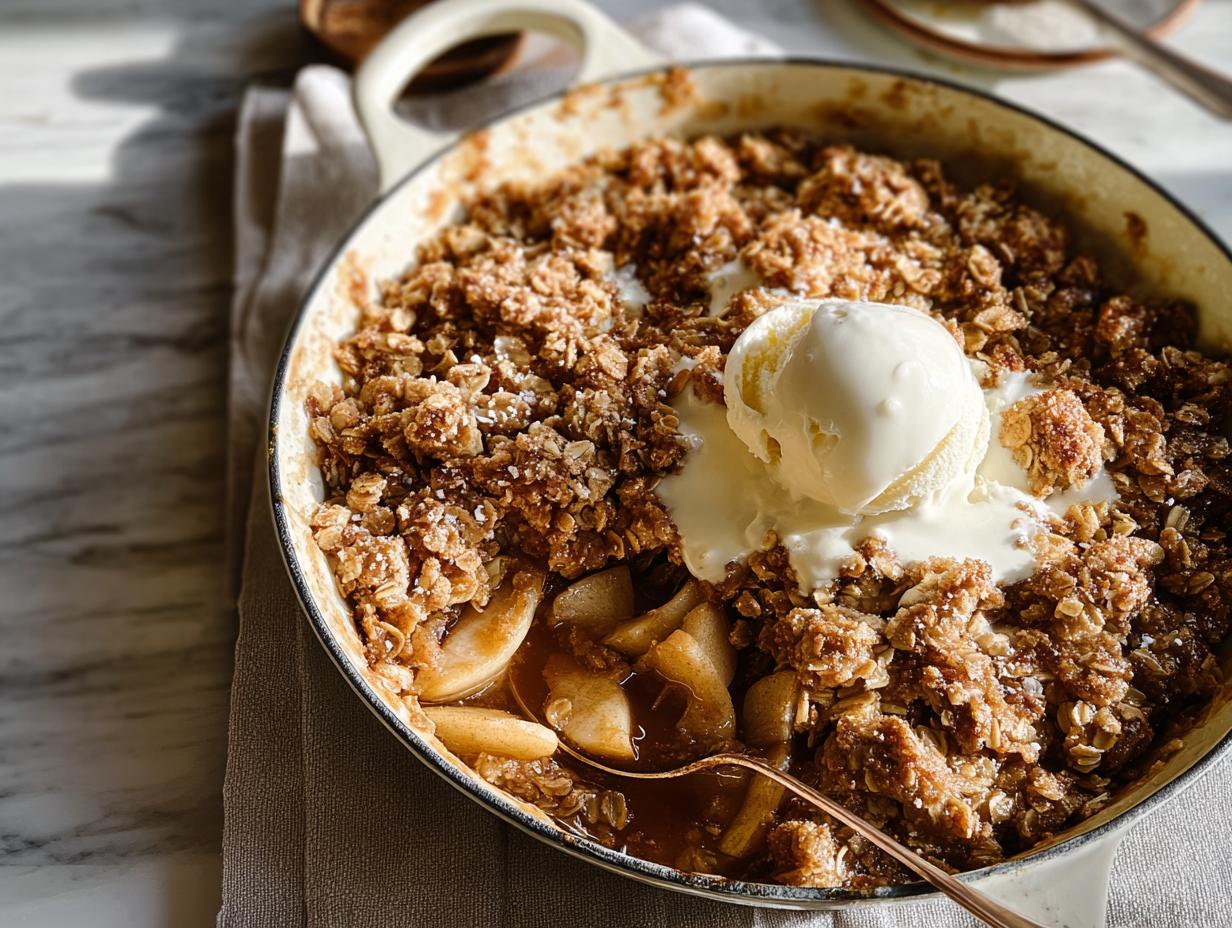
There’s nothing quite like the smell of cinnamon-spiced apples bubbling away in the oven, is there? It’s the kind of cozy, heartwarming aroma that instantly says “fall” and makes everyone wander into the kitchen asking, “What’s for dessert?” This Apple Crisp Recipe With Oats is my absolute go-to for that exact feeling. It’s way easier than a pie, but it delivers all the warm, fruity comfort you’re craving. The real star here is that incredible crunchy oat topping—it stays perfectly crisp, offering the most satisfying contrast to the tender, sweet apples underneath.
I’ve been making this for family gatherings for years, and it never fails to disappear. I still remember the first time I brought it to a Thanksgiving potluck; my aunt, who is notoriously picky about desserts, went back for thirds. That’s when I knew I had a winner. It’s become my signature dish for fall get-togethers, and I’m so excited to share all my little tricks with you so you can create that same magic in your own kitchen.
Why You Will Love This Apple Crisp Recipe With Oats
Trust me, you’re going to fall head over heels for this one. Here’s why it’s become my favorite go-to dessert:
- Simple ingredients you already have. No weird, hard-to-find stuff here—just pantry staples like flour, oats, and a few apples.
- Comes together in a flash. You can have this in the oven in under 20 minutes, which is way faster than wrestling with a pie crust.
- No fancy tools required. Just a bowl, a fork, and a baking dish. That’s it!
- That crunchy topping stays crisp. Seriously, it’s the best part. It holds up perfectly, even the next day.
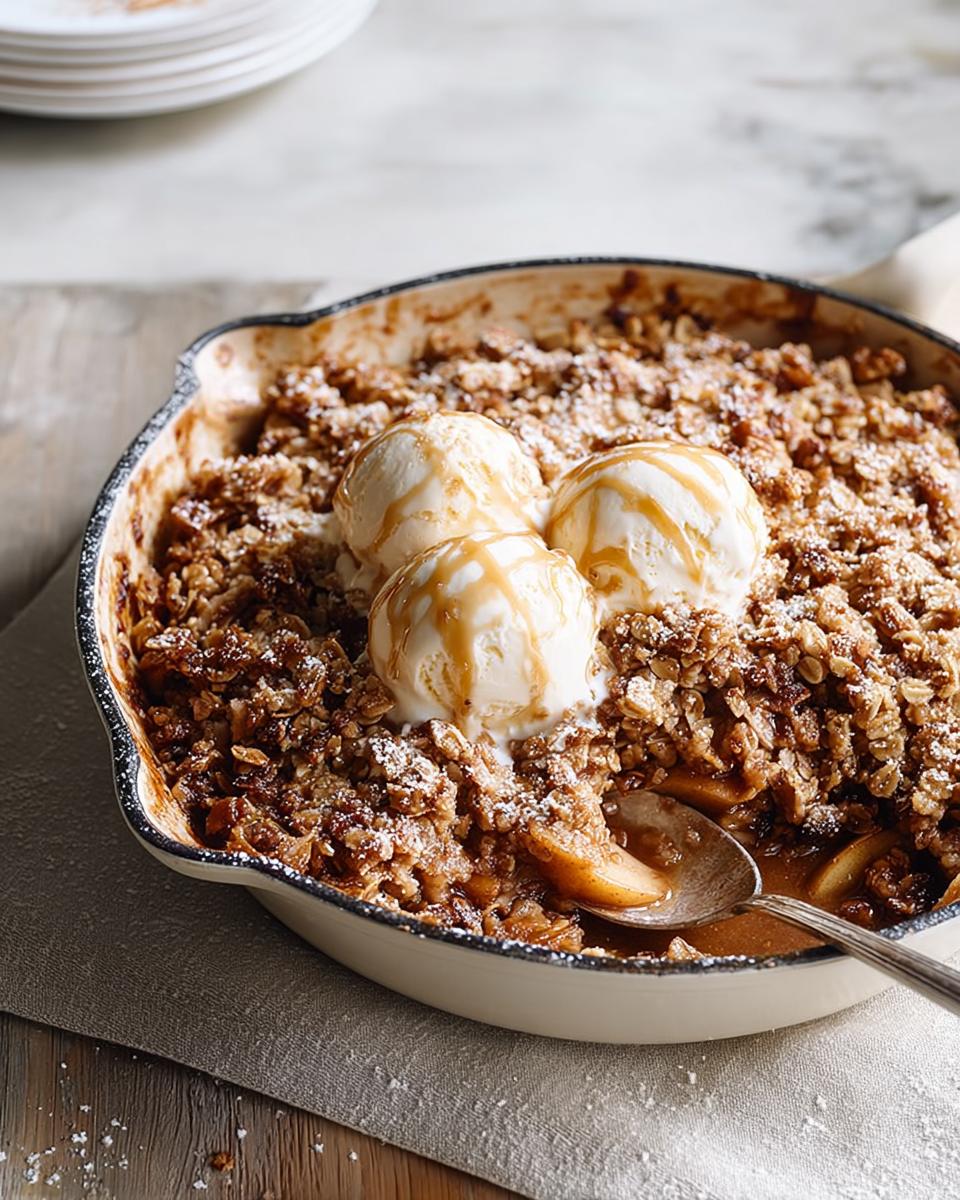
- Pairs like a dream with ice cream. Warm apple crisp + cold vanilla ice cream = pure happiness in a bowl.
Ingredients for Your Apple Crisp Recipe With Oats
Let’s talk about what you’ll need. I’m a big believer that the right ingredients make all the difference, so I’m going to be super specific here. For the apples, you’ll want about 6 cups of peeled and sliced apples—that’s roughly 6 medium ones. I always reach for Granny Smith or Honeycrisp because they hold their shape beautifully. You’ll also need ½ cup of granulated sugar for sweetness, a tablespoon of lemon juice to keep those apples from browning, and a teaspoon of ground cinnamon for that cozy warmth.
Now for the star of the show—the topping! You’ll need ½ cup of all-purpose flour, ½ cup of rolled oats (not the quick-cooking kind—trust me on this, rolled oats give you that signature crunch), and ½ cup of packed brown sugar for that deep, caramel-like flavor. The secret weapon is ¼ cup of cold butter, cut into small cubes. Cold butter is non-negotiable here; it’s what creates those flaky, crispy bits in the topping. Don’t you dare use soft butter!
Choosing the Best Apples
Okay, let’s get real about apples for a second. You want apples that will hold their shape during baking, not turn into mushy applesauce. I swear by Granny Smith for their tartness—they balance the sweet topping perfectly. Honeycrisp are another fantastic choice if you prefer a sweeter result. My favorite trick? Use a mix of both! That way you get a little tart and a little sweet, and the texture stays perfect. Just avoid super soft varieties like McIntosh or Red Delicious, which tend to fall apart.
Equipment You Will Need
Don’t worry, you won’t need a fancy kitchen to pull this off. Grab a standard 9×9 inch baking dish—that’s the sweet spot for this recipe. You’ll also want a couple of large mixing bowls, one for the apples and one for the topping. A pastry cutter or just a fork works great for cutting in the cold butter. And of course, a sharp knife and a peeler to get those apples ready. That’s it—simple, right?
Step-by-Step Instructions for This Apple Crisp Recipe With Oats
Alright, let’s get baking! The key to a perfect apple crisp is following a few simple steps in the right order. First things first—preheat your oven to 350°F (175°C). I know it’s tempting to start chopping right away, but getting that oven hot first means it’s ready to go the second your dish is assembled. Trust me on this one. While it’s heating, grease your 9×9 inch baking dish with a little butter or non-stick spray.
Now, here’s the most important thing to remember: slice your apples evenly. I’m talking about ¼-inch thick slices. If some are thick and some are thin, they won’t cook at the same rate, and you’ll end up with a mix of mushy and crunchy apples. Nobody wants that! Take your time with this step—it makes a world of difference.
When you’re making the topping, be gentle. You want to cut the butter into the dry ingredients until the mixture resembles coarse crumbs, with some pea-sized butter pieces still visible. That’s your goal. Overmixing will warm up the butter and make the topping dense instead of light and crispy. Just work quickly with a pastry cutter or two forks, and stop as soon as it looks right.
Preparing the Apple Filling
Start by peeling, coring, and slicing your apples into those even ¼-inch slices. Toss them in a large bowl with the granulated sugar, lemon juice, and cinnamon. The lemon juice isn’t just for flavor—it’s your secret weapon against browning. It keeps those apples looking fresh and bright while they bake. Give everything a good stir until every slice is coated, then spread the mixture evenly in your greased baking dish. Don’t pile them up too high in the center; an even layer ensures consistent cooking.
Making the Crunchy Oat Topping
In a separate bowl, combine the flour, rolled oats, and packed brown sugar. Give it a quick whisk to break up any lumps. Now, add those cold butter cubes. Using a pastry cutter or your fingertips, work the butter into the dry ingredients until the mixture looks like coarse crumbs. Remember, cold butter is key—it creates steam pockets as it melts in the oven, giving you that irresistible crispy texture. Sprinkle the topping evenly over the apples. Don’t press it down! A loose, even layer is what you want.
Baking and Serving Your Apple Crisp Recipe With Oats
Pop your dish into the preheated oven and bake for 40 to 45 minutes. You’ll know it’s done when the topping is a beautiful golden brown and the apple filling is bubbling up around the edges. That bubbling is a good sign—it means the juices have thickened and the apples are perfectly tender. Let the crisp cool on a wire rack for at least 10 minutes before serving. I know it’s hard to wait, but this resting time lets the filling set up so it’s not too runny. Serve it warm with a big scoop of vanilla ice cream or a dollop of whipped cream. Pure heaven!
Tips for the Best Apple Crisp Recipe With Oats
After making this crisp more times than I can count, I’ve picked up a few tricks that separate a good dessert from a truly great one. First up—cold butter is your best friend. I cannot stress this enough. If your butter is even slightly soft, that topping will turn into a dense, greasy mess instead of those gorgeous flaky clusters you’re after. Keep it chilled right up until the moment you cut it in.
Another biggie? Don’t pack the topping down. I know it’s tempting to press it into a nice, even layer, but resist that urge! A loose, crumbly sprinkle creates more surface area for browning and crisping. Pressing it down traps steam and makes it soggy.
Finally, let the crisp rest for at least 10 minutes after it comes out of the oven. I know the smell is driving you crazy, but this resting time is crucial. It allows those bubbling fruit juices to thicken up into a beautiful, syrupy sauce instead of running all over your plate. Trust me, that short wait is worth it for the perfect texture.
Variations to Try
One of the best things about this recipe is how easy it is to play around with. Sometimes I’ll toss a handful of chopped walnuts or pecans into the oat topping for extra crunch and a little nutty flavor. It’s such a simple swap, but it adds a whole new dimension.
If you’re feeling adventurous, try swapping half the rolled oats for almond flour—it gives the topping a slightly different texture and a subtle, sweet nuttiness that’s absolutely lovely. And for a fun seasonal twist, mix in a cup of fresh cranberries with the apples before baking. The tart pop of cranberry against the sweet, tender apples is a match made in fall heaven. Don’t be afraid to make it your own!
Frequently Asked Questions
I get asked these questions all the time, so let me save you some trouble and answer them right here!
Can I use quick oats instead of rolled oats?
You can, but I wouldn’t recommend it if you want that signature crunch. Rolled oats are thicker and hold up better during baking, giving you that lovely crispy texture. Quick oats are finer and will soak up more moisture, so your topping will turn out softer and less satisfying. Stick with rolled oats for the best results!
How do I store leftover apple crisp?
Easy! Just cover your baking dish tightly with foil or plastic wrap and pop it in the fridge. It’ll keep for up to 4 days. When you’re ready to enjoy it again, reheat it in a 350°F oven for about 10 minutes. That little trick helps bring back some of that crunchy topping magic. The microwave works in a pinch, but it’ll make the topping soft.
Can I make this apple crisp recipe with oats gluten-free?
Absolutely! It’s super simple to adapt. Just swap the all-purpose flour with a good gluten-free all-purpose blend (the kind that measures 1:1 with regular flour works best). And make sure you grab certified gluten-free rolled oats, since regular oats can sometimes be cross-contaminated. The texture comes out almost identical—no one will even notice the difference!
Why is my topping soggy?
Oh, I’ve been there! Sogginess usually comes down to two things: butter that’s too warm or topping that’s pressed down too firmly. Remember, your butter needs to be cold right out of the fridge. And when you sprinkle that topping over the apples, keep it loose and crumbly—don’t pat it down. Those two little tweaks will give you a perfectly crispy topping every single time.
Nutritional Information
Just a quick heads up—the nutrition numbers here are estimates, not exact science. They’re based on the ingredients I’ve listed and standard brands, so yours might look a little different depending on what you use. Per serving (about one-eighth of the dish), you’re looking at roughly 280 calories, 9 grams of fat, 50 grams of carbs, 4 grams of fiber, and 2 grams of protein. Not bad for a dessert that tastes this good, right?
Your Turn to Make This Apple Crisp Recipe With Oats
Alright, now it’s your turn to get in the kitchen and make some magic! I’d love to hear how it turns out for you. When you give this a try, come back and leave a comment with a star rating—it really helps other home cooks know what to expect. Or, if you’re sharing a photo on social media, tag me so I can see your beautiful creation. There’s nothing better than knowing this cozy dessert is bringing a little warmth to your table, just like it does to mine. Happy baking, friend!
Print
5 Ways to Perfect Apple Crisp Recipe With Oats
- Total Time: 65 minutes
- Yield: 8 servings 1x
- Diet: Vegetarian
Description
A warm and comforting apple crisp with a crunchy oat topping. Perfect for fall.
Ingredients
- 6 cups peeled and sliced apples (about 6 medium apples)
- 1/2 cup granulated sugar
- 1 tablespoon lemon juice
- 1 teaspoon ground cinnamon
- 1/2 cup all-purpose flour
- 1/2 cup rolled oats
- 1/2 cup packed brown sugar
- 1/4 cup cold butter, cut into small pieces
Instructions
- Preheat oven to 350°F (175°C). Grease a 9×9 inch baking dish.
- In a large bowl, toss apples with granulated sugar, lemon juice, and cinnamon. Spread in prepared dish.
- In another bowl, combine flour, oats, and brown sugar. Cut in butter until mixture resembles coarse crumbs. Sprinkle over apples.
- Bake for 40 to 45 minutes until topping is golden and apples are tender. Let cool slightly before serving.
Notes
- Serve warm with vanilla ice cream or whipped cream.
- You can use any apple variety. Granny Smith or Honeycrisp work well.
- Prep Time: 20 minutes
- Cook Time: 45 minutes
- Category: Dessert
- Method: Baking
- Cuisine: American
Nutrition
- Serving Size: 1 serving (about 1/8 of dish)
- Calories: 280
- Sugar: 28g
- Sodium: 60mg
- Fat: 9g
- Saturated Fat: 5g
- Unsaturated Fat: 3g
- Trans Fat: 0g
- Carbohydrates: 50g
- Fiber: 4g
- Protein: 2g
- Cholesterol: 20mg