
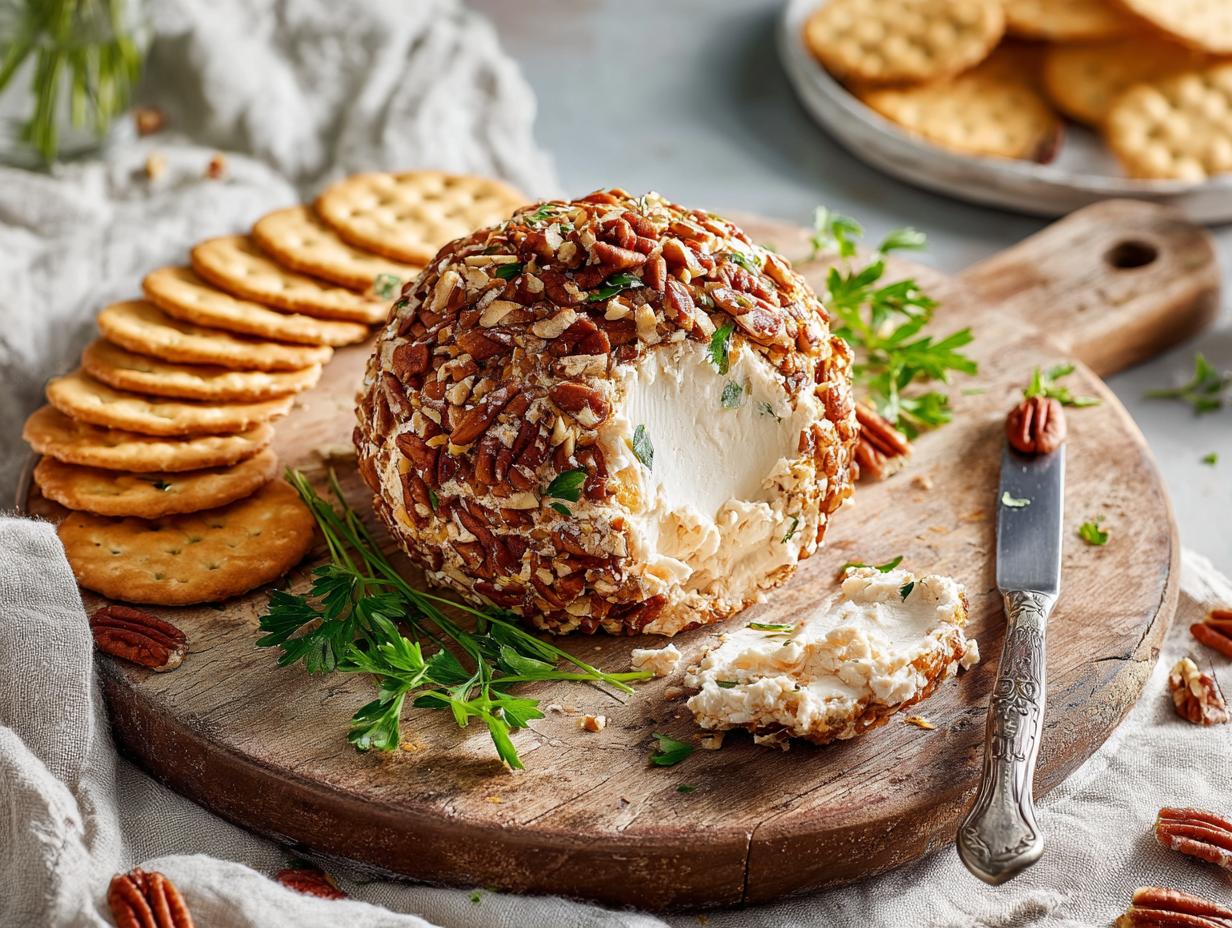
Let me tell you about my go-to party trick: this creamy, crunchy, no-bake cheese ball. I’ve been making this exact recipe for years, and it never fails—it’s always the first thing to disappear from the appetizer table. The magic is in the contrast: a velvety, savory center packed with sharp cheddar and cream cheese, all wrapped in a crunchy, nutty coating. And the best part? It’s ridiculously easy to throw together, with zero oven time required. You can customize it with different nuts, herbs, or a pinch of heat, but this version is my tried-and-true crowd-pleaser. I still remember the first time I brought it to a holiday gathering—my aunt, who’s notoriously picky, asked for the recipe before the party even ended. That’s when I knew I had something special. So trust me, this is the cheese ball you’ll want to keep in your back pocket for every party, potluck, or cozy night in.
Why You’ll Love This Cheese Ball
Honestly, what’s not to love? This cheese ball checks every box for a party appetizer, and I’ve yet to meet someone who doesn’t go back for seconds. Here’s why it’s become my absolute go-to:
- No oven, no fuss. You mix, shape, chill, and roll. That’s it. Perfect for hot summer gatherings or when you just don’t want to heat up the kitchen.
- Quick prep. Fifteen minutes of active time, then the fridge does the rest. I’ve thrown this together between Zoom calls more times than I can count.
- Incredibly versatile. Swap the nuts, add a pinch of cayenne, or roll it in everything bagel seasoning—it always works. I’ve even made it with different cheeses and herbs, and it’s never let me down.
- Always the first to disappear. At every party I bring this to, people hover around the cheese ball like it’s the main event. It’s almost embarrassing how fast it goes—but I’m not complaining.
Ingredients for the Perfect Cheese Ball
Let me walk you through exactly what you’ll need for this cheese ball. The key is having everything at room temperature—trust me, it makes the texture so much smoother. You’ll need 8 ounces of softened cream cheese, 1 cup of shredded sharp cheddar cheese, and ¼ cup of sour cream. For seasoning, grab 1 teaspoon each of garlic powder and onion powder, plus ½ teaspoon salt and ¼ teaspoon black pepper. Then for the coating: ½ cup chopped pecans and 2 tablespoons of fresh parsley, chopped. That’s it—simple, honest ingredients that come together beautifully.
Step-by-Step Instructions for Your Cheese Ball
Alright, let’s get to the good stuff. Making this cheese ball is almost embarrassingly easy, and I’m going to walk you through it so you have total confidence. The trick is really just a little patience—the chill time in the fridge is non-negotiable if you want that perfect, firm texture that holds up to scooping. But I promise, every step is simple, and the payoff is huge. Here’s how to nail it every single time.
Mix the Cheese Ball Base
Start by grabbing a medium bowl and tossing in your softened cream cheese, shredded cheddar, sour cream, garlic powder, onion powder, salt, and pepper. I can’t stress this enough—make sure that cream cheese is truly soft, like leave-it-out-on-the-counter-for-an-hour soft. If it’s too cold, you’ll end up fighting lumps instead of getting that smooth, creamy base. Mix everything together with a sturdy spatula until it’s completely combined and silky. You can use a hand mixer if you’re in a hurry, but I actually prefer doing it by hand so I can feel when it’s just right. Don’t overmix once it comes together, though—you want it light, not dense.
Shape the Cheese Ball
Once your mixture is smooth, it’s time to shape it. Scoop the whole thing onto a big piece of plastic wrap. Now, get in there with your hands and form it into a tight ball—don’t be shy, just go for it. Wrap it up tightly, smoothing out any seams, and pop it in the fridge for at least 1 hour. This chill time is crucial; it firms the mixture up so the coating actually sticks later. I’ve tried rushing this step before, and trust me, it’s not worth it. A good, solid chill makes all the difference.
Coat the Cheese Ball
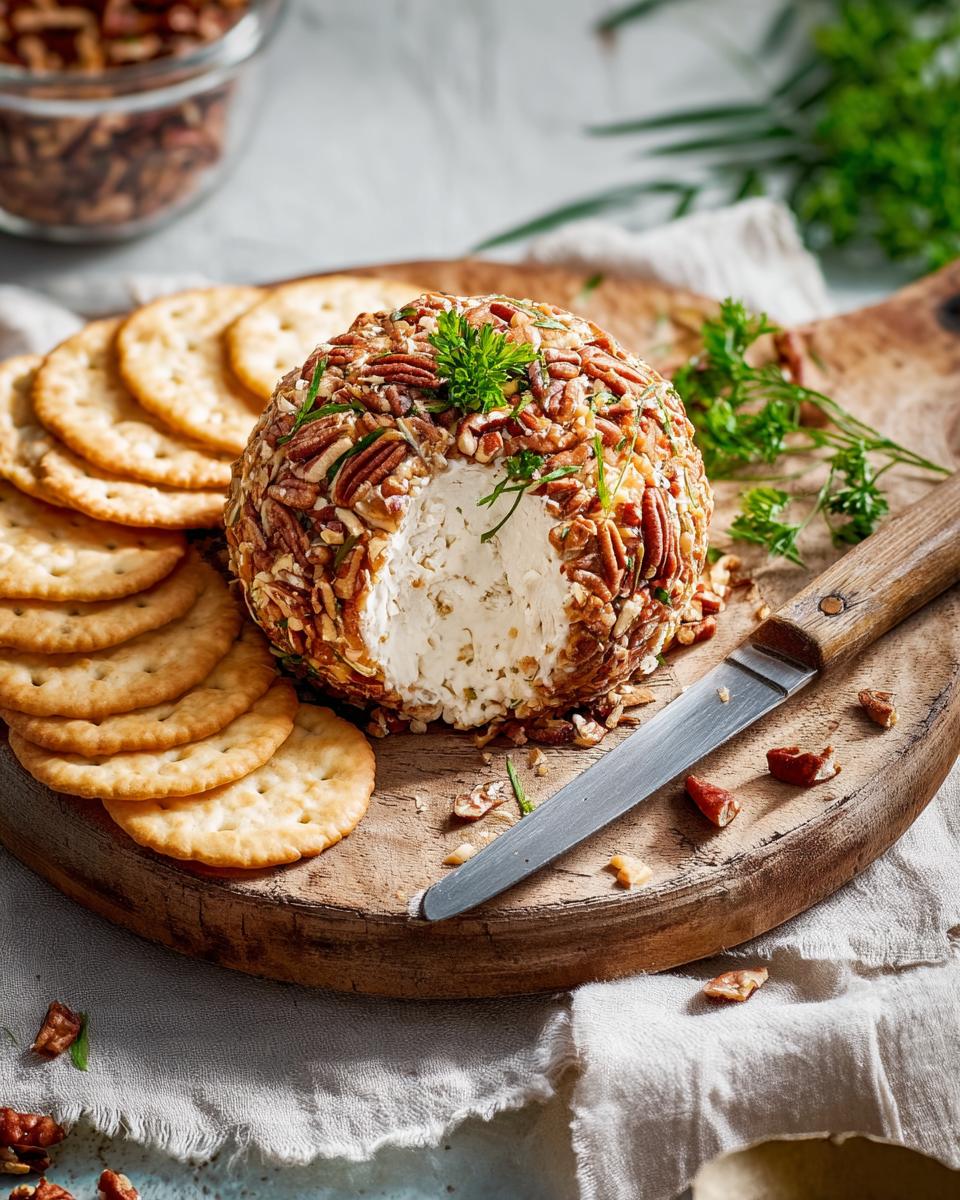
After your cheese ball has had its beauty rest in the fridge, it’s coating time. On a plate, mix together your chopped pecans and fresh parsley. Unwrap the chilled ball and roll it right in the nut mixture, pressing gently as you go so the coating sticks in an even layer. Don’t worry if it looks a little rustic—that hand-rolled look is part of the charm. Once it’s fully coated, let it sit at room temperature for about 15 minutes before serving. This little rest softens it up just enough to make it perfectly spreadable, so the flavors really shine. Now you’re ready to wow your guests!
Tips for a Perfect Cheese Ball
I’ve made this cheese ball more times than I can count, and a few little tricks have saved me from disaster more than once. First, make sure your cream cheese is fully softened—like, leave-it-out-for-an-hour softened. If it’s still cold, you’ll get lumps no matter how hard you mix. Second, resist the urge to overmix. Once everything is combined, stop. Overworking it makes the texture dense instead of light and creamy. Third, I love using a cookie scoop to shape the mixture before rolling it into a ball—it helps keep the size consistent and makes the shaping step way less messy. Finally, don’t skip the rest before serving. Letting it sit at room temperature for 15 minutes softens it just enough for perfect spreading. Trust me, these little details make all the difference.
Variations and Substitutions for Cheese Ball
One of the best things about this cheese ball is how easy it is to make it your own. I’ve played around with different nuts, spices, and even cheeses over the years, and every single version has been a hit. Here are a few of my favorite twists—just keep in mind that I’m steering clear of alcohol, bacon, or ham here, so you can trust these are all party-friendly and family-approved.
Change the Nuts
Don’t have pecans? No problem. Toasted almonds give it a nice crunch, and pistachios add a pretty green color. I like to chop them finely so they stick well, but leave a few bigger pieces for texture. For a nut-free option, try rolling it in everything bagel seasoning—it’s surprisingly good.
Add Some Spice
If you want a little kick, I love adding a pinch of cayenne pepper to the base. Smoked paprika is another favorite—it adds a subtle smoky depth. For something fresher, fold in some finely diced jalapeños (seeds removed if you want less heat). Just taste as you go!
Serving Suggestions for Cheese Ball
So you’ve got your gorgeous cheese ball ready—now what do you serve with it? I love setting out a big platter with a mix of textures. Classic buttery crackers and crispy baguette slices are always a hit. But don’t sleep on fresh veggies: crunchy celery sticks, sweet bell pepper strips, and even cucumber rounds add a nice freshness that cuts through all that creamy richness. Pretzels are another favorite of mine—the saltiness pairs perfectly. And if you’re serving drinks, this cheese ball is fantastic with a crisp white wine or just a cold glass of sparkling water with lemon. Your guests will be hovering around that platter all night, I promise.
How to Store Your Cheese Ball
Got leftovers? Lucky you. Wrap your cheese ball tightly in plastic wrap and pop it in the fridge—it’ll stay fresh for up to 5 days. If you want to plan ahead, you can even freeze it uncoated for up to a month. Just thaw it overnight in the fridge, then coat and serve as usual. Easy peasy!
Frequently Asked Questions About Cheese Ball
I get a lot of questions about this cheese ball whenever I share it, so I figured I’d answer the most common ones right here. Whether you’re making it ahead or wondering about substitutions, I’ve got you covered.
Can I Make This Cheese Ball Ahead?
Absolutely! You can make it up to 2 days in advance. Just store it wrapped tightly in plastic, either coated or uncoated—both work great. I actually think the flavors meld even better after a day in the fridge.
How Do I Soften Cream Cheese Quickly?
If you forgot to set it out, no worries. Place the cream cheese on a microwave-safe plate and zap it on low power for 10 seconds. Or, let it sit in a bowl of warm water for about 10 minutes. Just don’t overdo it—you want it soft, not melted.
Can I Use Low-Fat Cream Cheese?
You can, but the texture will be a bit softer and less sturdy. I’ve tried it, and it works fine for a casual snack, but for the best shape and that rich, creamy taste, I stick with full-fat. Trust me, it’s worth it.
Nutritional Information for Cheese Ball
Just a heads up—these numbers are estimates, since brands and tweaks can change things. Per serving (about 2 ounces): 220 calories, 20g fat (10g saturated), 8g protein, 4g carbs, and 1g fiber. It’s a rich, indulgent treat, but hey, that’s what party food is for! Now you have the perfect cheese ball for your next gathering. Leave a comment below and tell us how it turned out.
Print
3 Irresistible Tips for a Perfect Cheese Ball
- Total Time: 1 hour 15 minutes
- Yield: 8 servings 1x
- Diet: Vegetarian
Description
This cheese ball is a creamy, savory appetizer. You mix cream cheese and cheddar with seasonings. Roll it in nuts for a crunchy coating. Serve with crackers or vegetables.
Ingredients
- 8 ounces cream cheese, softened
- 1 cup shredded sharp cheddar cheese
- 1/4 cup sour cream
- 1 teaspoon garlic powder
- 1 teaspoon onion powder
- 1/2 teaspoon salt
- 1/4 teaspoon black pepper
- 1/2 cup chopped pecans
- 2 tablespoons fresh parsley, chopped
Instructions
- In a medium bowl, combine cream cheese, cheddar cheese, sour cream, garlic powder, onion powder, salt, and pepper. Mix until smooth.
- Shape the mixture into a ball. Wrap in plastic wrap. Refrigerate for at least 1 hour.
- On a plate, mix pecans and parsley. Roll the cheese ball in the mixture until coated.
- Serve immediately or refrigerate until ready. Let it sit at room temperature for 15 minutes before serving.
Notes
- You can substitute walnuts or almonds for pecans.
- Add a pinch of cayenne pepper for heat.
- Store leftovers in the refrigerator for up to 5 days.
- Prep Time: 15 minutes
- Cook Time: 0 minutes
- Category: Appetizer
- Method: No-Bake
- Cuisine: American
Nutrition
- Serving Size: 1 slice (about 2 ounces)
- Calories: 220
- Sugar: 1 g
- Sodium: 380 mg
- Fat: 20 g
- Saturated Fat: 10 g
- Unsaturated Fat: 8 g
- Trans Fat: 0 g
- Carbohydrates: 4 g
- Fiber: 1 g
- Protein: 8 g
- Cholesterol: 50 mg