
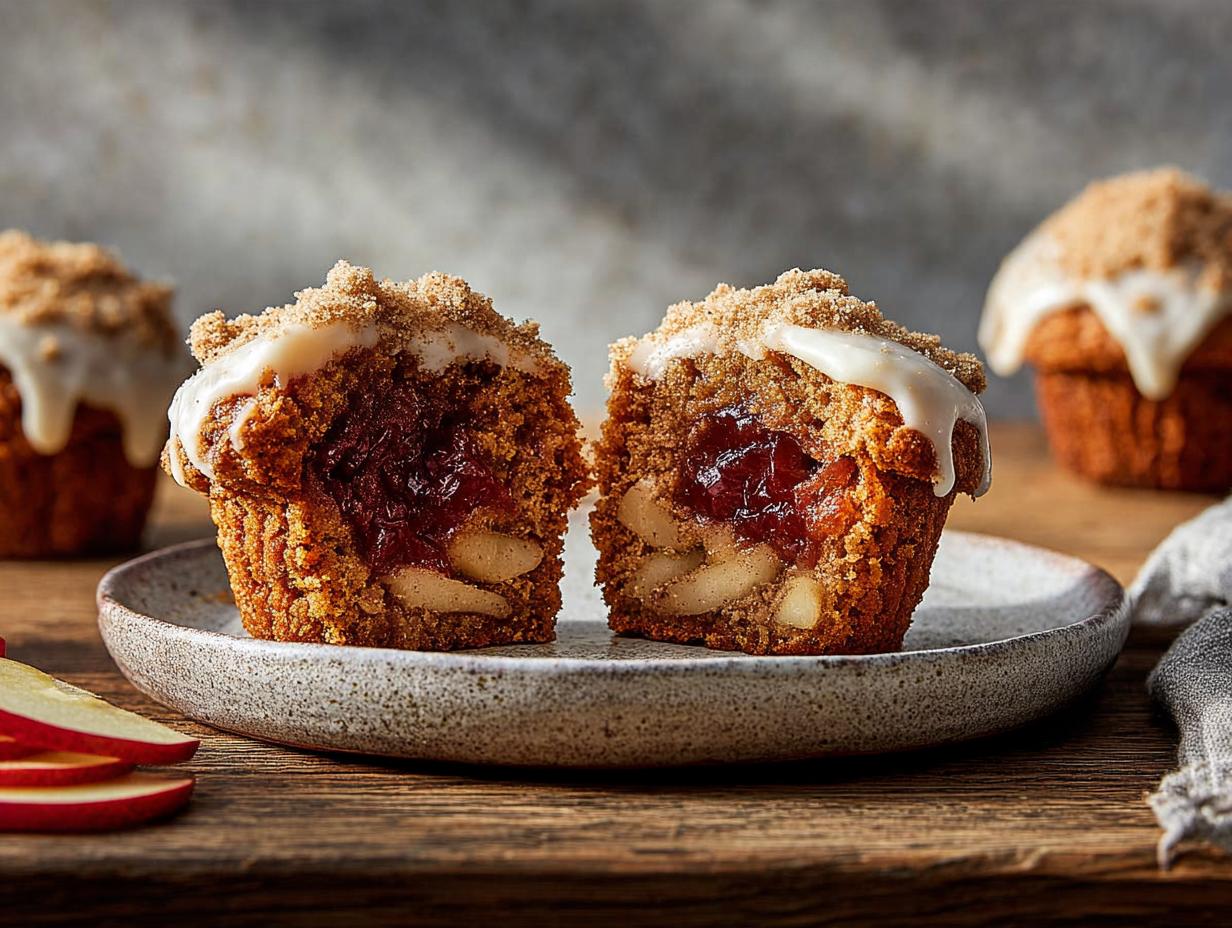
There’s something magical about a dessert that gives you all the cozy, nostalgic flavor of a pie but in a cute, handheld little package. That’s exactly what these Mini Piecakens are all about. I first made them for a crisp fall gathering with friends, and let me tell you, they disappeared faster than anything else on the dessert table. The best part? You get the perfect ratio of buttery cupcake, sweet fruit filling, and that irresistible crumb topping in every single bite. No wrestling with pie crusts, no fussy slicing—just pure, delicious simplicity. This recipe is so straightforward, uses everyday ingredients you probably already have, and delivers big, comforting flavor that feels like a hug in cupcake form.
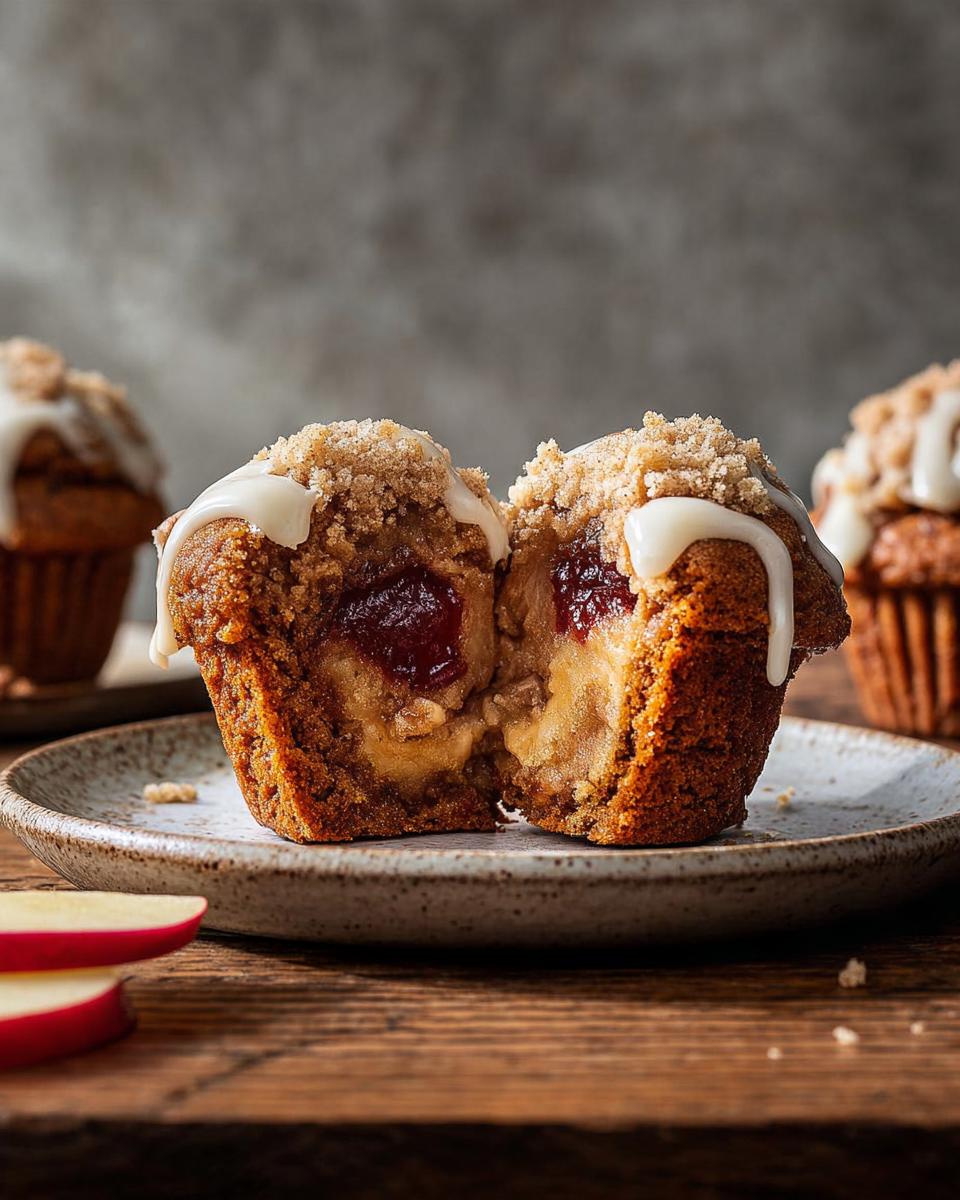
Why You’ll Love These Mini Piecakens
Let me count the ways these little guys have won me over! First off, no pie crust to roll—seriously, who has time for that? You get all the pie flavor without the fuss. They’re also the perfect single-serving size, so everyone gets their own little treat (no fighting over the last slice!). Plus, you can customize them with any fruit filling you have on hand—cherry, blueberry, peach, you name it. And that crumb topping? It’s the crowd-pleasing crown that adds just the right crunch. These Mini Piecakens are basically everything you want in a dessert, wrapped up in one adorable, portable package.
Ingredients for Mini Piecakens
Alright, let’s talk about what you’ll need to whip up a batch of these adorable Mini Piecakens. The beauty of this recipe is that it uses mostly pantry staples—nothing too fancy or hard to find. I always make sure my ingredients are prepped and ready before I start mixing, because once you get going, it comes together fast. Trust me, having everything measured out makes the whole process so much smoother and more enjoyable.
For the Cupcake Base
- 1 1/2 cups all-purpose flour, spooned and leveled
- 1/2 cup granulated sugar
- 1/2 cup unsalted butter, softened to room temperature
- 1 large egg
- 1/2 cup milk
- 1 tsp baking powder
- 1/2 tsp salt
For the Filling and Toppings
- 1 cup apple pie filling (canned or homemade, roughly chopped if using large chunks)
- For crumb topping: 1/4 cup all-purpose flour, 2 tbsp brown sugar, 2 tbsp cold unsalted butter, cut into small cubes
- For glaze: 1/2 cup powdered sugar, sifted, plus 1 tbsp milk
How to Make Mini Piecakens Step by Step
Making these Mini Piecakens is honestly so simple, and I love that I don’t have to fuss with rolling out dough. Let me walk you through it step by step, just like I’d show a friend in my own kitchen.
Step 1: Get prepped. Preheat your oven to 350°F and line a 12-cup muffin tin with paper liners. This makes cleanup a breeze!
Step 2: Cream the butter and sugar. In a large bowl, beat the softened butter and granulated sugar together until it’s light, fluffy, and pale. This takes about 2-3 minutes with a hand mixer. Don’t rush it—this is where the tenderness starts.
Step 3: Add the wet stuff. Beat in the egg and milk until everything’s smooth and well combined. It might look a little curdled at first, but that’s totally normal.
Step 4: Mix the dry ingredients. In a separate bowl, whisk together the flour, baking powder, and salt. This just ensures everything’s evenly distributed.
Step 5: Bring it all together. Gradually add the dry mixture to the wet, mixing on low speed just until you don’t see any more flour streaks. Overmixing will make them tough, so stop as soon as it comes together.
Step 6: Layer it up. Spoon a tablespoon of batter into each muffin cup. Drop a teaspoon of apple pie filling right on top, then cover it with another tablespoon of batter, spreading it gently to hide the filling.
Step 7: Make the crumb topping. In a small bowl, use a fork to combine the flour, brown sugar, and cold butter cubes until it looks like coarse sand. Sprinkle this generously over each cupcake.
Step 8: Bake and cool. Pop them in the oven for 18 minutes, or until a toothpick inserted into the center comes out clean. Let them cool in the pan for 5 minutes, then transfer to a wire rack.
Step 9: Glaze and enjoy. Whisk together the powdered sugar and milk until smooth, then drizzle over the cooled Mini Piecakens. That’s it—you’re done!
Tips for Perfect Mini Piecakens Every Time
After making these little beauties more times than I can count, I’ve picked up a few tricks that make all the difference. First up, don’t overmix the batter—I know it’s tempting to keep stirring until it’s perfectly smooth, but stop as soon as the flour disappears. Overmixing develops too much gluten and turns your Mini Piecakens tough instead of tender.
Here’s a tip I learned the hard way: chop up any large fruit pieces in your pie filling. Nobody wants to bite into a giant apple chunk and have the whole thing fall apart. Give those bigger pieces a quick rough chop before adding them to the cups.
Don’t overfill the muffin cups, either. Stick to that tablespoon of batter on the bottom and top, and you’ll avoid overflow disasters. Trust me, cleaning burnt filling off the bottom of your oven is no fun!
Probably the hardest lesson for me was patience: let them cool completely before glazing. If you drizzle that glaze on warm cupcakes, it’ll just melt into a sticky puddle. And always check for doneness with a toothpick—insert it into the cake part (not the filling) and make sure it comes out clean or with just a few moist crumbs.
Ingredient Substitutions and Variations
One of the best things about these Mini Piecakens is how easy they are to tweak based on what you have in your pantry. Don’t have apple pie filling? No problem at all! You can swap in cherry, blueberry, or peach pie filling instead—each one gives these little treats a whole new personality. I’ve even used a combination of leftover fillings before, and it turned out amazing.
If you’re avoiding gluten, just substitute the all-purpose flour with a good 1-to-1 gluten-free blend in both the cupcake base and the crumb topping. I’ve tested this myself, and honestly, nobody could tell the difference. For more information on flour substitutions, check out this guide.
Want to take the topping up a notch? Try a cream cheese glaze instead of the simple one—just beat 2 ounces of softened cream cheese with 1 cup of powdered sugar and a splash of milk until smooth. It adds a tangy richness that pairs beautifully with any fruit filling in your Mini Piecakens.
How to Store Your Mini Piecakens
So you’ve made a batch of these adorable Mini Piecakens, and somehow there are leftovers? Lucky you! Just pop them in an airtight container at room temperature, and they’ll stay perfect for up to 2 days. If you want them to last a little longer, you can refrigerate them for up to 4 days—but make sure you bring them back to room temperature before serving, because cold just doesn’t do them justice.
Here’s my favorite trick for having these on hand whenever a craving hits: freeze them (without the glaze) for up to 2 months. Just wrap each one individually in plastic wrap, toss them in a freezer bag, and thaw them overnight in the fridge when you’re ready. Then add the glaze fresh—it’s like having a secret stash of happiness waiting for you!
Frequently Asked Questions About Mini Piecakens
I get so many questions about these little guys, so let me answer the most common ones right here. It’s the kind of stuff I wish I’d known the first time I made them!
Can I use fresh fruit instead of pie filling?
Absolutely! Just cook your fresh fruit down with a little sugar and cornstarch first. For about 2 cups of chopped fruit, I use 1/4 cup sugar and 1 tablespoon cornstarch, simmering until it thickens. Let it cool completely before using, and you’re good to go.
Can I make these in a mini muffin tin?
Yes, you can! They turn out so cute and poppable. Just reduce the baking time to about 10-12 minutes, and keep a close eye on them. A toothpick test is your best friend here.
Why did my Mini Piecakens sink in the middle?
Oh, I’ve been there! The most common culprit is overfilling the cups. That heavy pie filling needs enough batter around it to hold it up. Stick to the tablespoon measurements, and you’ll avoid those sad little craters.
Can I skip the crumb topping?
You sure can, but honestly, I wouldn’t! That crumb topping is what takes these from good to absolutely irresistible. It adds this wonderful buttery crunch that contrasts so perfectly with the soft cake and gooey filling. If you’re in a rush, a simple dusting of powdered sugar works too.
Nutritional Information
I always get asked about the numbers, so here’s the honest truth: the nutritional info for these Mini Piecakens is just an estimate. It’ll change depending on the exact brands you use, whether you go with homemade pie filling or canned, and even how generously you sprinkle that crumb topping. If you need precise numbers for dietary reasons, I’d recommend plugging your specific ingredients into a nutrition calculator. But honestly? I just make them, enjoy them, and don’t worry too much about the math!
Share Your Creation
Alright, now it’s your turn! If you make these Mini Piecakens, please come back and leave a comment with a star rating—I read every single one and it absolutely makes my day. And pretty please, snap a photo of your beauties and share them on social media, tagging me so I can see! Don’t forget to subscribe while you’re at it, so you never miss another easy dessert recipe. Happy baking, friend!
Print
Irresistible Mini Piecakens in 18 Minutes
- Total Time: 38 minutes
- Yield: 12 mini piecakens 1x
- Diet: Vegetarian
Description
Mini Piecakens are small, handheld desserts that combine the flavors of a pie with the shape of a cupcake. This recipe features an apple pie filling baked into a buttery cupcake base, topped with a crumb topping and a drizzle of glaze.
Ingredients
- 1 1/2 cups all-purpose flour
- 1/2 cup granulated sugar
- 1/2 cup unsalted butter, softened
- 1 large egg
- 1/2 cup milk
- 1 tsp baking powder
- 1/2 tsp salt
- 1 cup apple pie filling (canned or homemade)
- For crumb topping: 1/4 cup flour, 2 tbsp brown sugar, 2 tbsp cold butter
- For glaze: 1/2 cup powdered sugar, 1 tbsp milk
Instructions
- Preheat your oven to 350°F (175°C). Line a 12-cup muffin tin with paper liners.
- In a large bowl, cream together the butter and granulated sugar until light and fluffy.
- Beat in the egg and milk until well combined.
- In a separate bowl, whisk together the flour, baking powder, and salt.
- Gradually add the dry ingredients to the wet mixture, mixing until just combined.
- Spoon a tablespoon of batter into each muffin cup.
- Add a teaspoon of apple pie filling on top of the batter.
- Cover the filling with another tablespoon of batter, spreading it gently.
- In a small bowl, combine crumb topping ingredients with a fork until crumbly. Sprinkle over each cupcake.
- Bake for 18 minutes, or until a toothpick inserted into the center comes out clean.
- Let the cupcakes cool in the pan for 5 minutes, then transfer to a wire rack.
- Mix glaze ingredients and drizzle over the cooled cupcakes.
Notes
- You can use any fruit pie filling you like, such as cherry or blueberry.
- Store leftover piecakens in an airtight container at room temperature for up to 2 days.
- For a gluten-free version, substitute all-purpose flour with a gluten-free blend.
- Prep Time: 20 minutes
- Cook Time: 18 minutes
- Category: Dessert
- Method: Baking
- Cuisine: American
Nutrition
- Serving Size: 1 mini piecaken
- Calories: 250
- Sugar: 18 g
- Sodium: 200 mg
- Fat: 12 g
- Saturated Fat: 5 g
- Unsaturated Fat: 6 g
- Trans Fat: 0 g
- Carbohydrates: 35 g
- Fiber: 1 g
- Protein: 3 g
- Cholesterol: 30 mg