You know that warm, savory scent that fills the kitchen right before Thanksgiving dinner? That’s my mushroom stuffing bubbling away in the oven—the dish that always disappears first from the table. Seriously, my family fights over the crispy bits on top! This isn’t just any stuffing; it’s packed with earthy mushrooms, buttery bread cubes, and herbs that’ll make your whole house smell like holiday magic. Whether you’re pairing it with turkey, serving it alongside roasted chicken, or sneaking spoonfuls straight from the dish (no judgment here!), this mushroom stuffing is the ultimate comfort food. Trust me, once you try it, you’ll never go back to boxed mixes again.

Why You’ll Love This Mushroom Stuffing
This isn’t just another side dish—it’s the star of the meal! Here’s why it’s become my go-to recipe year after year:
- Bursting with flavor: The combination of buttery mushrooms, fresh herbs, and crispy bread cubes creates layers of savory goodness in every bite
- Easy to make: Just sauté, mix, and bake—no fancy techniques required
- Vegetarian-friendly: Packed with hearty mushrooms instead of meat, but still satisfying enough for carnivores
- Crowd-pleaser: I’ve served this to picky eaters and foodies alike—both groups always ask for seconds
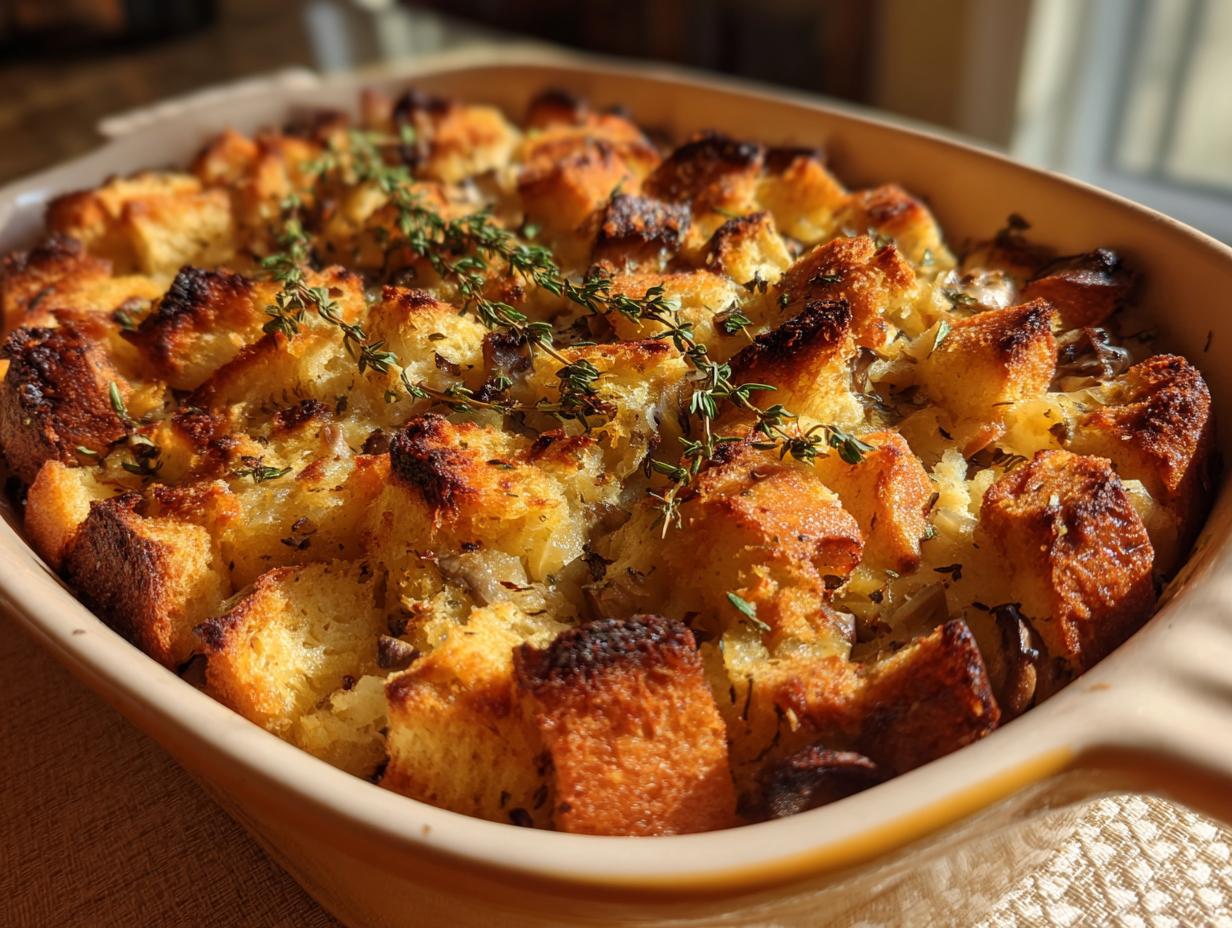
- Perfect texture: Crispy on top, moist inside, with just the right amount of chew from the bread
Honestly, the hardest part is waiting for it to come out of the oven!
Ingredients for Mushroom Stuffing
Gather these simple ingredients – you probably have most in your kitchen already! The magic happens when these basics come together:
- 8 cups bread cubes – I use day-old French or sourdough (trust me, fresh bread turns mushy!)
- ½ cup butter – Real butter only, please! It makes all the difference
- 1 onion, diced – Yellow onions work best for sweetness
- 2 celery stalks, chopped – Don’t skip these – they add the perfect crunch
- 1 lb mushrooms, sliced – Cremini are my favorite, but buttons work too
- 2 cloves garlic, minced – Fresh is best, no jarred stuff!
- 1 tsp thyme + 1 tsp sage – The herb power couple for stuffing
- ½ tsp each salt & black pepper – Season to taste as you go
- 1½ cups vegetable broth – Homemade if you’ve got it
That’s it! Simple ingredients, insanely delicious results.
How to Make Mushroom Stuffing
Okay, let’s get cooking! This mushroom stuffing comes together so easily, you’ll wonder why you ever used a boxed mix. Just follow these simple steps, and you’ll have the most flavorful, aromatic stuffing ready in no time.
Preparing the Vegetables
First, preheat that oven to 350°F (175°C) – we want it nice and hot when our stuffing’s ready to bake. Now grab your favorite large skillet (I use my trusty cast iron) and melt that butter over medium heat. Oh, that sizzle when the butter hits the pan? Music to my ears!
Add your diced onions and chopped celery first – you’ll want to cook these until they just start to soften, about 3 minutes. Then pile in those gorgeous sliced mushrooms! They’ll release their liquid first, then turn golden brown. That’s when you know the magic is happening. Stir in the garlic and herbs, and just breathe in that incredible aroma for about a minute. Your kitchen should smell absolutely heavenly by now.

Combining Ingredients
While your veggies are cooking, toss those bread cubes into a big mixing bowl. When the vegetable mixture is ready, pour it right over the bread – scraping every last bit of that buttery goodness from the pan. Now, here’s my trick: pour the broth in gradually, mixing as you go. You want every cube to get some love, but stop before it gets soggy. The bread should be moist, not swimming!
Give it a taste here – does it need more salt? More herbs? This is your chance to adjust. I usually end up adding an extra pinch of thyme because I just can’t help myself.
Baking the Mushroom Stuffing
Transfer your mixture to a greased baking dish (I use a 9×13 for this amount) and cover it with foil. The foil keeps it from drying out while everything heats through – bake covered for 30 minutes. Then comes the best part: remove the foil and bake another 15 minutes until the top turns golden and crispy. That contrast between the crunchy top and soft interior? Absolute perfection.
Pro tip: If your family fights over the crispy bits like mine does, you can broil it for the last minute or two – just keep a close eye so it doesn’t burn!

Tips for Perfect Mushroom Stuffing
After making this stuffing more times than I can count (and taste testing every batch), here are my can’t-live-without secrets:
- Stale bread is your friend! Fresh bread turns to mush – leave cubes out overnight or toast lightly before using
- Broth control is key – Add it slowly until the bread is just moistened (you might not use all 1½ cups)
- Squeeze those mushrooms after sautéing to remove excess liquid (prevents soggy stuffing)
- Underseason slightly before baking – flavors intensify while cooking
- Let it rest 10 minutes after baking for cleaner slices (if you can resist diving in!)
Follow these, and you’ll have stuffing perfection every single time.
Variations for Mushroom Stuffing
The beauty of this recipe? It’s like a blank canvas waiting for your personal touch! Here are some of my favorite ways to mix it up:
- Add crunch: Toss in ½ cup toasted walnuts or pecans right before baking
- Sweet & savory: Mix in ⅓ cup dried cranberries or chopped apples
- Herb swap: Try rosemary instead of thyme for a piney twist
- Cheese lover’s: Stir in ½ cup grated parmesan or gruyère
- Extra umami: Add a splash of soy sauce or Worcestershire to the broth
Really, the only limit is your imagination—and maybe how much space is left in your baking dish!
Serving Suggestions for Mushroom Stuffing
Oh, the possibilities! This mushroom stuffing shines alongside roasted turkey (obviously), but don’t stop there—it’s magical with chicken, pork chops, or even a holiday ham. For vegetarians, try pairing it with roasted squash or a hearty lentil loaf. Leftovers? Toss them in an omelet the next morning—trust me, it’s life-changing.
Storing and Reheating Mushroom Stuffing
Here’s the good news – this stuffing might be even better the next day! Let it cool completely, then store it airtight in the fridge for up to 4 days. When reheating, my foolproof method is 350°F for 20-25 minutes covered with foil (add a splash of broth if it seems dry). Need it faster? Microwave single portions for 60-90 seconds – just stir halfway through. For longer storage, freeze portions in freezer bags for up to 3 months. Thaw in the fridge overnight before reheating. Pro tip: The crispy top won’t fully return, but a quick broil at the end brings back that golden perfection!
Mushroom Stuffing Nutritional Information
Here’s the scoop on what’s in each delicious serving (about 1 cup) – keep in mind these are estimates since ingredients can vary. This stuffing packs about 220 calories, 12g fat (7g saturated), 25g carbs (2g fiber), and 5g protein. Not too shabby for something that tastes this indulgent!
Mushroom Stuffing FAQs
Over years of making this stuffing (and fielding questions from family and friends), I’ve heard it all! Here are answers to the most common mushroom stuffing mysteries:
Can I make this stuffing ahead?
Absolutely! Prepare it completely (including baking) 1-2 days before. Cool, cover tightly, and refrigerate. Reheat covered at 350°F for 25-30 minutes – it’ll taste freshly made. The herbs actually deepen in flavor overnight!
What if I don’t have vegetable broth?
No worries – chicken broth works great too (though it won’t be vegetarian). In a pinch, I’ve even used water with an extra tablespoon of butter. The mushrooms bring so much flavor on their own.
Can I freeze leftover stuffing?
You bet! Freeze portions in airtight containers for up to 3 months. Thaw in the fridge overnight, then reheat. The texture stays surprisingly good – just give it a quick broil at the end to revive the crispiness.
Help! My stuffing turned out too dry/wet.
For dry stuffing: drizzle with a bit more broth before reheating. Too wet? Spread it on a baking sheet and pop back in the oven for 5-10 minutes. Remember – you can always add moisture, but you can’t take it away!
Can I use different mushrooms?
Please do! I love mixing cremini with shiitakes for extra earthiness. Just avoid very watery varieties like white buttons alone – they can make the stuffing soggy. Pro tip: sauté wild mushrooms separately first to concentrate their flavor.


Irresistible Mushroom Stuffing Recipe with 8 Savory Secrets
- Total Time: 1 hour 5 mins
- Yield: 8 servings 1x
- Diet: Vegetarian
Description
A hearty mushroom stuffing with herbs and bread cubes. Perfect for holidays or as a side dish.
Ingredients
- 8 cups bread cubes
- 1/2 cup butter
- 1 onion, diced
- 2 celery stalks, chopped
- 1 lb mushrooms, sliced
- 2 cloves garlic, minced
- 1 tsp thyme
- 1 tsp sage
- 1/2 tsp salt
- 1/2 tsp black pepper
- 1 1/2 cups vegetable broth
Instructions
- Preheat oven to 350°F (175°C).
- Melt butter in a large skillet over medium heat.
- Add onion, celery, and mushrooms. Sauté until soft.
- Stir in garlic, thyme, sage, salt, and pepper. Cook for 1 minute.
- Place bread cubes in a large bowl. Pour vegetable mixture over them.
- Add broth gradually, mixing until bread is moist but not soggy.
- Transfer to a greased baking dish. Cover with foil.
- Bake for 30 minutes. Remove foil and bake for another 15 minutes until golden.
Notes
- Use stale bread for better texture.
- Adjust broth for desired moisture.
- Add nuts or dried fruit for variation.
- Prep Time: 20 mins
- Cook Time: 45 mins
- Category: Side Dish
- Method: Baking
- Cuisine: American
Nutrition
- Serving Size: 1 cup
- Calories: 220
- Sugar: 3g
- Sodium: 450mg
- Fat: 12g
- Saturated Fat: 7g
- Unsaturated Fat: 4g
- Trans Fat: 0g
- Carbohydrates: 25g
- Fiber: 2g
- Protein: 5g
- Cholesterol: 30mg